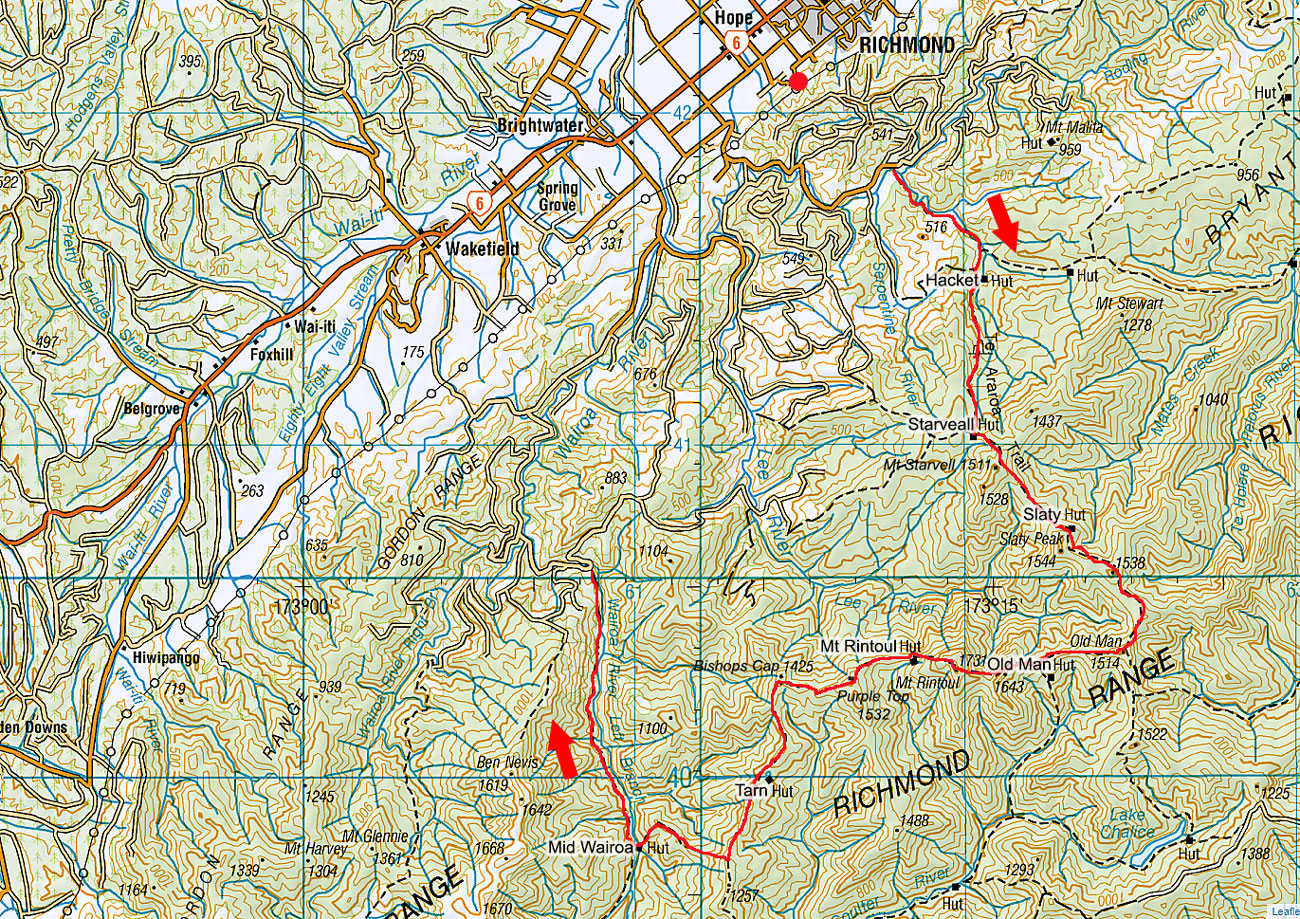
Richmond traverse, September 2019
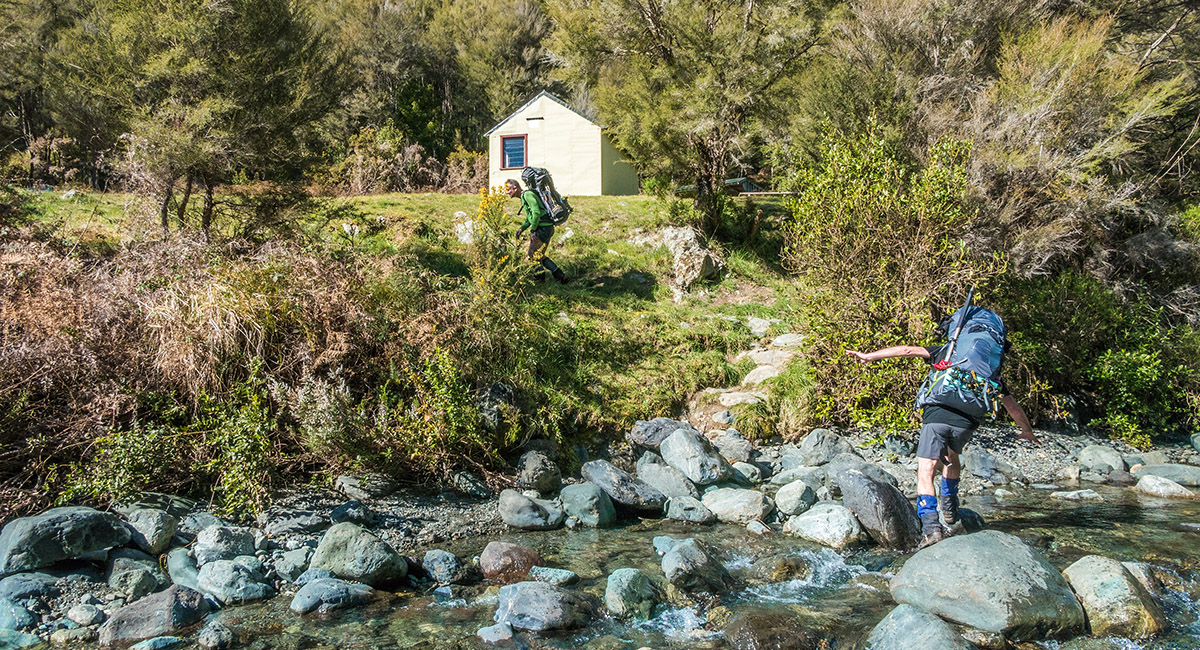
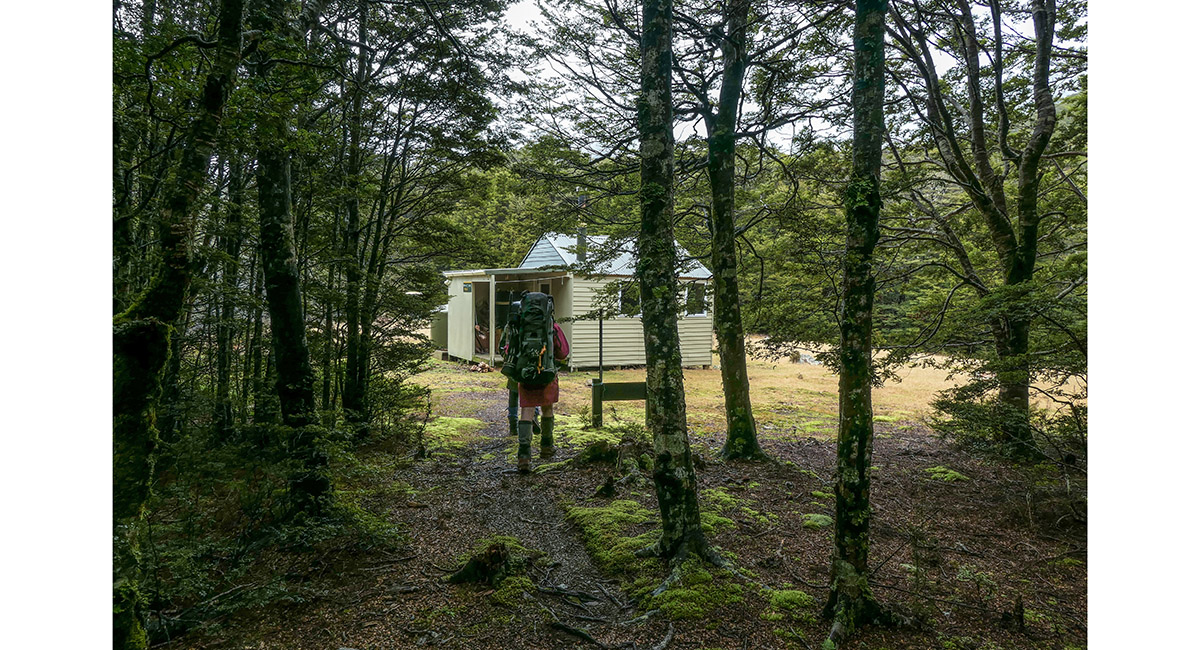
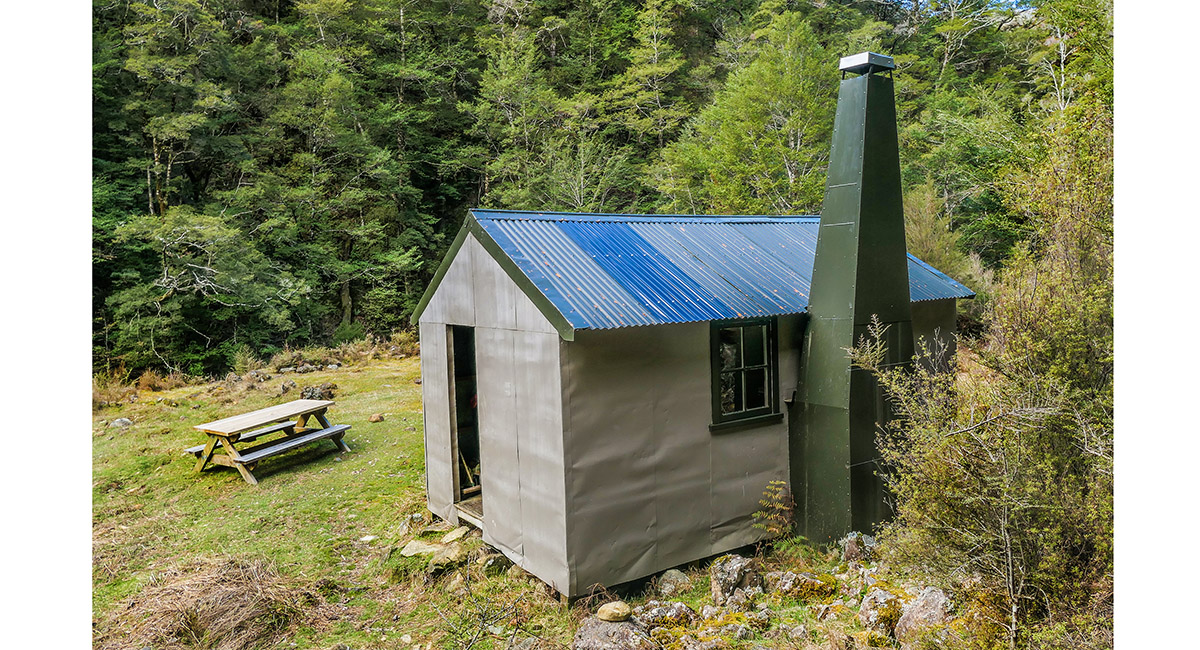
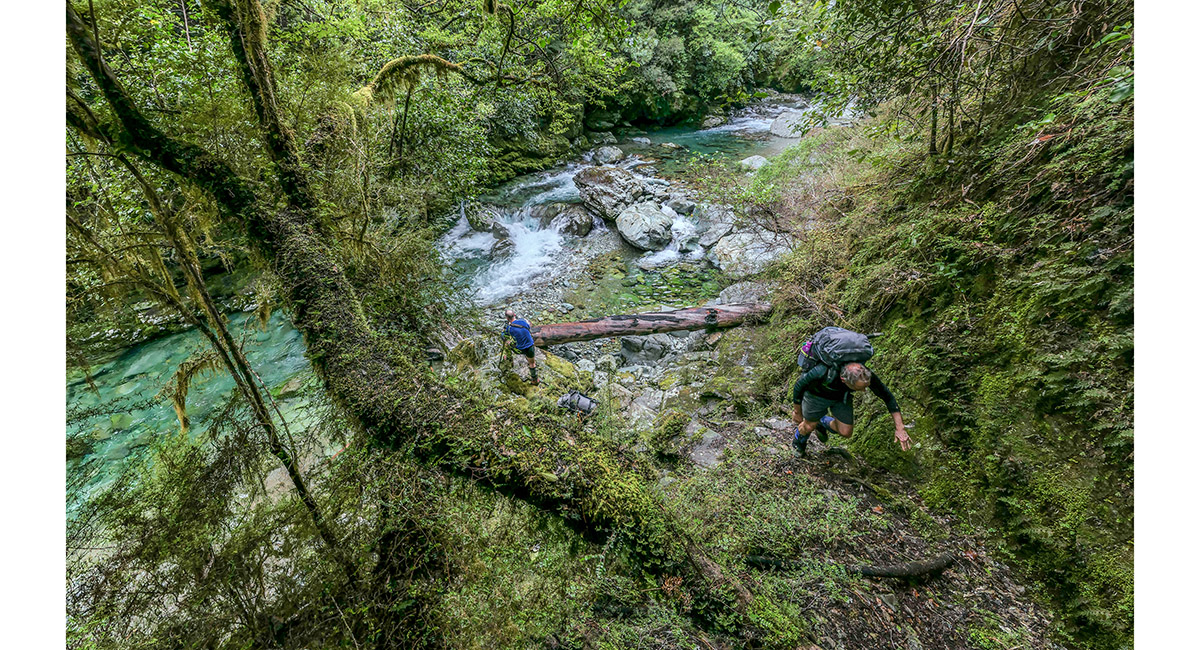
Crossing Hacket Creek beside Hacket Hut (250m)

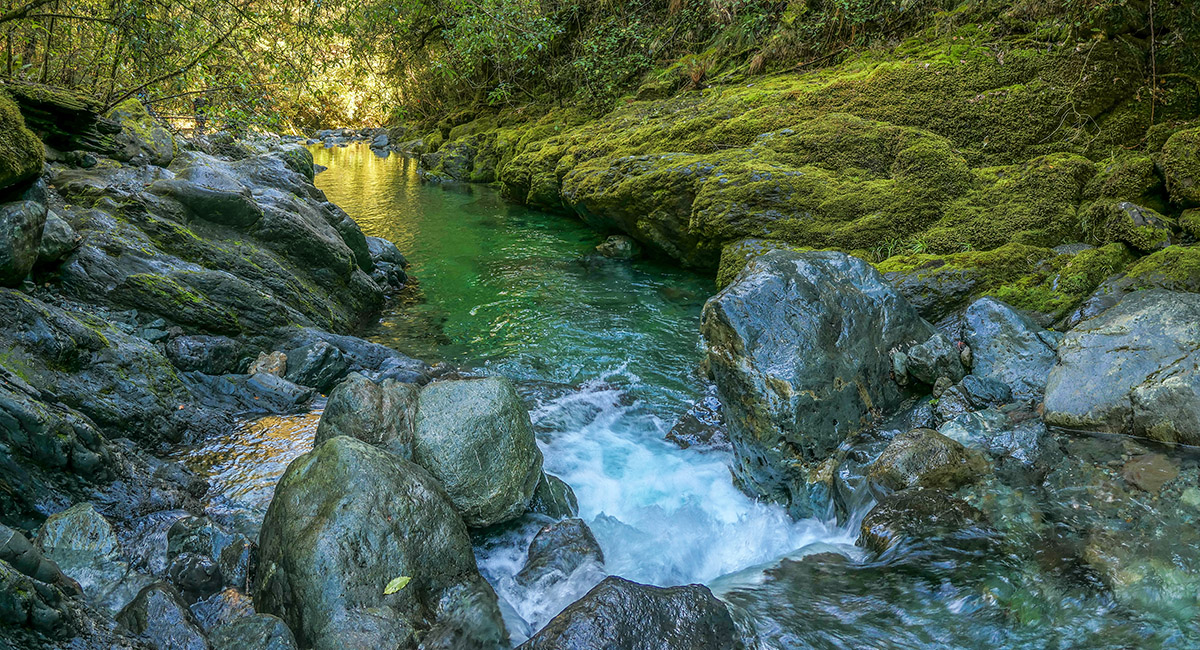
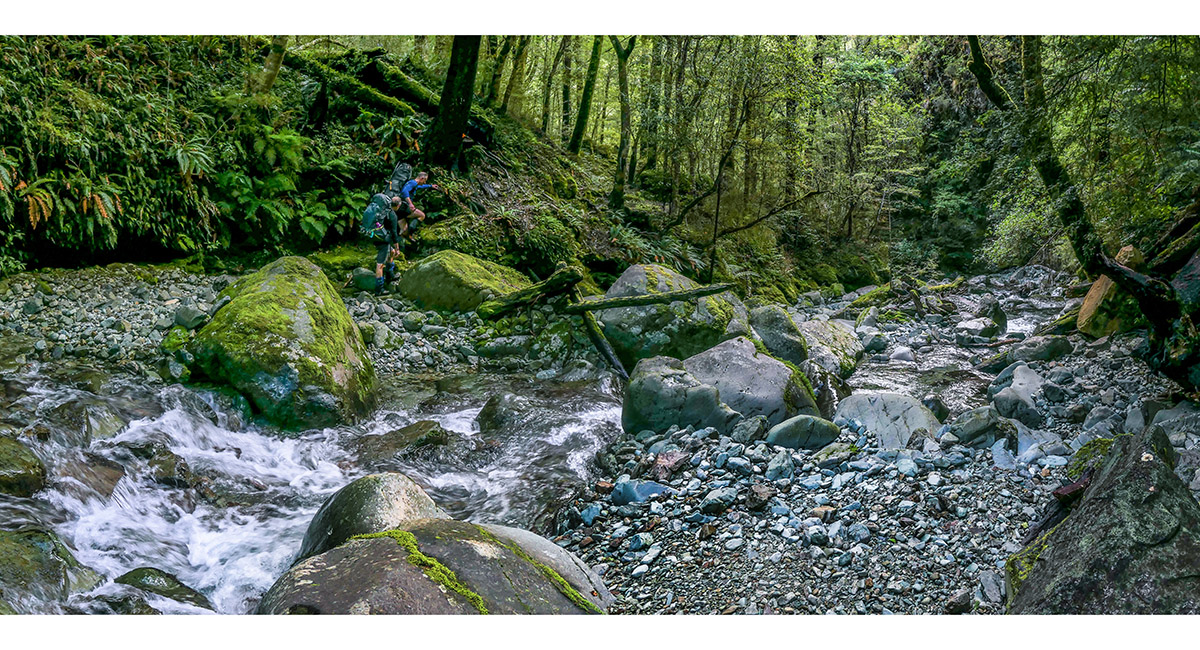
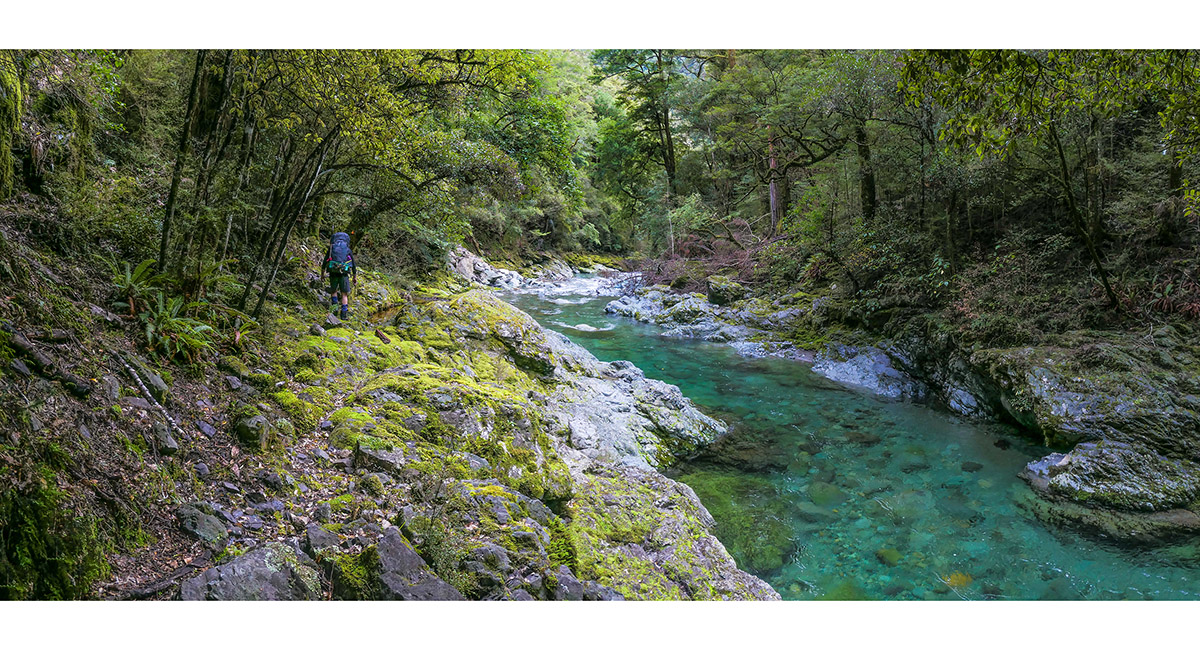
Hacket Creek, at about 400m

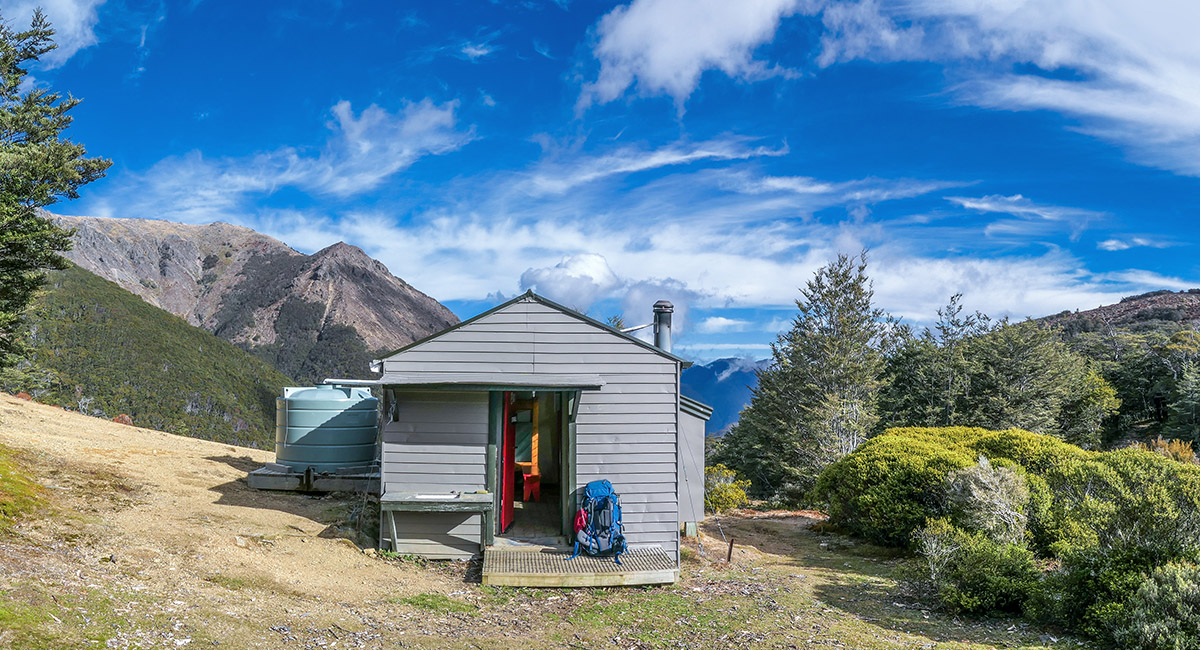
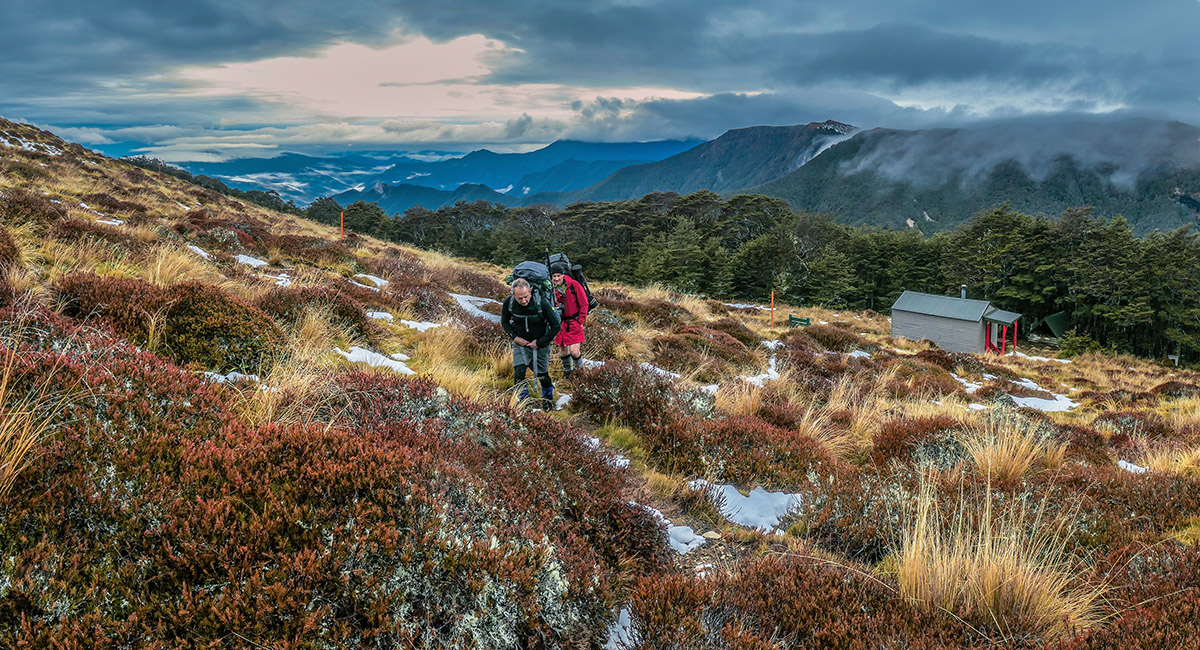
Starveall Hut (1,190m), with Mt Starveall (1,511m) behind

A view to Bishop's Cap (1,425m) with the Gordon Range behind, on the climb up to Mt Starveall

The view northwest to Waimea Inlet and the distant Arthur Range, from Mt Starveall (1,511m) at sunset

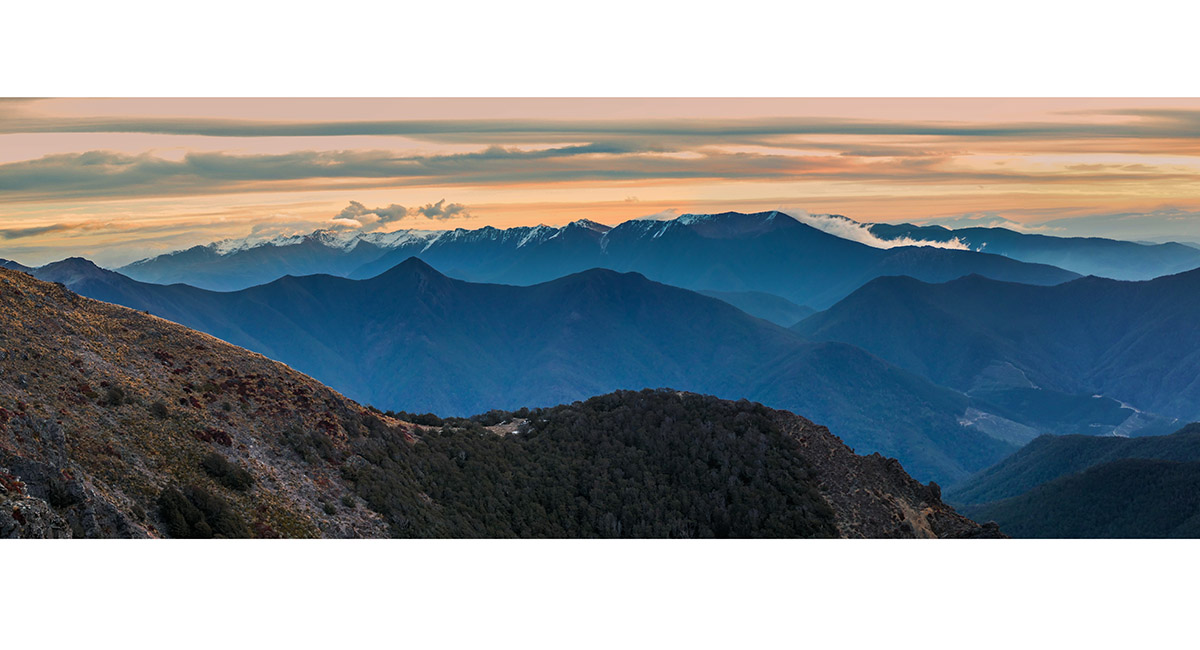
Another sunset view from Mt Starveall, of the Gordon Range

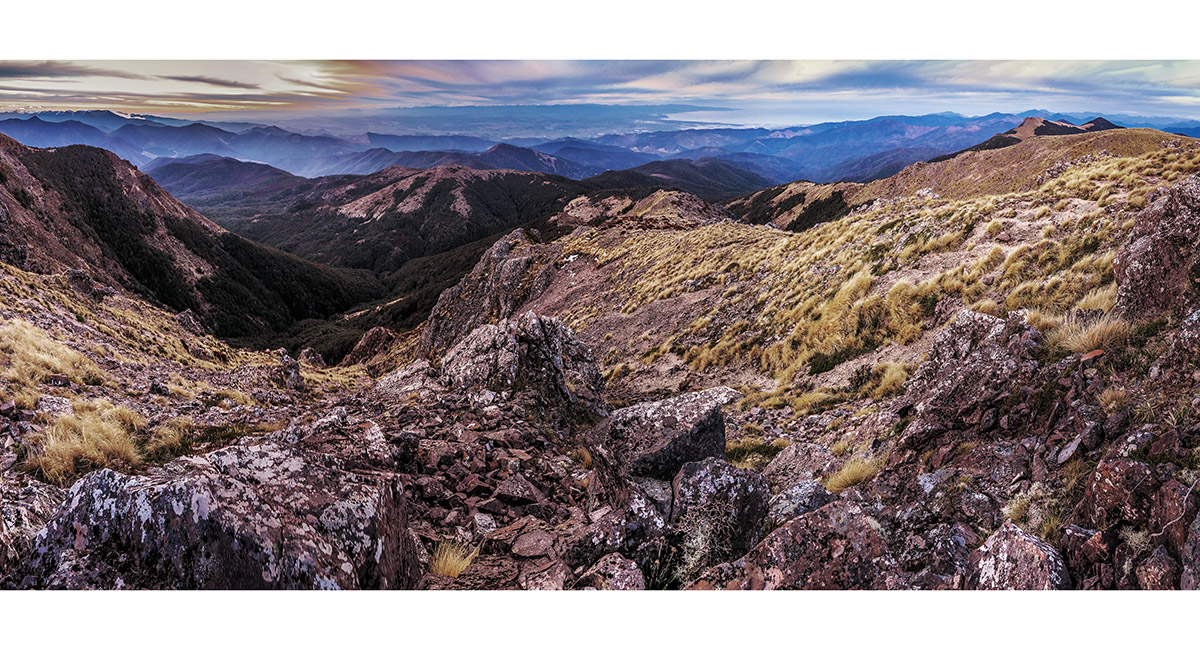
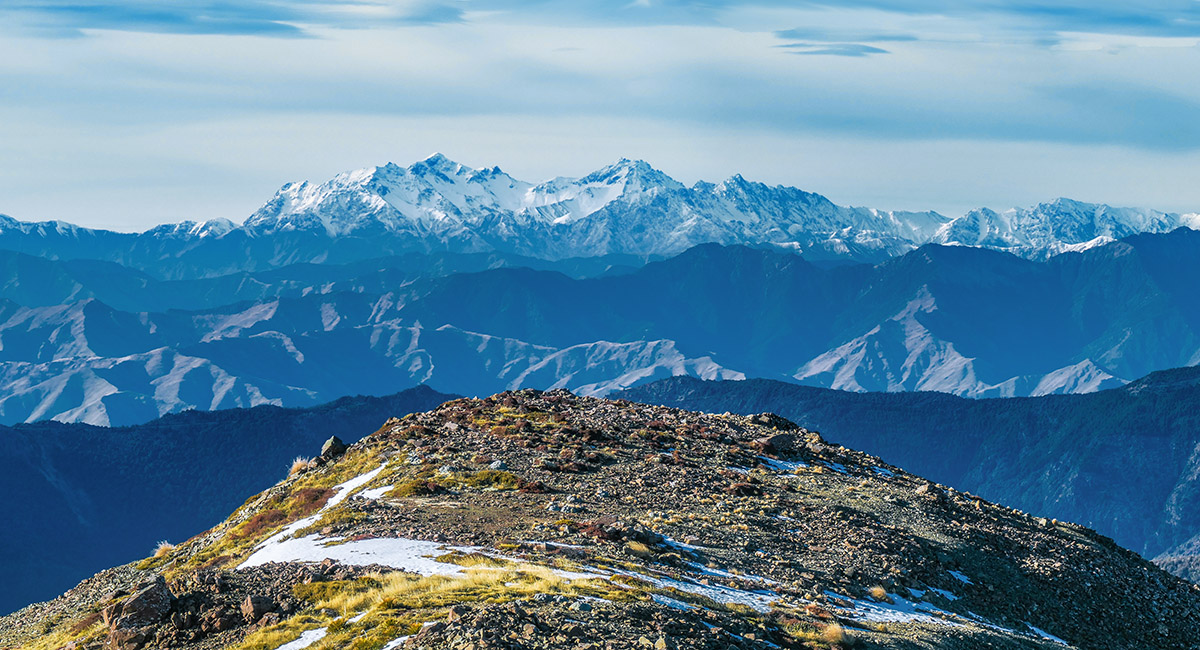
Looking northeast from Mt Starveall, to the Hacket Peaks (1,437m) and Mt Gale (1,425m) - left foreground; and further afield to Mt Richmond (right)

The Hacket Peaks (1,437m) and Mt Gale (1,425m)

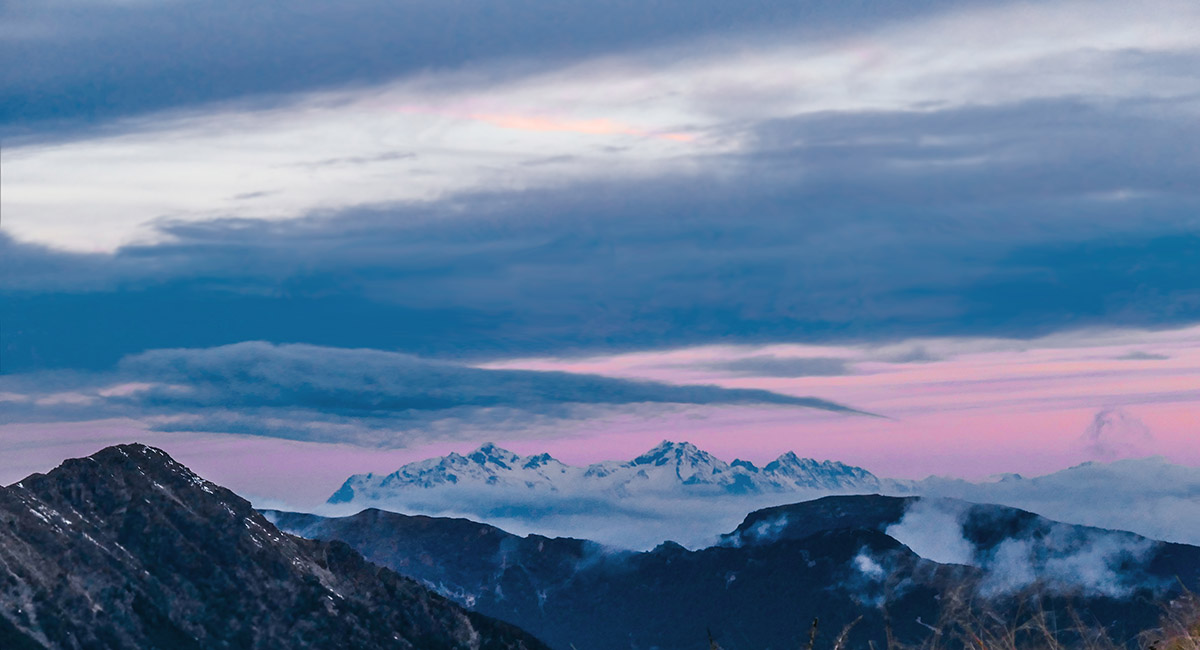
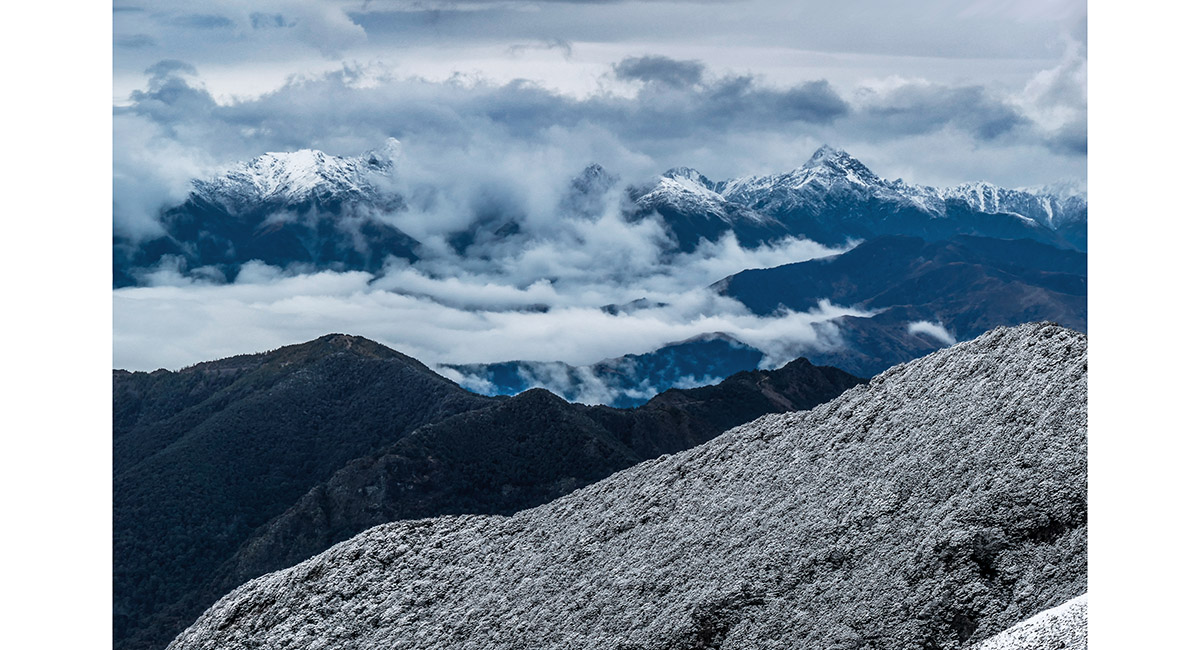
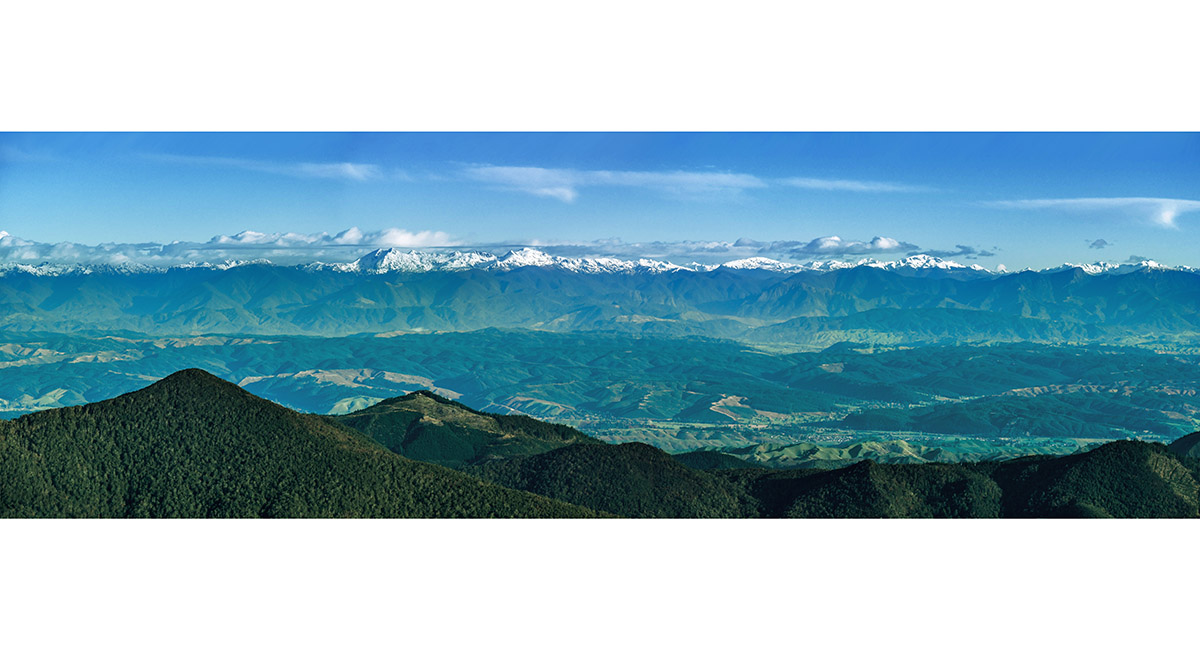
Looking southeast from Mt Starveall, to the Kaikouras

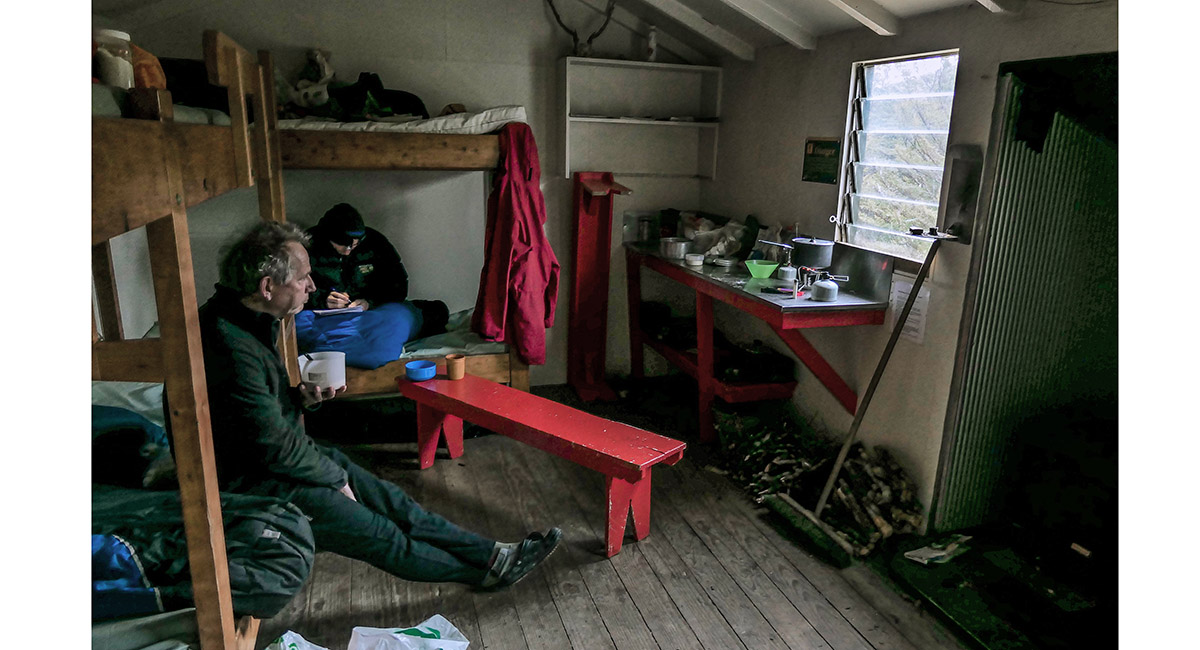
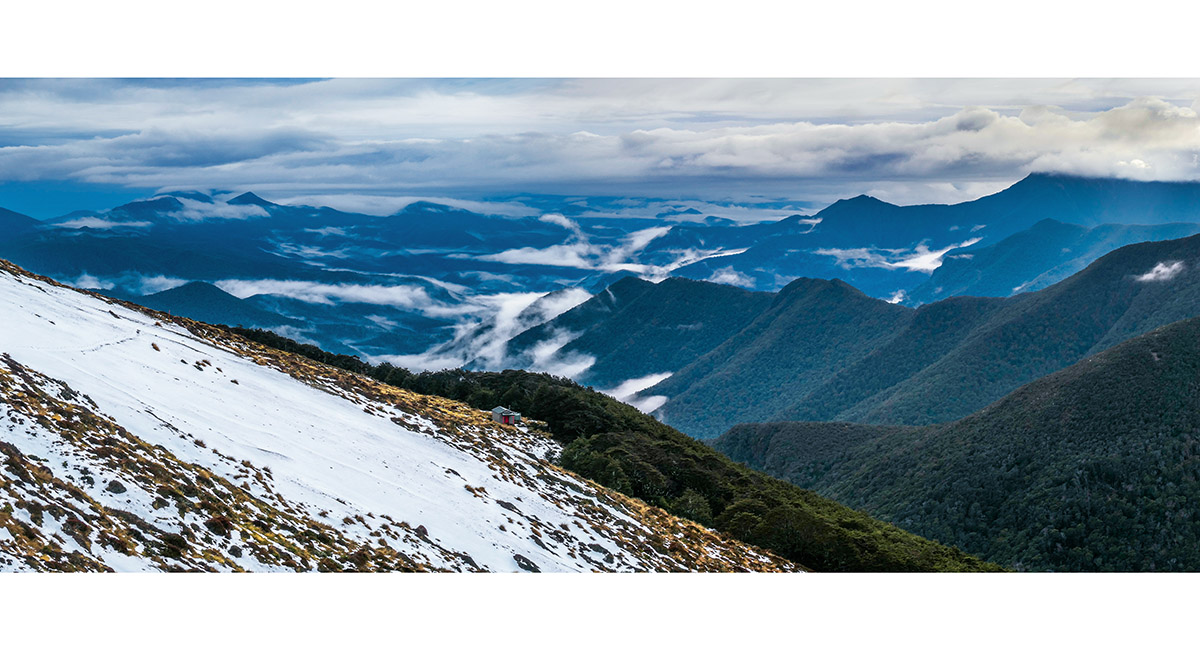
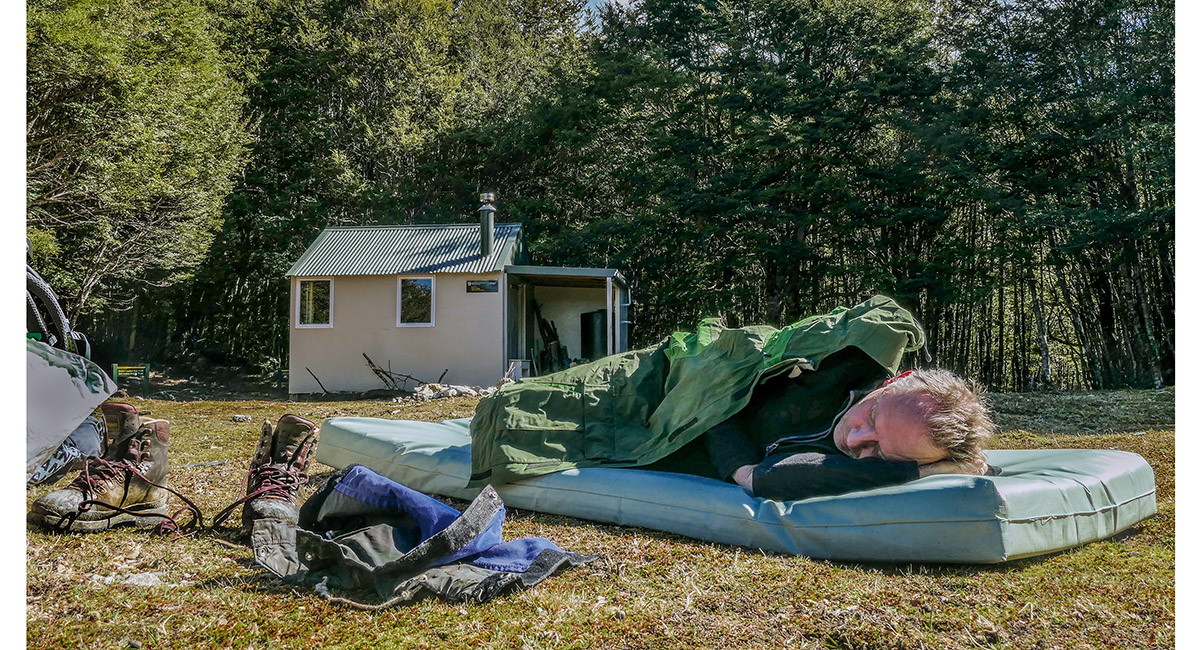
Down time at Starveall Hut (1,190m)

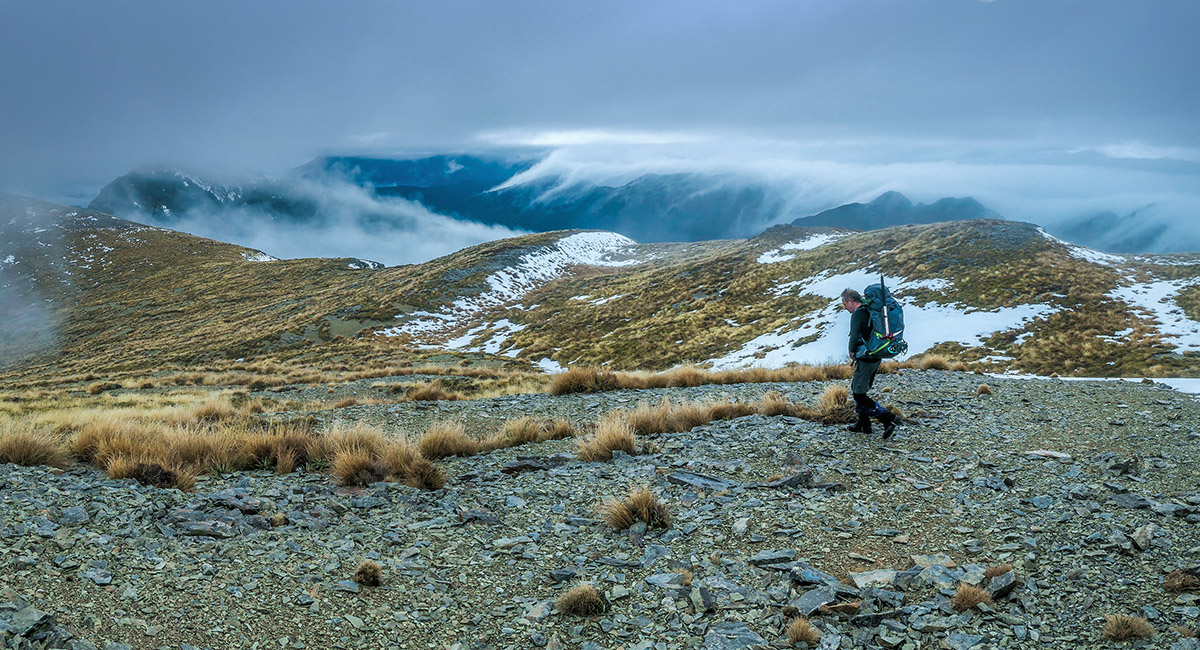
Heading southeast along the ridge, at about 1,300m, between Mt Starveall and Mt Slaty

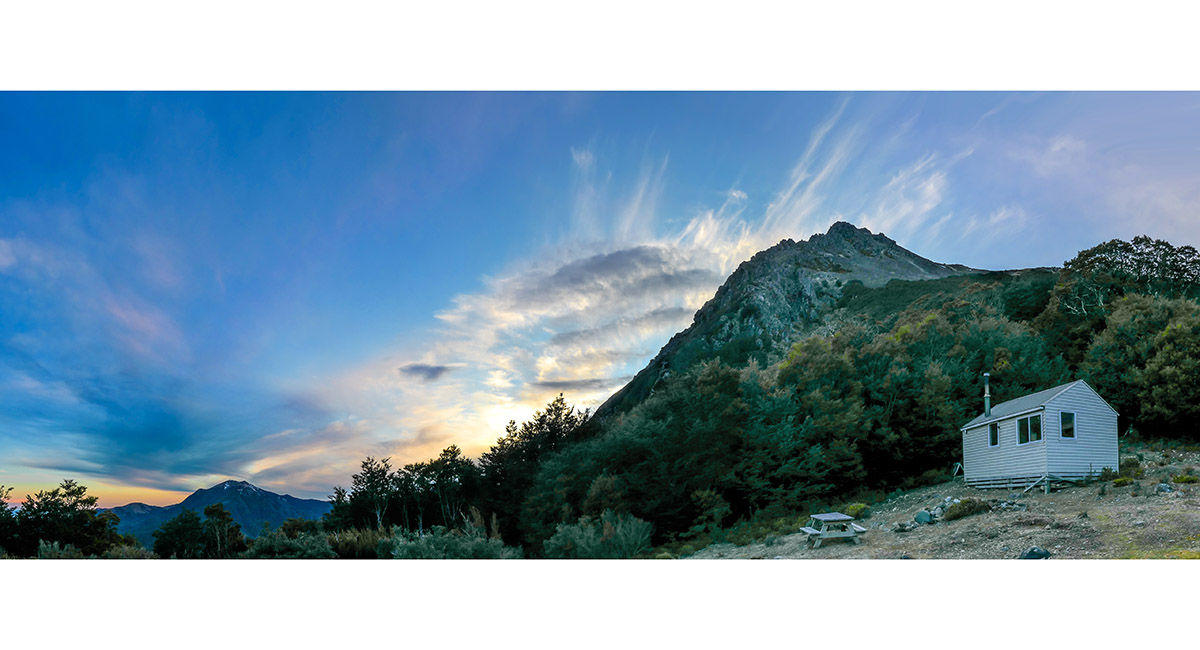
A typical backcountry hut scene at Slaty Hut (1,390m)

Departing Slaty Hut, early morning

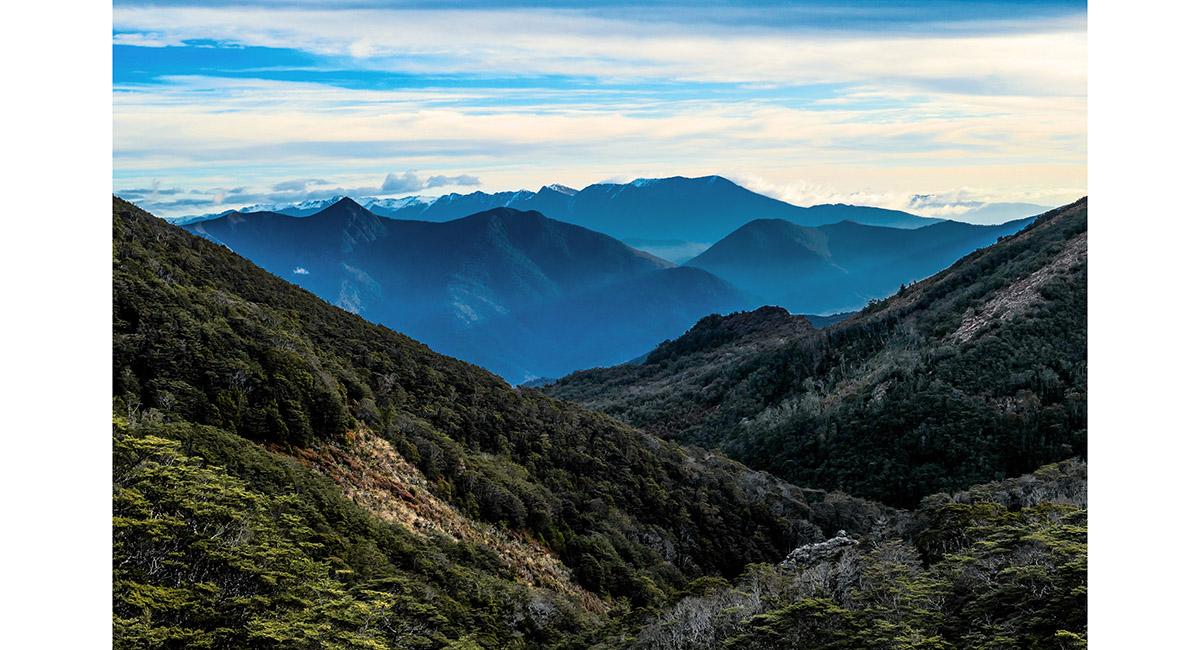
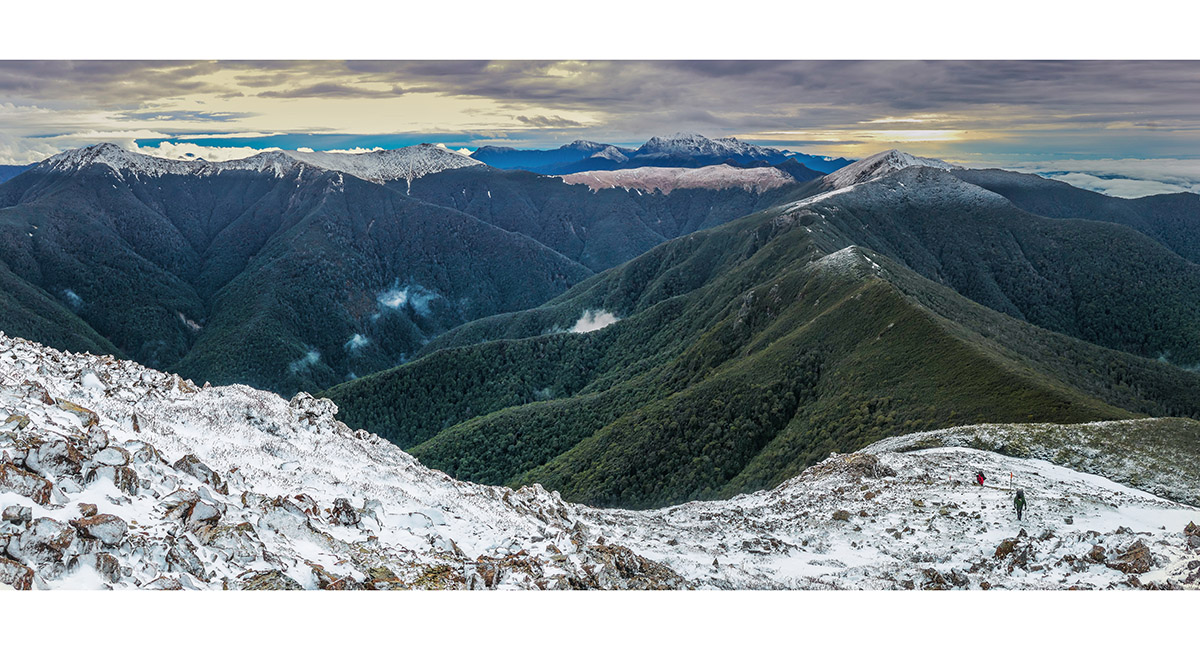
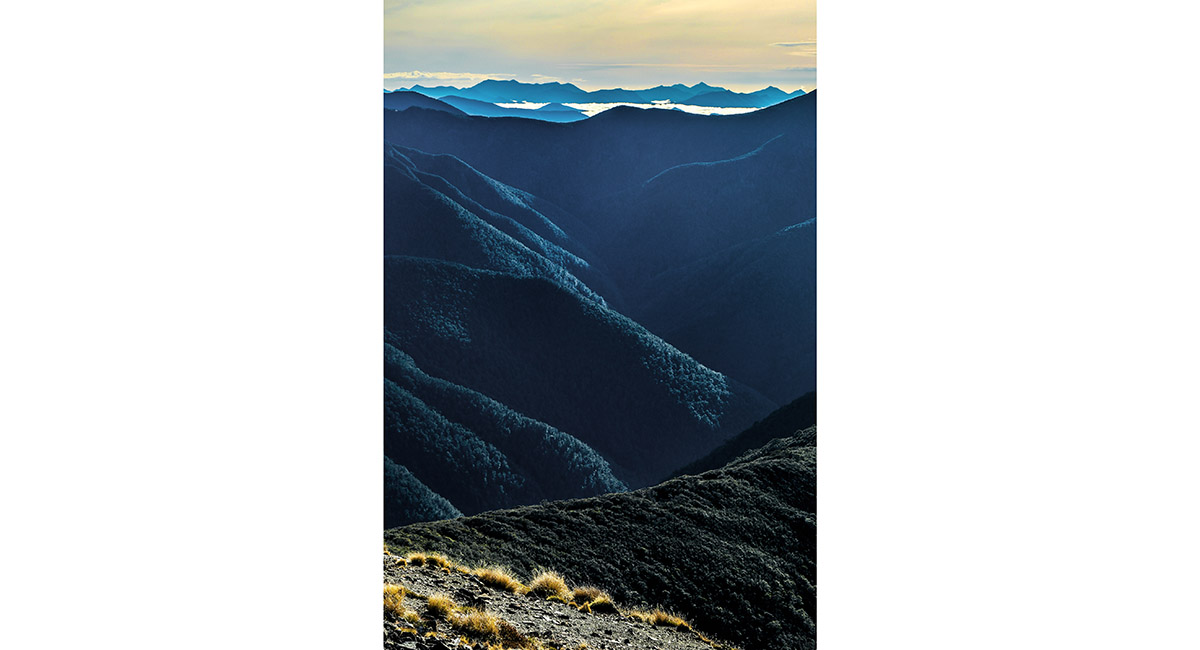
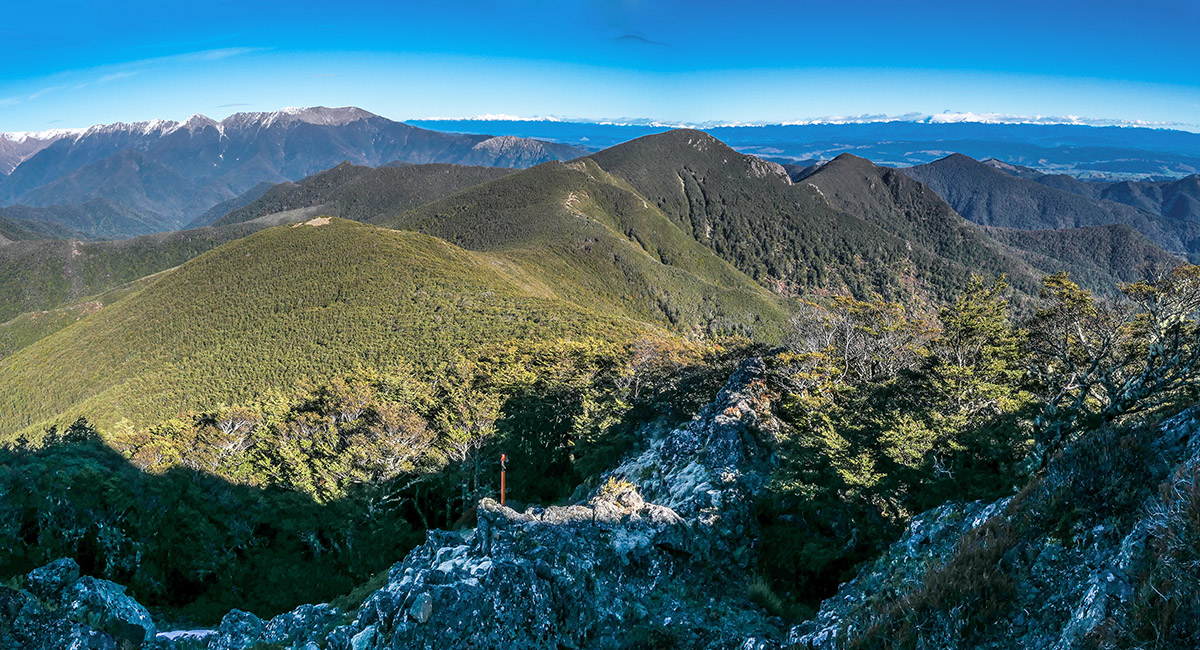
Looking northeast, back along the Richmond Range, from above Slaty Hut

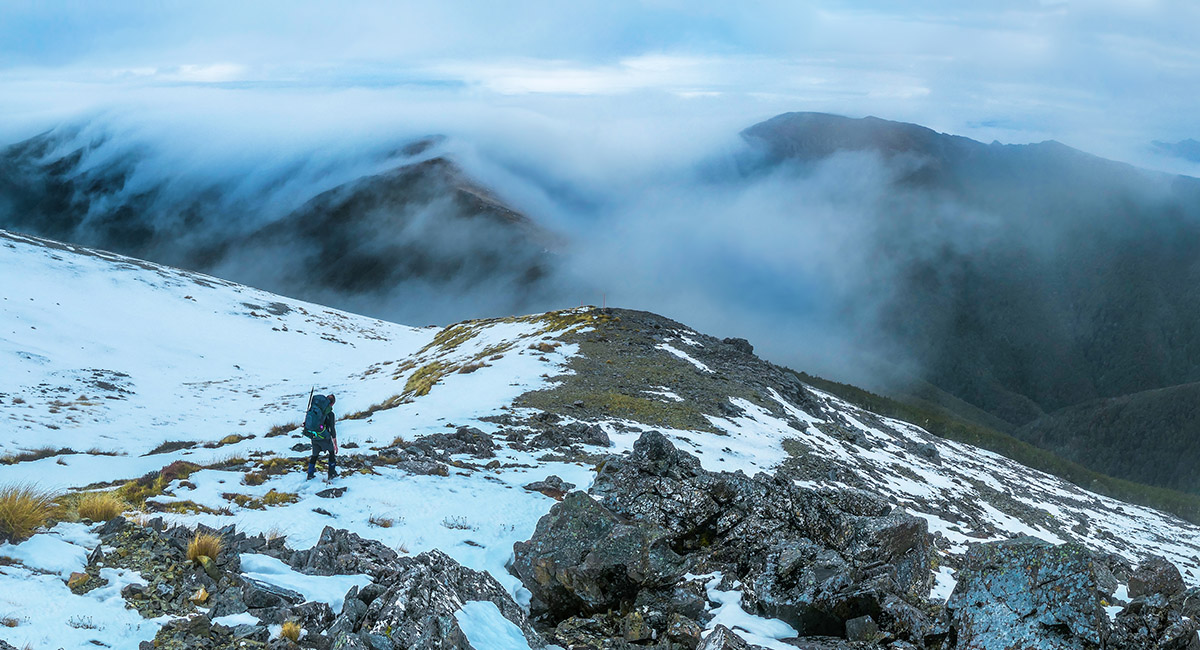
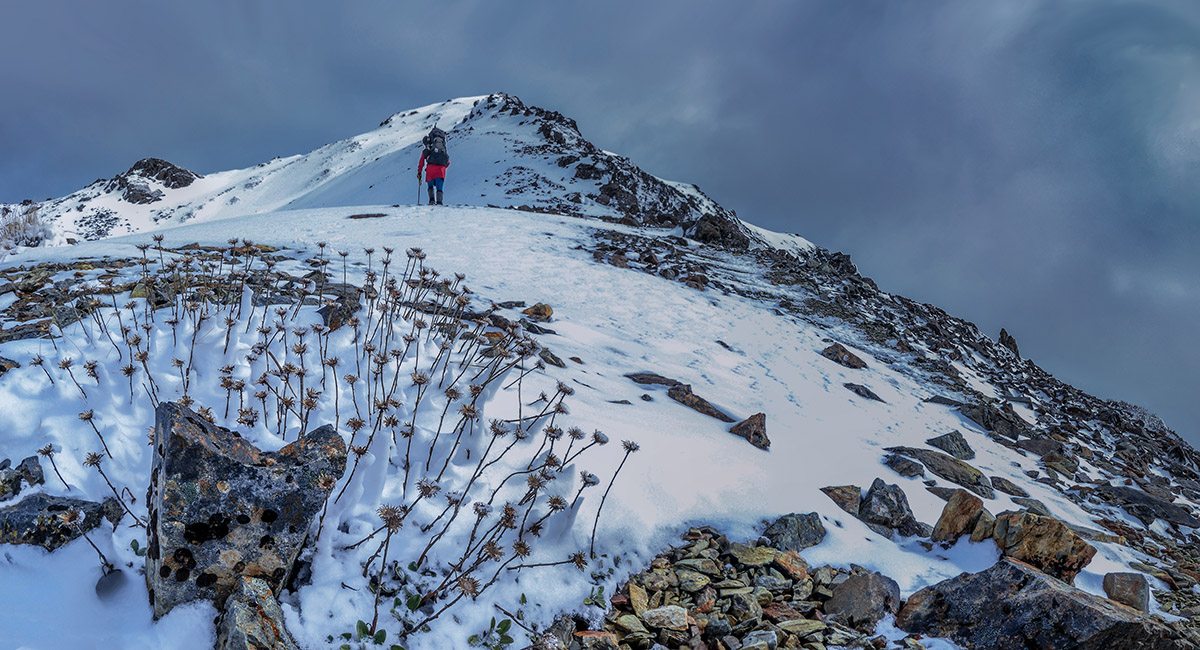
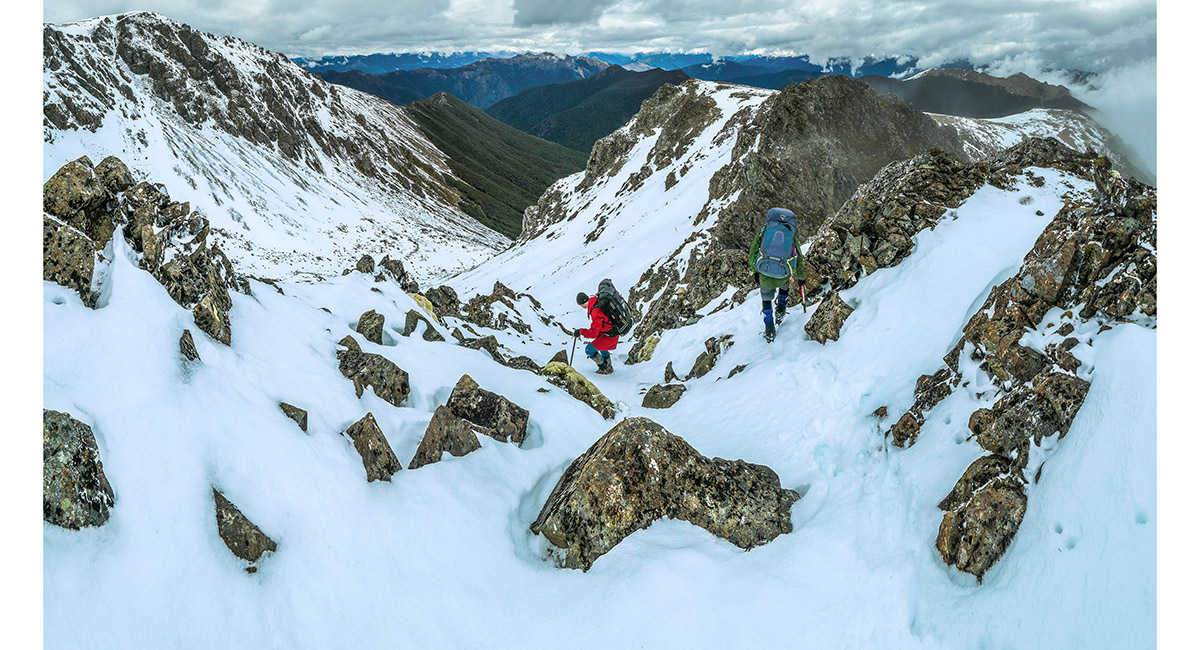
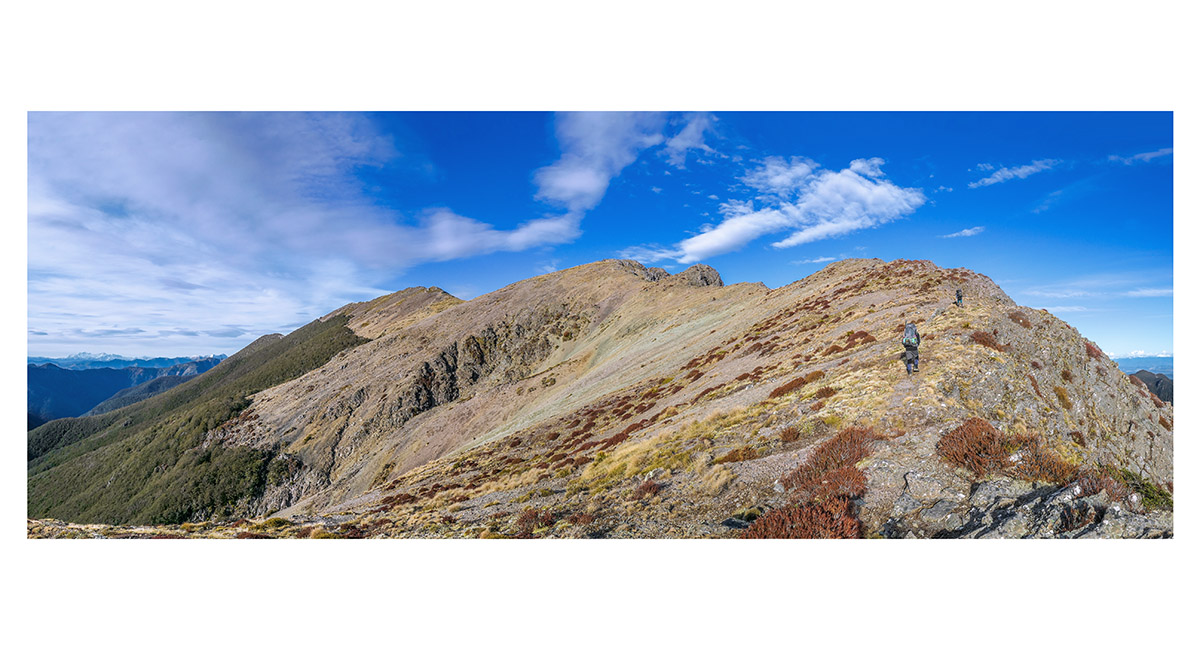
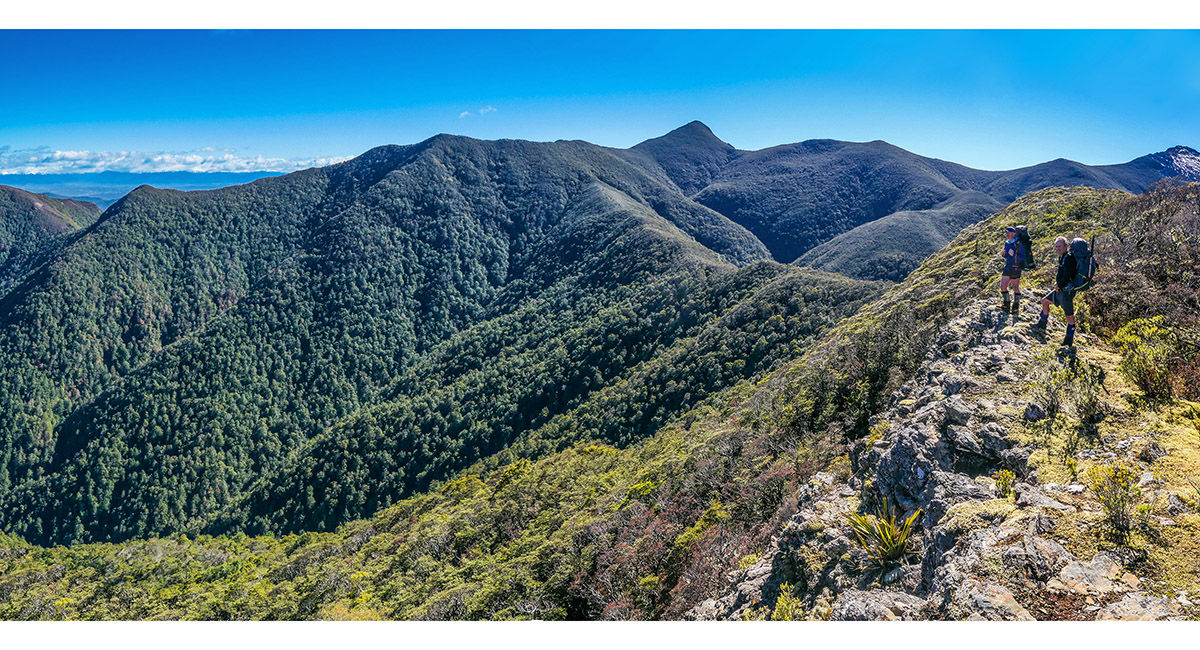
Heading south at about 1,500m, en route to Old Man (1,514m)

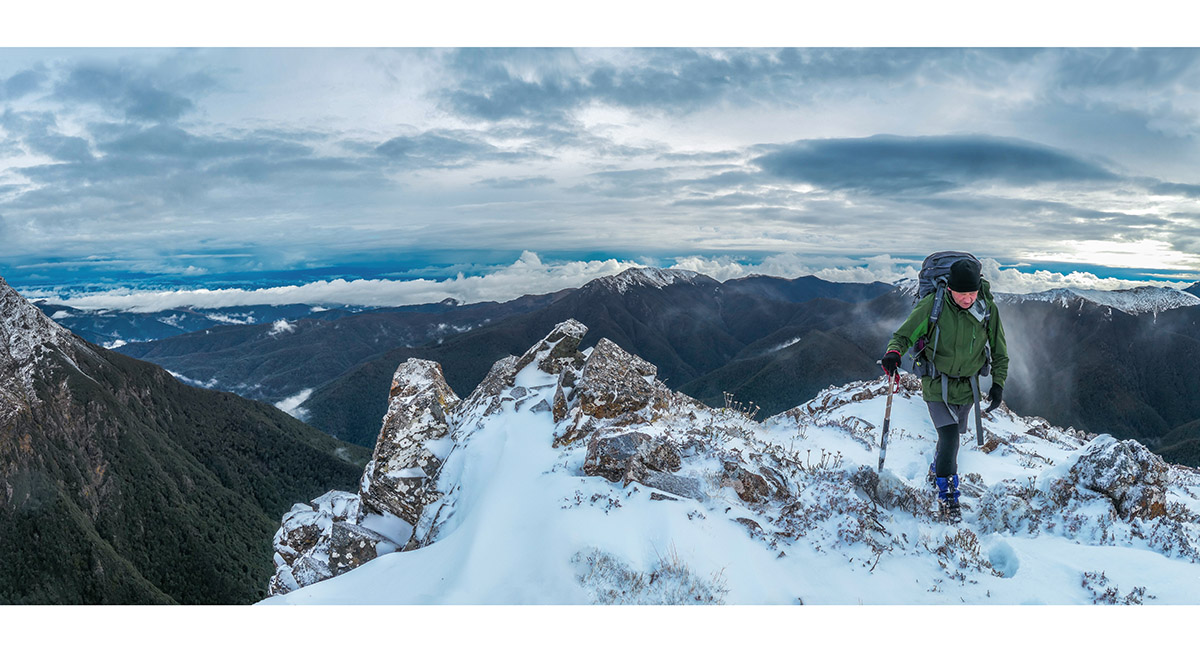
Ridge top travel between Slaty Peak and Old Man

Ridge top travel between Slaty Peak and Old Man


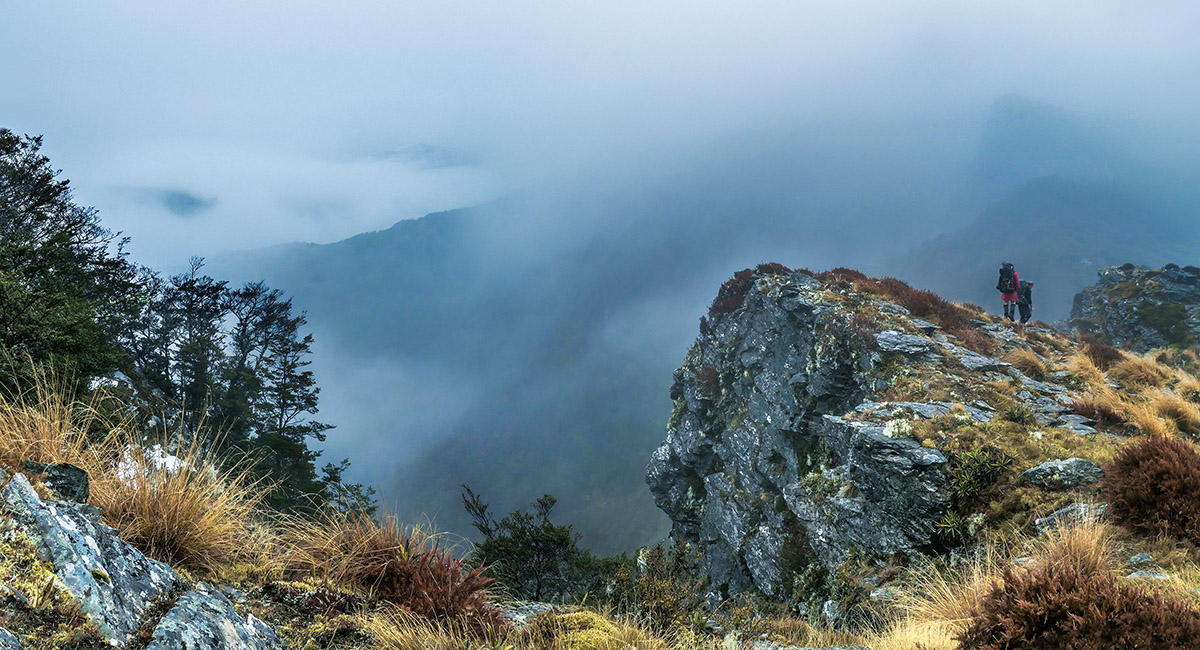
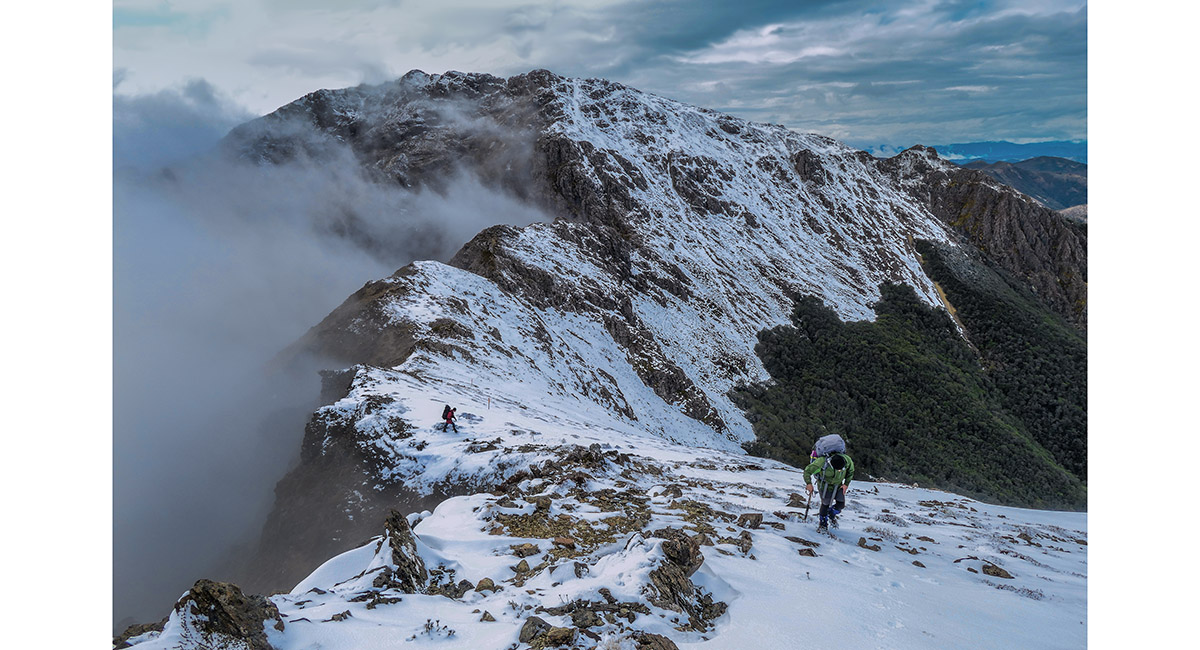
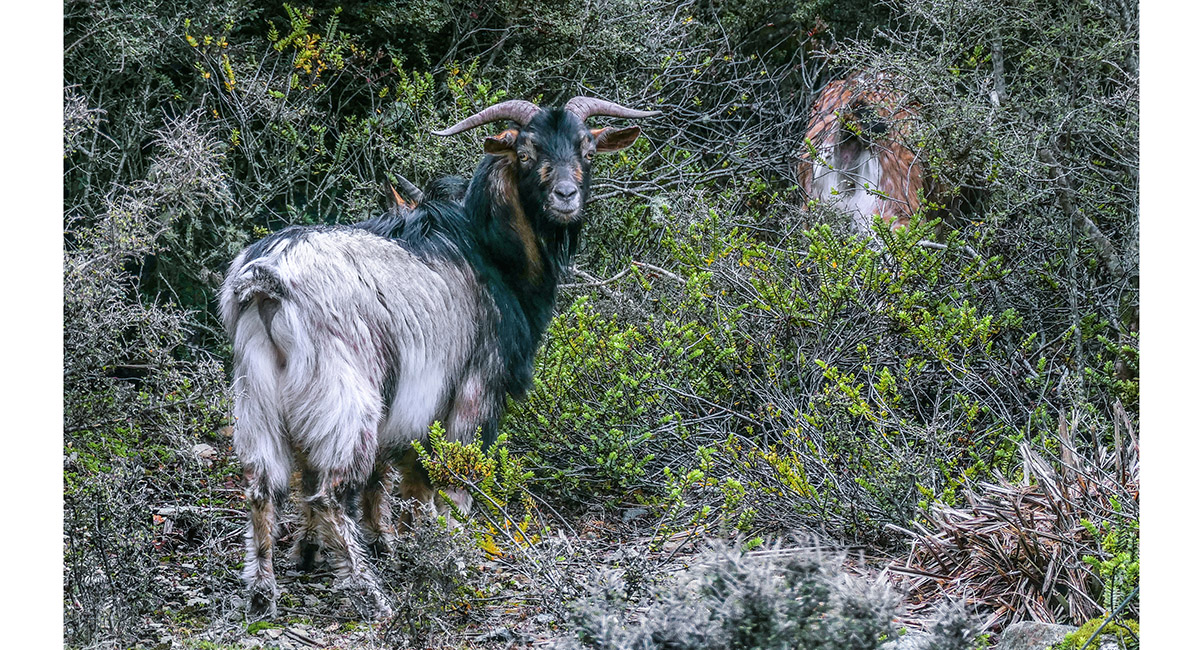
A local family emerges from the mist near Old Man

Arriving at Old Man Hut (1,100m)

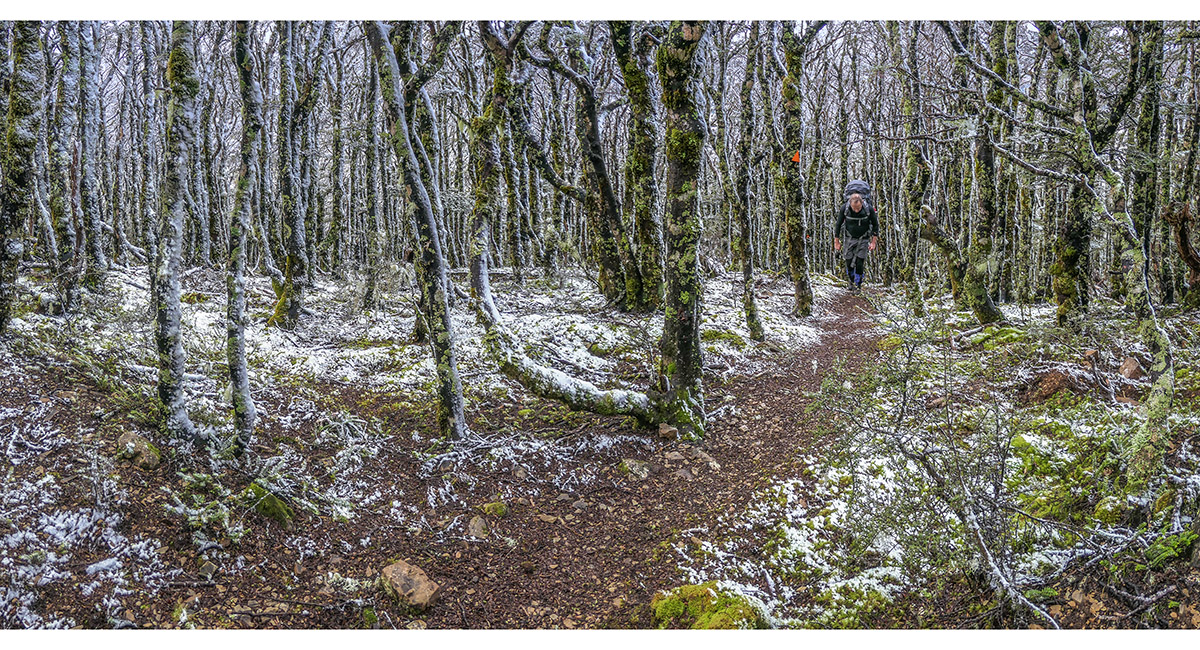
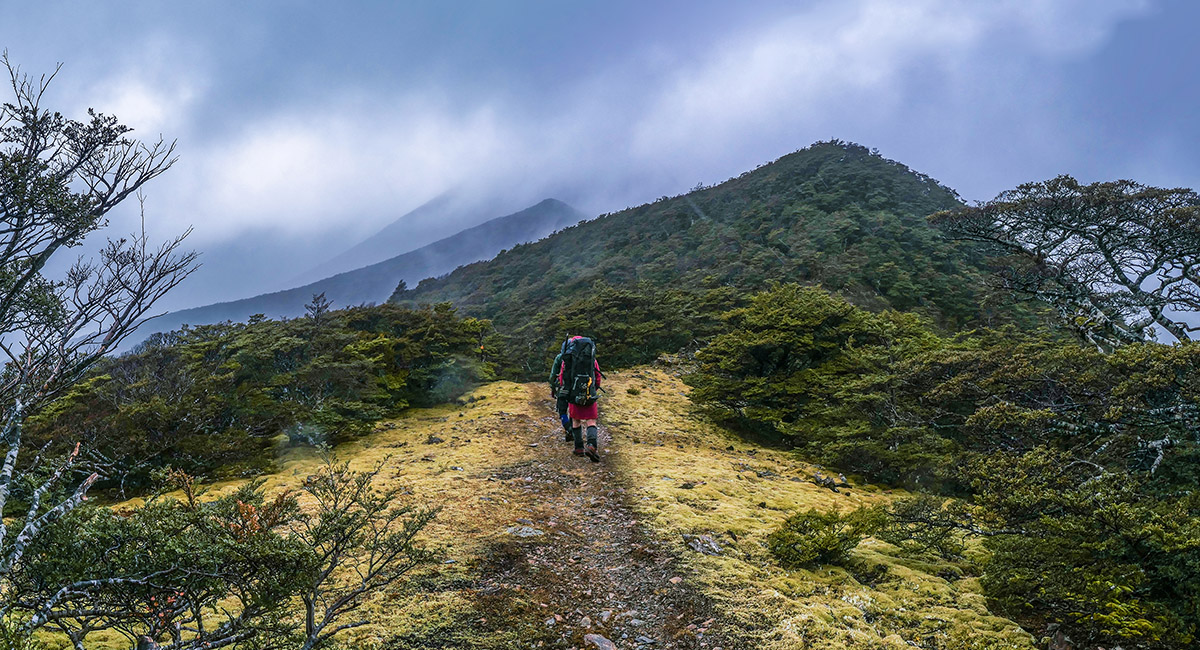
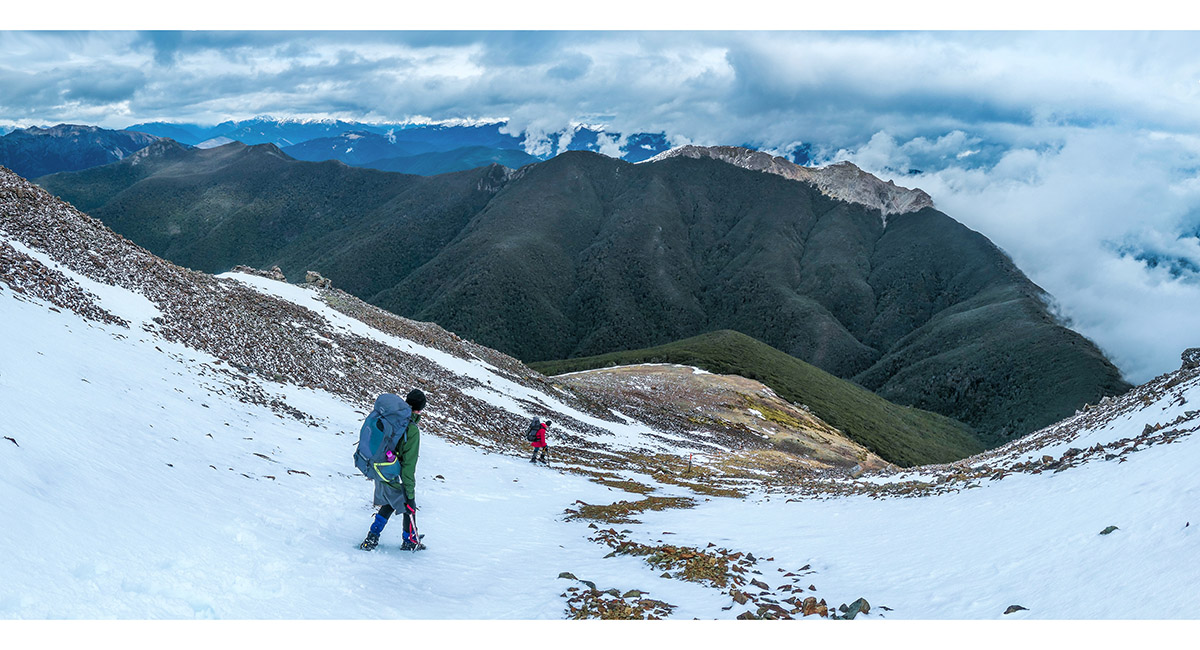
Nearing the treeline at about 1,400m on the east side of Little Rintoul

Old Man Hut, about 400 metres below, on the east side of Little Rintoul

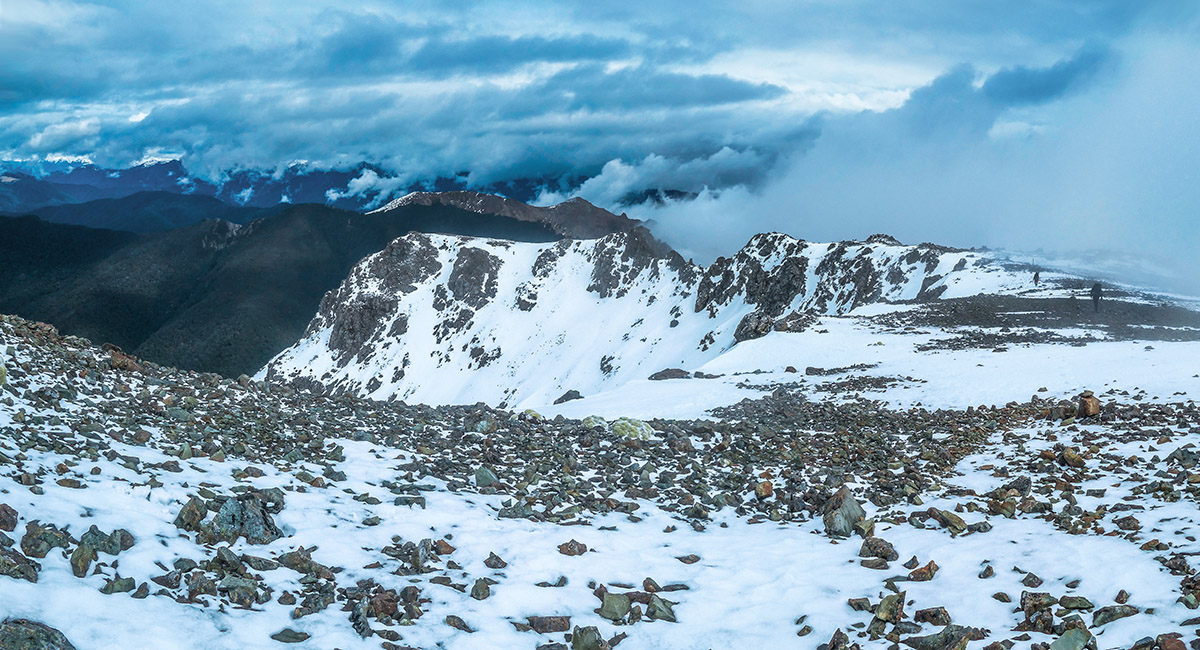
Pinnacle and Raglan Range, viewed from about 1,500m on Little Rintoul

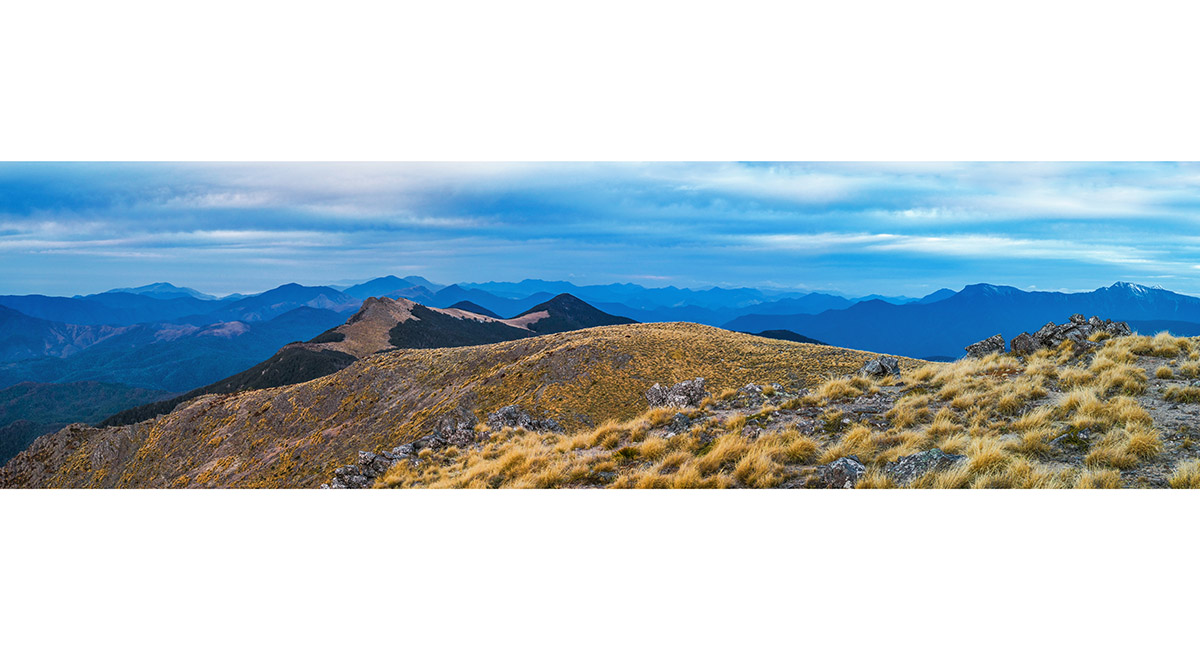
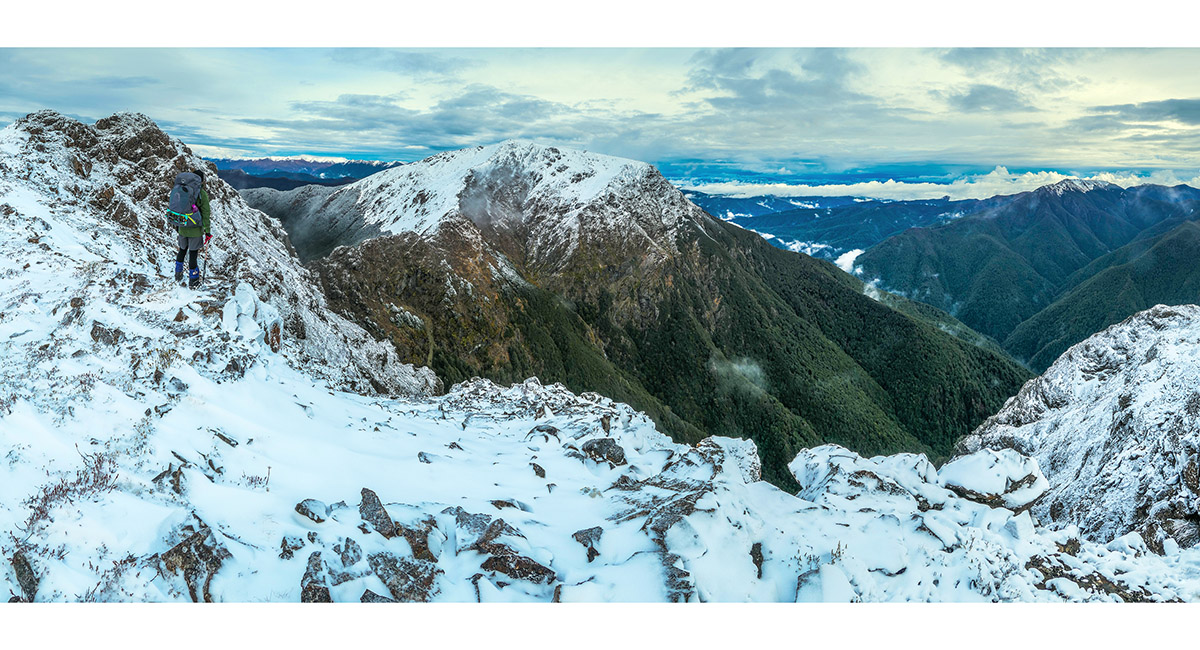
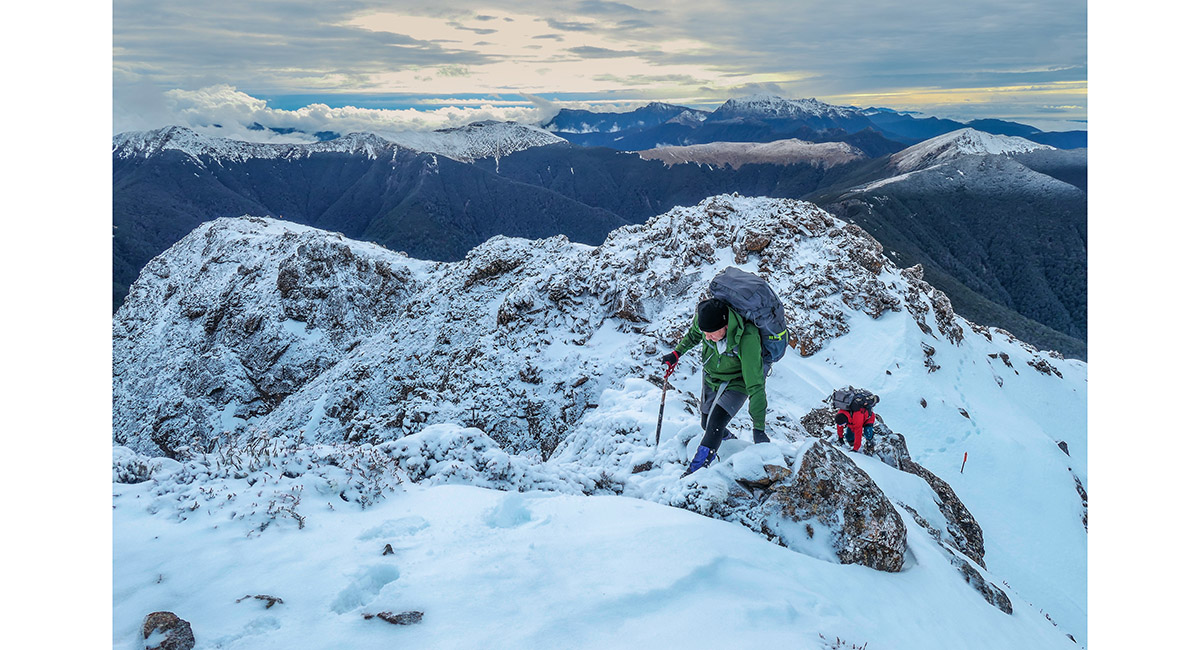
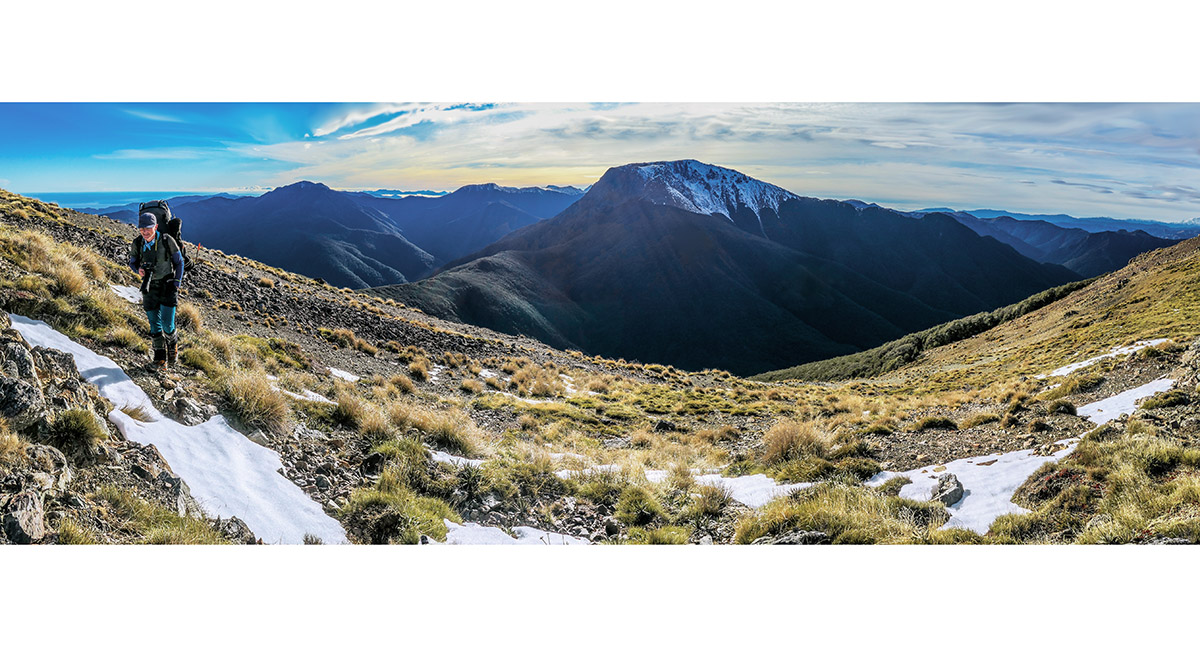
Looking back northeast from about 1,600m on Little Rintoul to Old Man (1,514m - right), Ada Flat and Slaty Peak (1,544m - left of centre). Mt Richmond (1,760m) and Johnston Peak (1,647m) are the snowclad peaks in the far distance (right of centre)

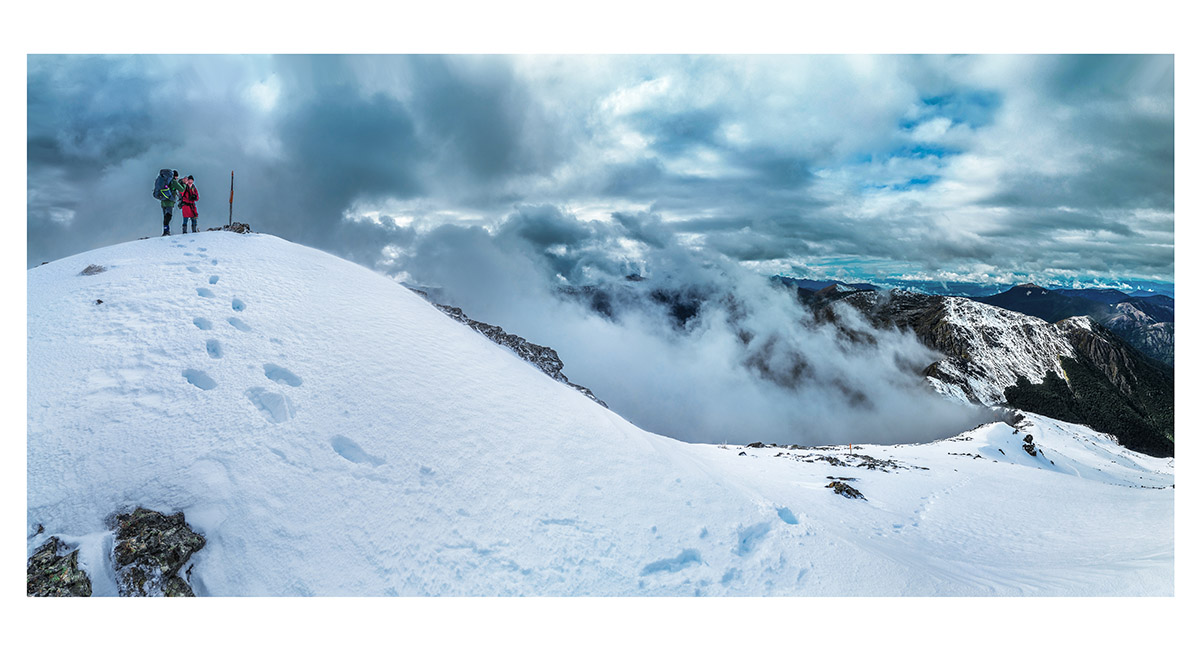
Near the top of Little Rintoul, looking north

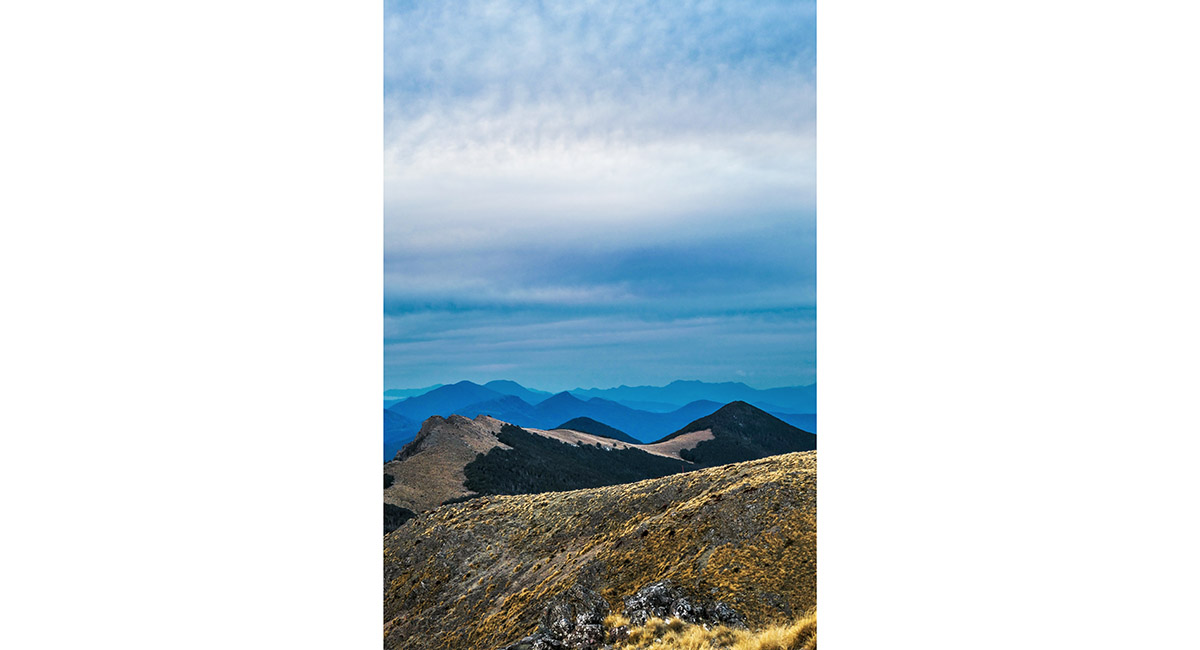
The top of Little Rintoul (1,643m) is far left. The dip between it and Mt Rintoul is about 300 metres lower. The summit of Mt Rintoul is 1,731m, at centre

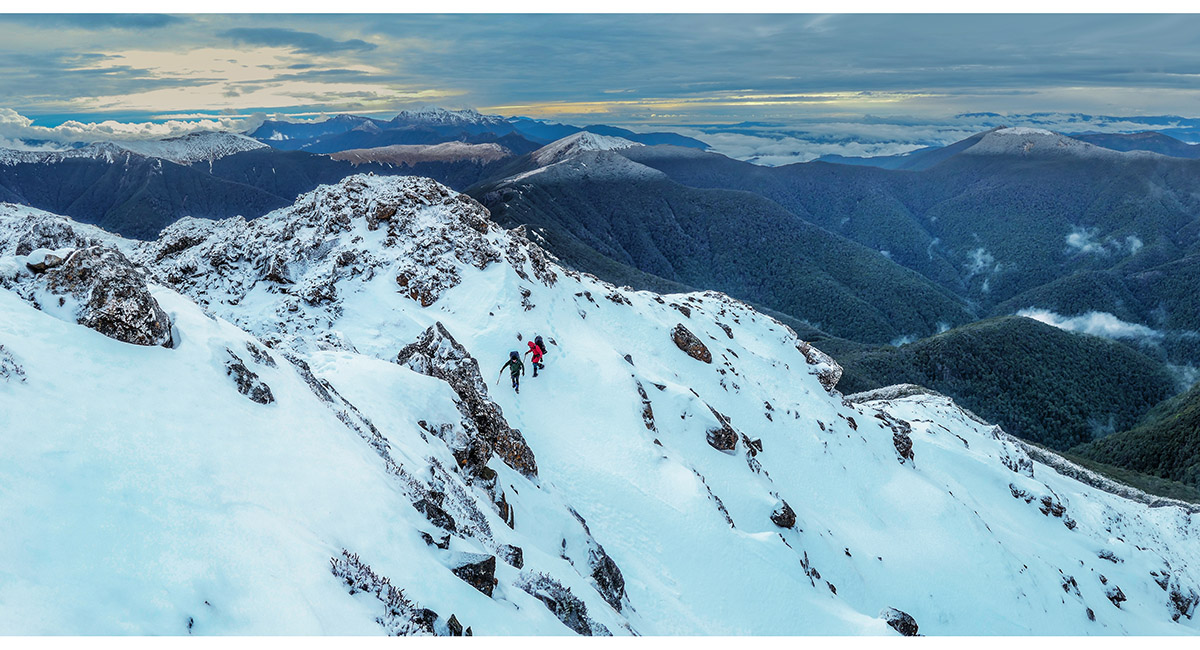
There was a bit more to Little Rintoul than we first expected. This view from the true top looks northeast to a steep and exposed little notch that could be deemed the crux of the Mt Rintoul route. Mt Richmond and Johnston Peak are the highest points on the distant skyline

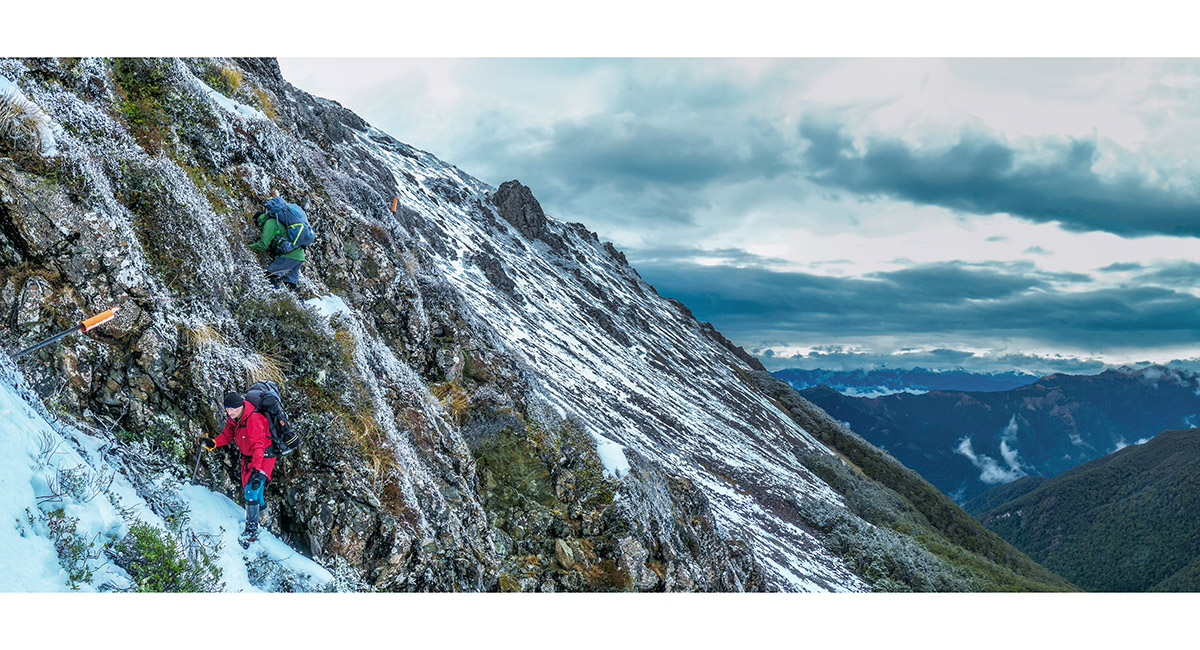
Robbie and Shaun clearing the little notch


Commencing the 300 metre drop to the dip between Little and Mt Rintoul

Descending the 300 metre drop to the dip between Little and Mt Rintoul

In slippery conditions even the trail got a bit gnarly in spots

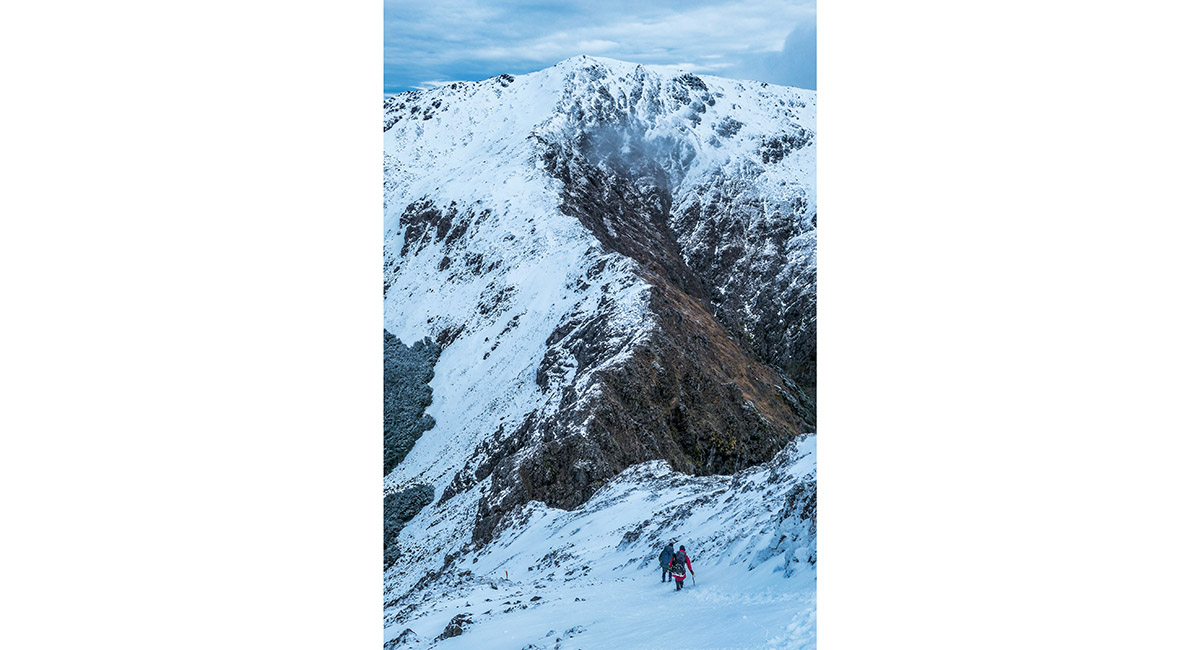
At about 1,550m, looking back to Little Rintoul, from above the dip on the east side of Mt Rintoul

Heading to the summit of Mt Rintoul, with about 100 metres to go

High fives at 1,731m, on top of Mt Rintoul. Little Rintoul now does look little, down to the right

Heading west across the broad flat summit ridge of Mt Rintoul, en route to Rintoul Hut

The summit ridge of Mt Rintoul forms a crescent. Here the main summit is left as we dropped off the ridge on a fairly steep descent of over 400 metres to the hut

Here at about 1,500m, with Purple Top (1,532m) dead ahead

More locals, vacating the toilet area on our arrival at Rintoul Hut

Rintoul Hut (1,250m), with the west end of Mt Rintoul above, at dawn

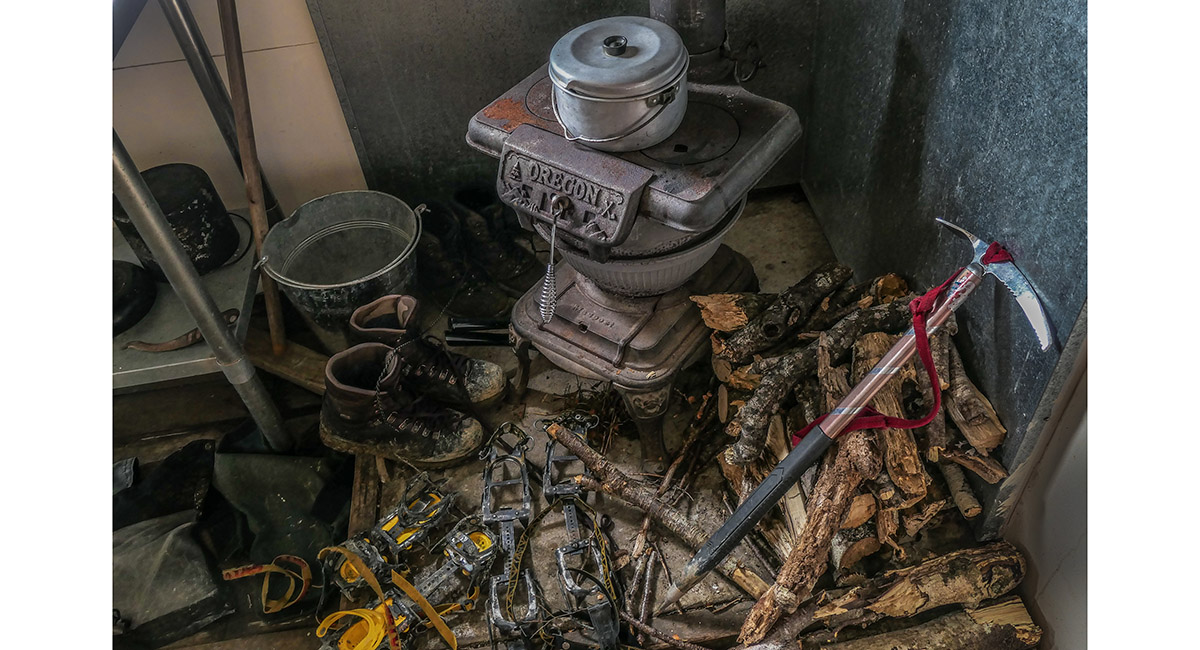
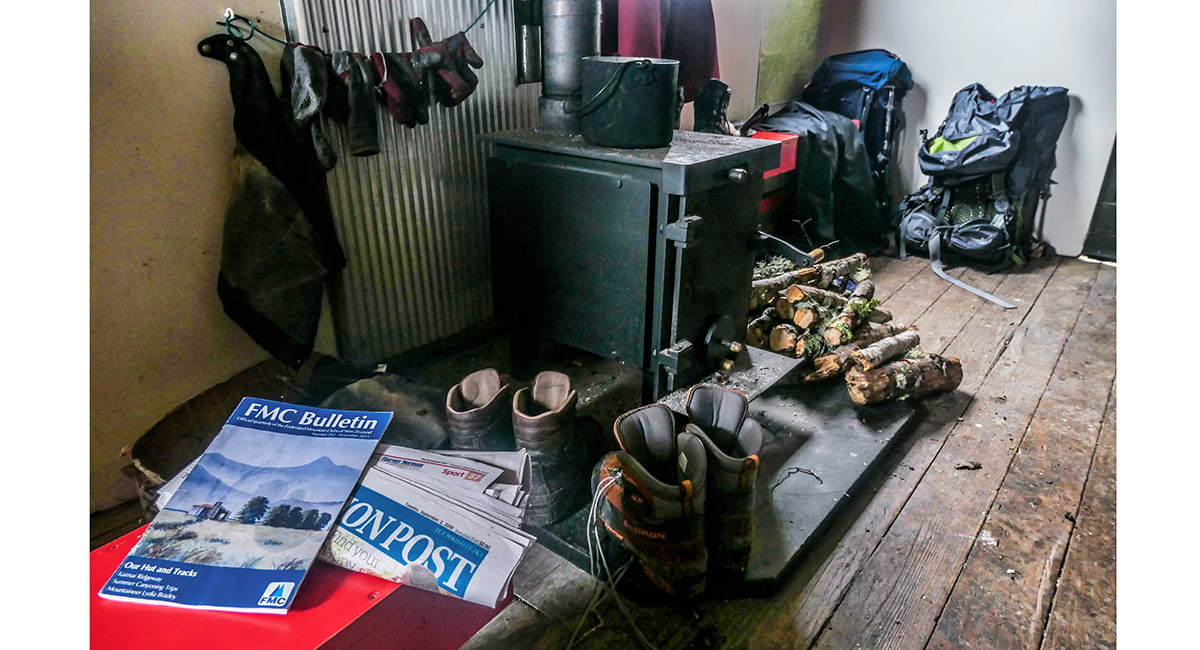
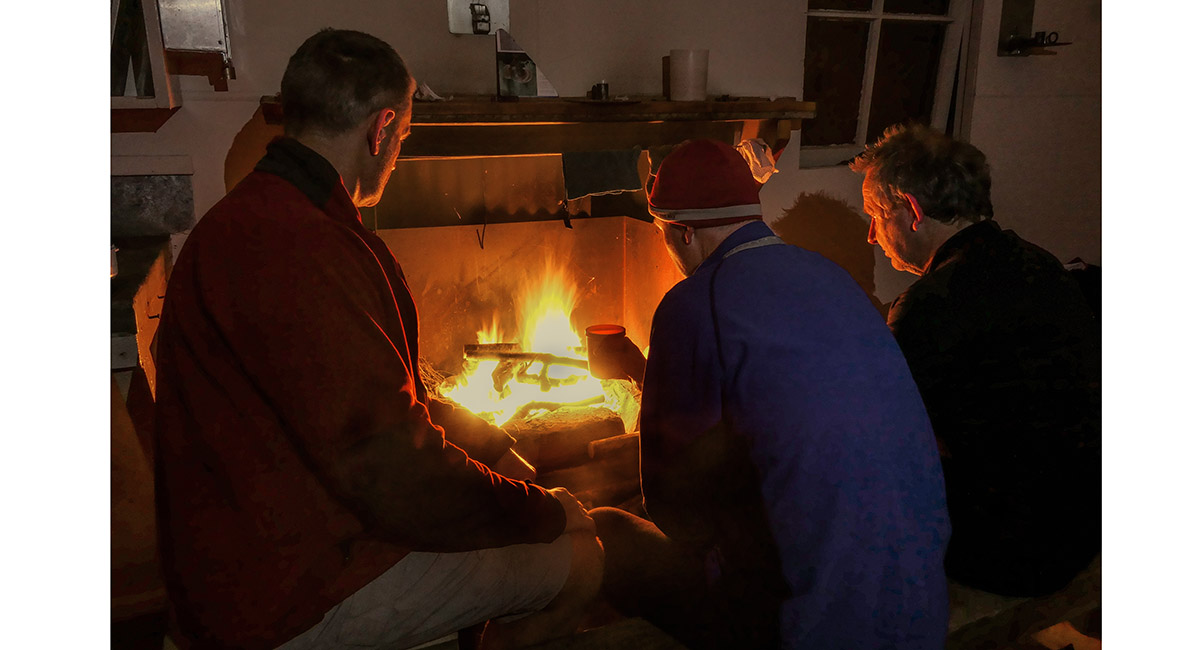
A source of much evening pleasure inside Rintoul Hut

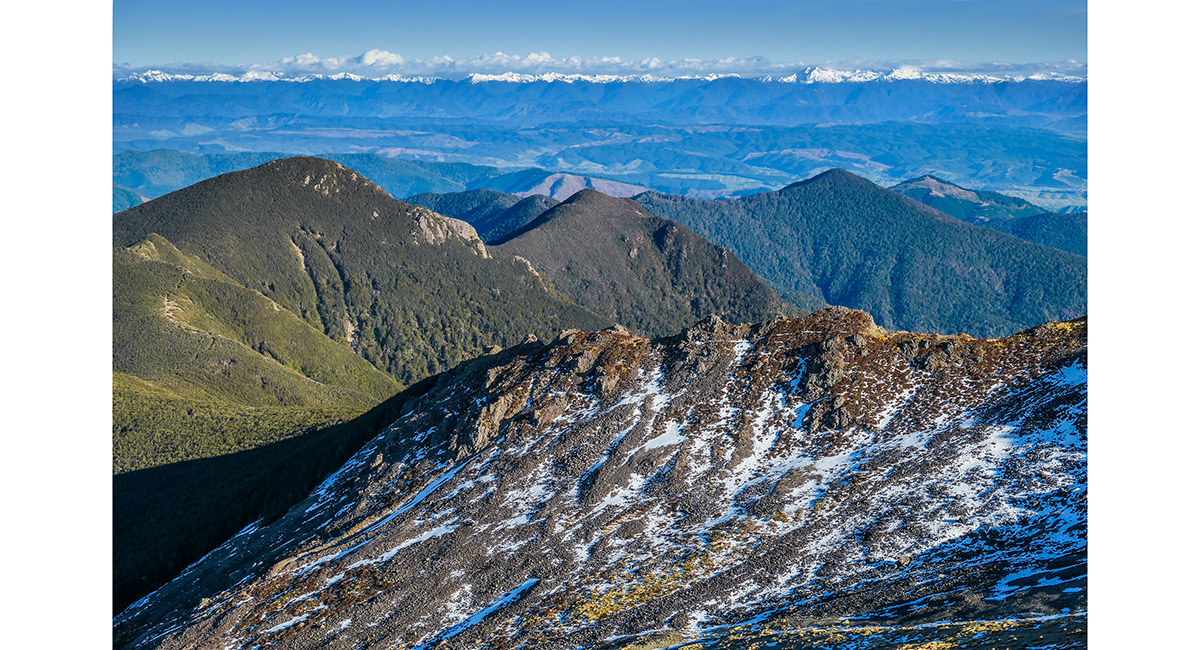
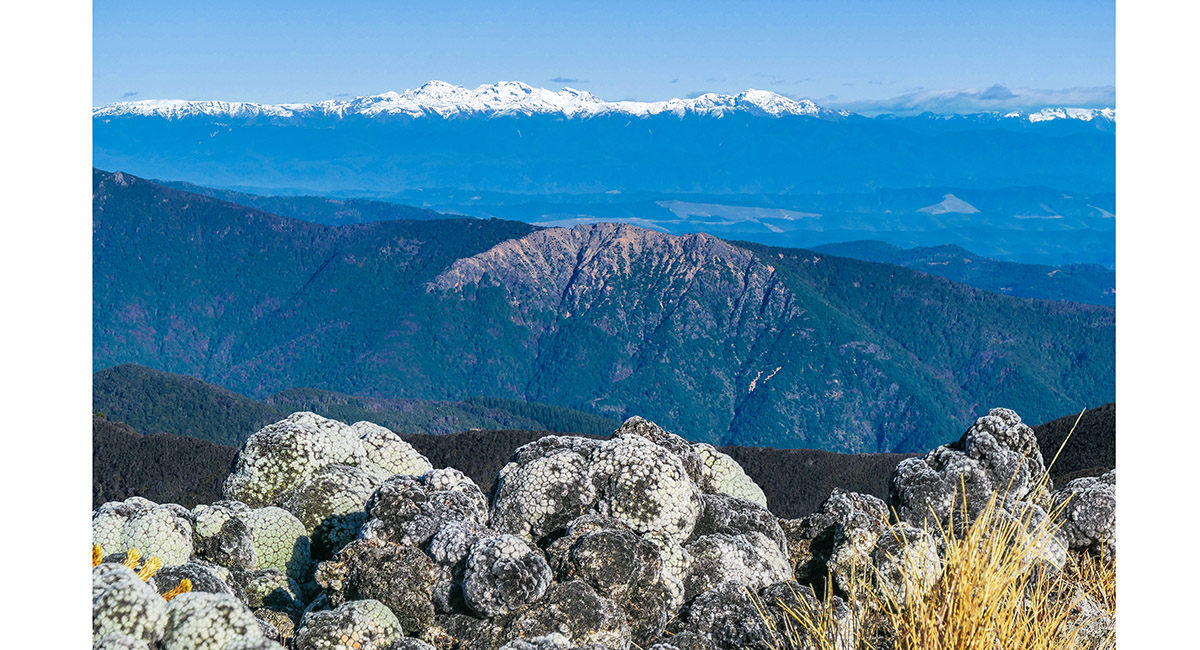
The Arthur Range, viewed from about 1,500m, near Purple Top

The view northwest to the Arthur Range, from about 1,500m on the ridge below Purple Top - the Twins left and Mt Arthur right

Looking further west to Mt Owen, from beneath Purple Top

Heading southwest to Purple Top (1,532m - centre). The further high point (1,562m) to the left is beyond the saddle leading from Purple Top to Bishops Cap. It offers even better panoramas than Purple Top. On the far left horizon lies Tapuae-o-Uenuku

The view from Purple Top (1,532m), back northeast to our route encompassing Mt Rintoul (1,731m - centre), then Slaty Peak and Mt Starveall, out to the left

Peaks beyond the dip between Slaty Peak and Mt Starveall

A view from the 1,562m high point beyond Purple Top, looking west over Bishops Cap (1,425m), to the Arthur Range

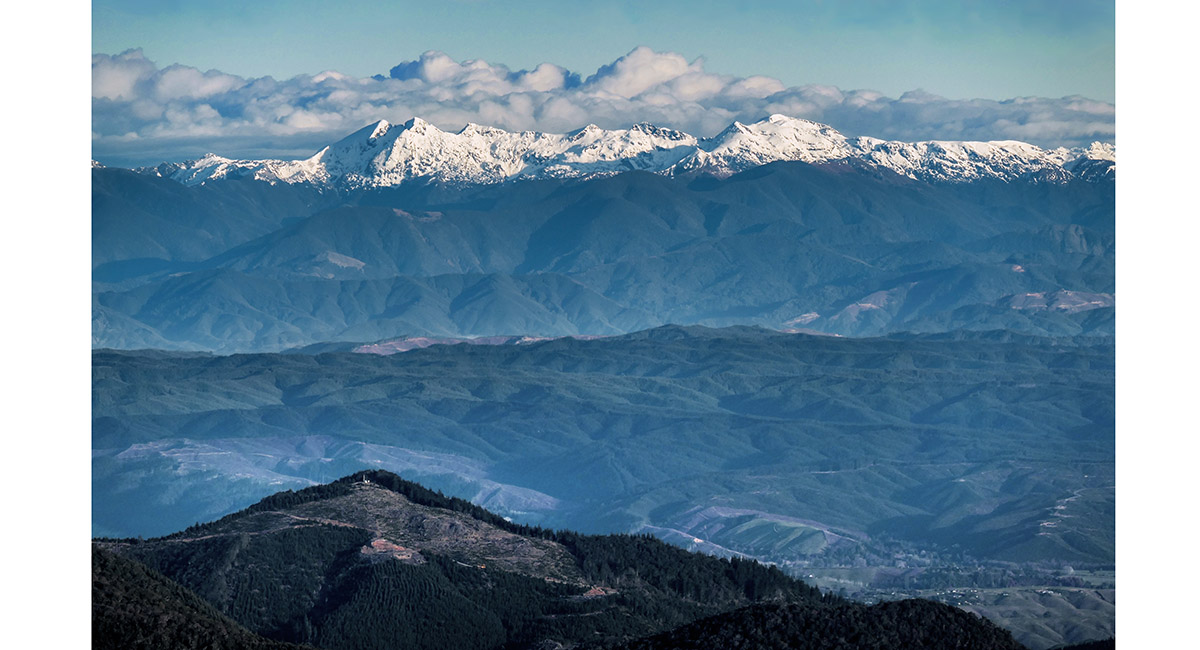
The view east to Tapuae-o-Uenuku (2,885m - left of centre) and Alarm (2,877m - right of centre)

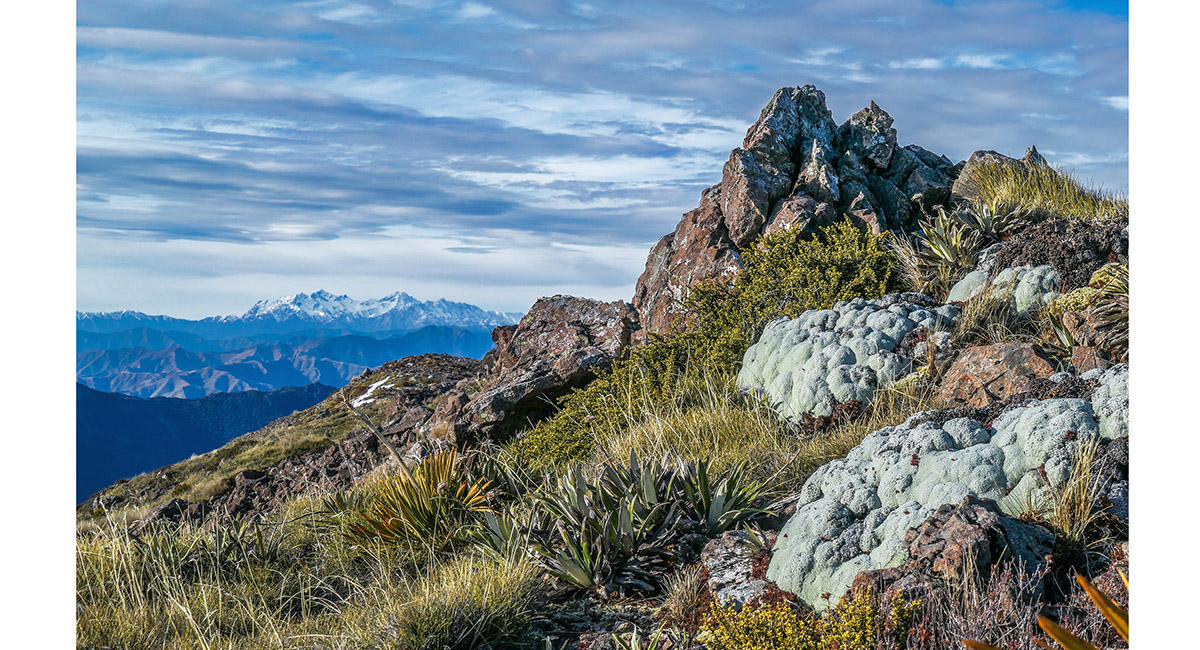
Nice examples of vegetable sheep, with Tapuae-o-Uenuku and Alarm in the background

Vegetable sheep and the Arthur Range

Farewell to the open tops for this trip. The treeline is above 1,400m in the Richmond Range. Here, looking to Bishops Cap centre and the Arthur Range behind

Looking northeast from a clearing at about 1,300m on the ridge above Tarn Hut. Bishops Cap is right of centre and Purple Top far right

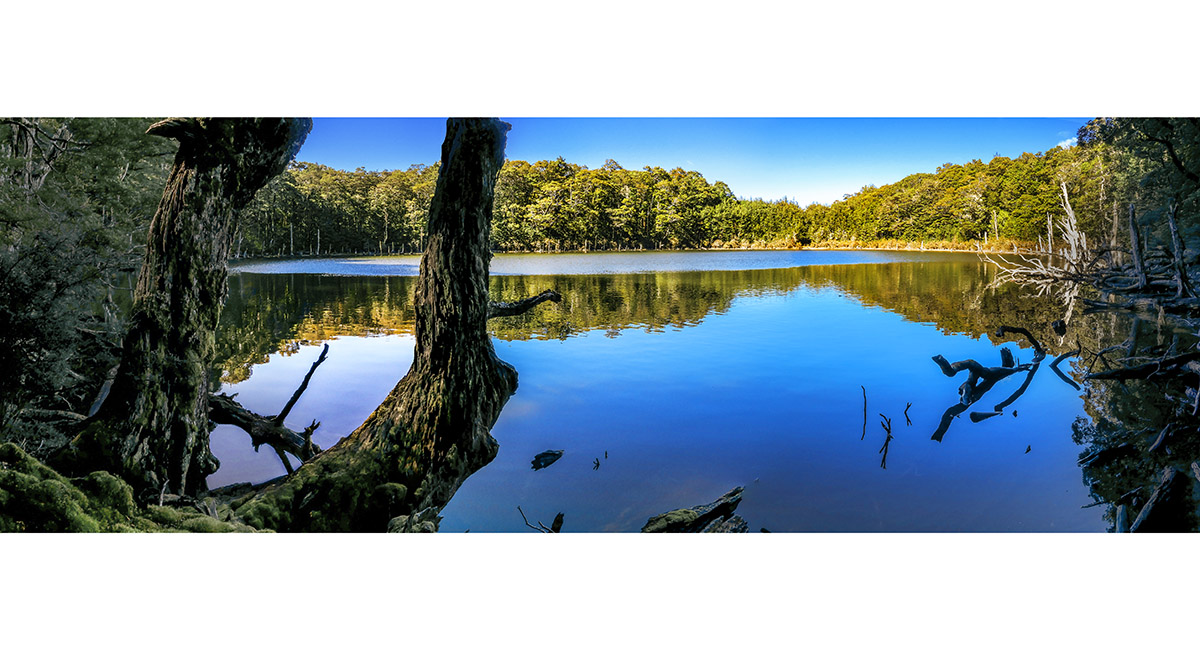
The un-named tarn at 1,060m, where Tarn Hut resides, just beyond the trees on the far side

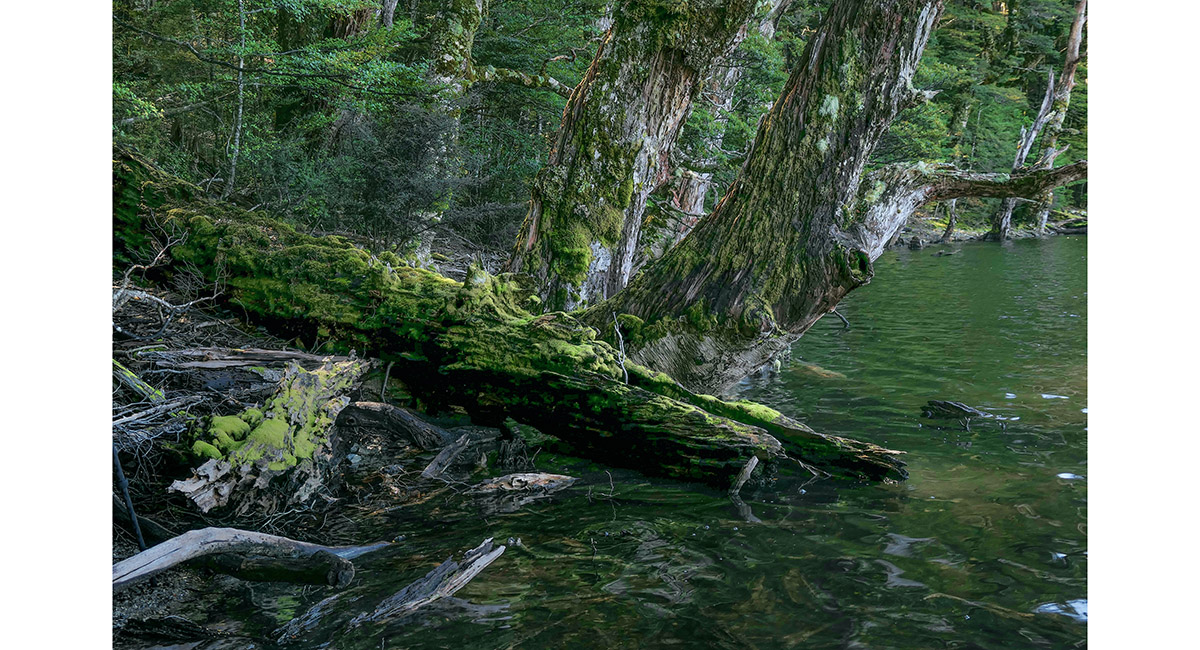
Old moss-covered trees beside the un-named tarn

Robbie taking a breather at Tarn Hut (1,060m)


The Wairoa River, near where it branches left and right, just below the bench where Mid Wairoa Hut sits

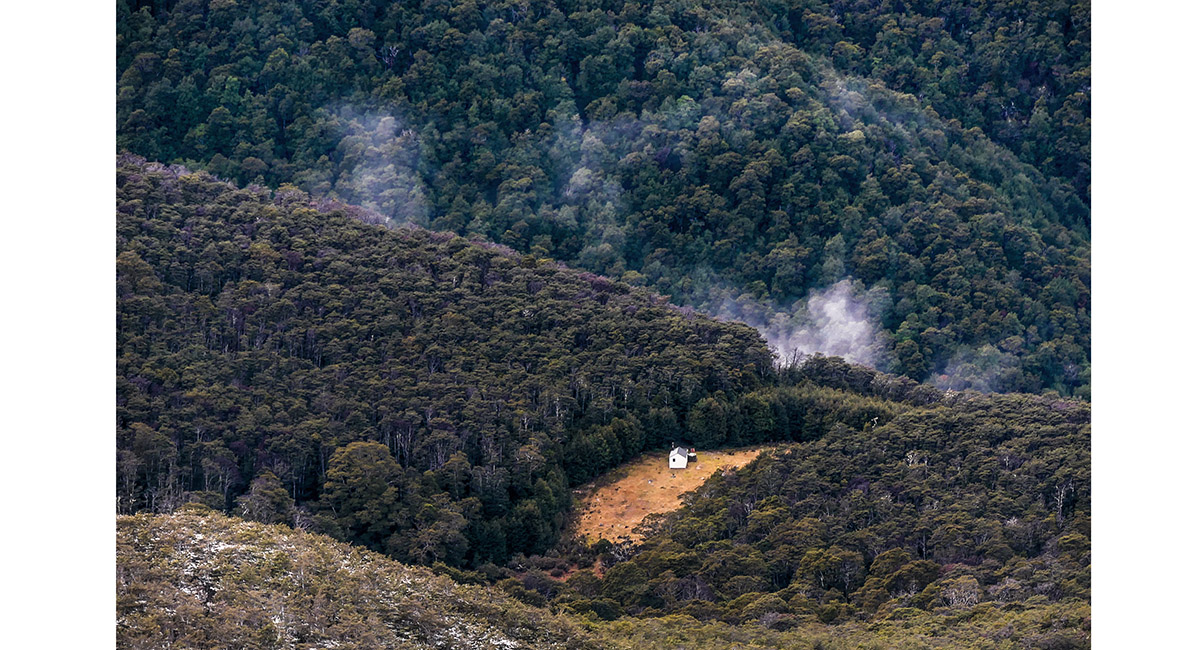
Mid Wairoa Hut (380m), on a cleared bench above the Wairoa River

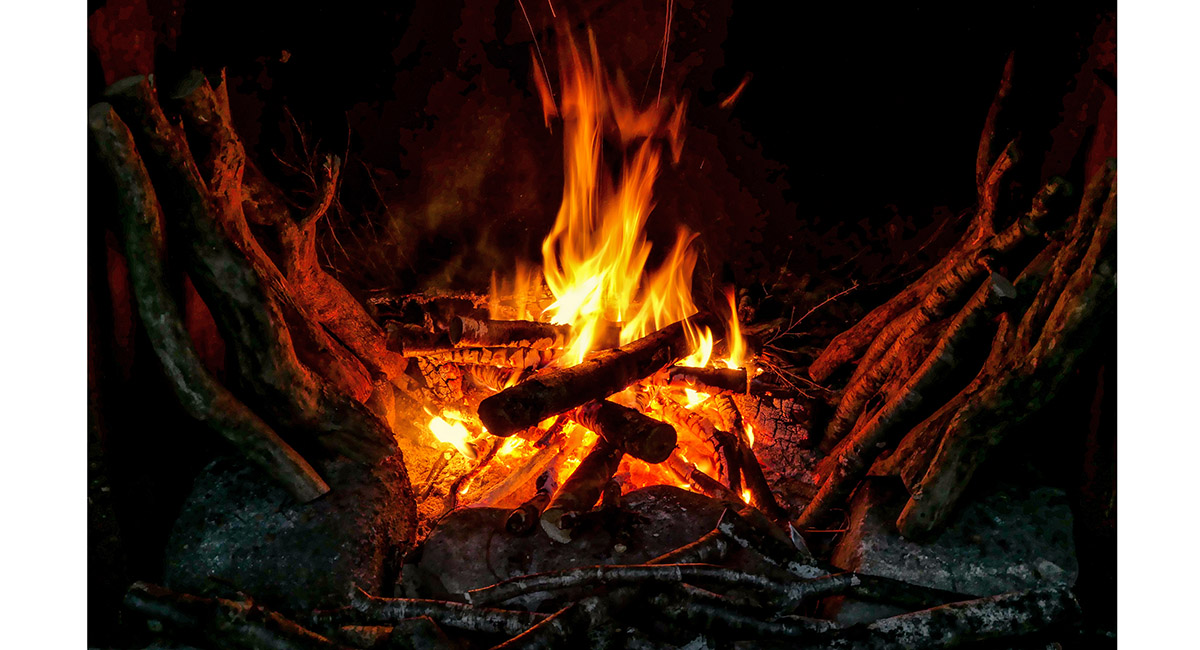
One of the pleasures of tramping in New Zealand's backcountry, inside Mid Wairoa Hut

Hut life inside Mid Wairoa Hut. During our 6 days tramping, we enjoyed exclusive occupancy in 5 different huts - not such a common thing, now that this route has become part of the Te Araroa Trail


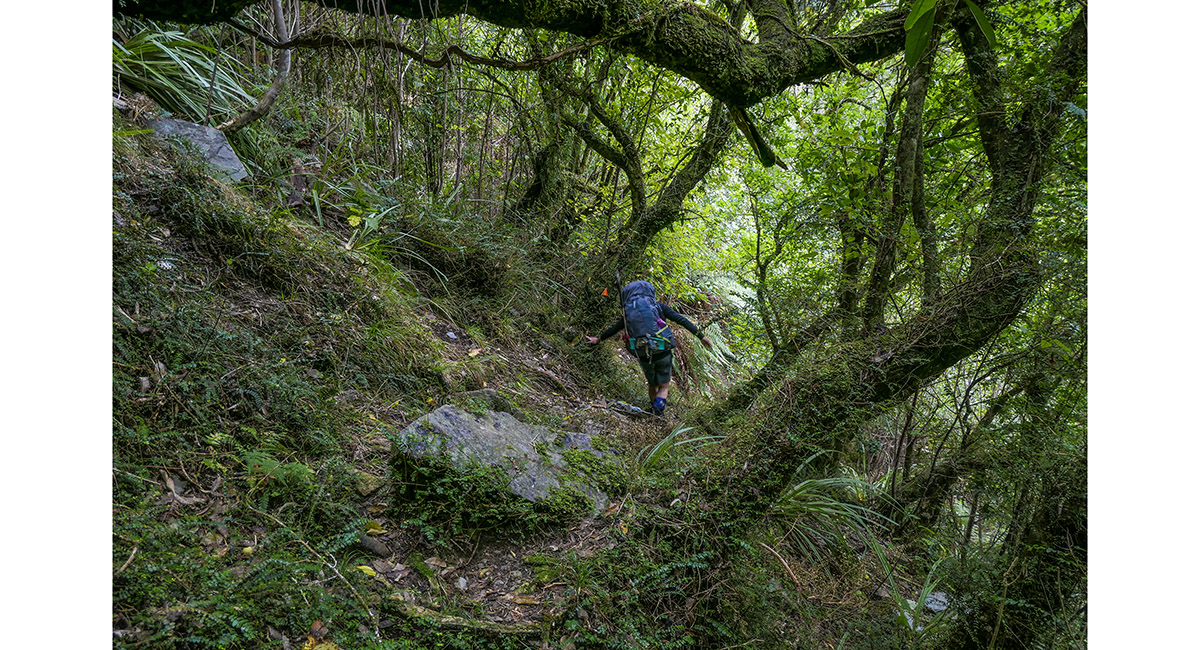
The route out from Mid Wairoa Hut follows the Wairoa River. The first three hours are rugged, with many steep ups and downs on narrow, rooted trails

Beside the Wairoa River, about an hour north of Mid Wairoa Hut

Beside the Wairoa River, about 2 hours north of Mid Wairoa Hut

Beside the Wairoa River, now broadening out for easier travel

Easier travel - at least most of the time

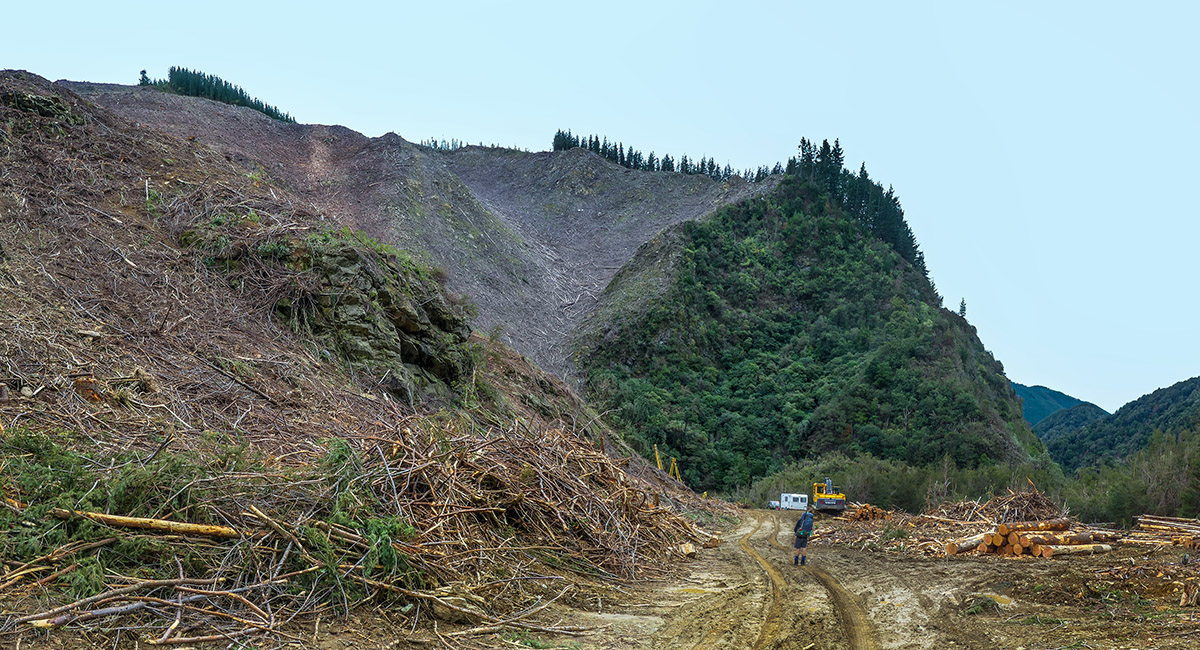
What happens to forests when logging comes to town - here, near the roadend, outside the Forest Park boundary

Read about it The sweet spot Vertigo Oct 2019
To order a print or web resolution file of any image you see in this slide show, just right click the image, click “Copy Image URL” and paste in to the “Your message” box of our Contact Us form. Please also note, for each image, if you want a print or web resolution file. We will get back to you as soon as possible to confirm price and payment details.
Open Contact Us in a new window to paste Image URL(s) easily