Lewis Tops, February 2019
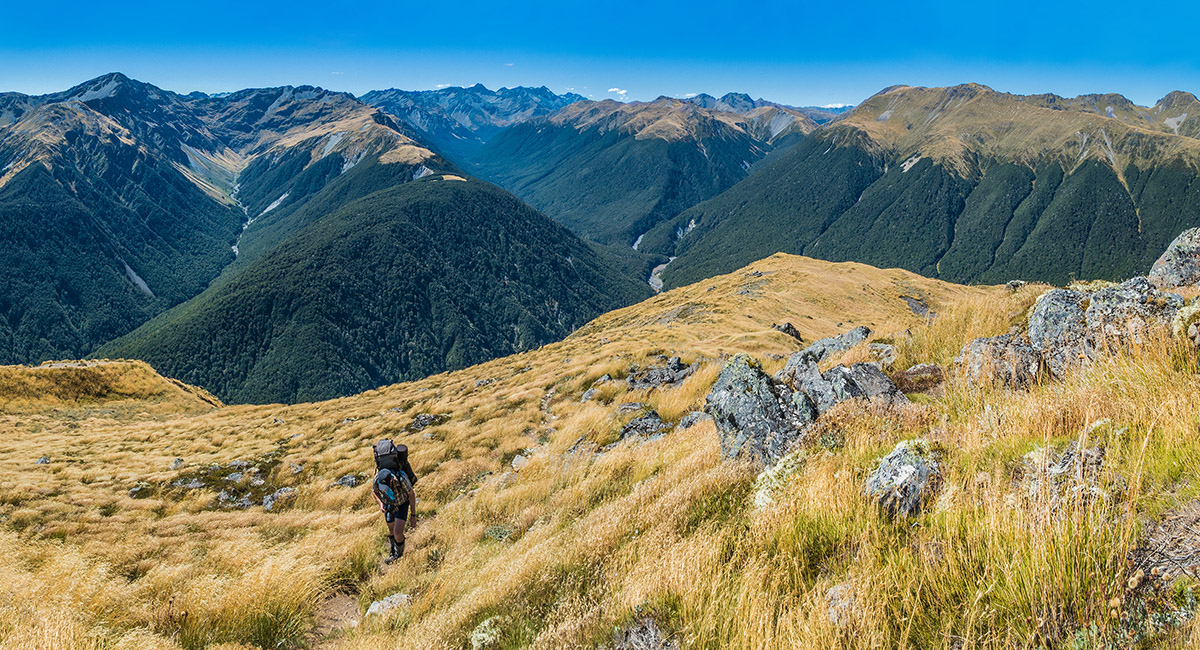
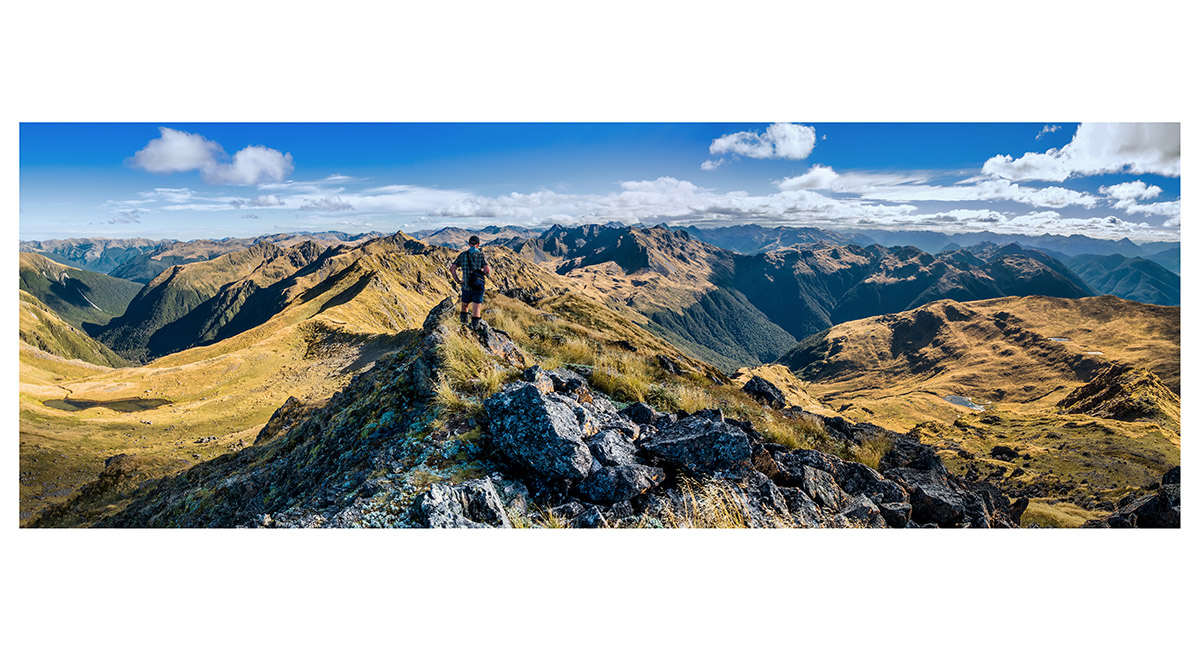
At about 1,200m on the Lewis Tops Track, looking north to Mt Freyberg (1,817m - far left) and range, Cannibal Gorge centre and the Spenser Mountains, right


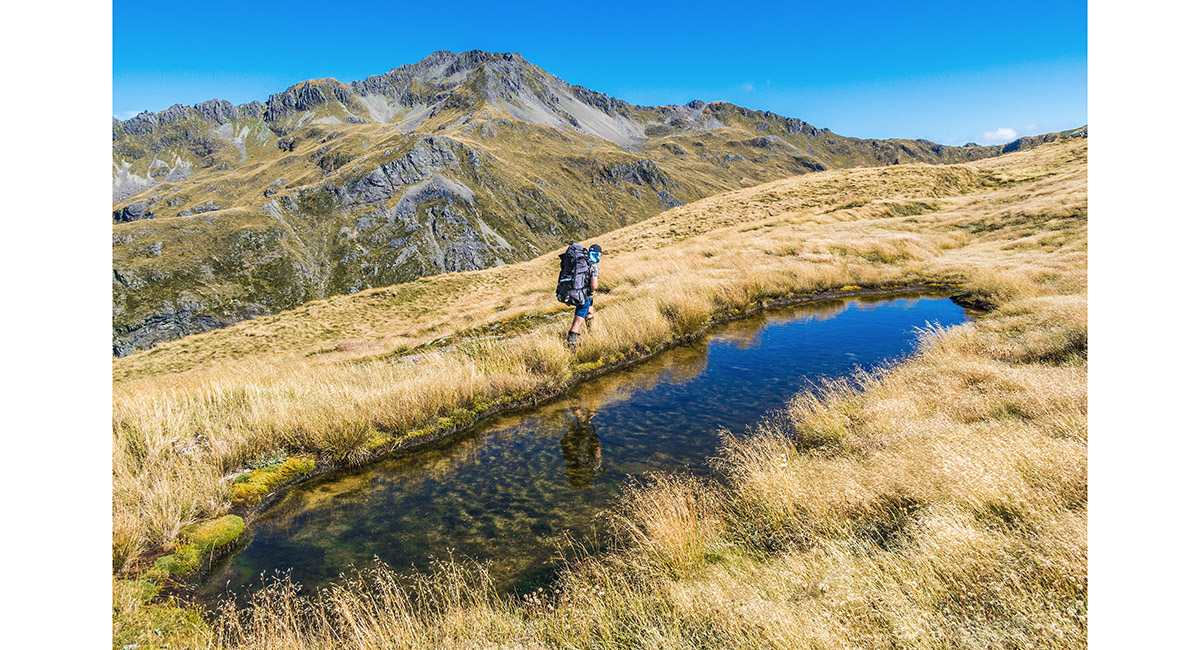
At about 1,400m, looking south west to Mt Technical (1,870m)

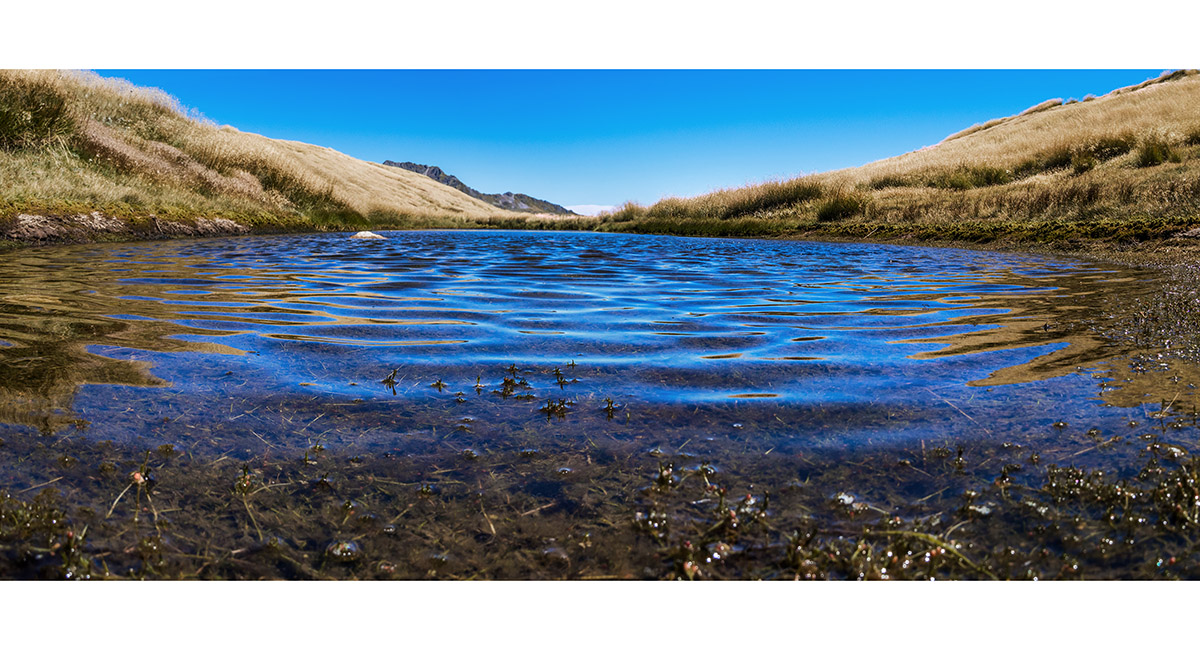
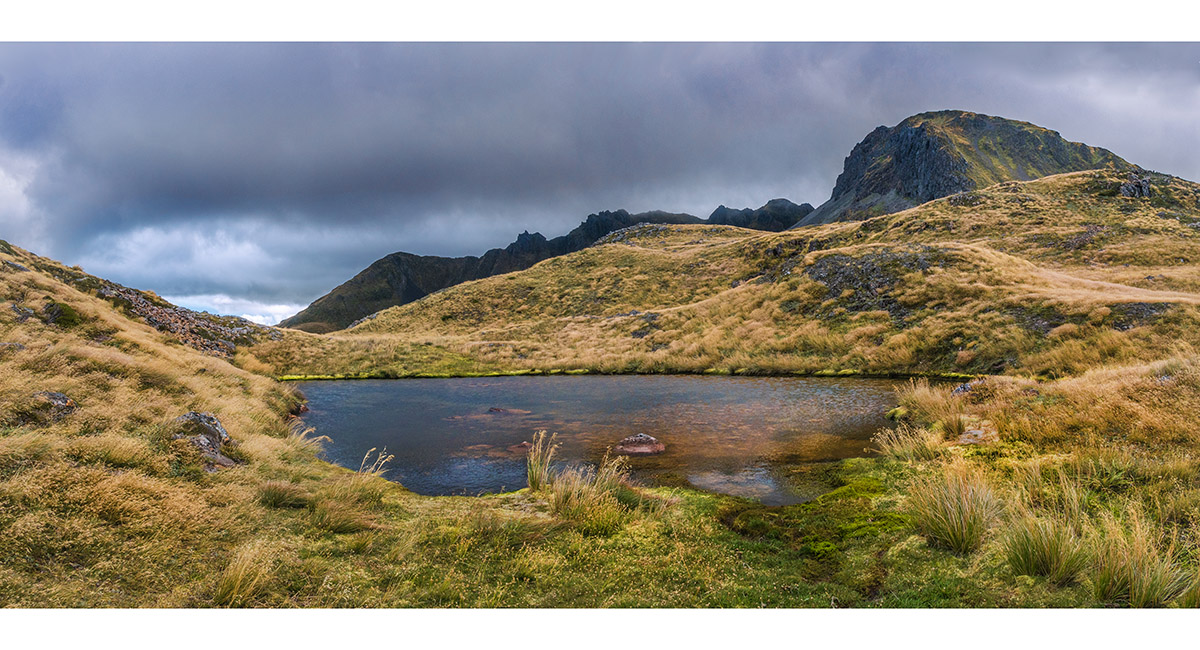
One of numerous tarns on the Lewis Tops Track, with Mt Technical behind


Mt Technical, right, with the Opera and Libretto Ranges to the east


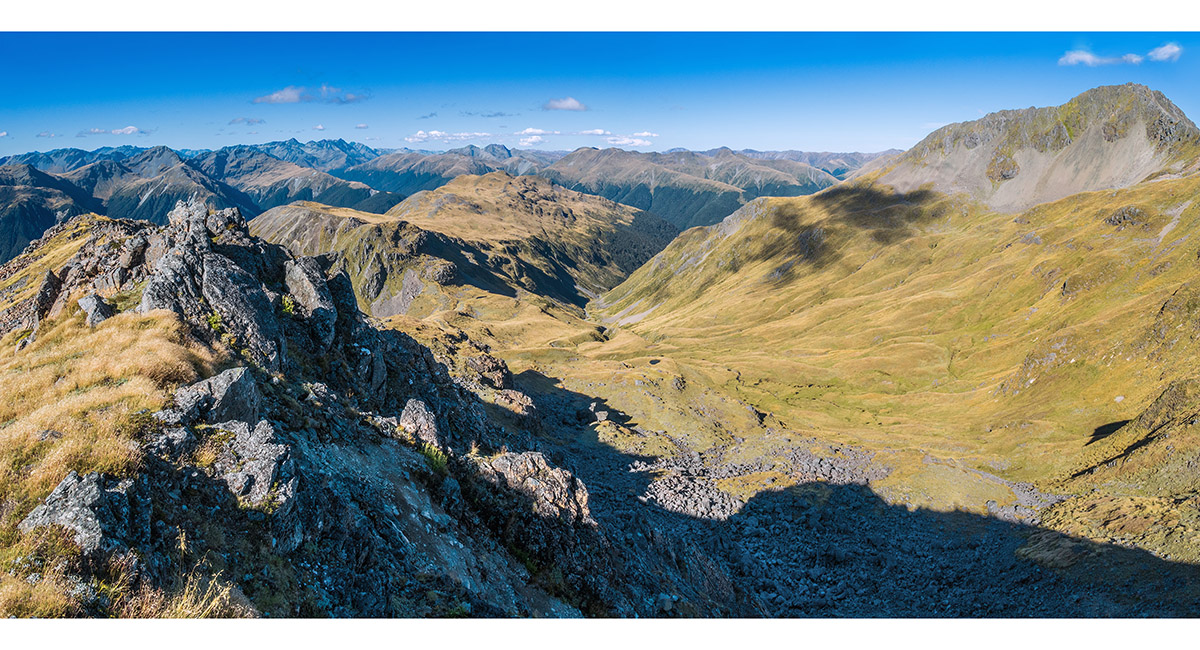
At about 1,500m, looking west, with Mt Technical left, the Apprentice (1,678m) left of centre and Maruia River right


Mt Technical centre, and the Apprentice right

Mt Technical

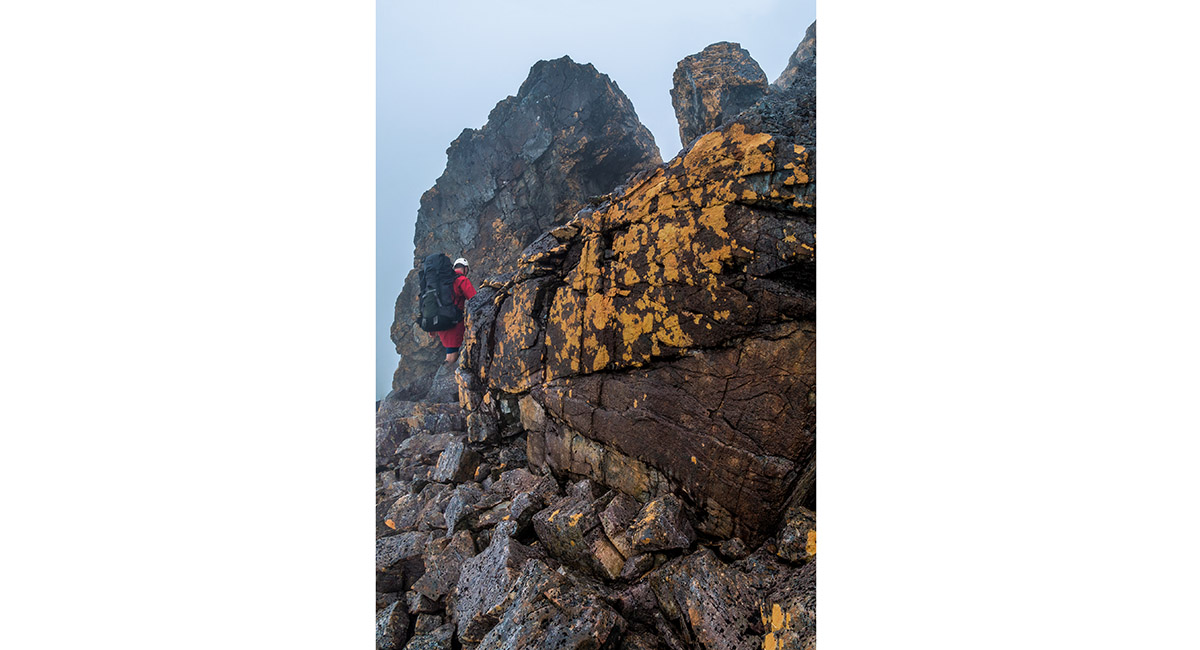
Finding a route over a craggy section on the approach to the Apprentice, right of centre. Mt Technical is far left


Beyond the craggy section, this view looking east to Trovatore (1,737m - centre) and Travers Peak (1,724m - right)


Beneath the Apprentice, looking south down past the tarn where we camped, to Lucretia Stream. Mt Techncial is left and Lucretia (1,643m) right of centre

A view south and west from the summit of the Apprentice. Lucretia is directly ahead and the Grand Duchess (1,703m) slightly to the right. Our camp tarn is far left


A view north west from the summit of the Apprentice (1,678m)

A view east from the summit of the Apprentice, down Deer Valley, with the Lewis Tops Track centre and Mt Technical at right


At our tarn camp (1,550m), with the Apprentice behind


Near the summit of Lucretia (1,643m), looking south west

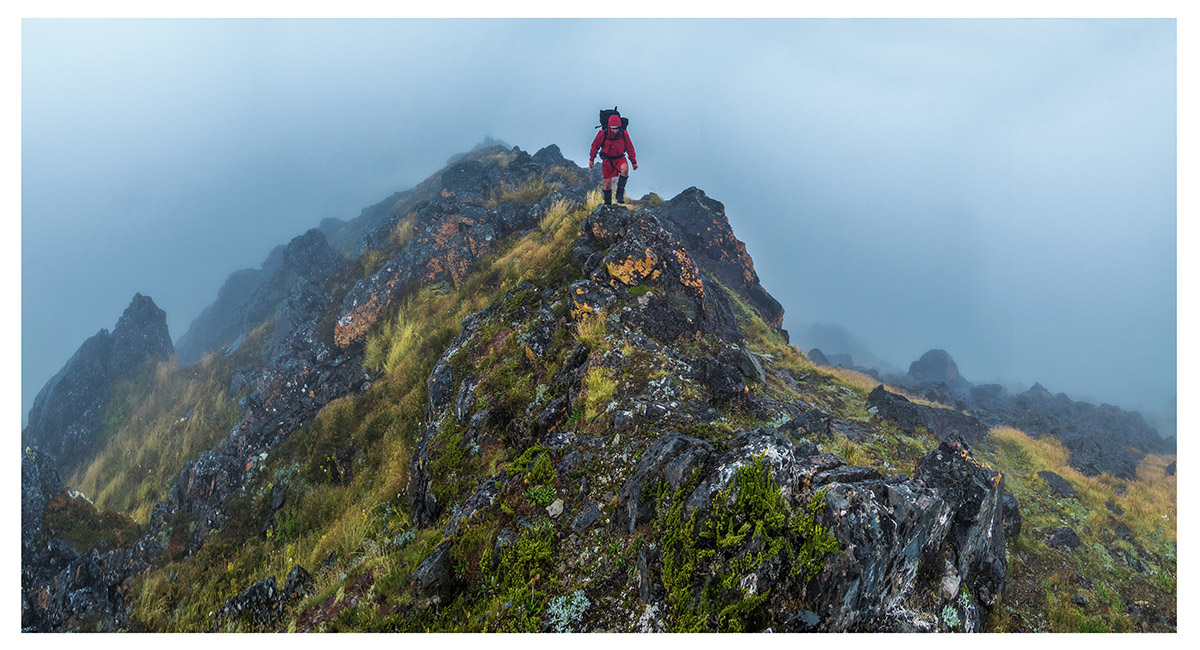
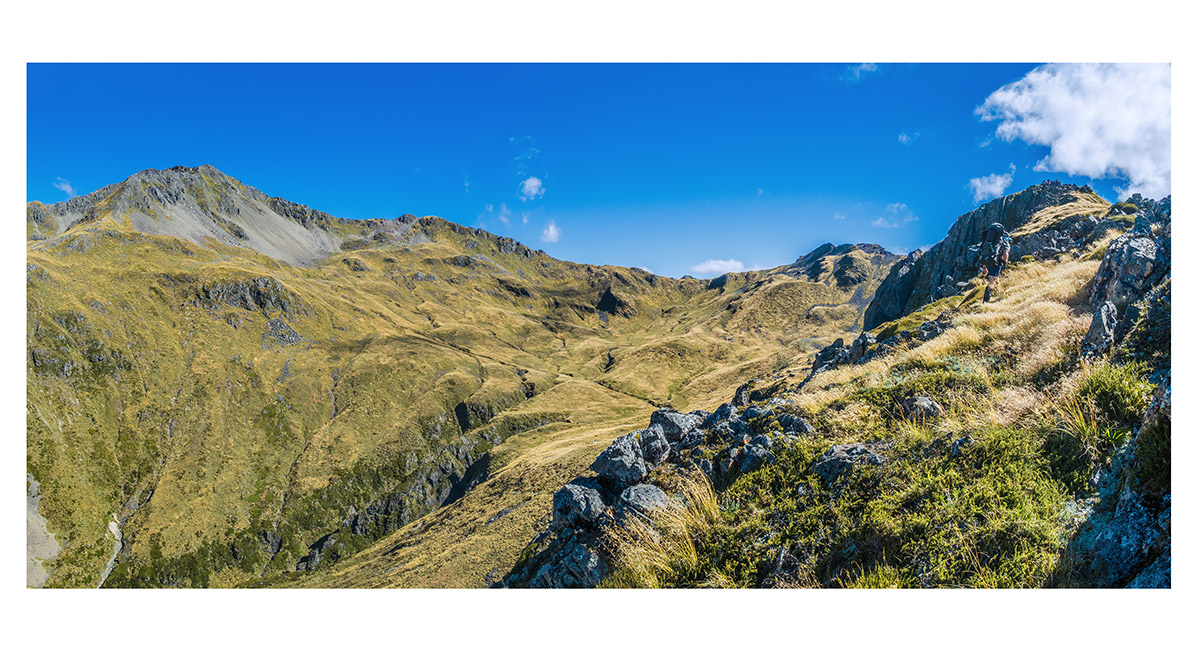
Heading south west along the craggy ridge towards Brass Monkey Biv


Heading south west along the craggy ridge towards Brass Monkey Biv

Heading south west along the craggy ridge towards Brass Monkey Biv

Descending a steep chute to get off a bluffy section of the ridge


Descending the final section of ridge above Brass Monkey Biv, here at about 1,400m


Brass Monkey Biv (1,360m)


Brass Monkey Biv (1,360m) - room for two at a pinch


Brass Monkey Biv (1,360m)

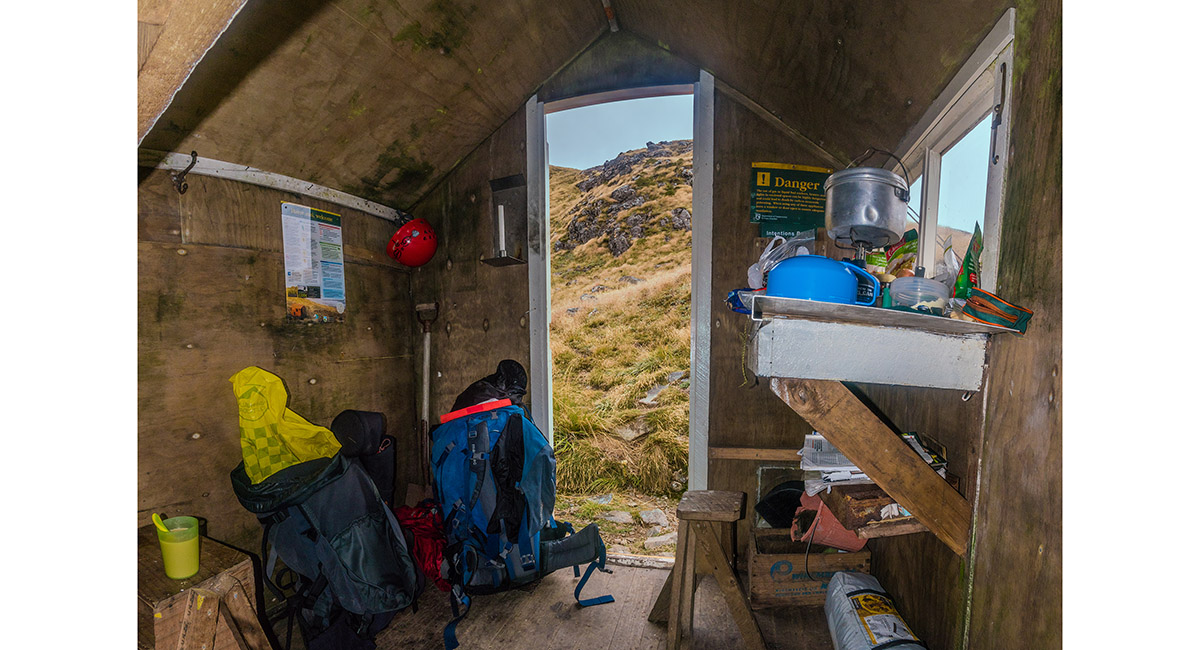
Inside Brass Monkey Biv - a bit like the Tardis

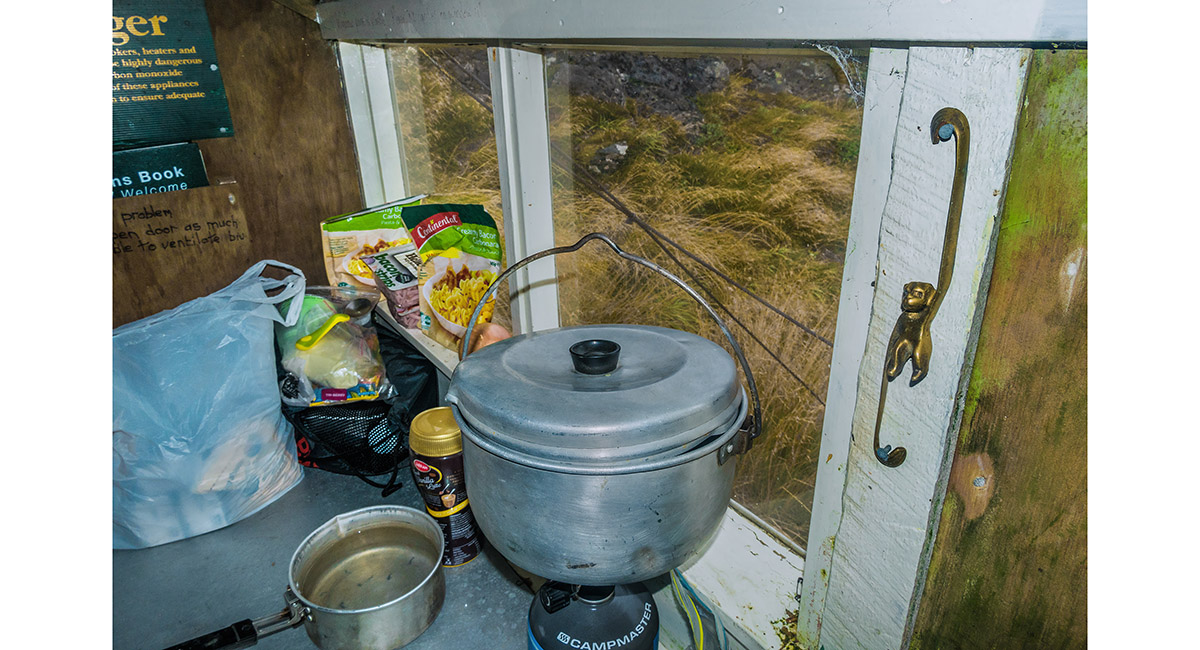
A brass monkey - what else?


Brass Monkey Biv (1,360m)


A view from about 1,400m, west of Brass Monkey Biv. Here looking south down Duchess Stream to where it meets Nina River


A view from the 1,674m high point to the west of Brass Monkey Biv. Here looking south west down the valley leading to the Christabel Track


A view east from the 1,674m high point, back to Brass Monkey Biv (lower right) and the route we took that day back to Mt Technical - top right, shrouded in cloud


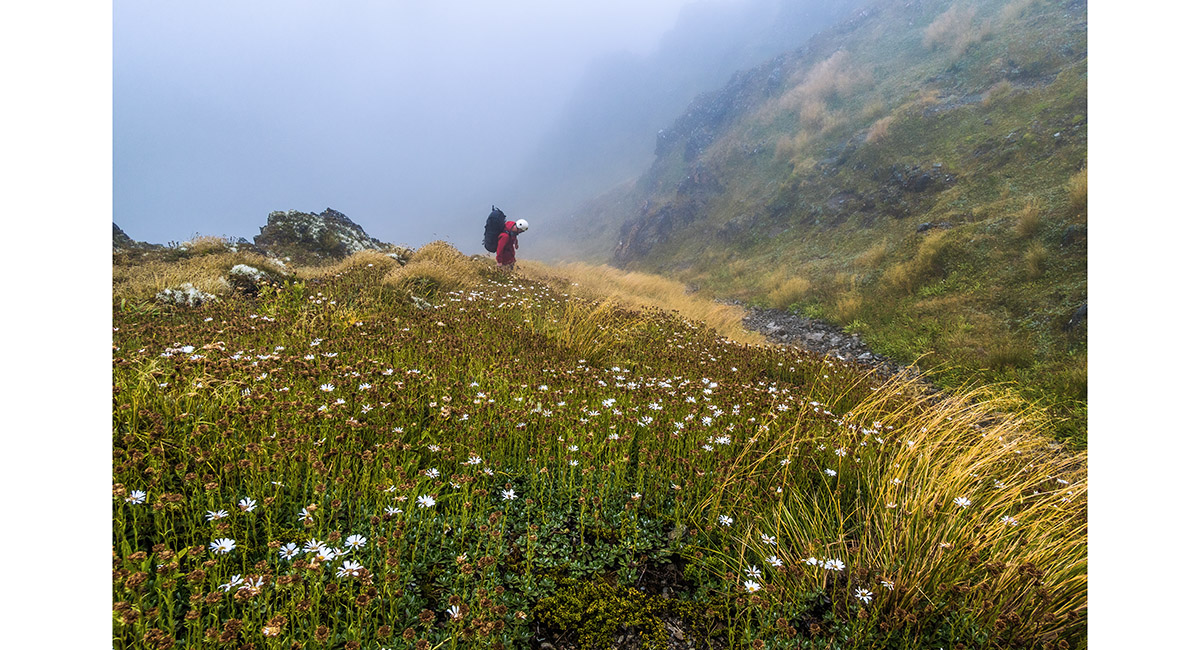
Flowers on the tops


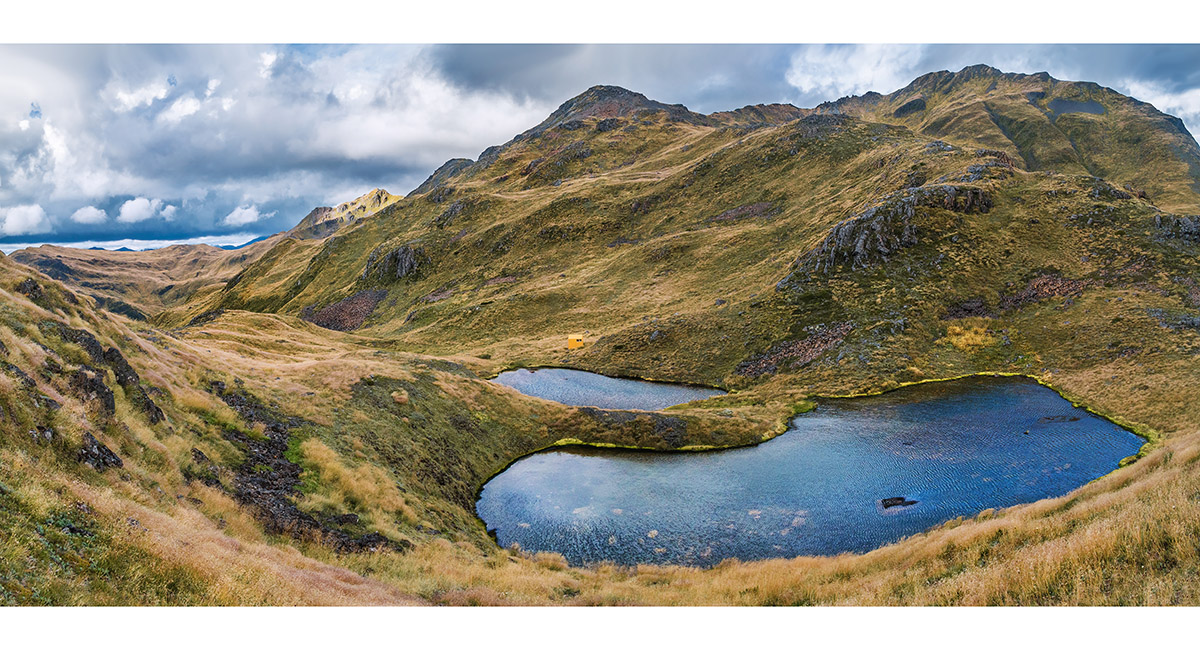
Flowers and Brass Monkey Biv, viewed from 1,670m


One of several tarns above Brass Monkey Biv


One of several tarns above Brass Monkey Biv

Looking north east, past Brass Monkey Biv to Lucretia and the Apprentice (centre)

The view back to the 1,674m high point west of Brass Monkey Biv


Descending in to Duchess Stream


Goblin forest on the true right of Duchess Stream. We followed deer trails for several hours in order to reach Nina River

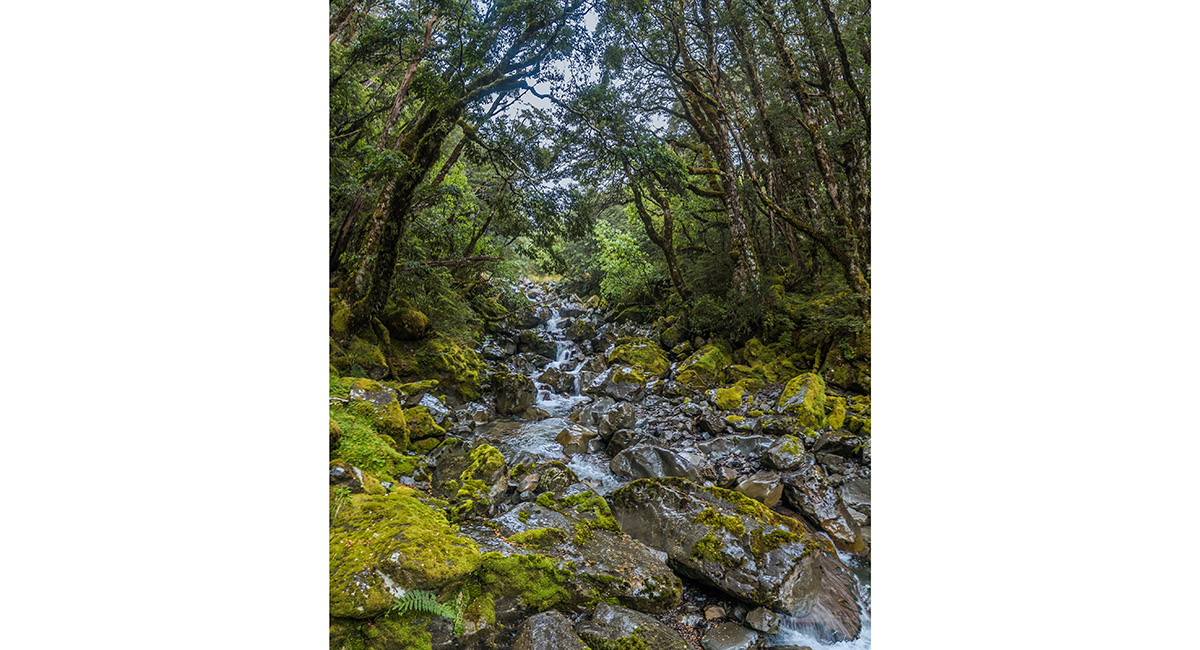
Wet day forest scenery

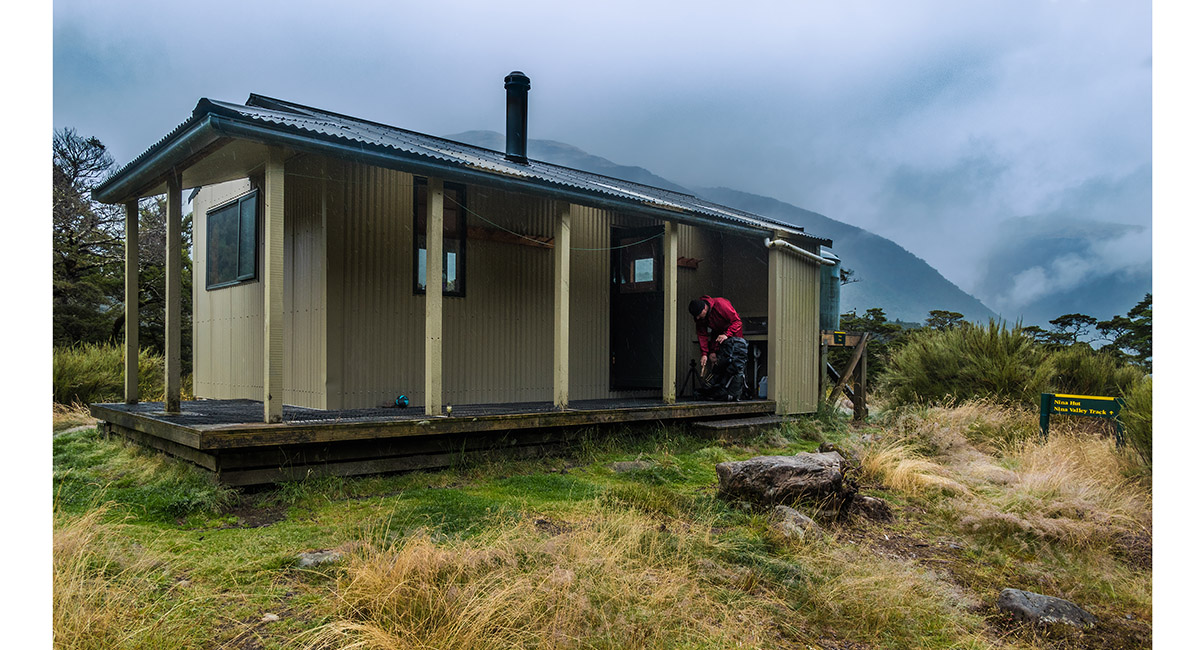
Nina Hut (760m)

A dawn view north from Nina Hut


A view north, with Nina Hut

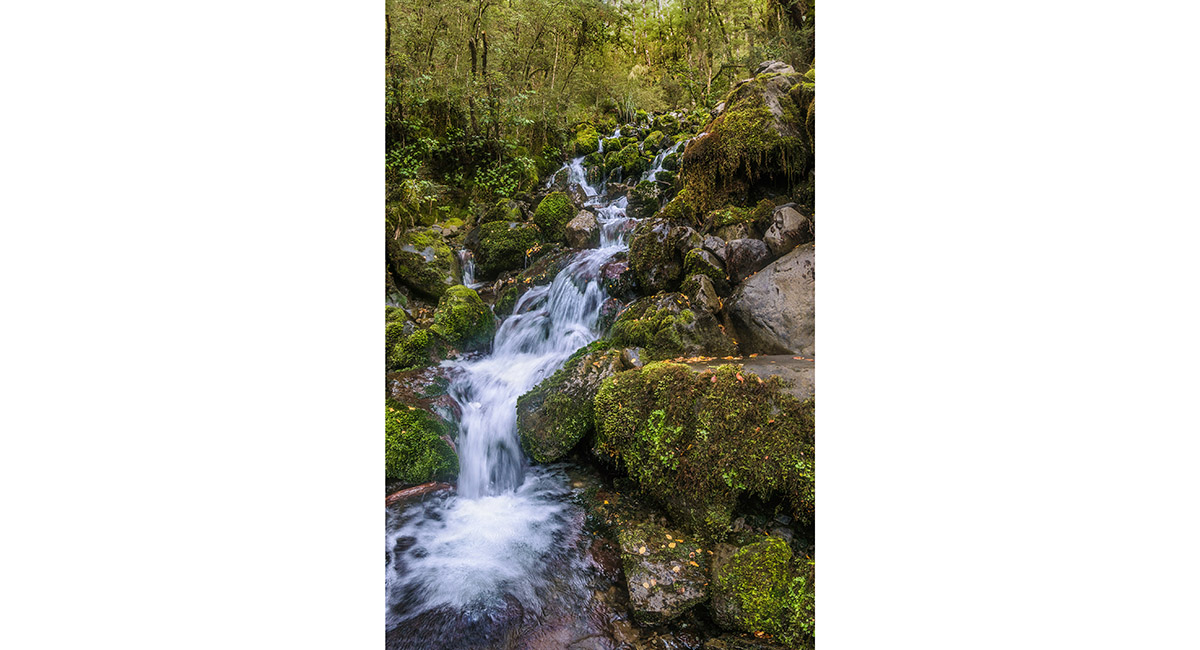
Waterfall action on the trail out from Nina Hut to State Highway 7

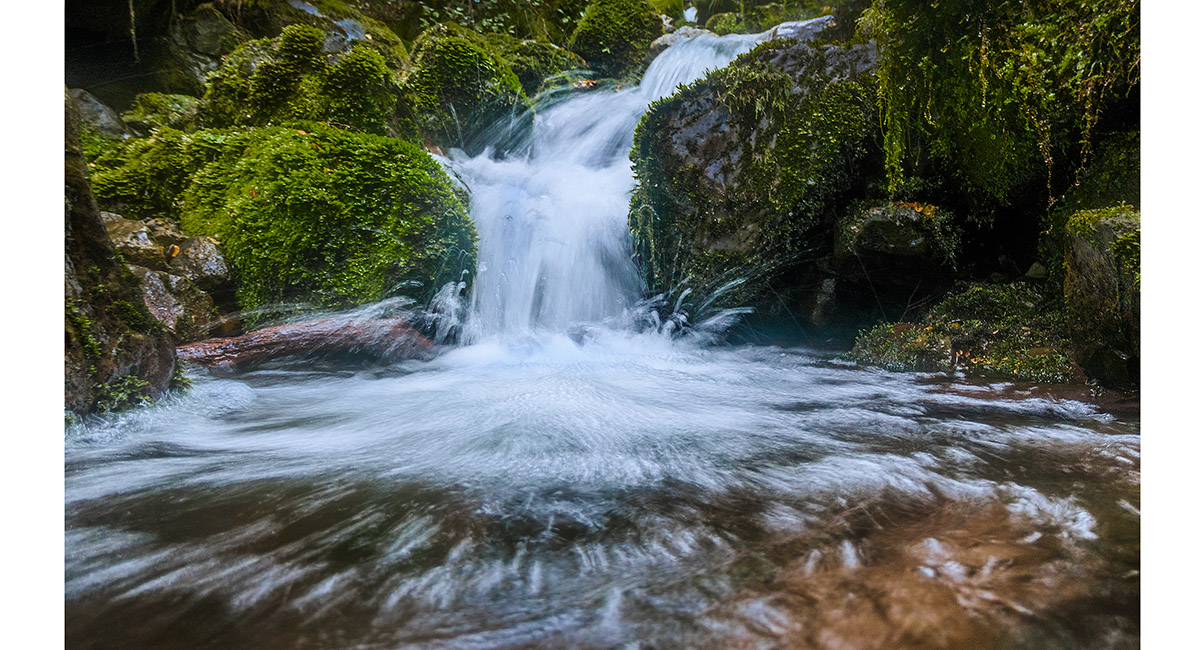
Waterfall action on the trail out from Nina Hut to State Highway 7


Looking west up Nina River

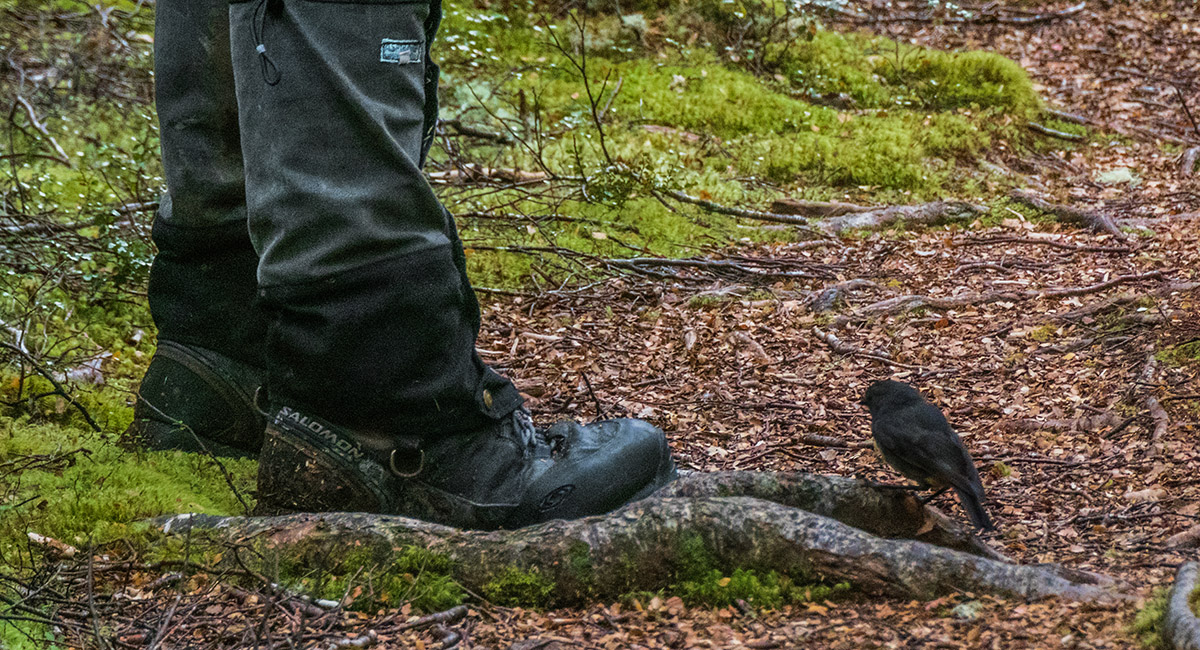
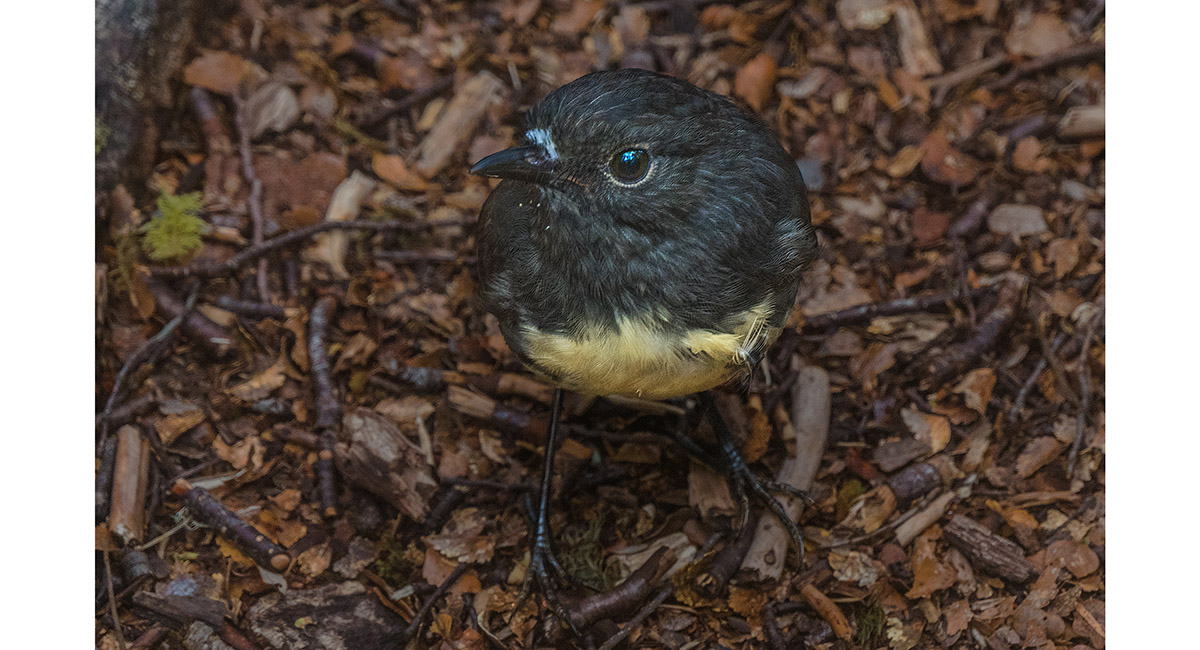
The boldness of Robins

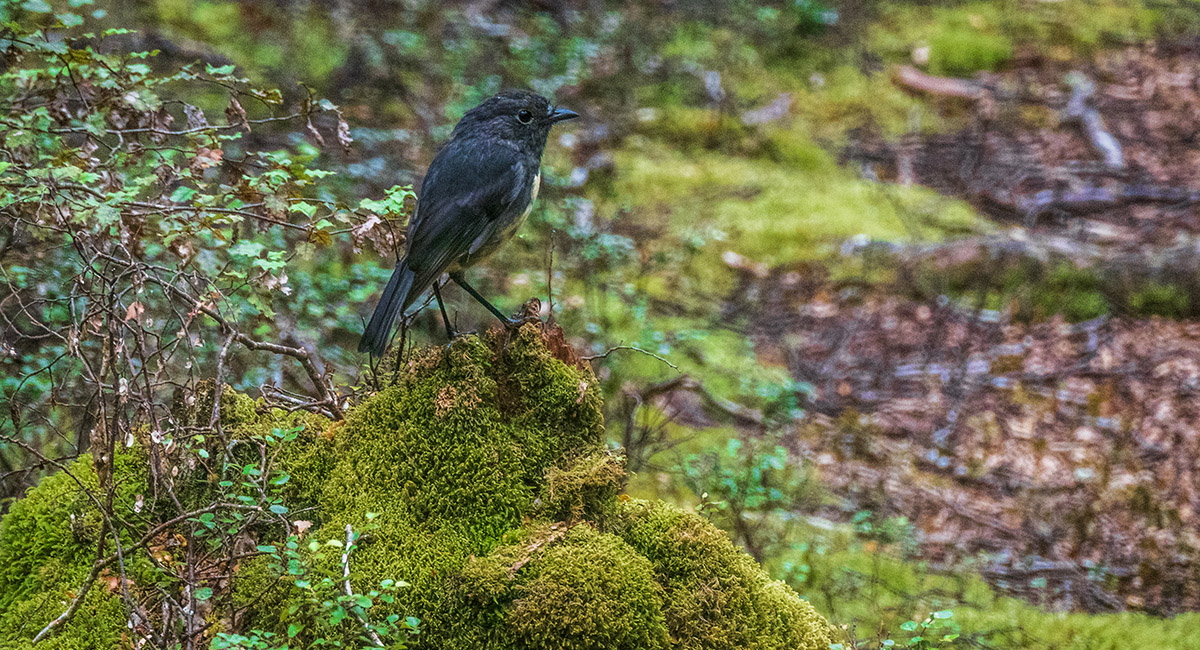
A Robin

A Robin

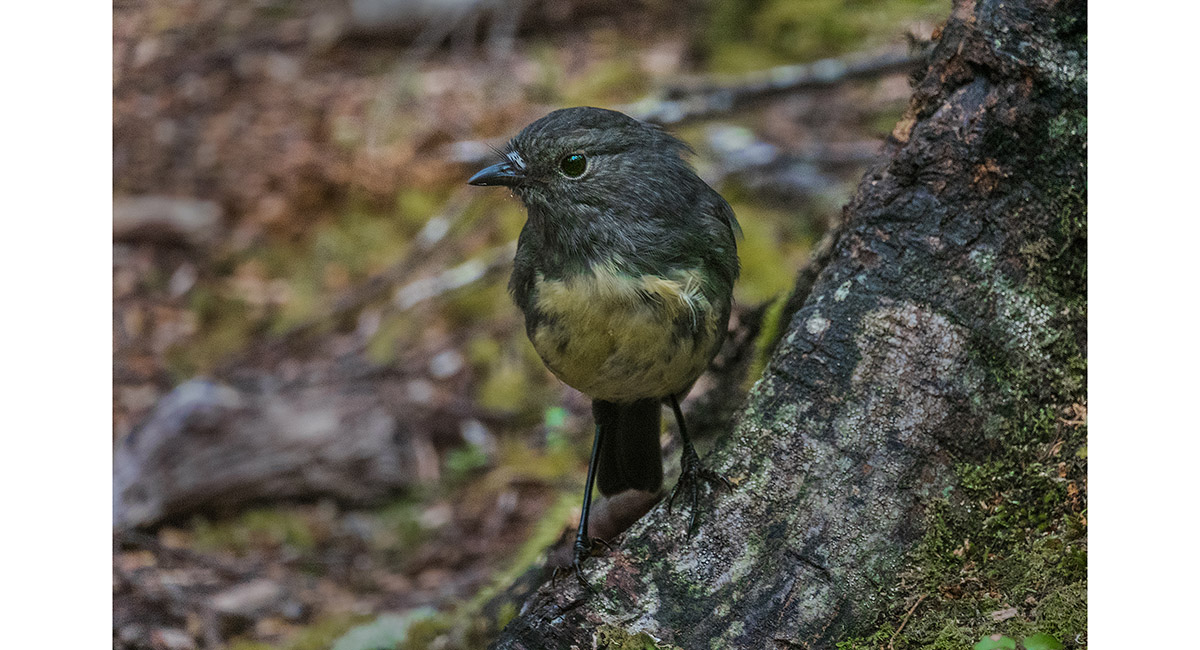
A Robin

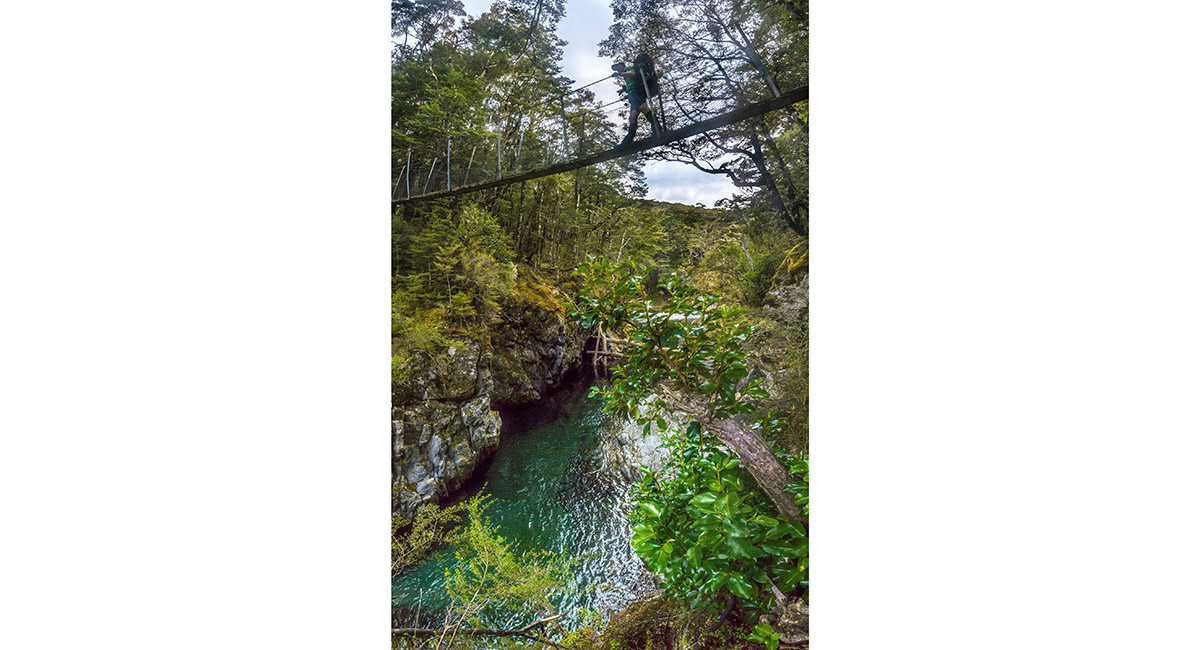
The swing bridge spanning the Nina River at about 650m

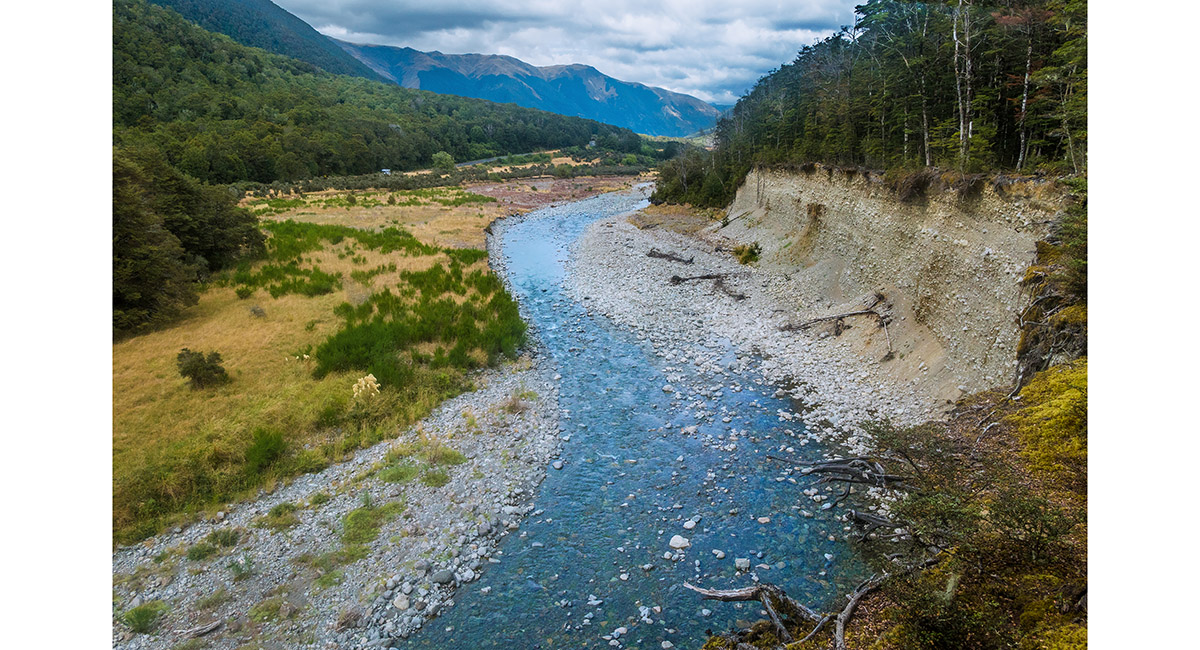
The view south down Lewis River, with State Highway 7 on the far side

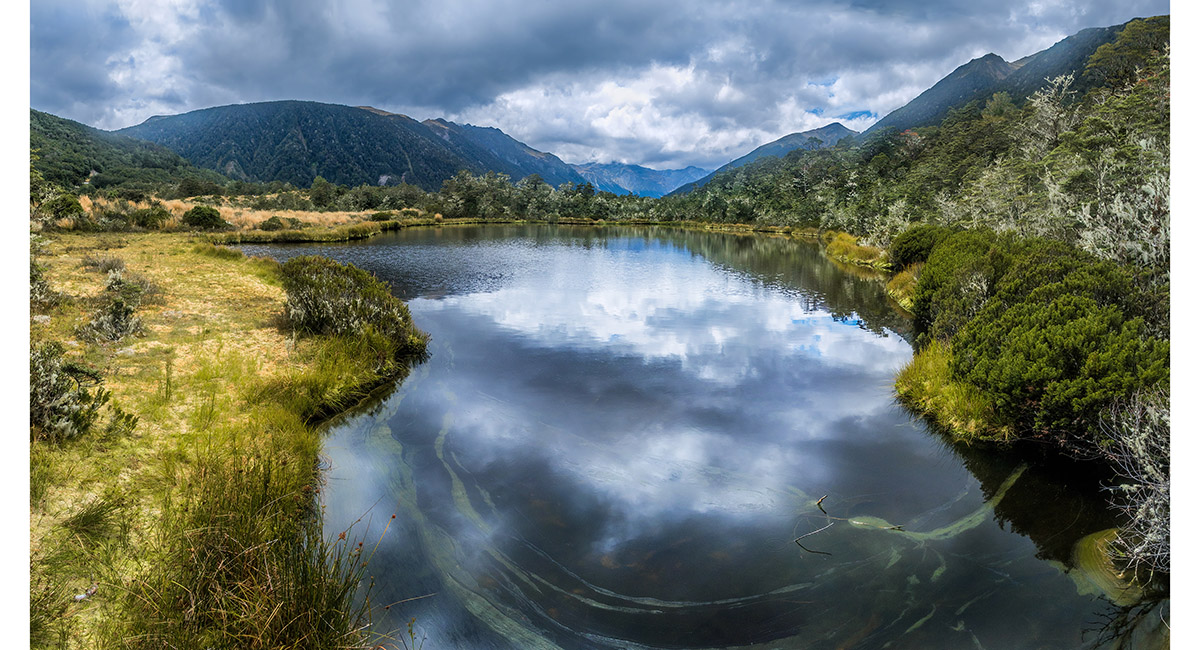
The tarn just south of where the Lewis Tops Track begins

Read about it Not quite like Doctor Who would do it Vertigo March 2019
To order a print or web resolution file of any image you see in this slide show, just right click the image, click “Copy Image URL” and paste in to the “Your message” box of our Contact Us form. Please also note, for each image, if you want a print or web resolution file. We will get back to you as soon as possible to confirm price and payment details.
Open Contact Us in a new window to paste Image URL(s) easily