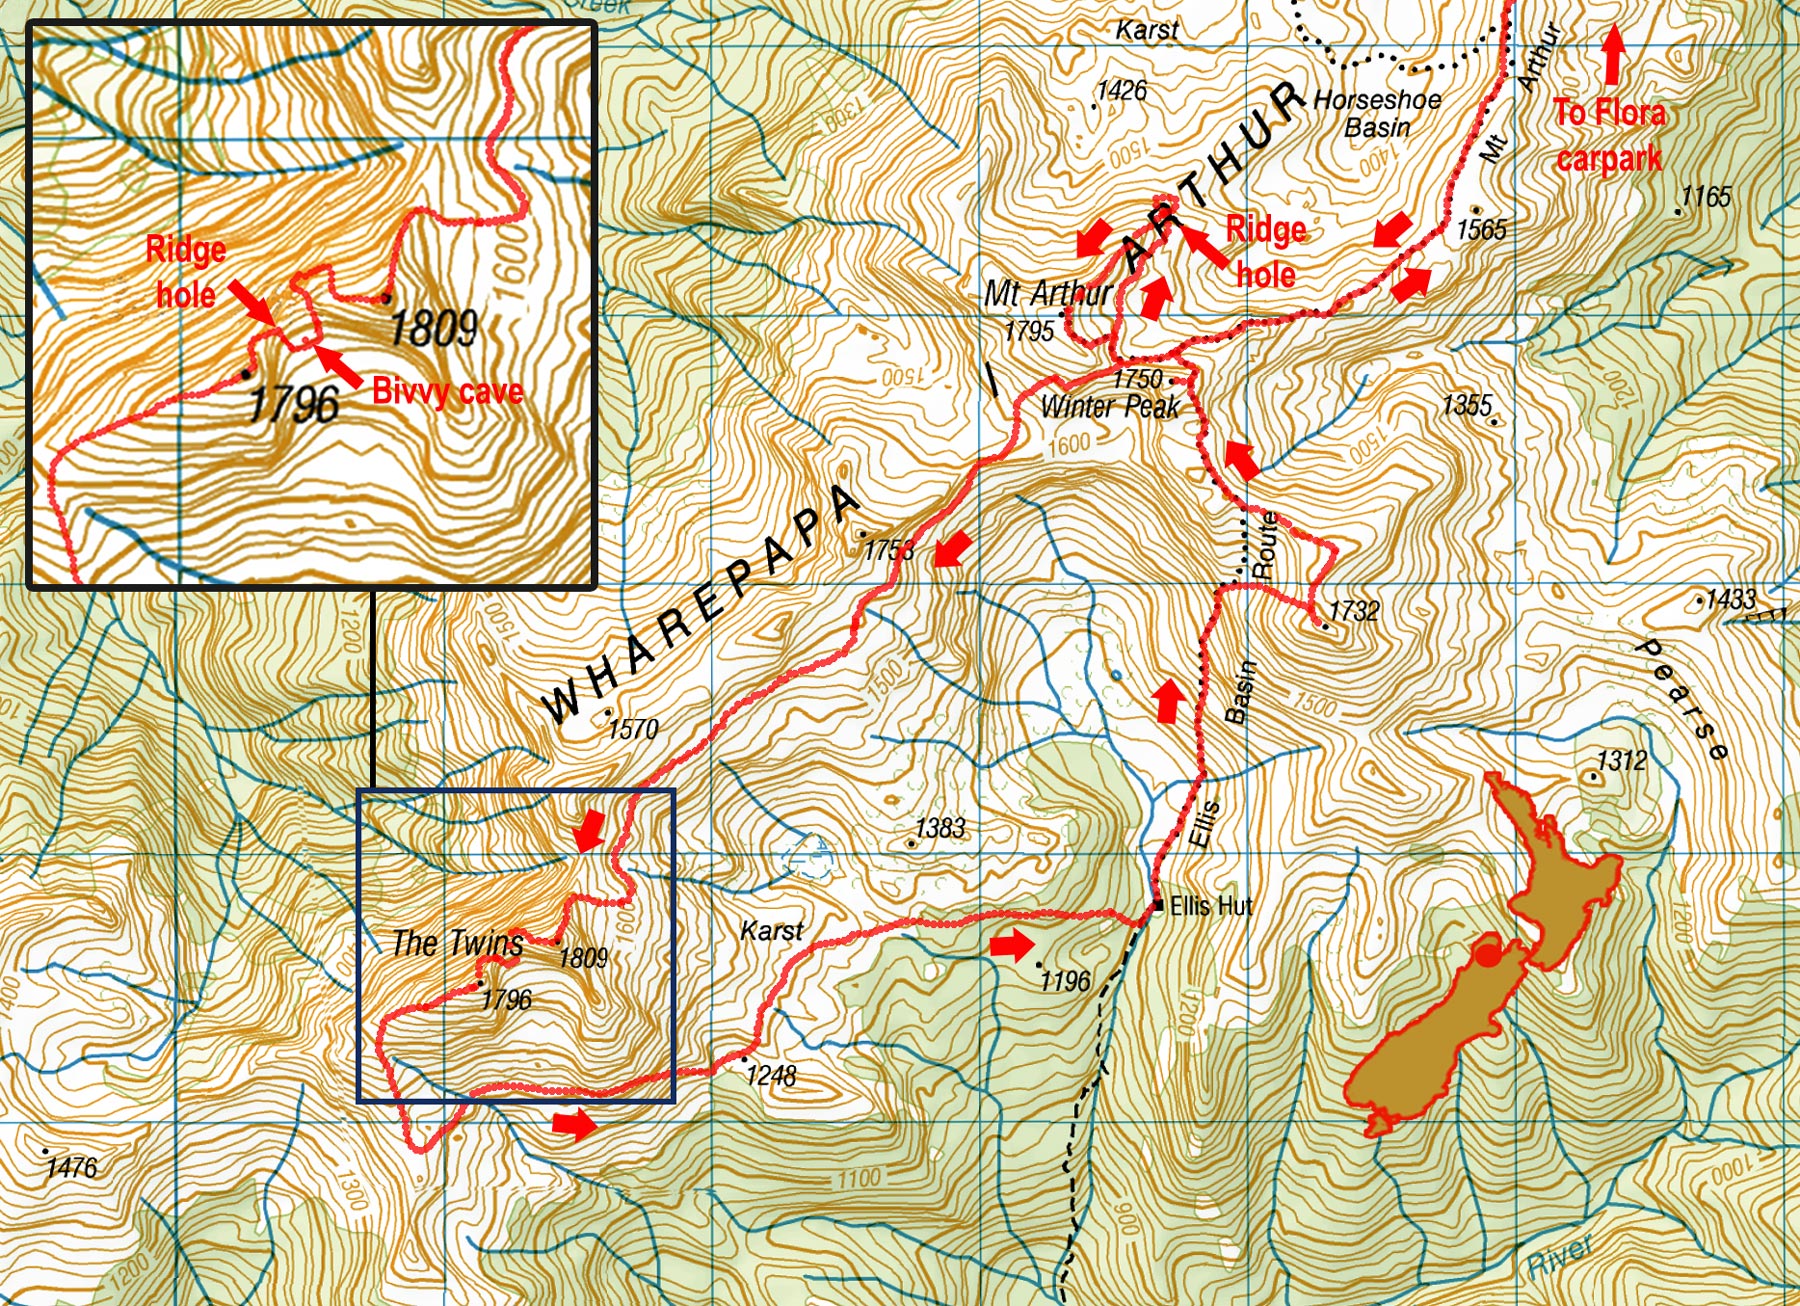
Twins traverse, May 2024
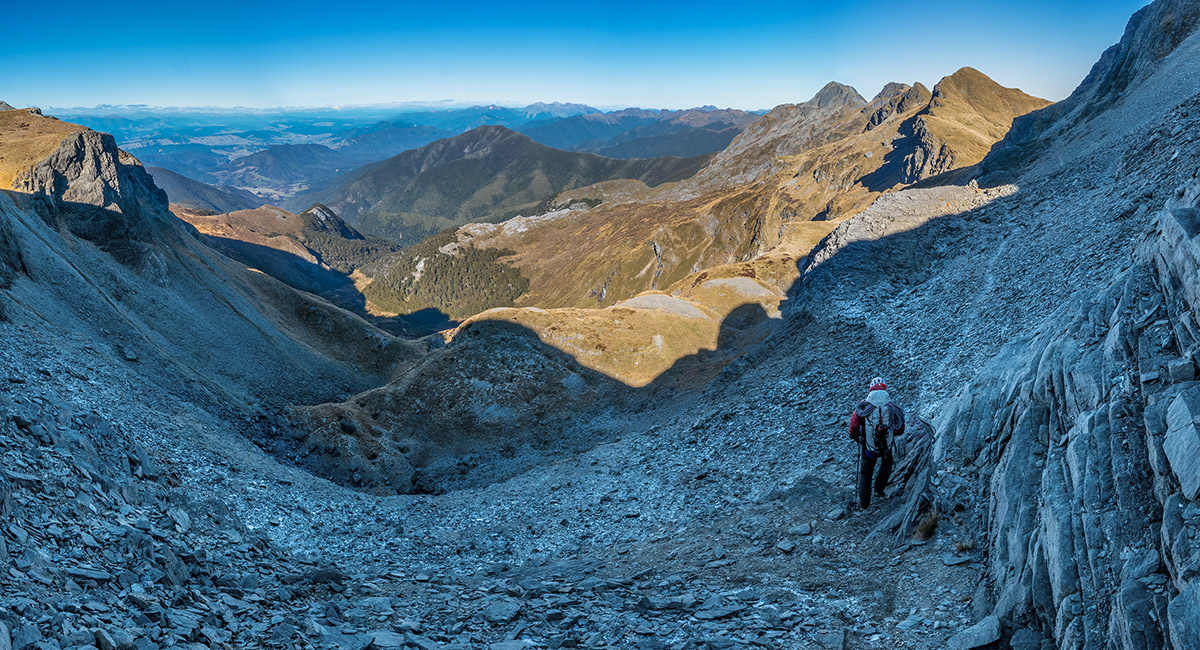
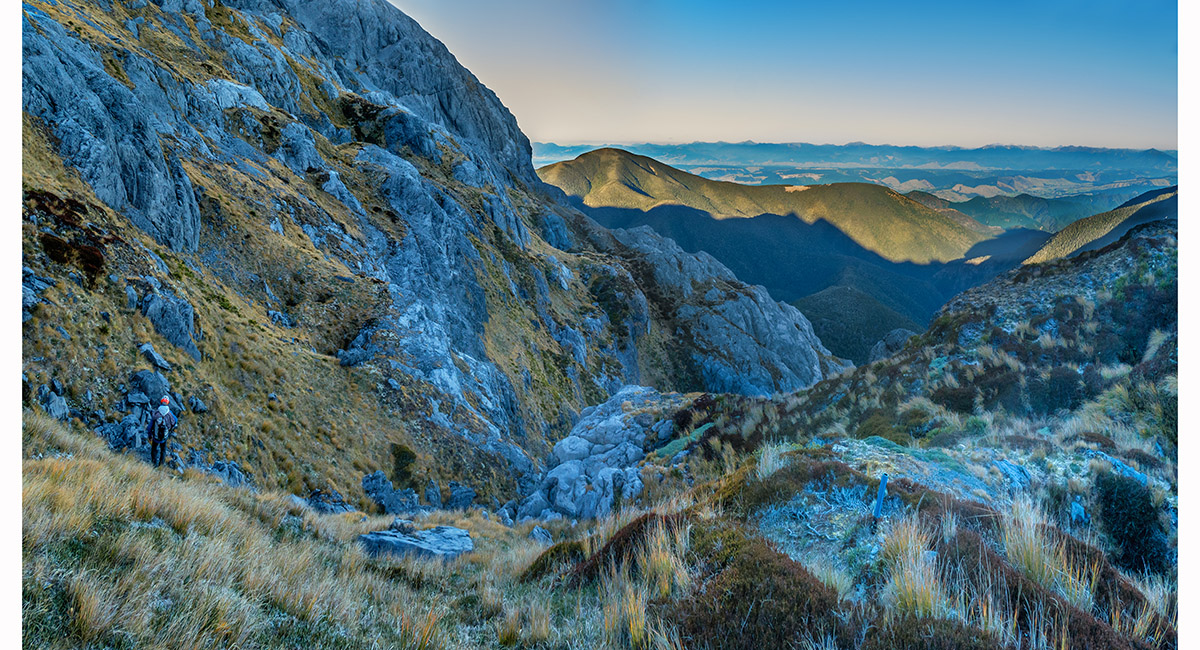
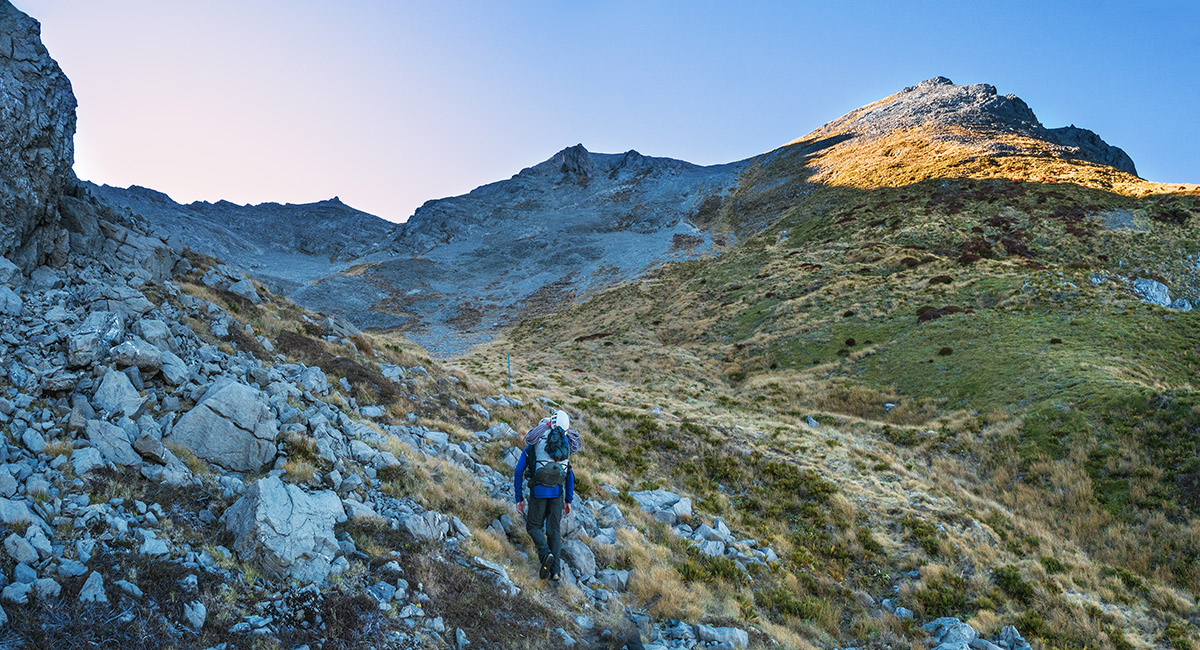
Heading west around the 1,700m contour beneath the south end of Mt Arthur to traverse above Ellis Basin


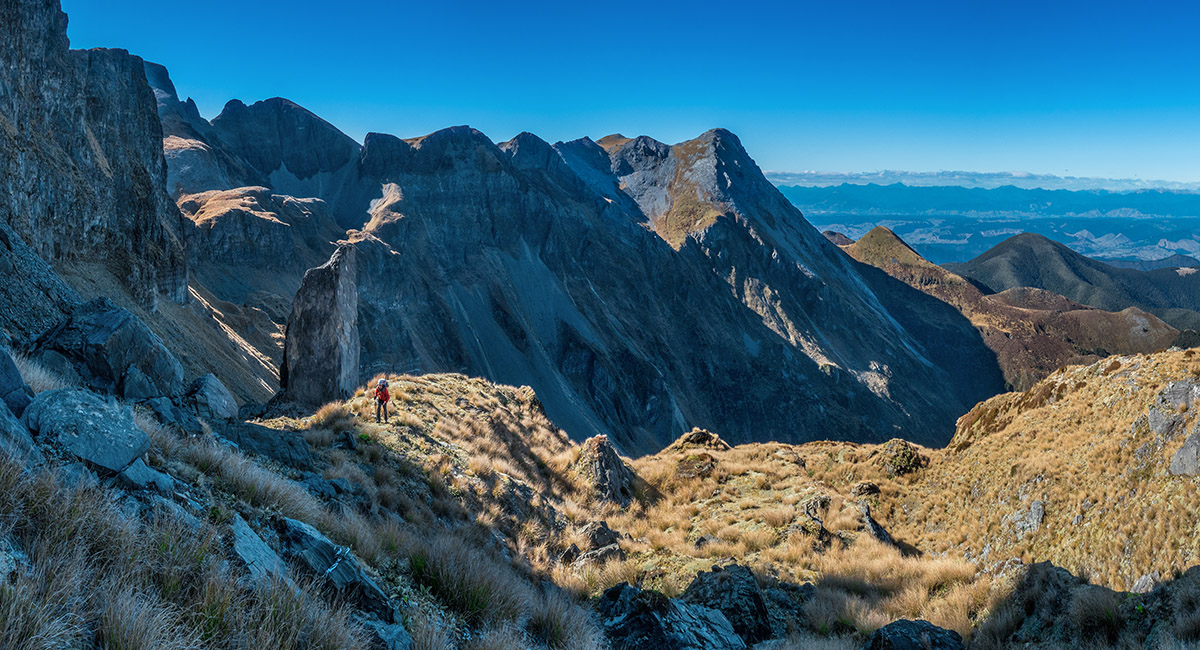
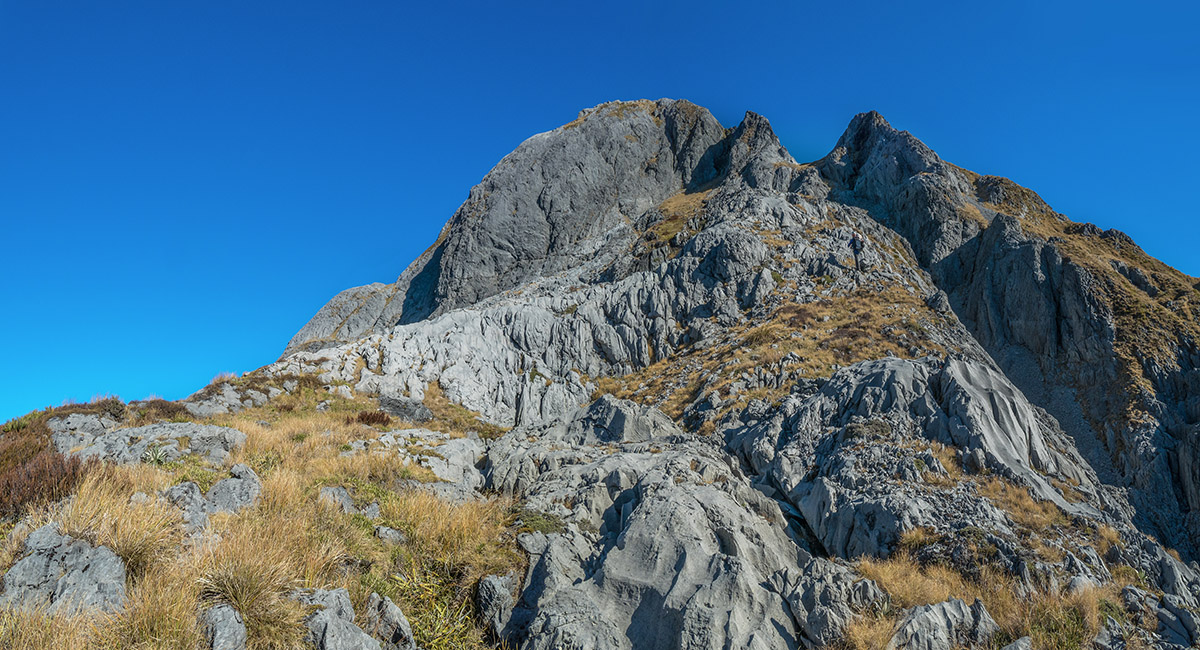
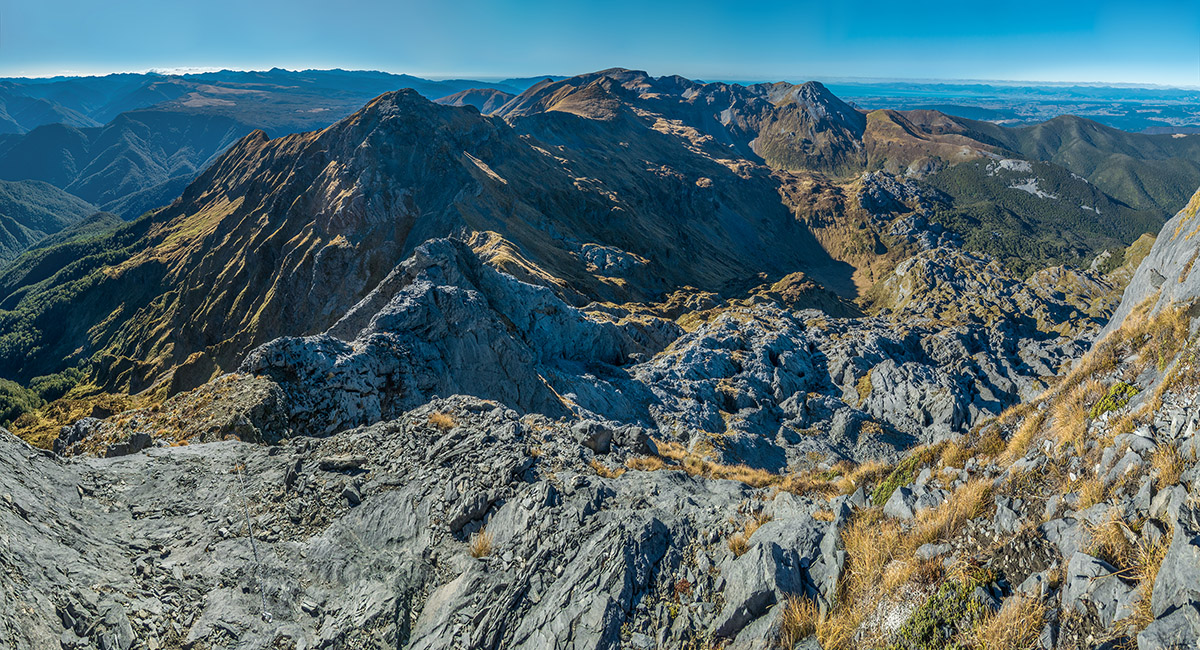
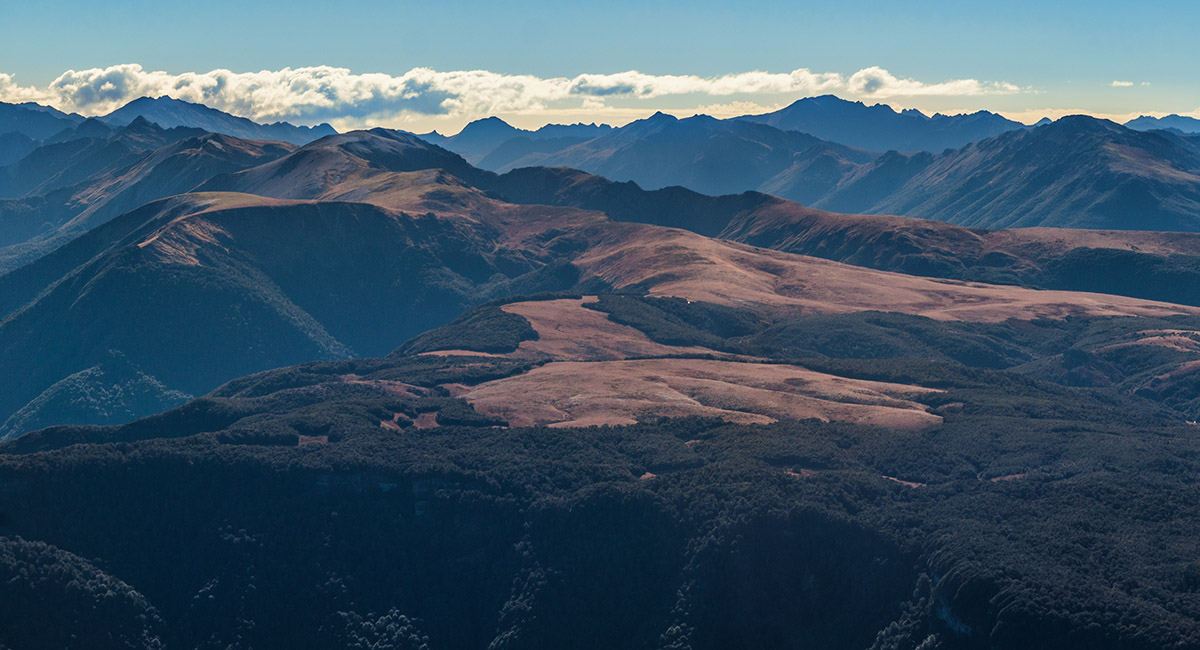
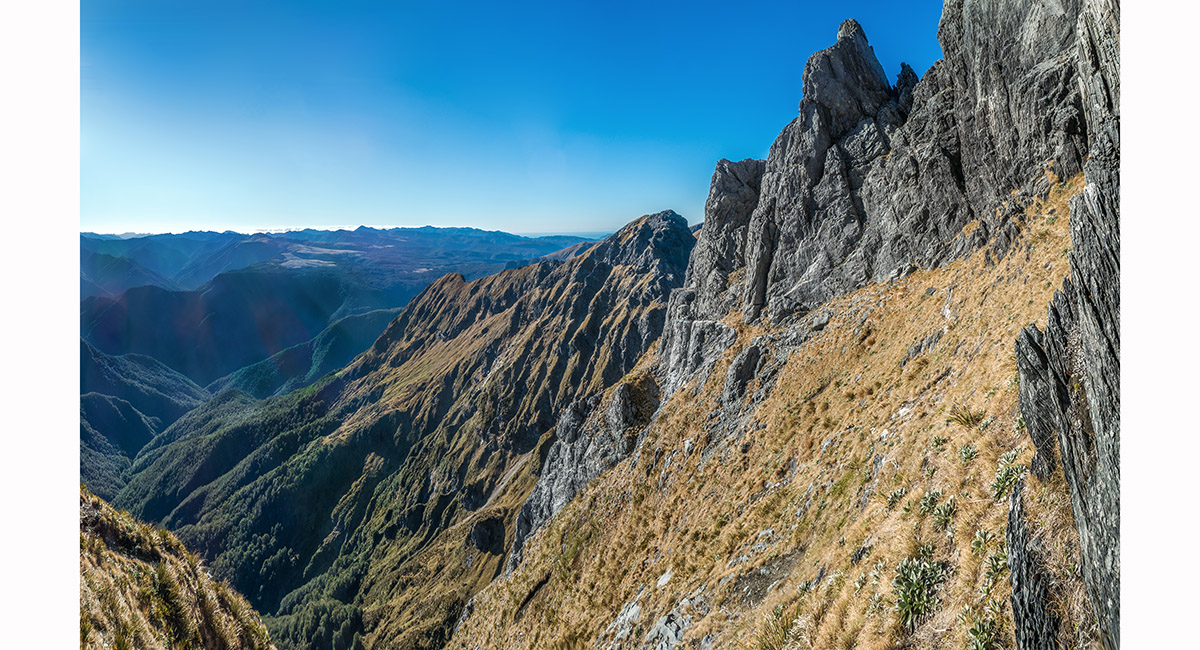
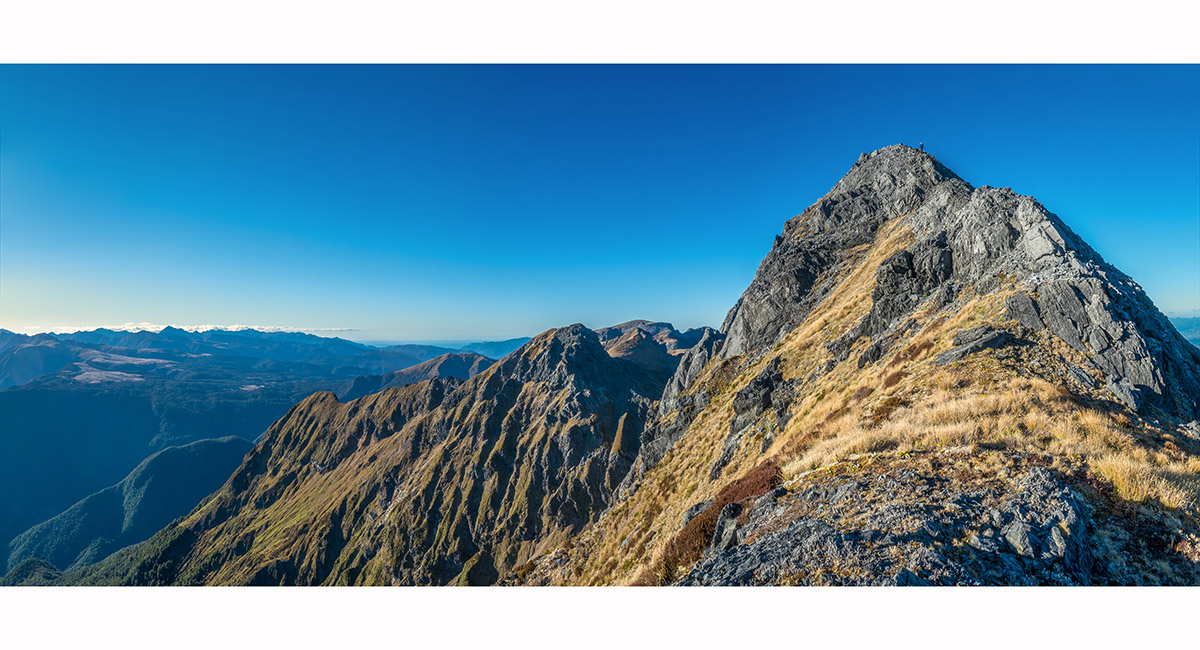
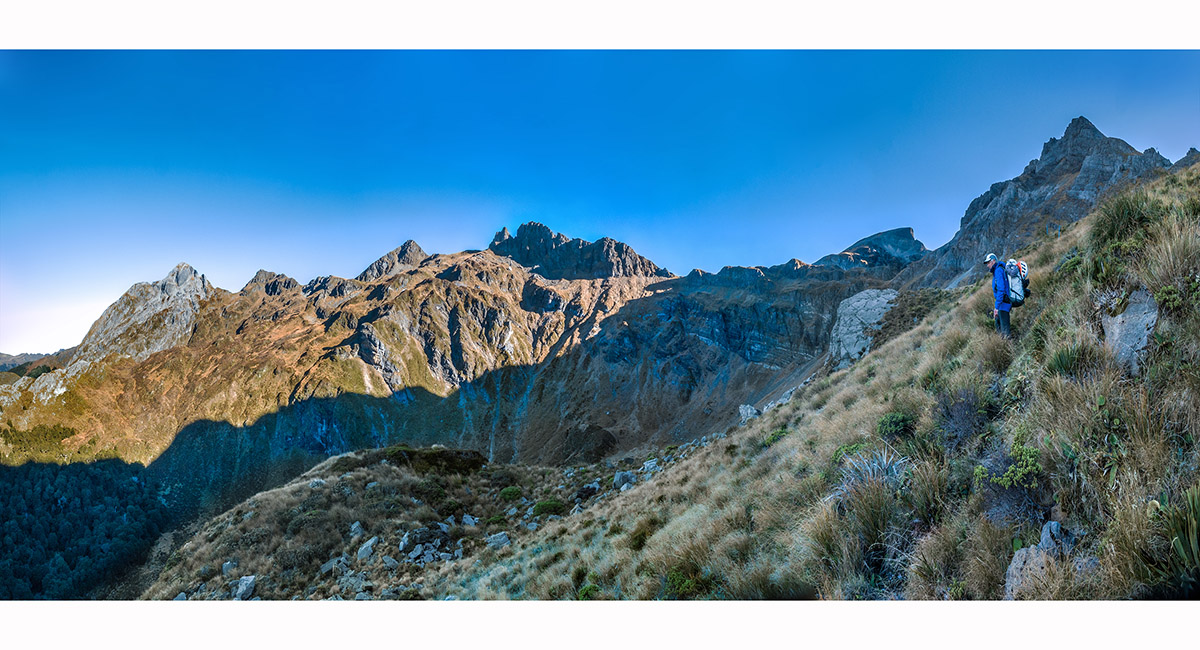
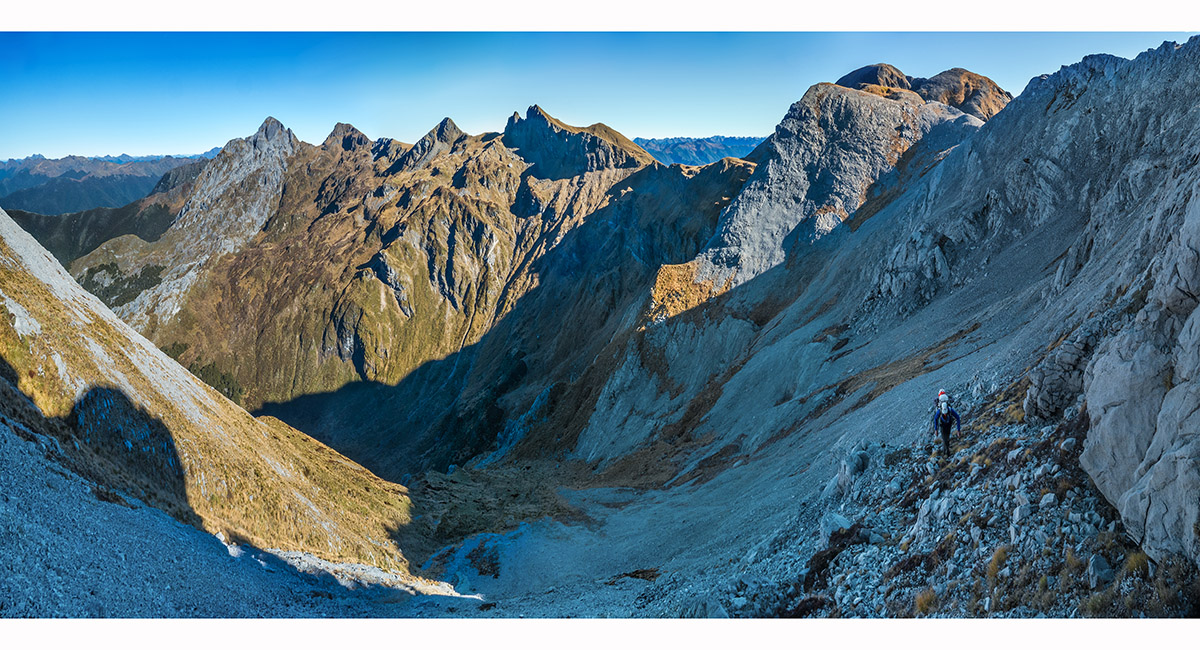
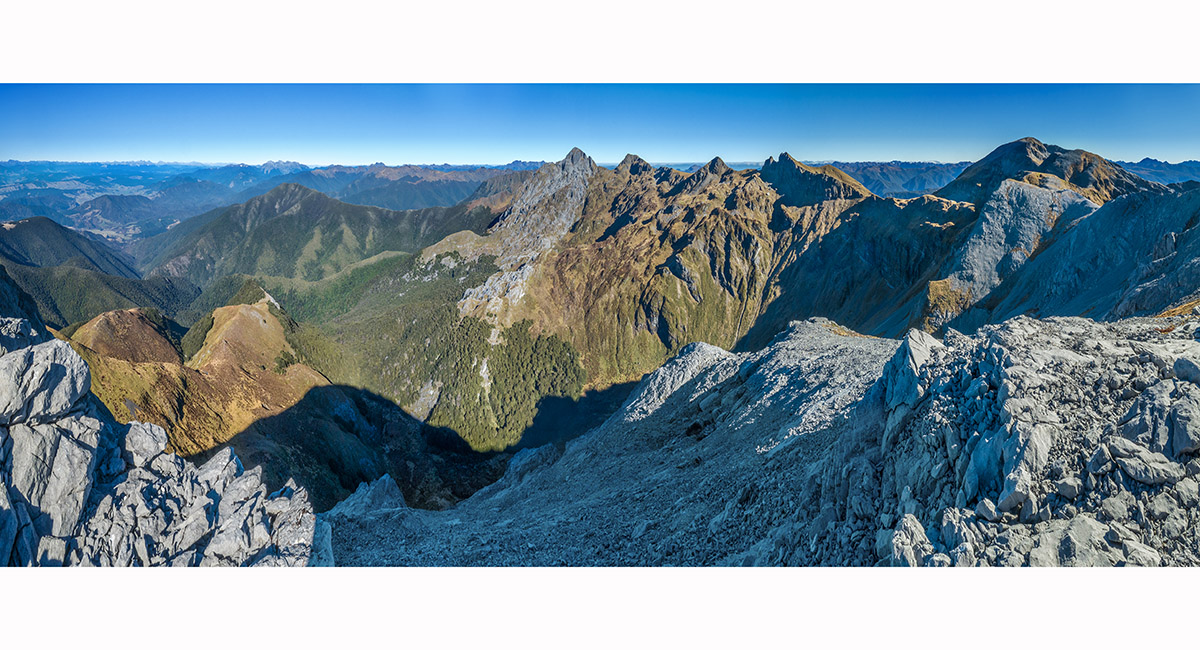
Looking southwest along the Wharepapa Arthur Range, with Pt 1753 at centre. The far end of this prominence is a cliff

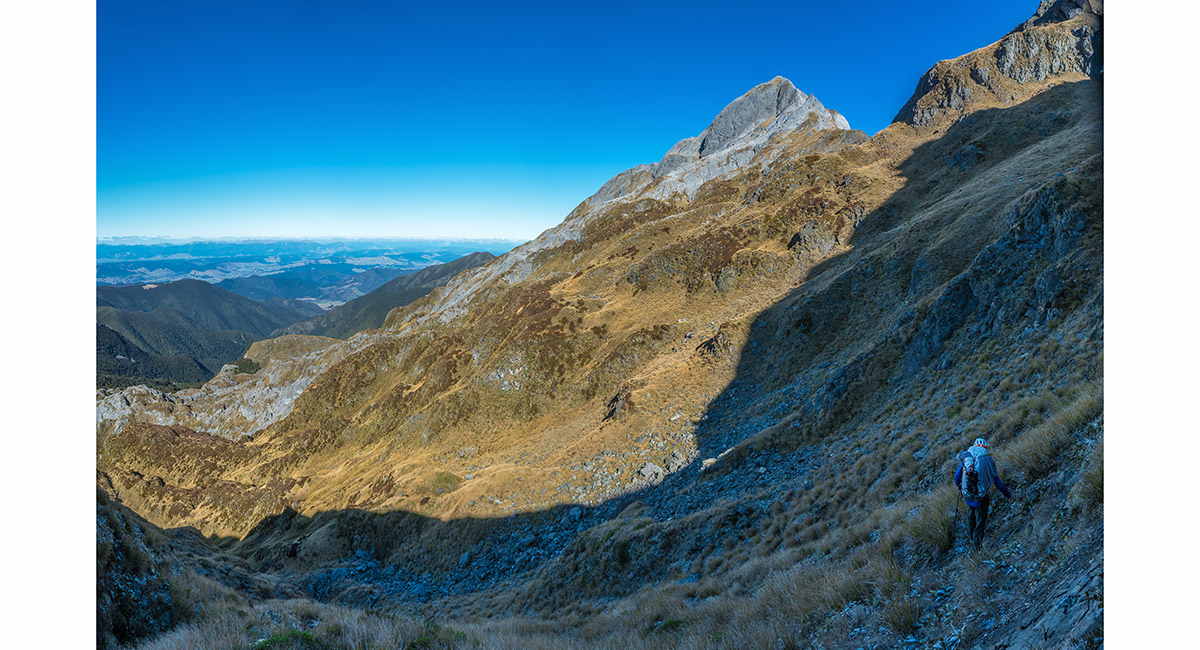
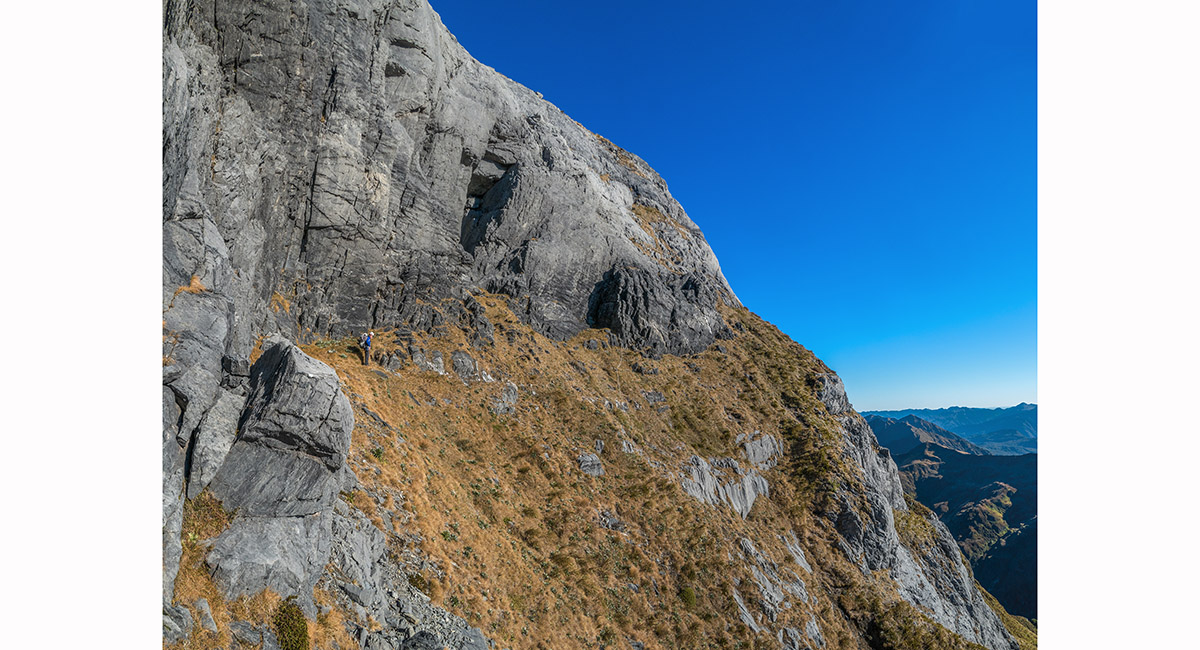
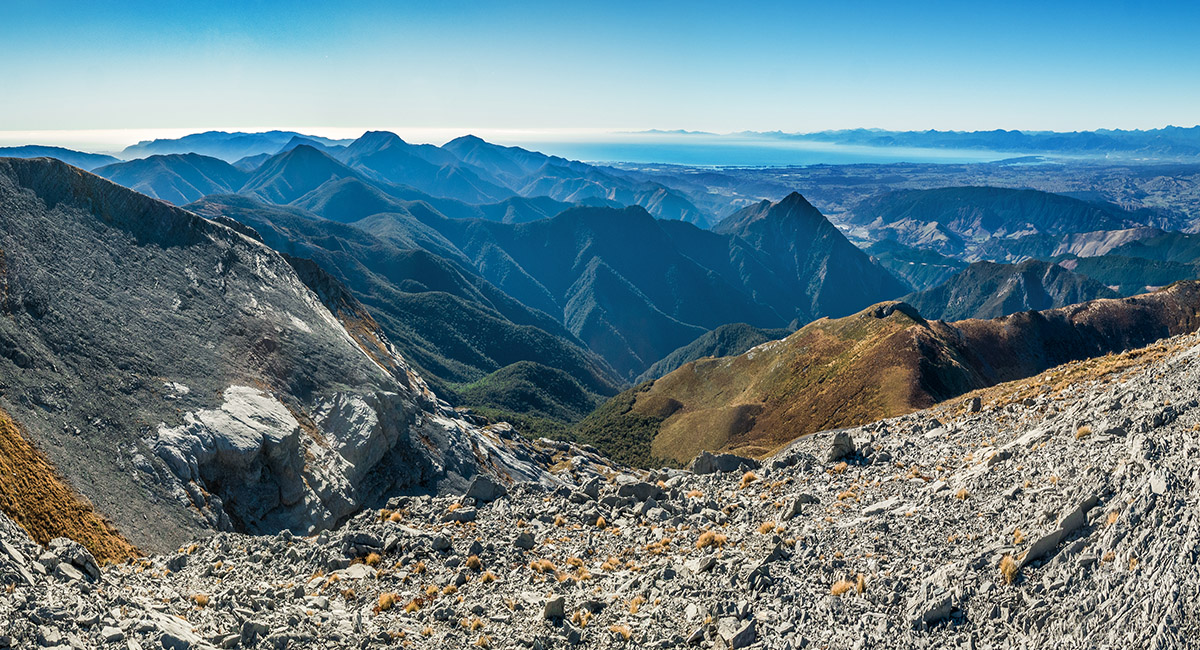
Looking back the way we'd come from beneath Pt 1753. On our way out next day we climb the sunlit face at centre to reach Pt 1732

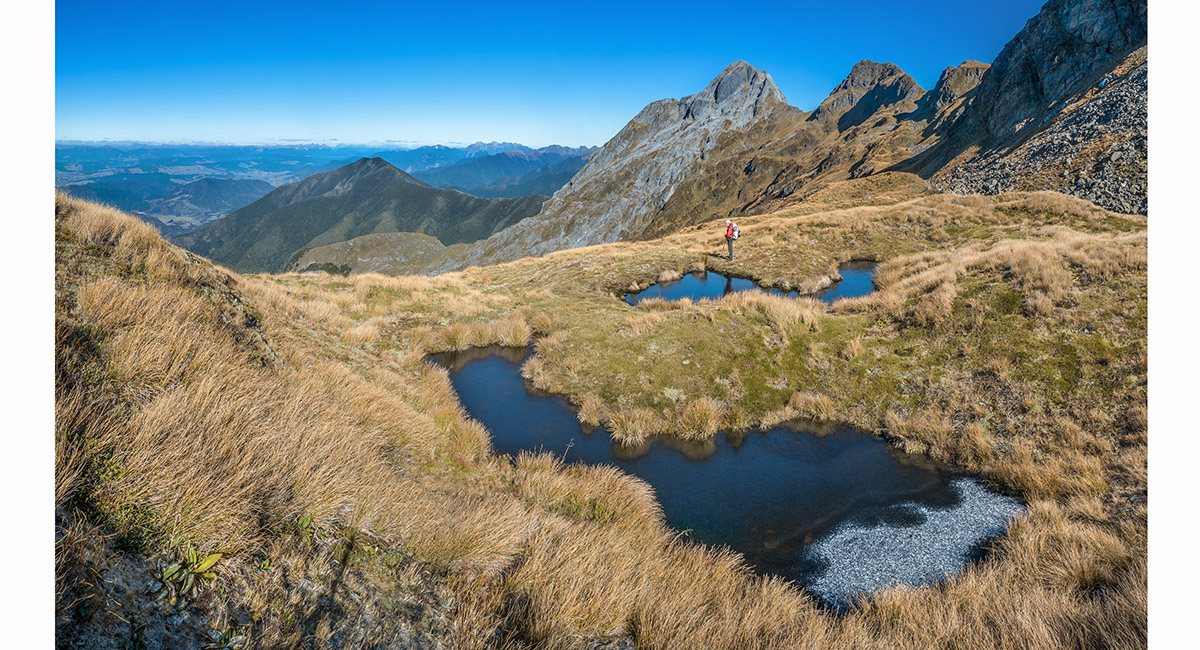
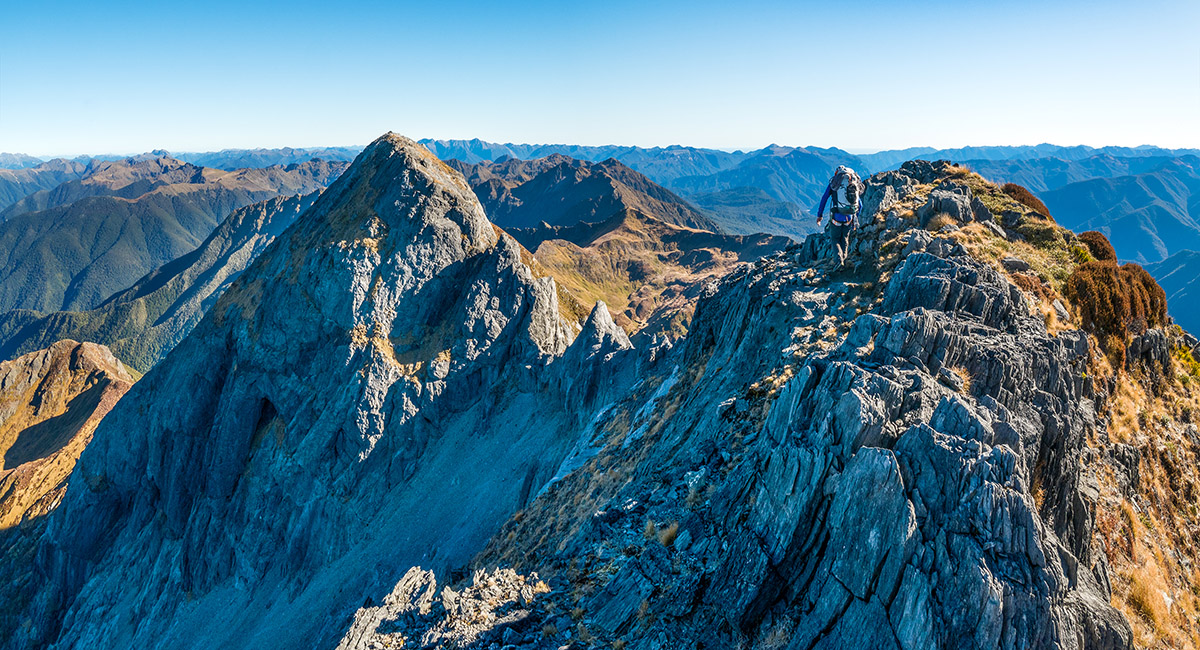
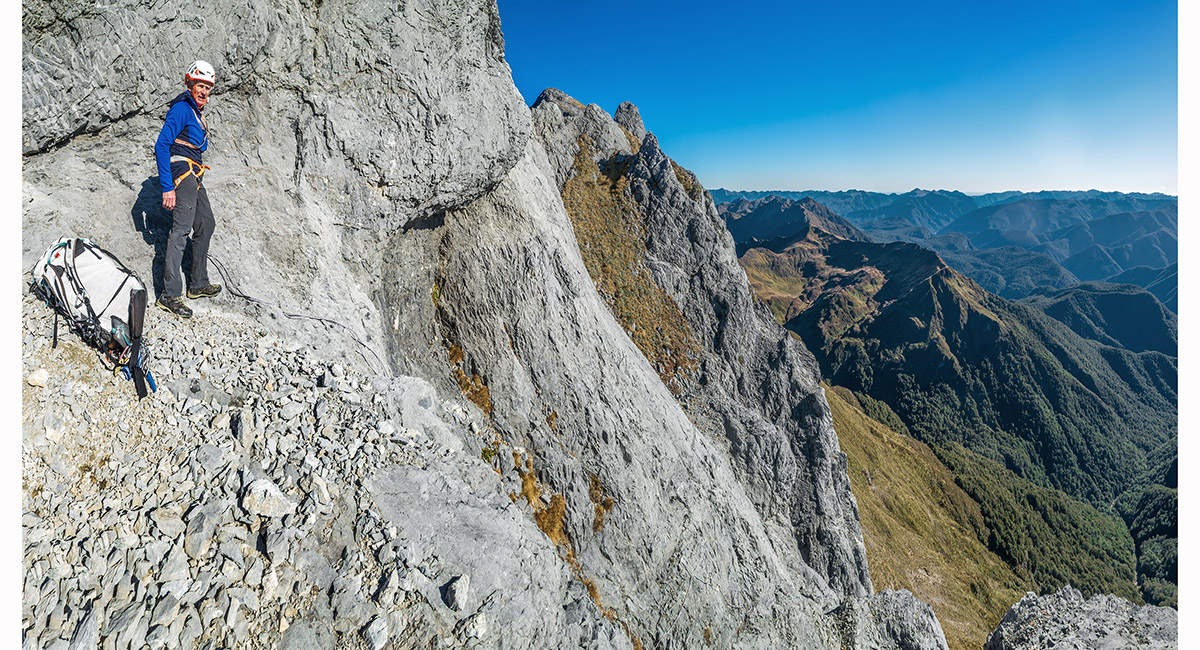
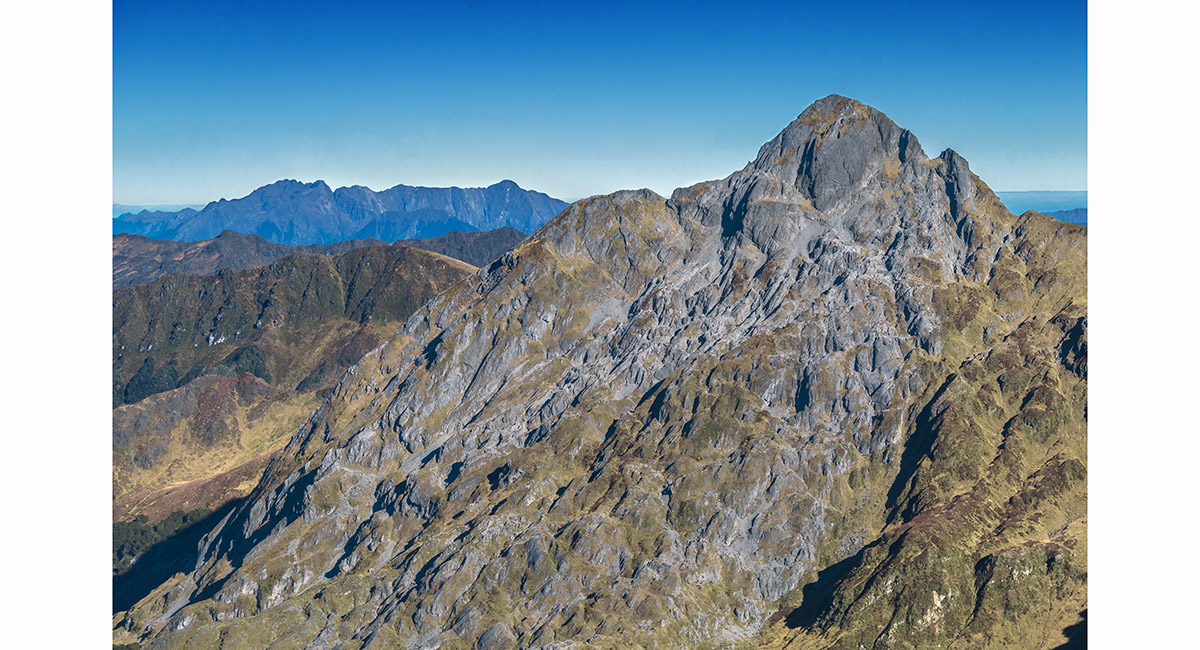
On the shelf beyond Pt 1753 at about 1,600m. North Twin is above Jim


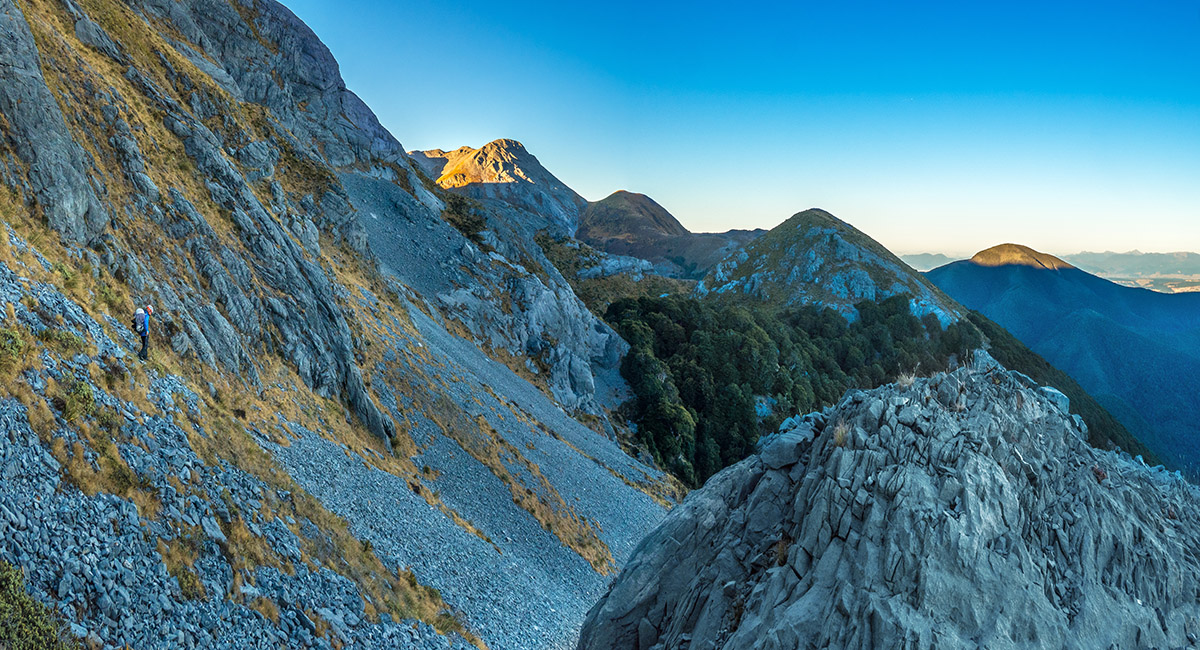
Traversing towards North Twin, roughly following the 1,600m contour

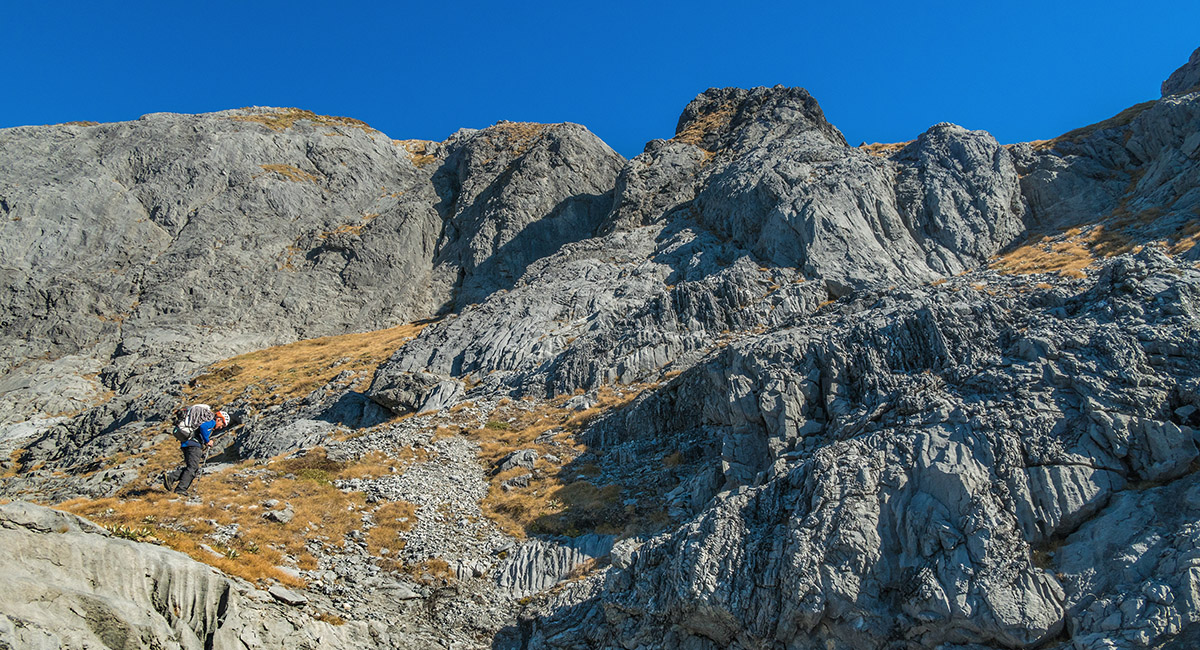
To reach the base of North Twin requires some undulating to get around spurs and bluffed areas


To reach the base of North Twin requires some undulating to get around spurs and bluffed areas

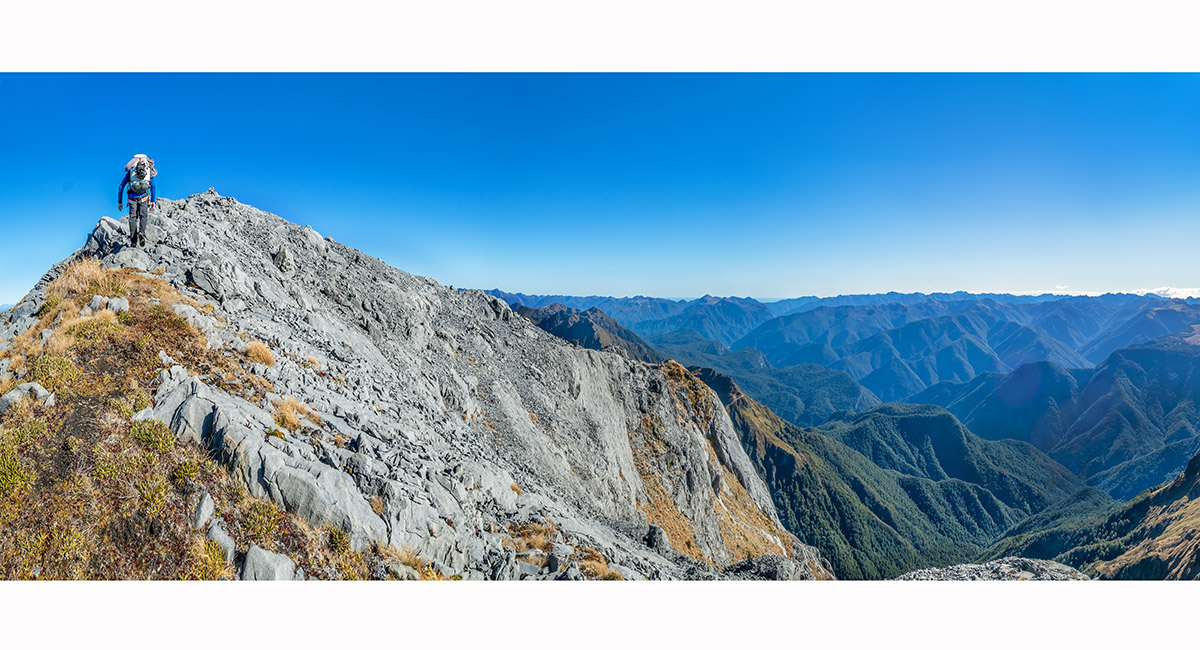
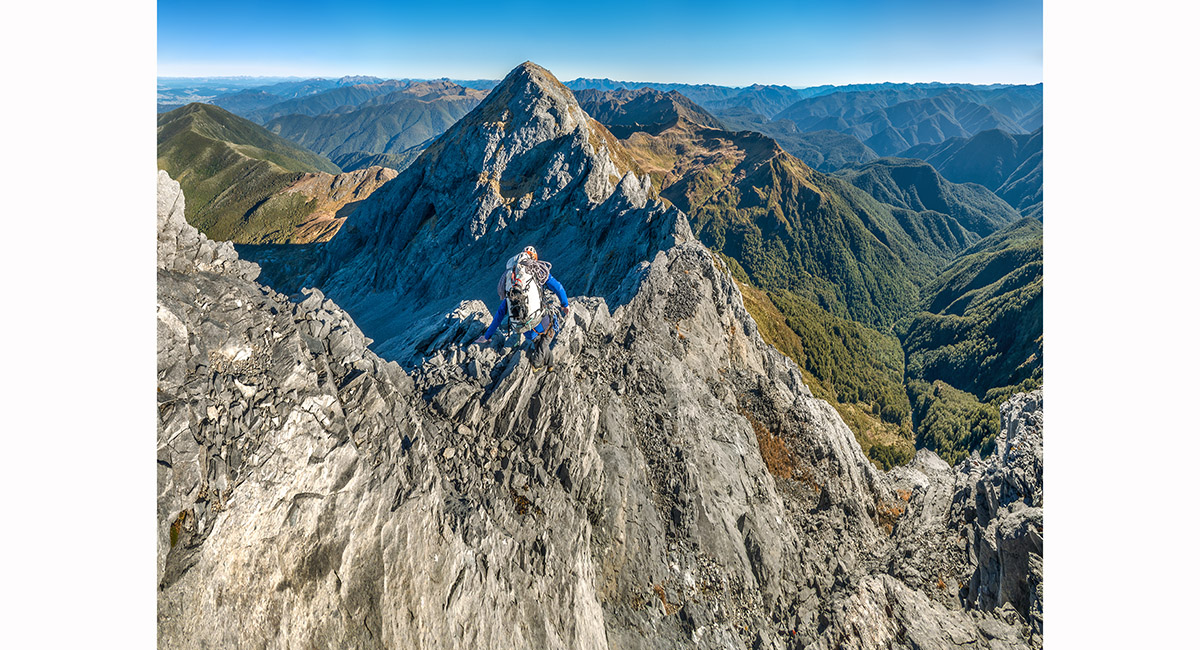
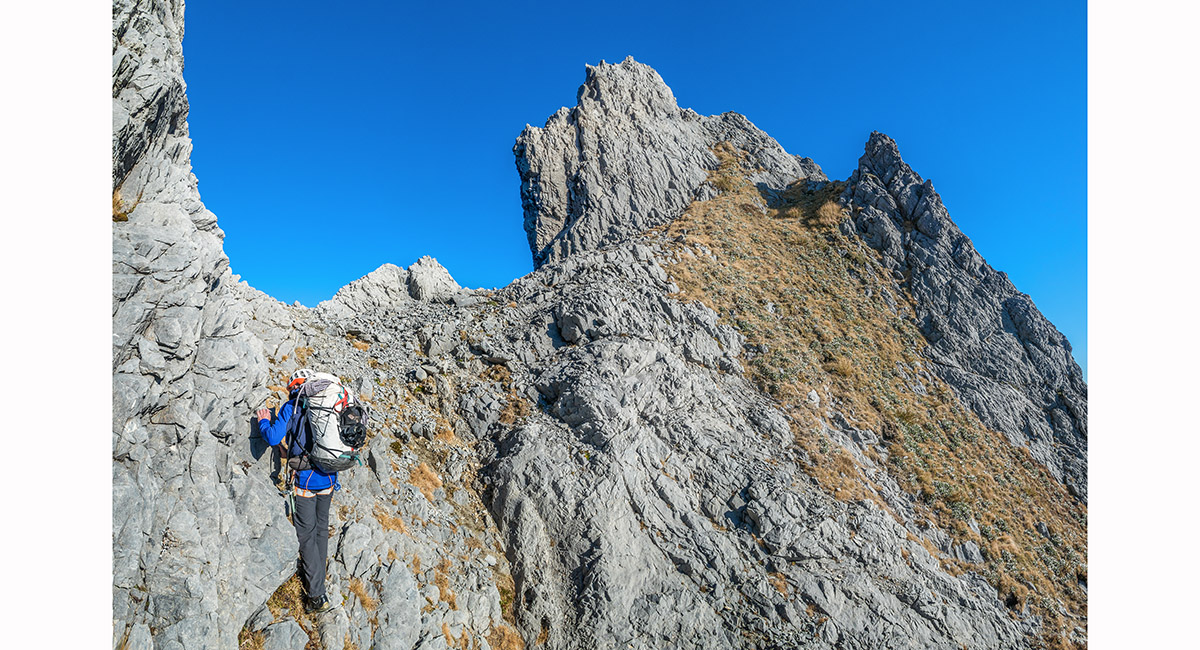
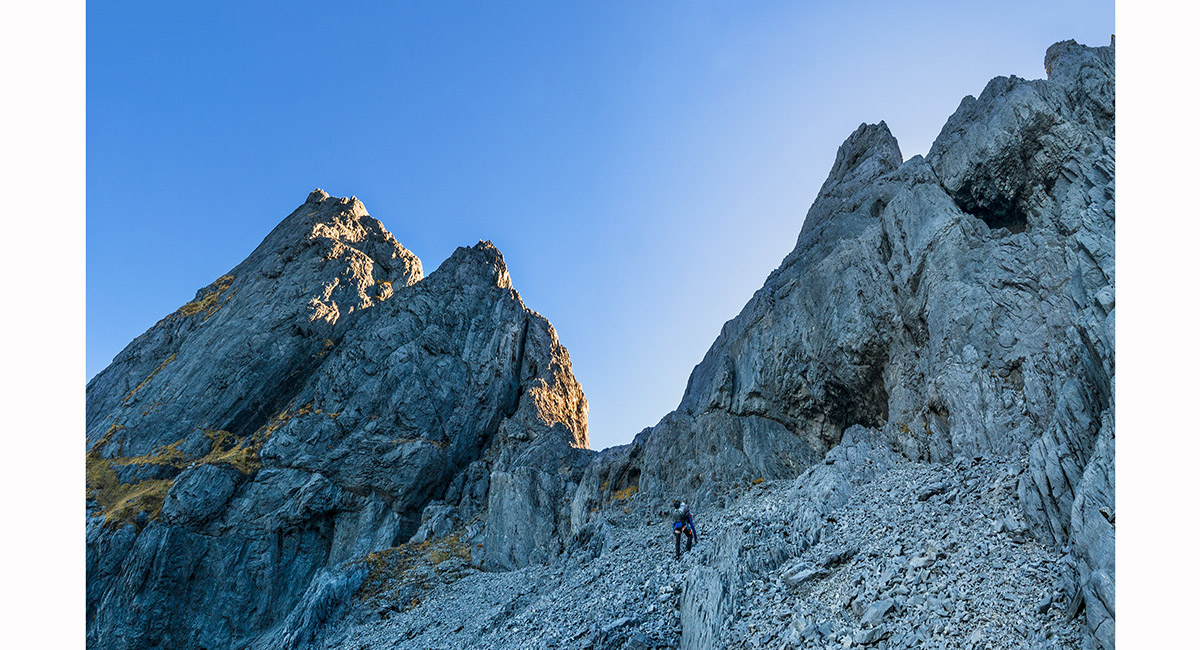
Heading directly up to the base of the North Twin north ridge route, here at about 1,650m

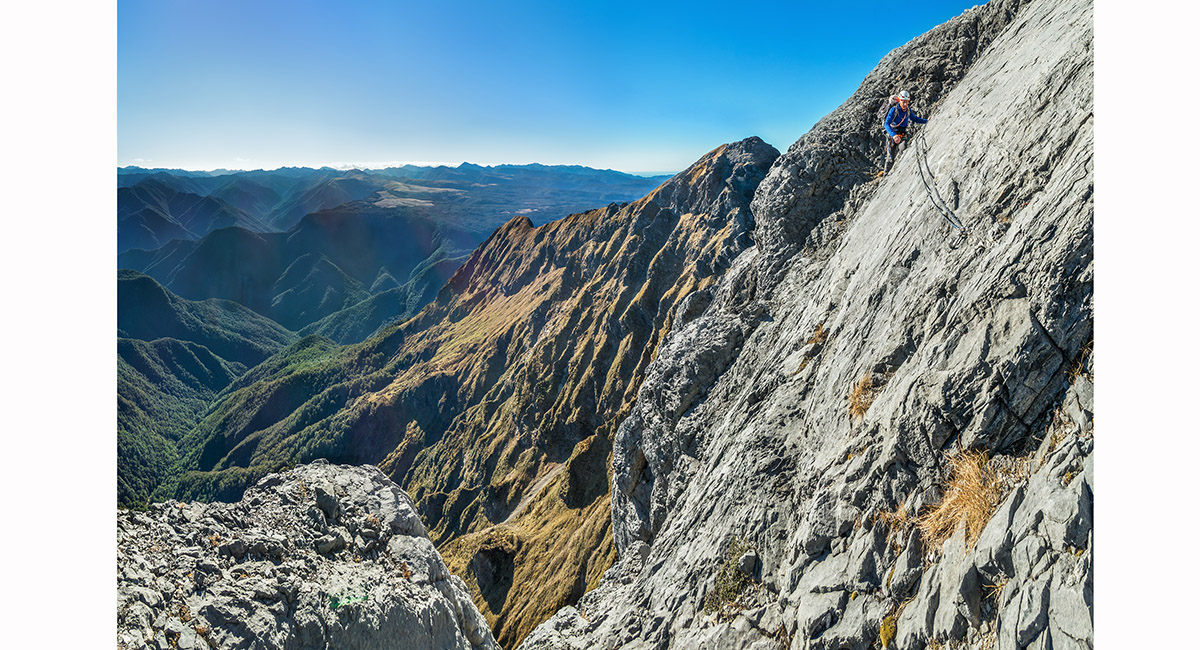
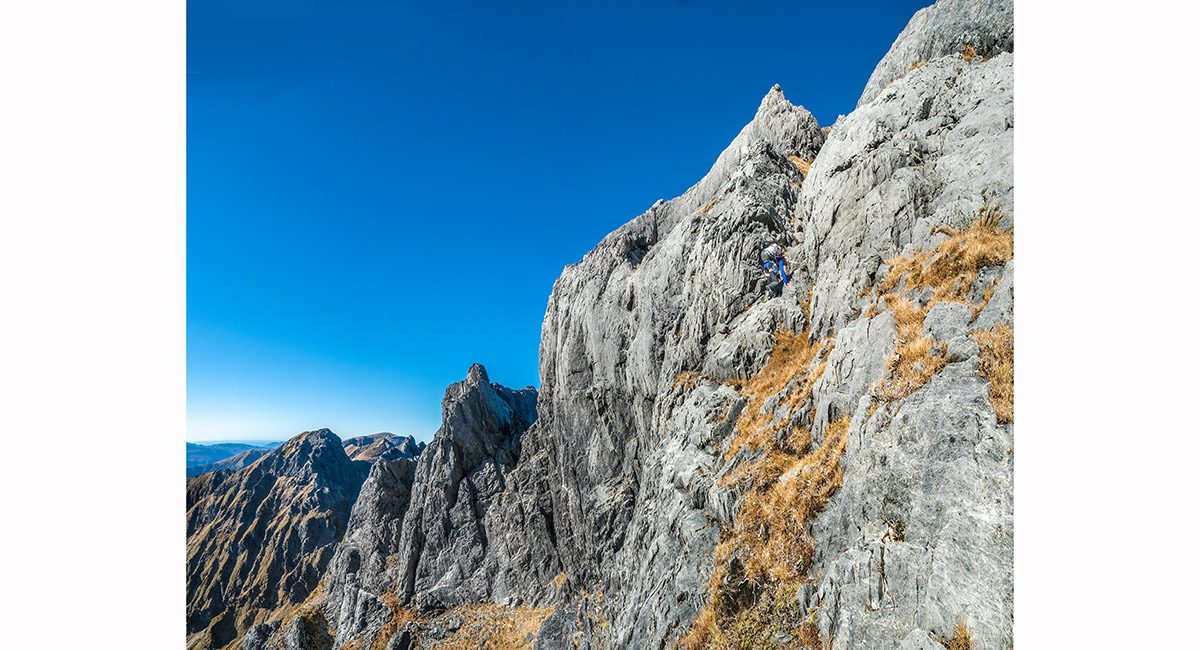
Now at about 1,700m the climb begins up the karst at centre, to pass over the black flat point right of centre, which gives access to the sunlit slope at centre angling up to the left

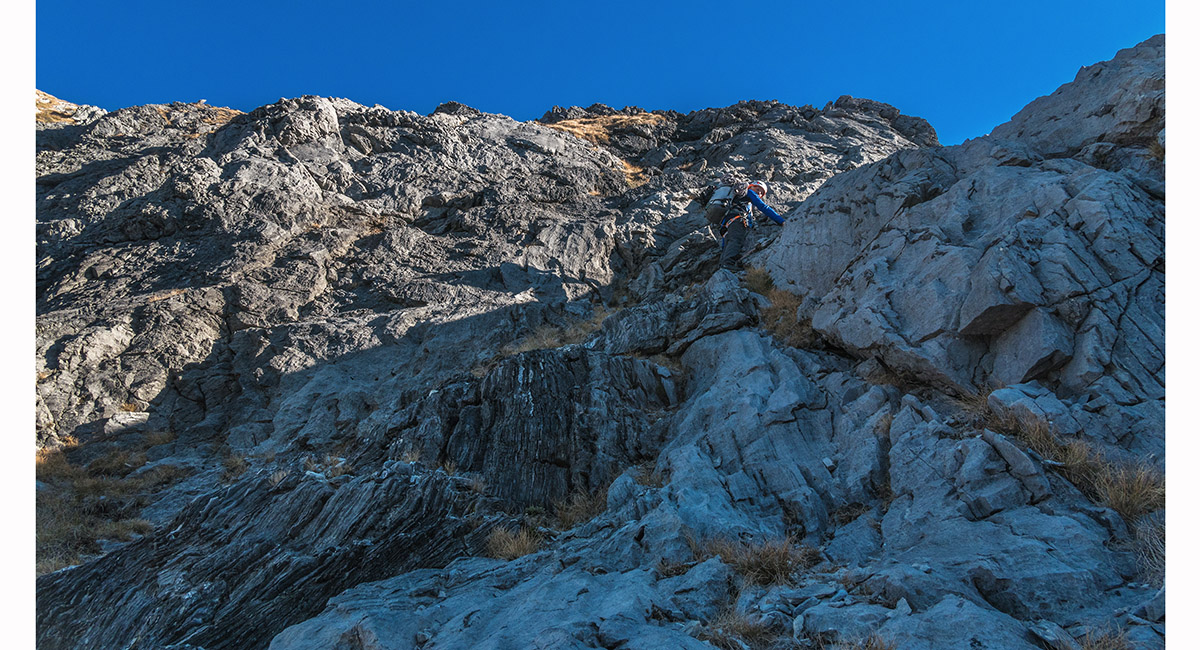
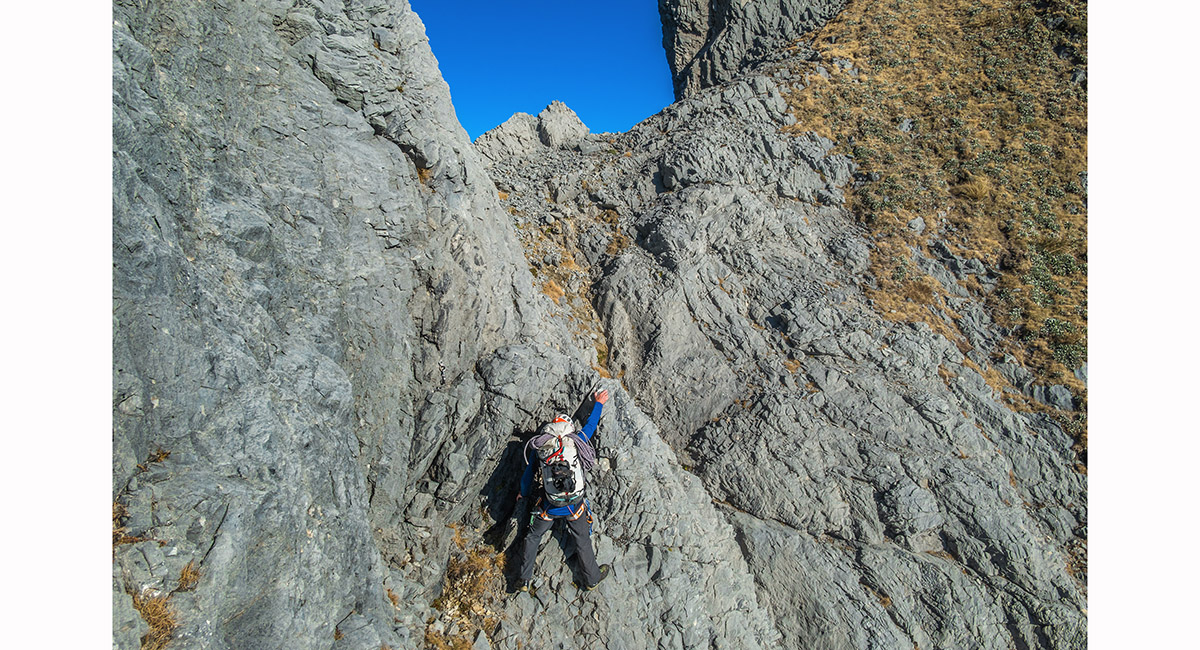
Climbing the initial karst section. Near here the first bolts appear, but there are plenty of positive hand holds available


At about 1,780m going over the top of the flat black section

Beyond the flat black section is a small vegetated spot before the climb to the summit

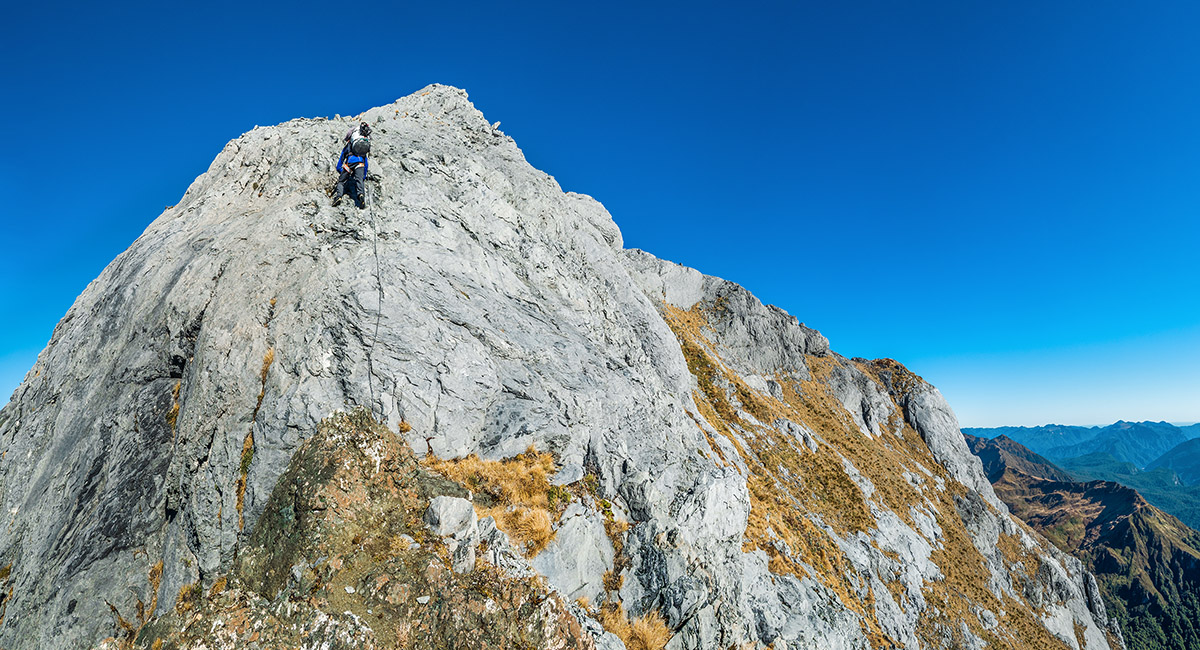
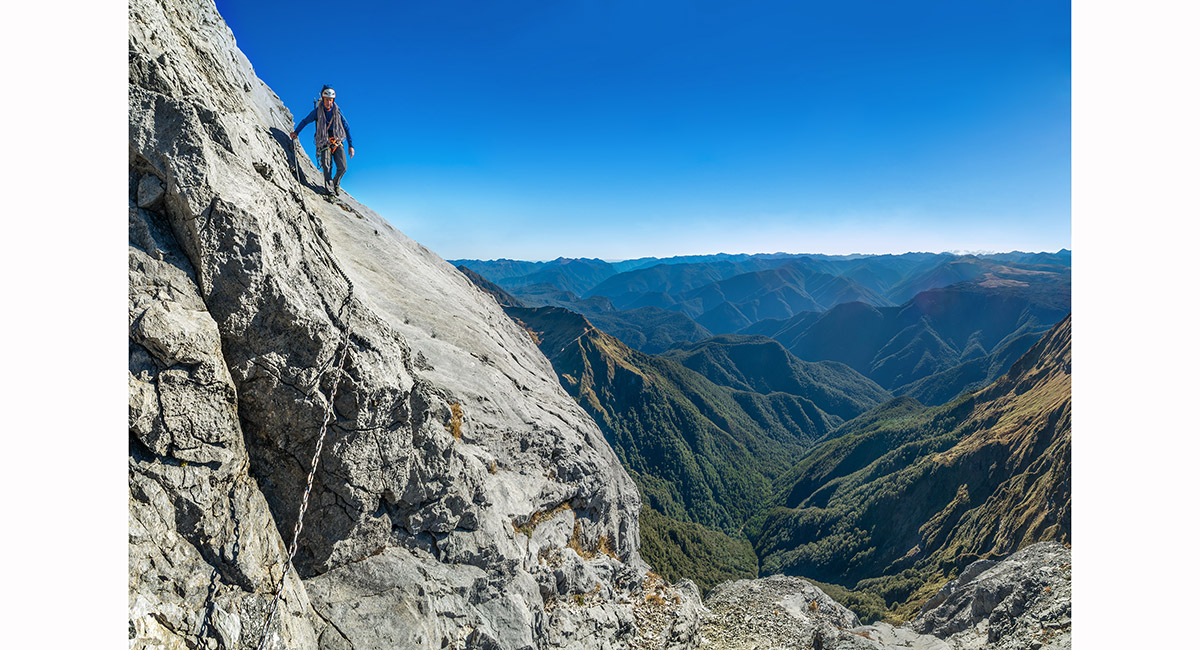
A chain has been installed for 15 or so metres up the steepest section of the karst leading to the summit, where hand holds are scarce

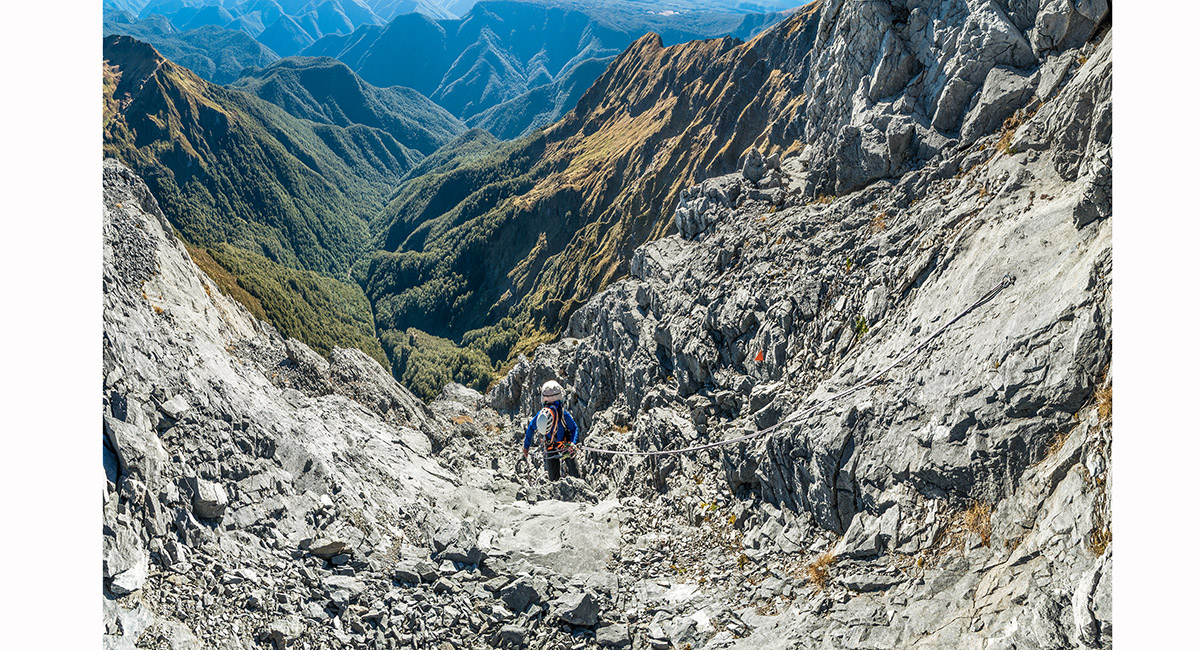
The view back down the route, with the chain at bottom left, which this angle makes appear less steep than it is

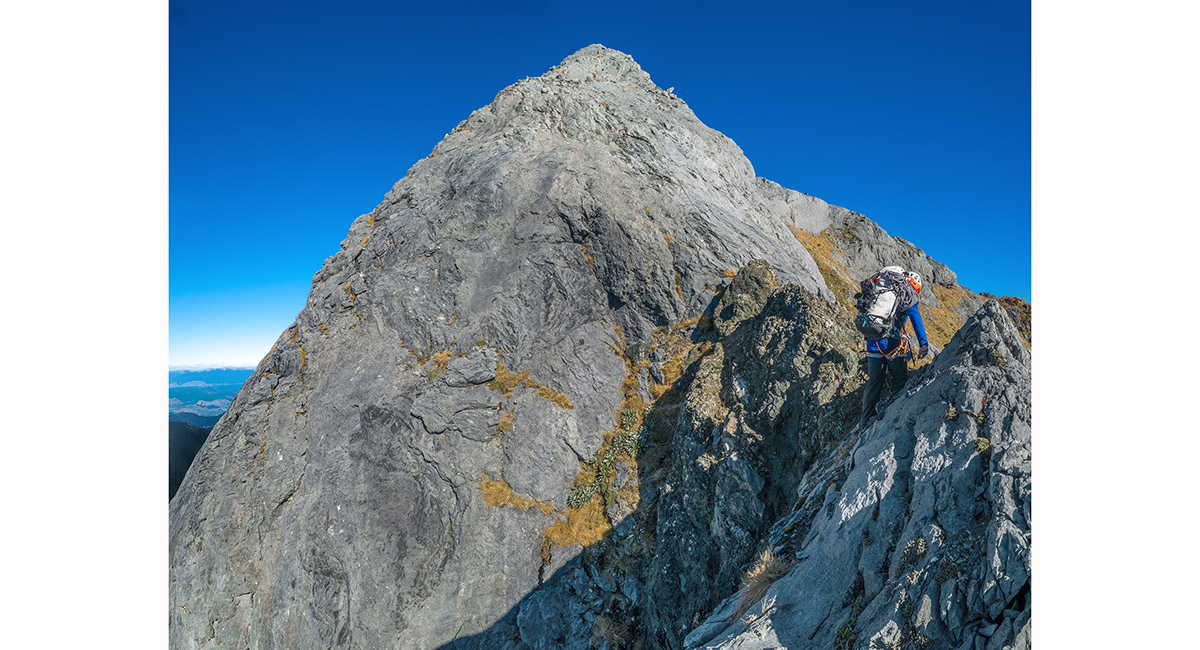
Approaching the flat summit of North Twin (1,809m)

A North Twin summit view northeast to Tasman Bay. Mt Arthur is on the left skyline and Paddy Ridge stretches out far right

A North Twin summit view north to Tableland and Mt Peel (1,654m, near left)

Beginning our descent of North Twin, with South twin just 13 metres lower, dead ahead

The terrain between the Twins is not straight forward. First we dropped west/right at this point to the top of a chute with a bolt at the top

It's possible to free climb the chute, but we had a rope and a bolt so an abseil was enjoyable. At the bottom of the chute is a cliff which first requires turning right to get past

After turning right this exposed bald section of karst is protected by a chain

Beyond the chain the route leads down to this little shelf where another bolt allows abseiling down an exposed 10 metre drop, before the route goes left in the direction of South Twin

Our second of two abseils we used on the full traverse. While the first was optional, for me at least, this one was essential. This drop is very exposed

Beyond the second abseil we continued towards South Twin across this cable and chain protected bald section

Ahead is a small notch that gives access to the east side of the ridge between North and South Twin. To reach it requires this little move. There is a bolt above Jim's hand

About to cross over from west to east

The east side between the Twins is a scree face giving some respite from the more exposed terrain. Paddy Ridge is at centre and South Twin right

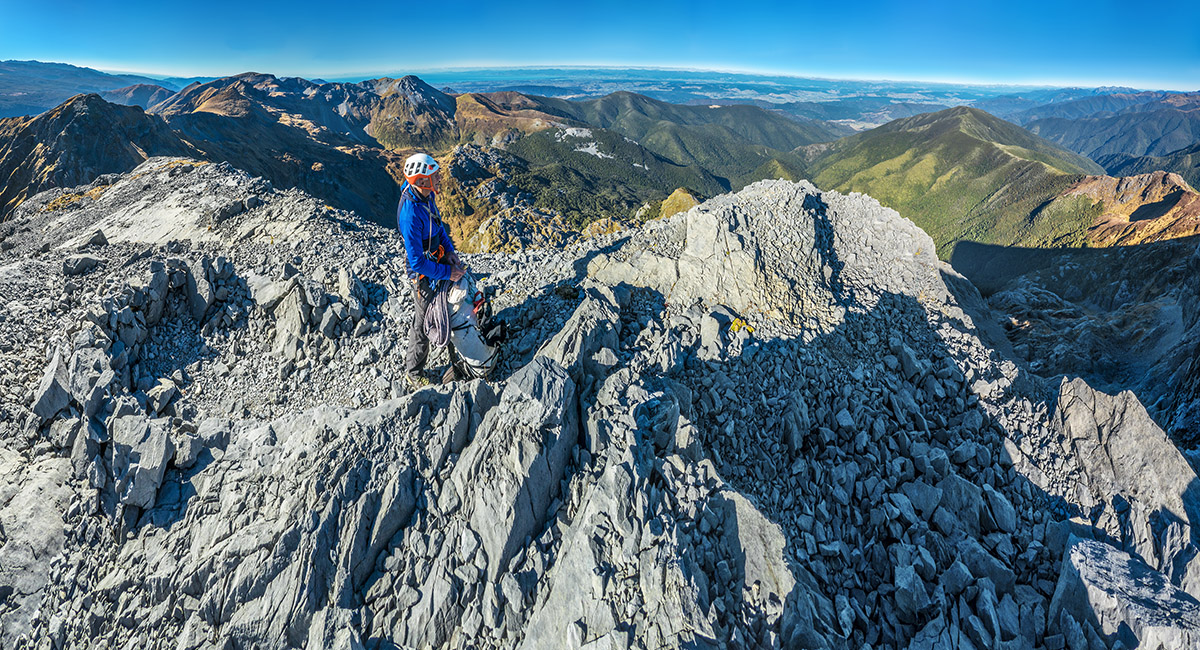
Jim approaching the bivvy cave entrance


Inside the bivvy cave (1,750m). We had planned to stay here but were going well, so opted to get South Twin done in the dry afternoon conditions

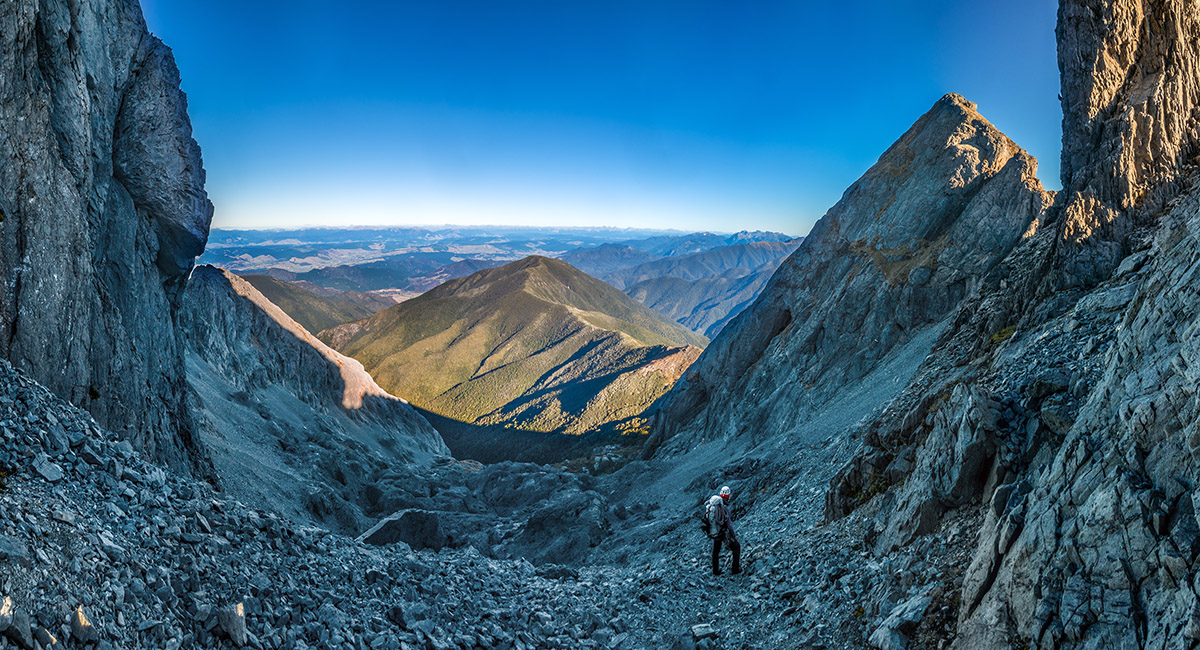
The view southeast from the bivvy cave

A short trudge south/left from the bivvy cave ends in cliffs which require a short scramble up to the Hole, just visible here right of centre

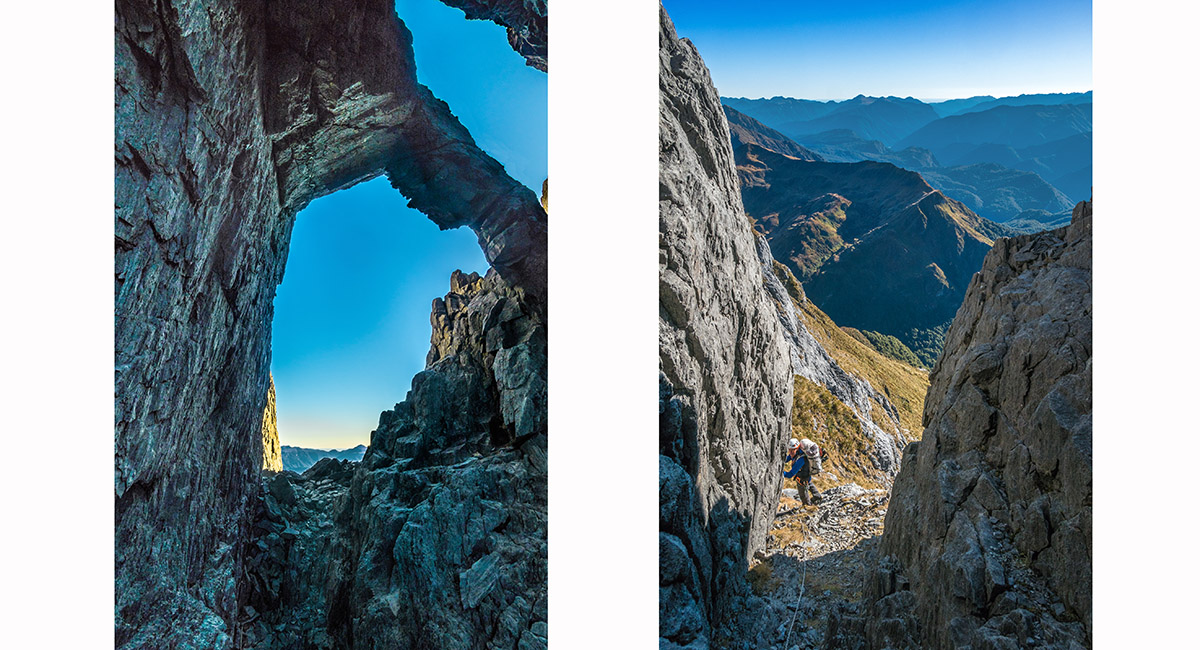
Through the Hole the route crosses over to the west side again. A chain is installed on the west side to ensure you don't slip and drop off the cliff beyond where Jim is standing

Between the Hole and the final climb up to South Twin, which is hidden behind the ridge dropping right, is a steep and exposed section of tussock/snow grass. There is a rope fixed at centre here. Some feel that this section can be the most un-nerving due to the slippery surface

Looking back across the tussock/snow grass section. The Hole (hidden) exits mid-right

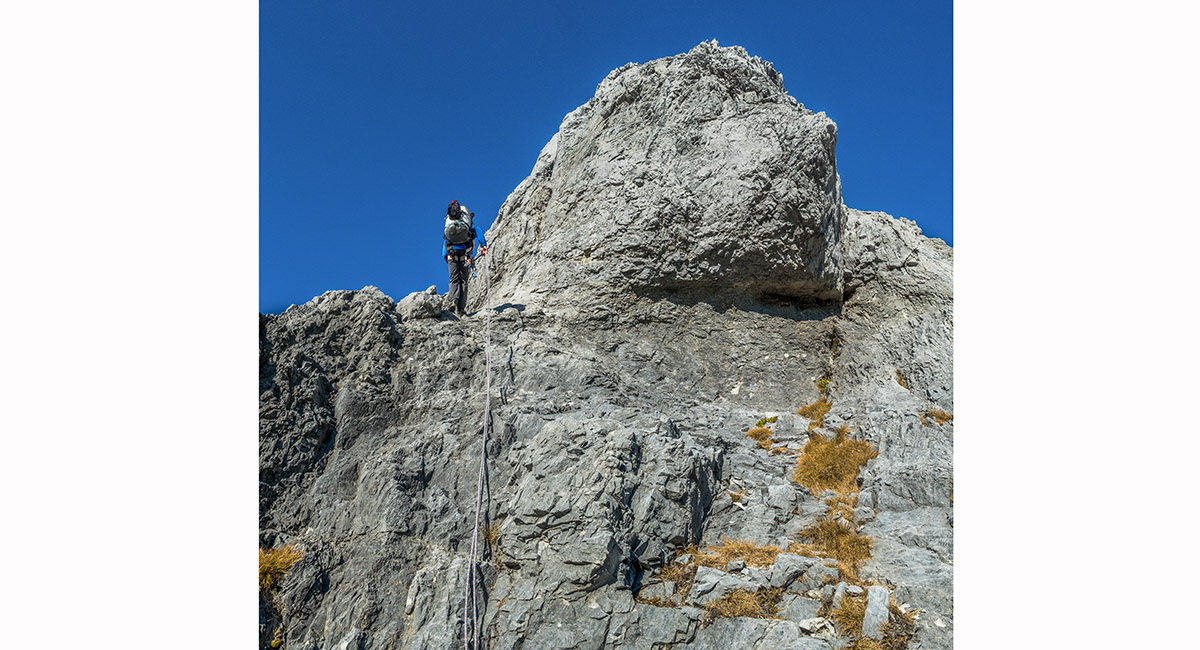
Now on the final climb up a steep chute to the summit of South Twin. At about the mid-point is a choke stone with a bolt fixed


A summit view from South Twin (1,796m) back northeast to North Twin (1,809m)

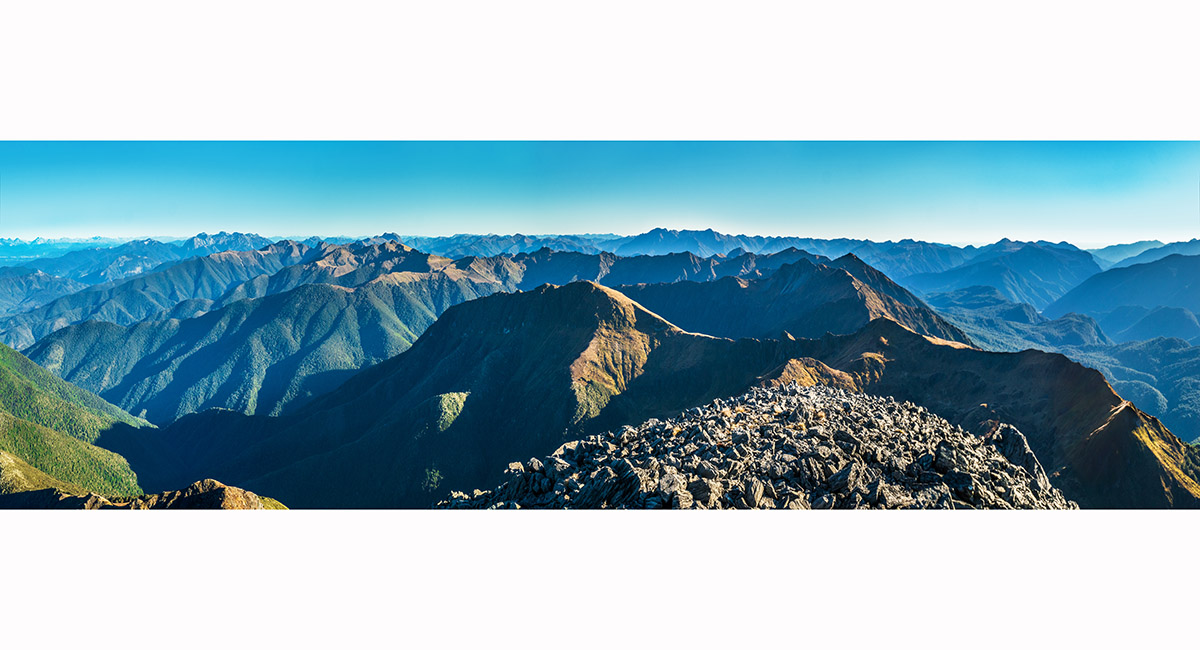
A summit view south and west from South Twin, over the west ridge. Mt Owen (1,875m) is on the left skyline, with Mt Patriarch (1,701m) a little further right

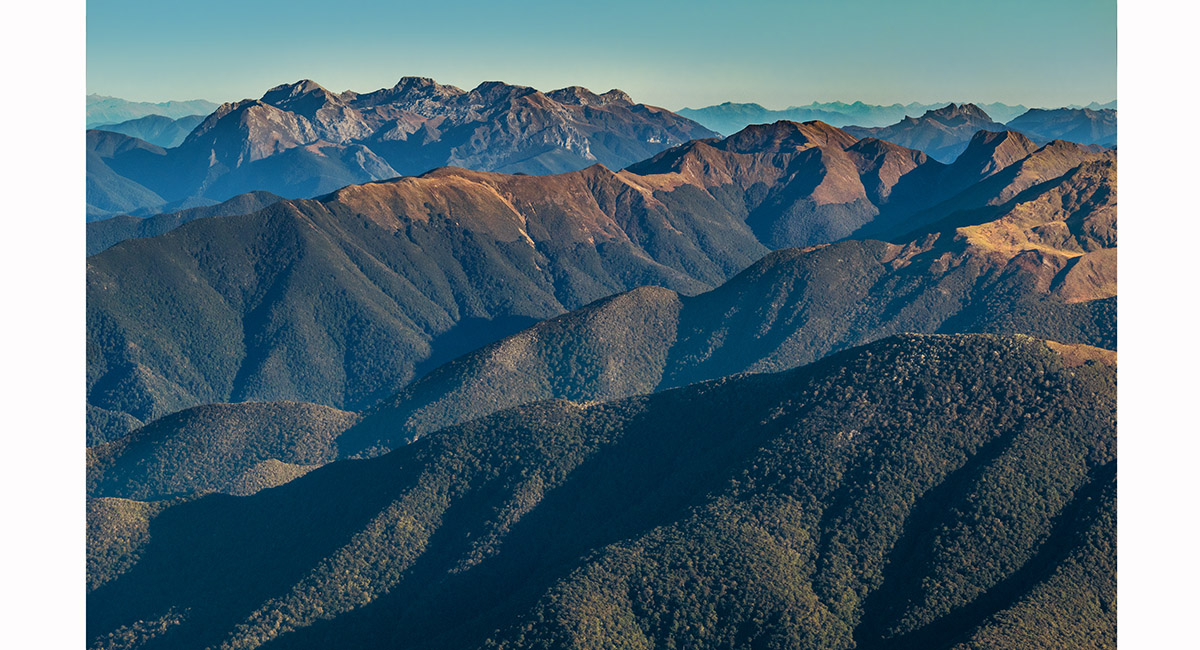
A closer look at the Mt Owen karst group. From left, Mt Bell (1,857m), Mt Owen (1,875m), Culiford Hill (1,756m), Replica Hill (1,822m) and Pt 1763

A view back up the west ridge of South Twin. Mt Arthur distant centre and Tableland far left

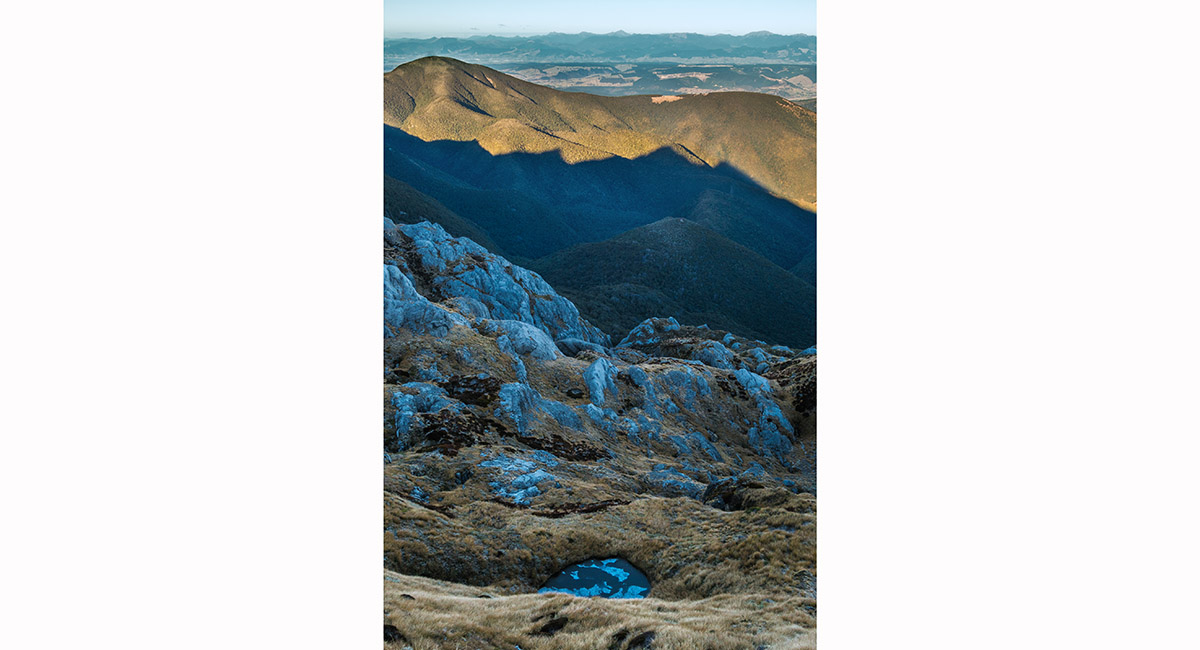
A small tarn below the spur that diverts south from the west ridge at 1,600m. The tarn is at about 1,460m

Picking our way through the magnificent karst terrain beneath the Twins on the south side. Blue marker poles greatly help route finding

Here at about 1,250m, about to cross the base of North Twin's southeast ridge to gain access to Ellis Basin. The sunlit peak left of centre is Pt 1732, south of Winter Peak

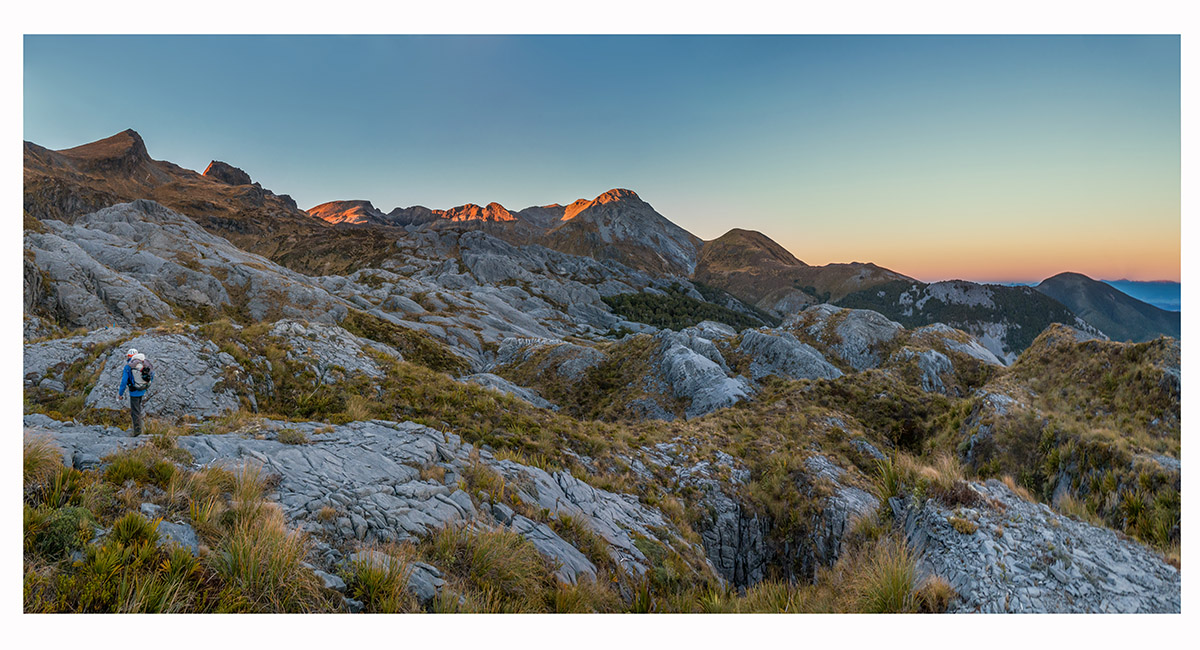
At dusk, crossing the karst labyrinth between us and Ellis Hut. Mt Arthur is glowing at left, Winter Peak in shadow and Pt 1732 glowing at centre

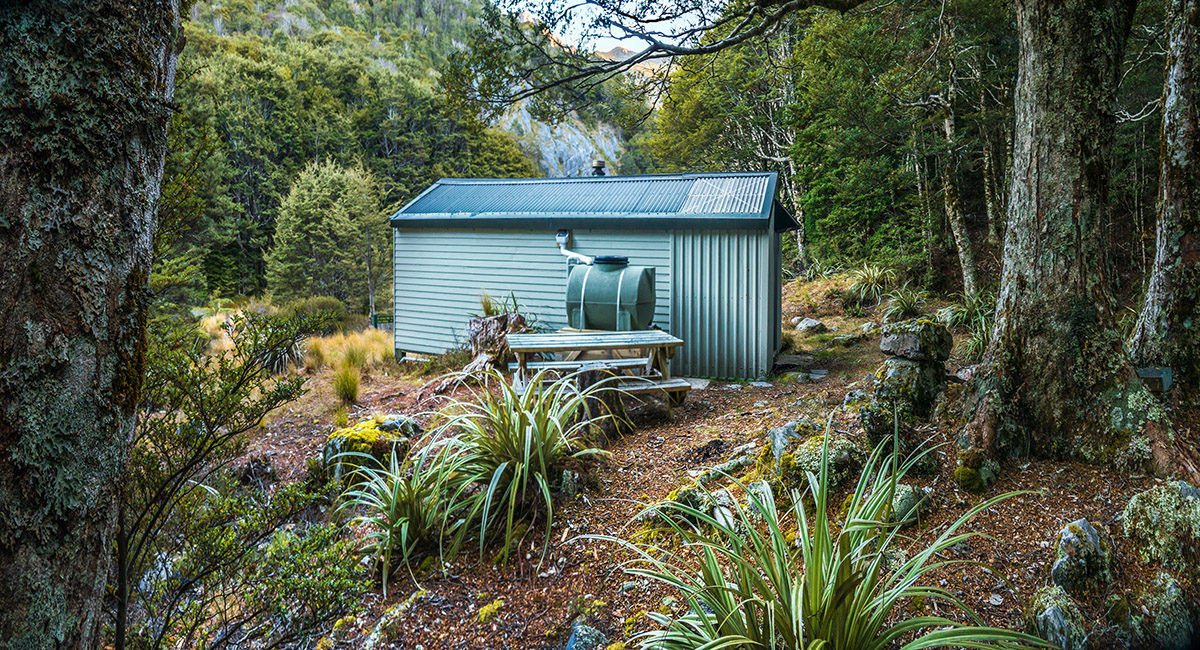
Ellis Hut (1,100m) before setting off on day 2

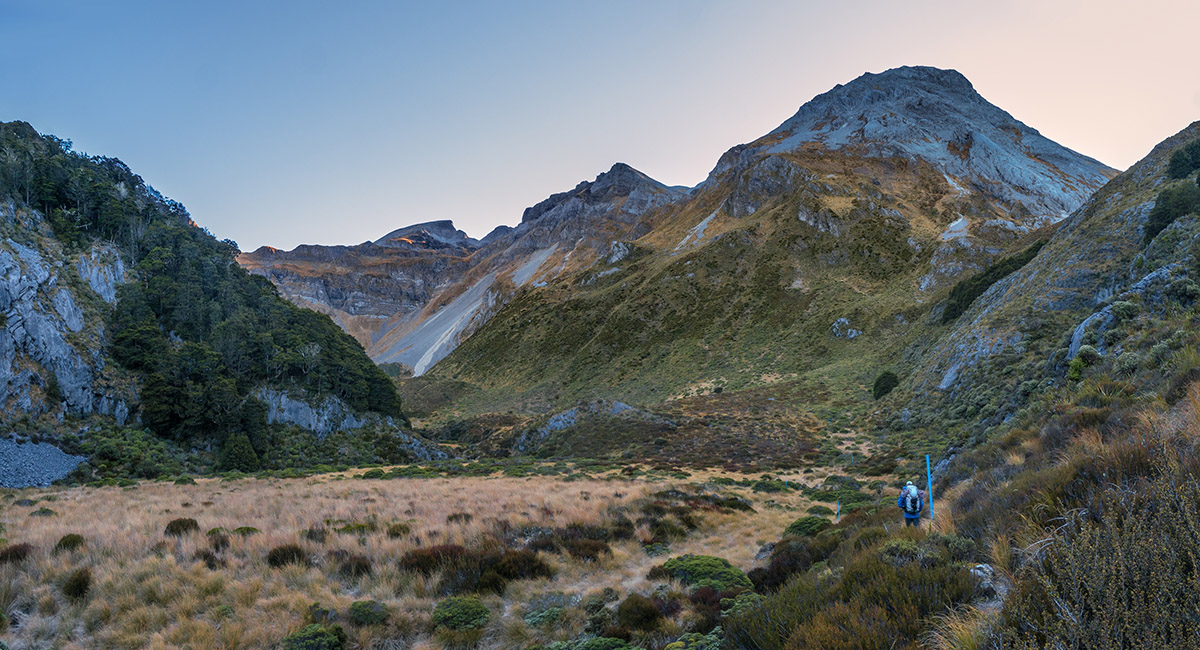
Ellis Basin Route ahead, with Pt 1732 at right and the half-dome profile of Mt Arthur left of centre

North Twin far left, with our previous day's approach route stretching right to Mt Arthur

At about 1,540m, the point where we diverted east/right to climb to Pt 1732 (far right)

Just beneath Pt 1732, looking back west

A view northeast from Pt 1732 to Tasman Bay. Lodestone, Hoary Head (overshadowing Crusader) and Mt Campbell are mid left

A closer look at North Twin and our route far right, just left of the notch on the right skyline. Mt Kendall (1,762m) is on the left skyline

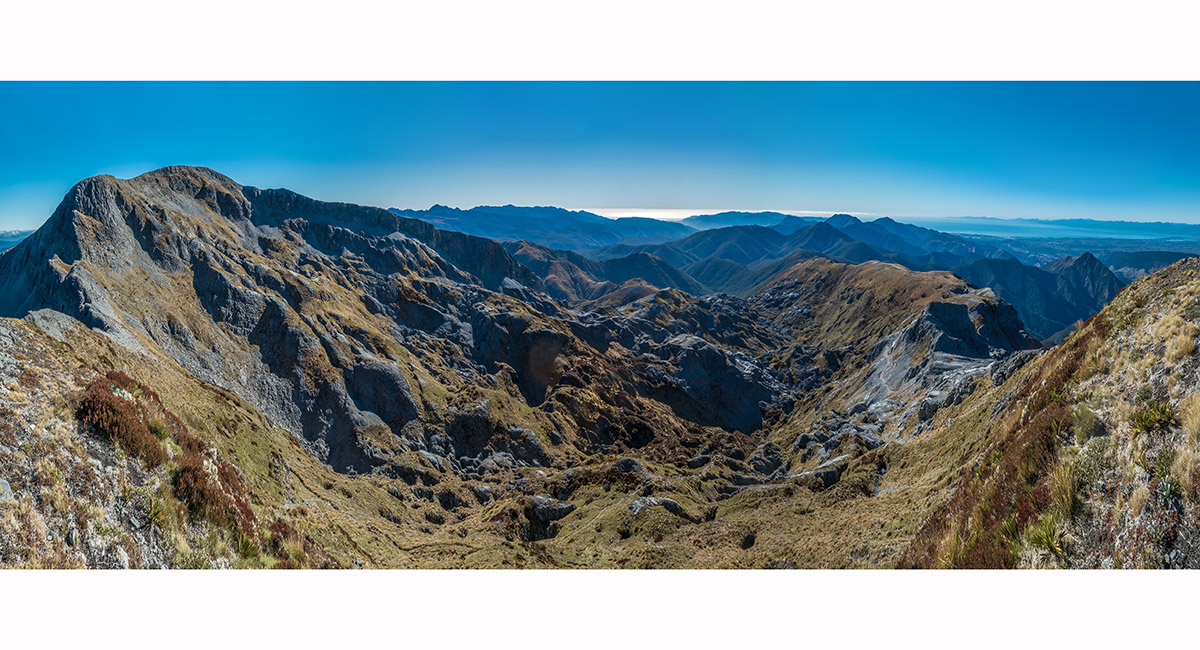
The big view west from Pt 1732

The big view north to Mt Arthur, from Pt 1732

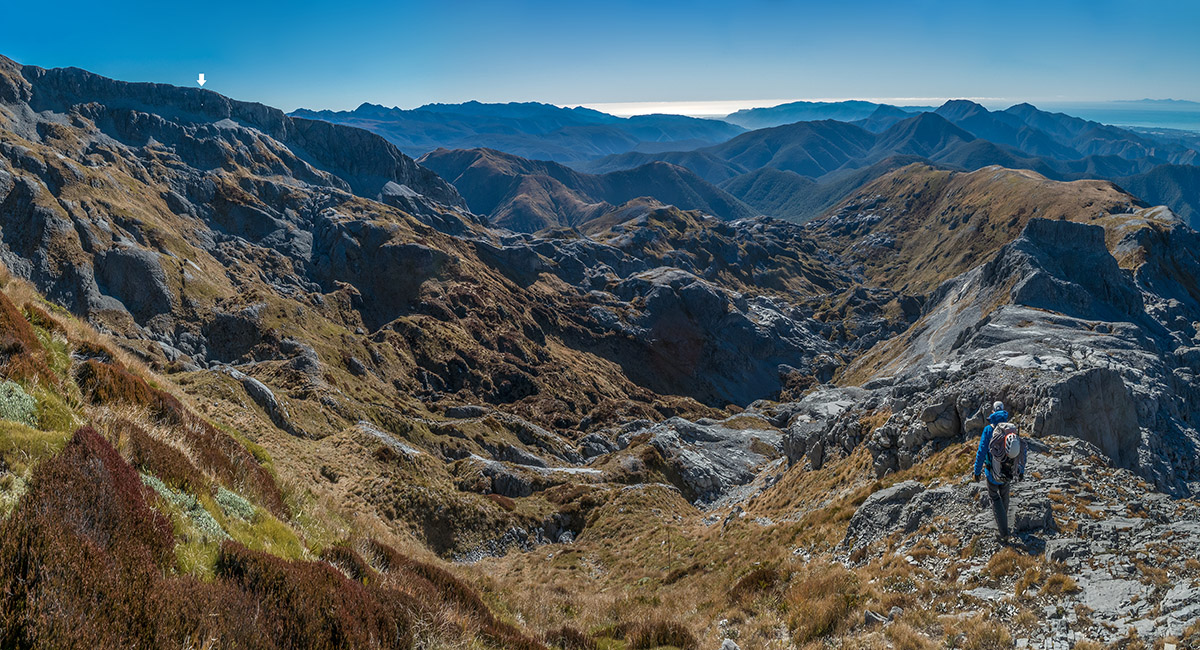
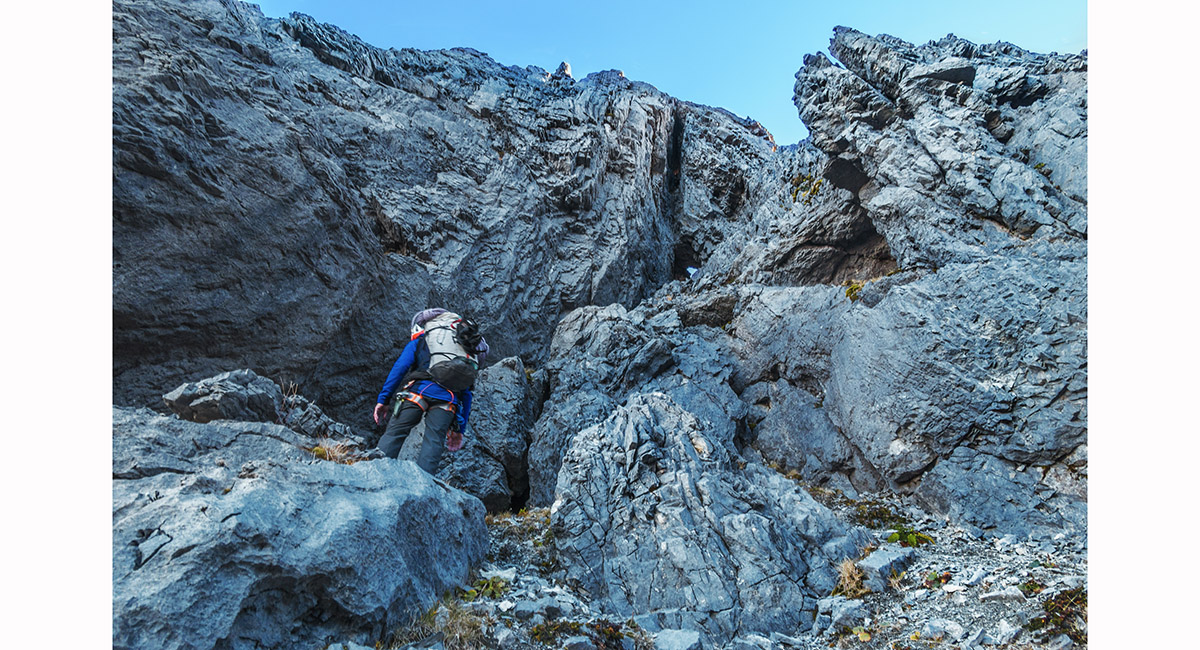
Another hole (see white arrow top left), this time in the northeast ridge of Mt Arthur at about 1,700m

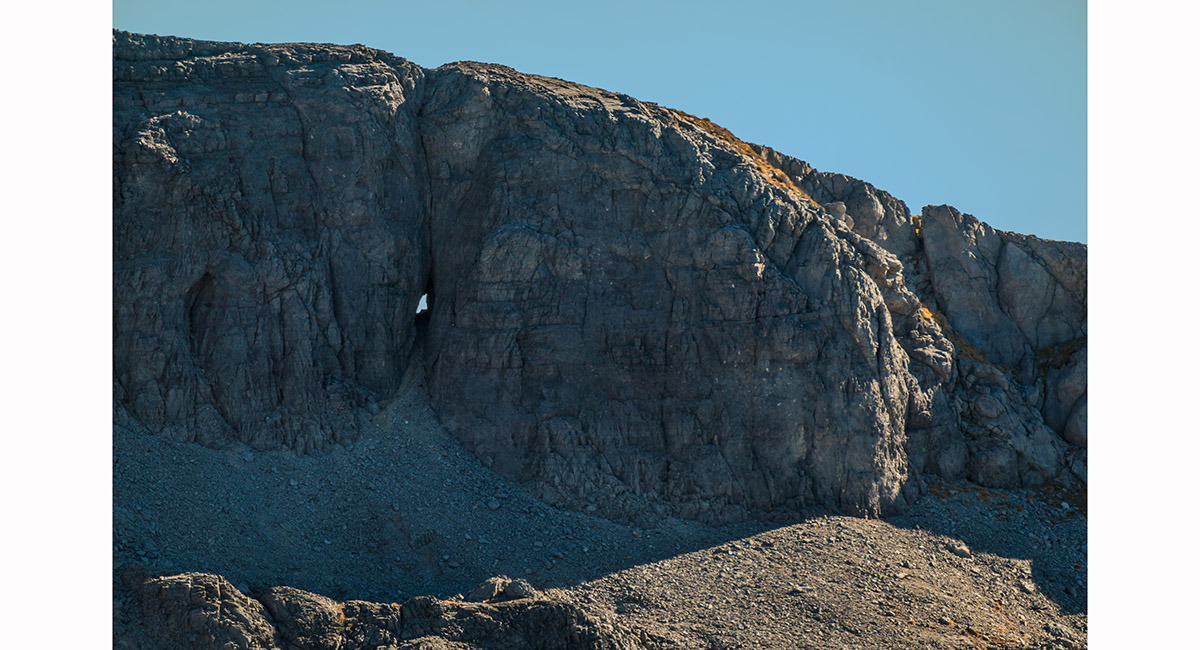
A closer look at the hole in the northeast ridge of Mt Arthur

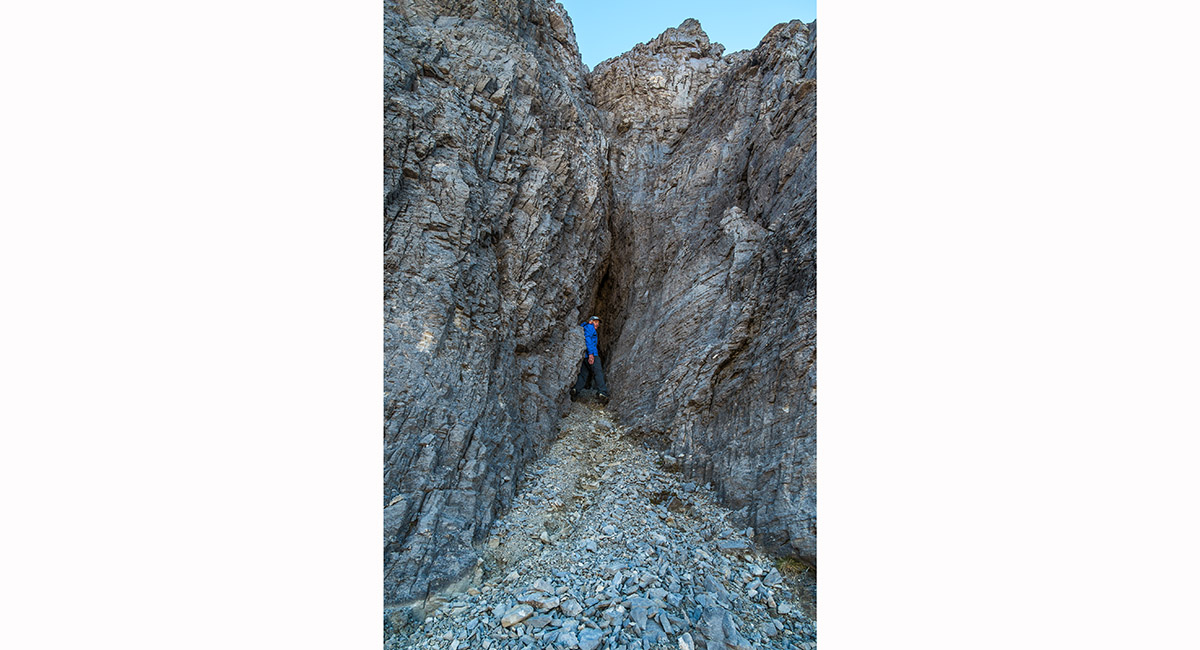
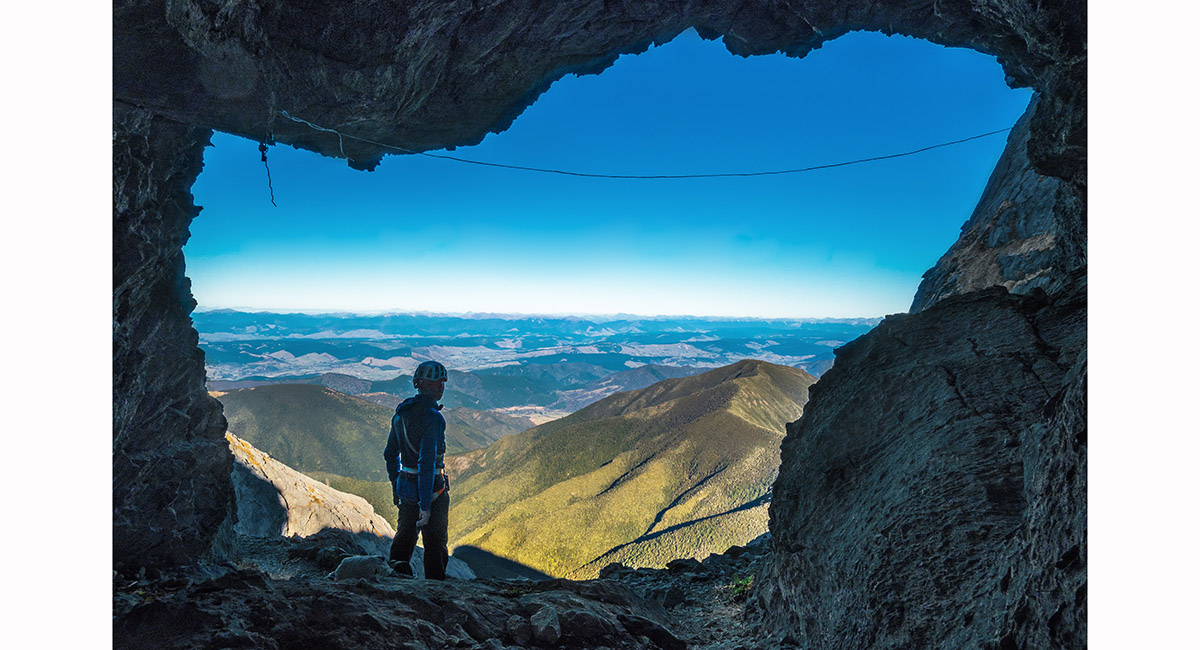
Jim about to dissappear into the east side entry to the hole

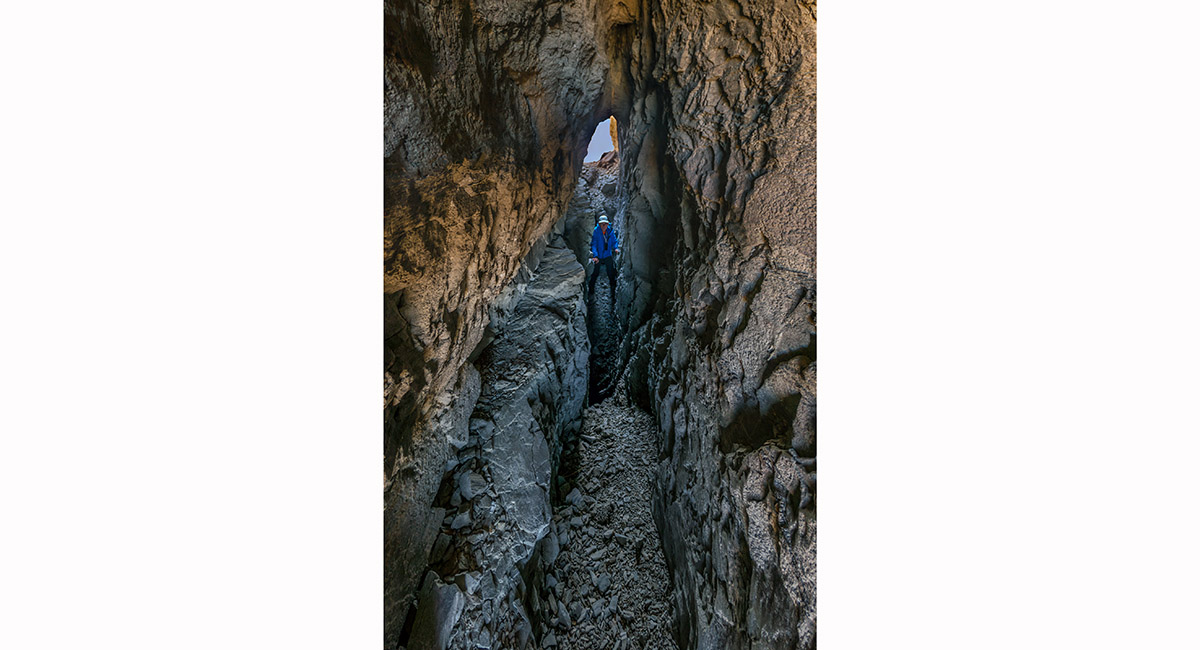
Looking through the hole to the west side exit. At the bottom of the hole is a sink hole best avoided

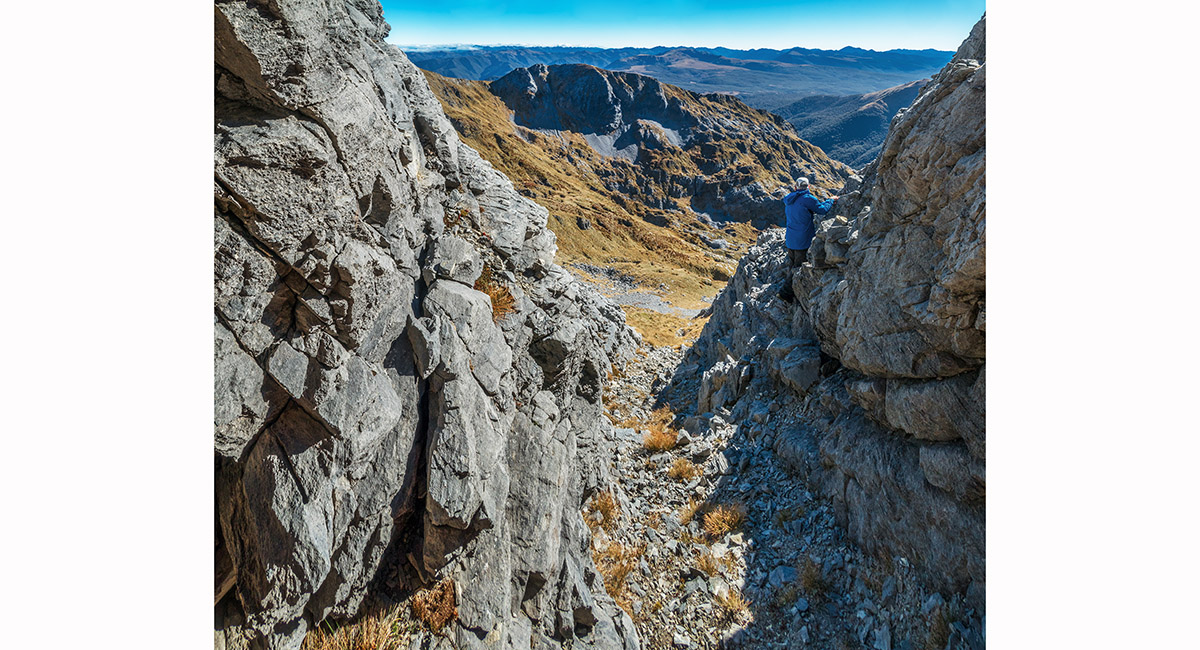
The view to Gordons Pyramid, from the Hole's west side exit

Read about it Kahurangi spice NZAC Journal winter 2024
To order a print or web resolution file of any image you see in this slide show, just right click the image, click “Copy Image URL” and paste in to the “Your message” box of our Contact Us form. Please also note, for each image, if you want a print or web resolution file. We will get back to you as soon as possible to confirm price and payment details.
Open Contact Us in a new window to paste Image URL(s) easily