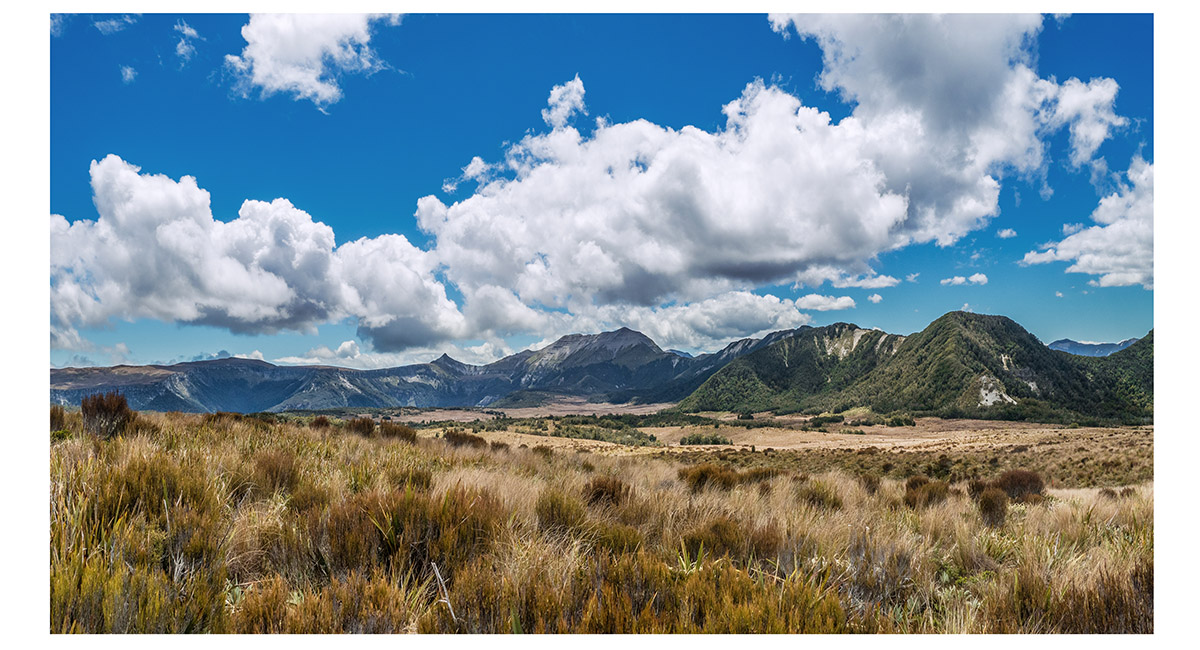
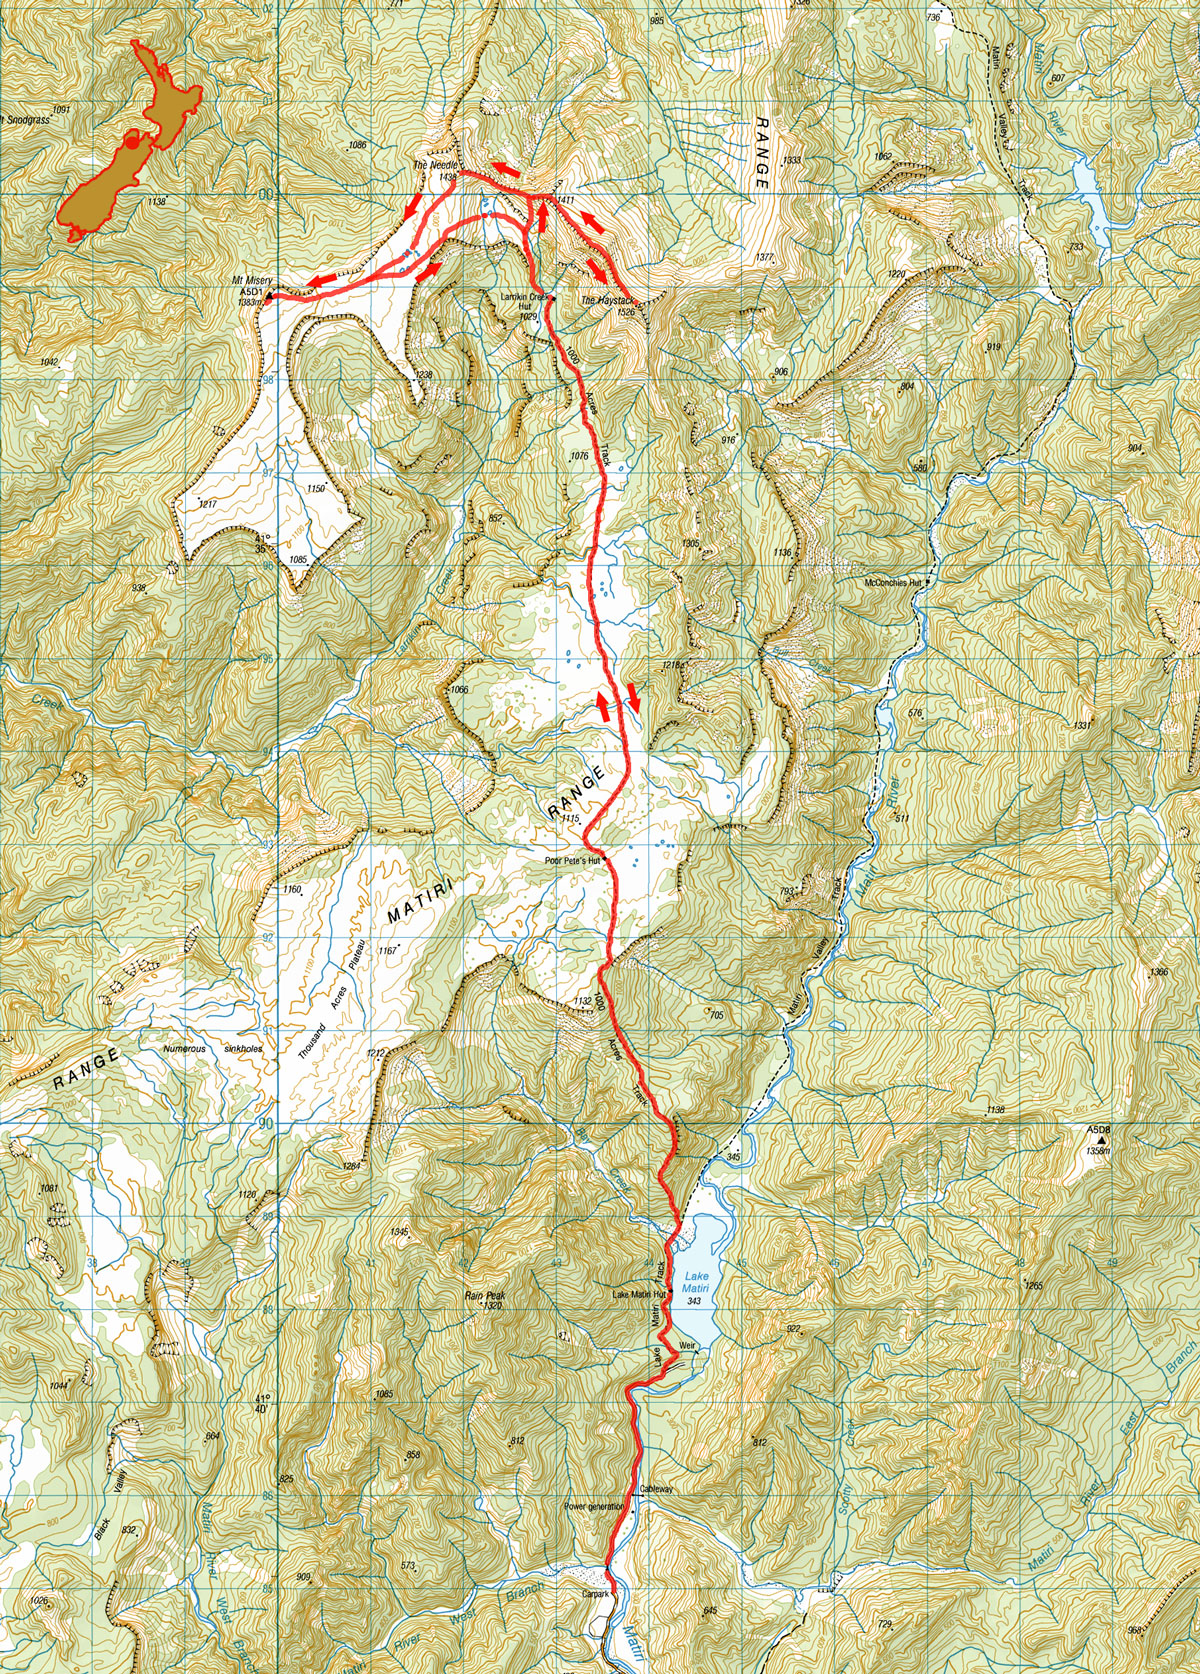
1000 and 100 Acres Plateaux, December 2024
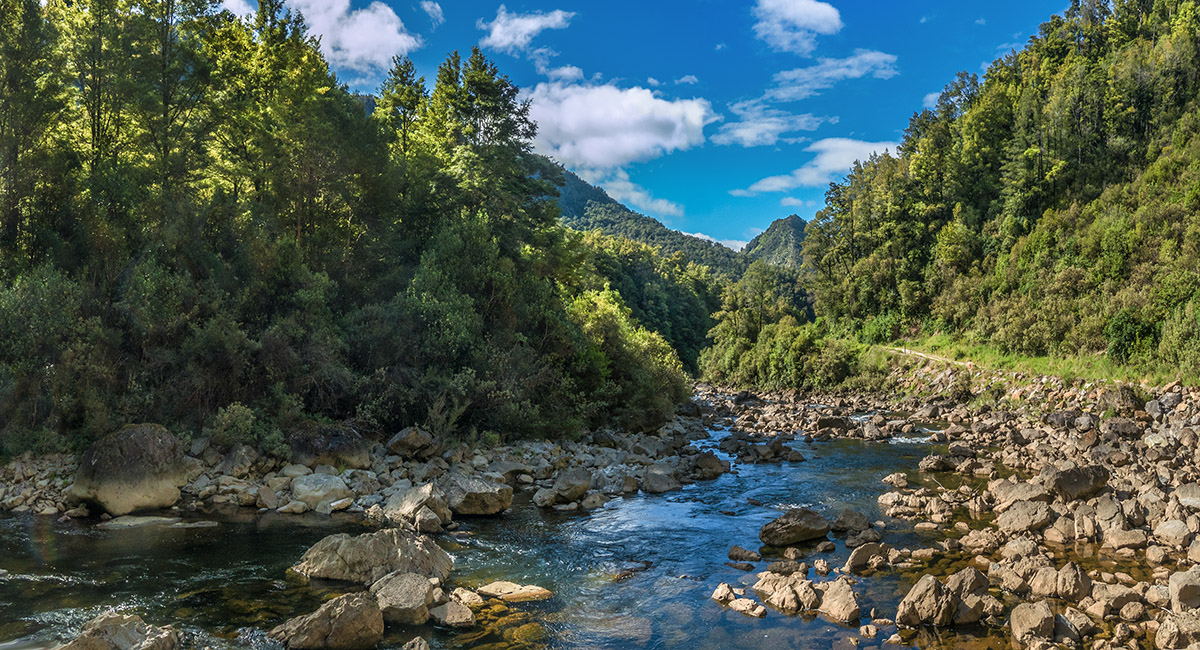
Looking south down Matiri River at 250m, not far beyond the carpark

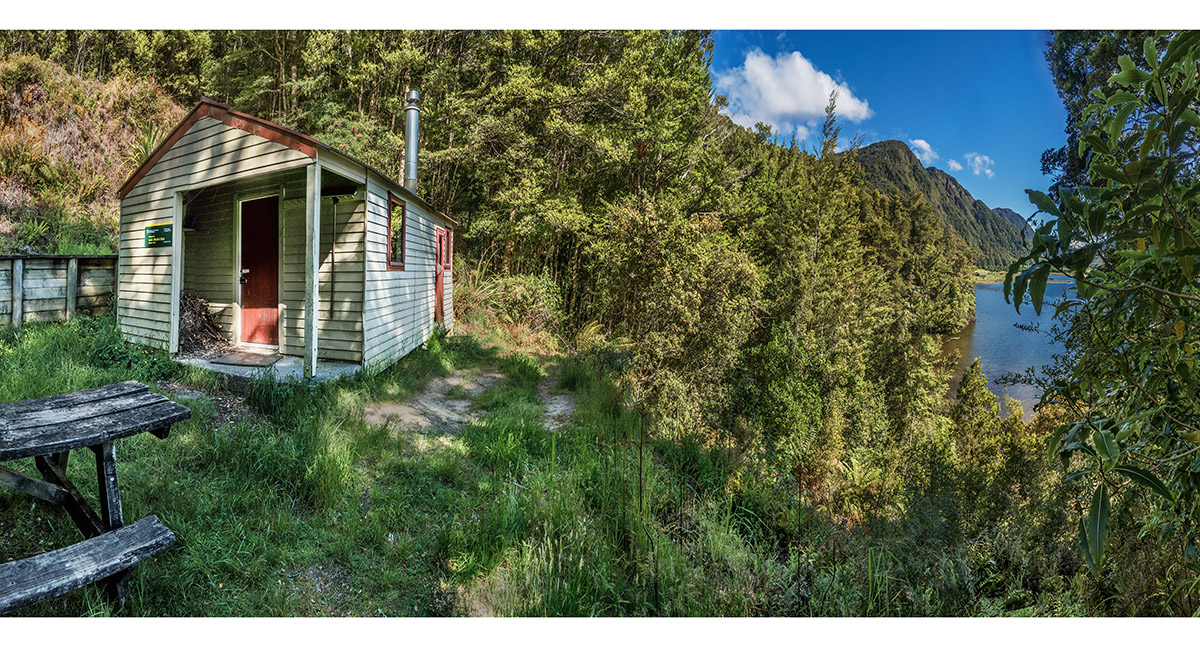
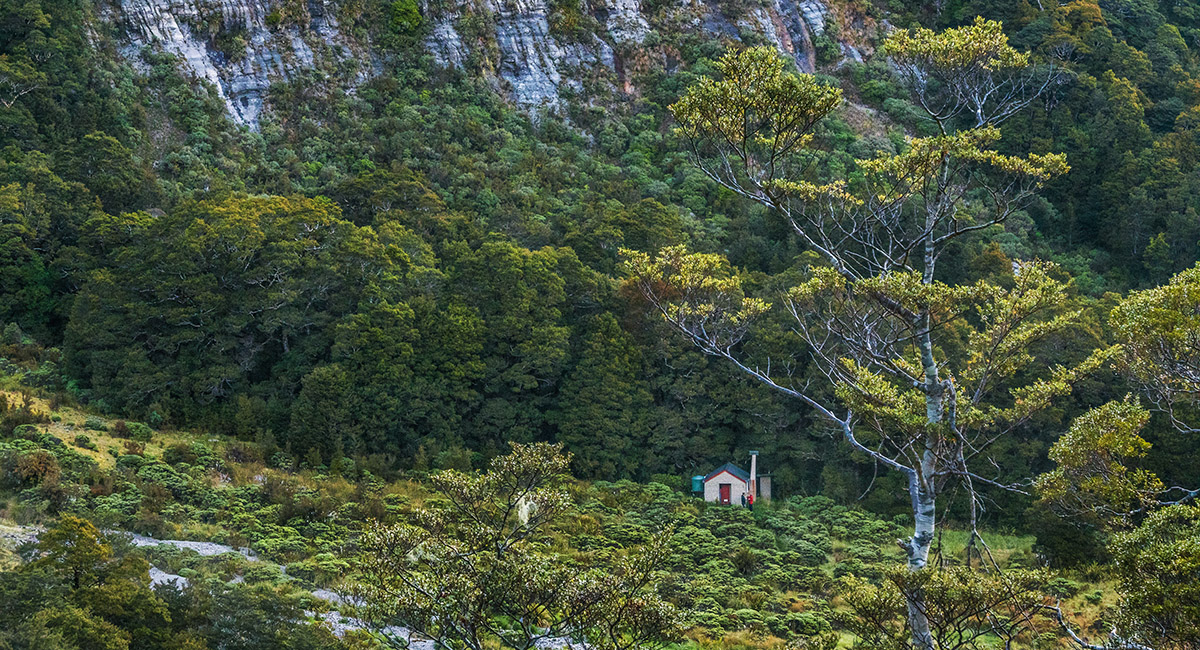
Lake Matiri Hut (340m)


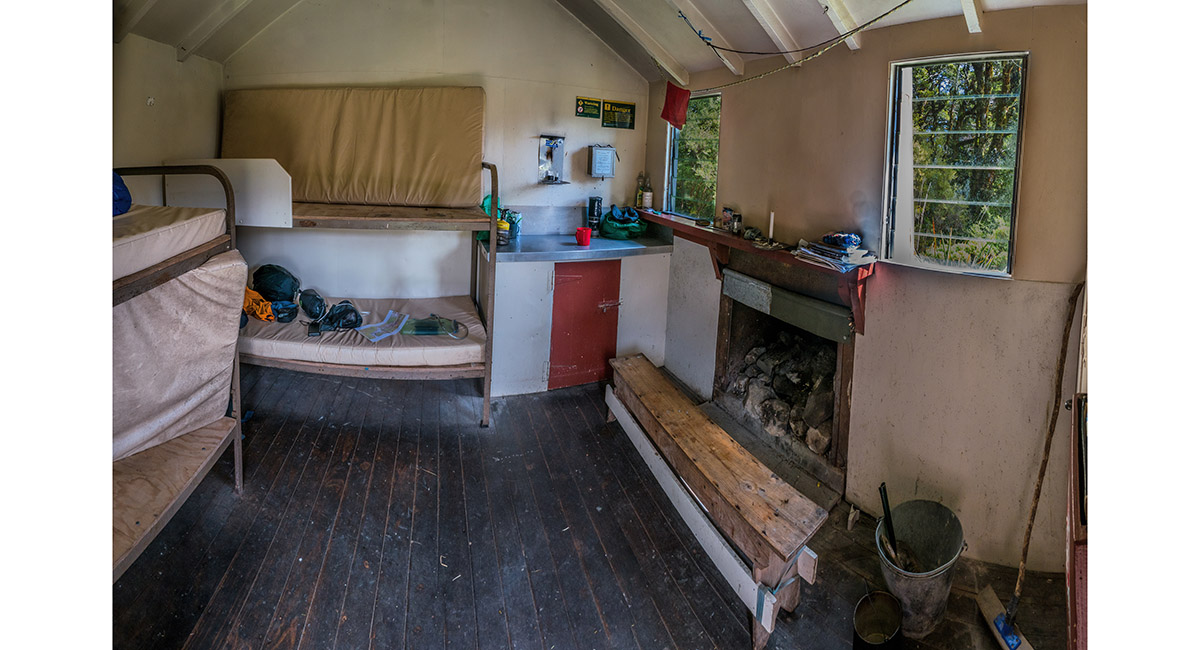
Inside Lake Matiri Hut


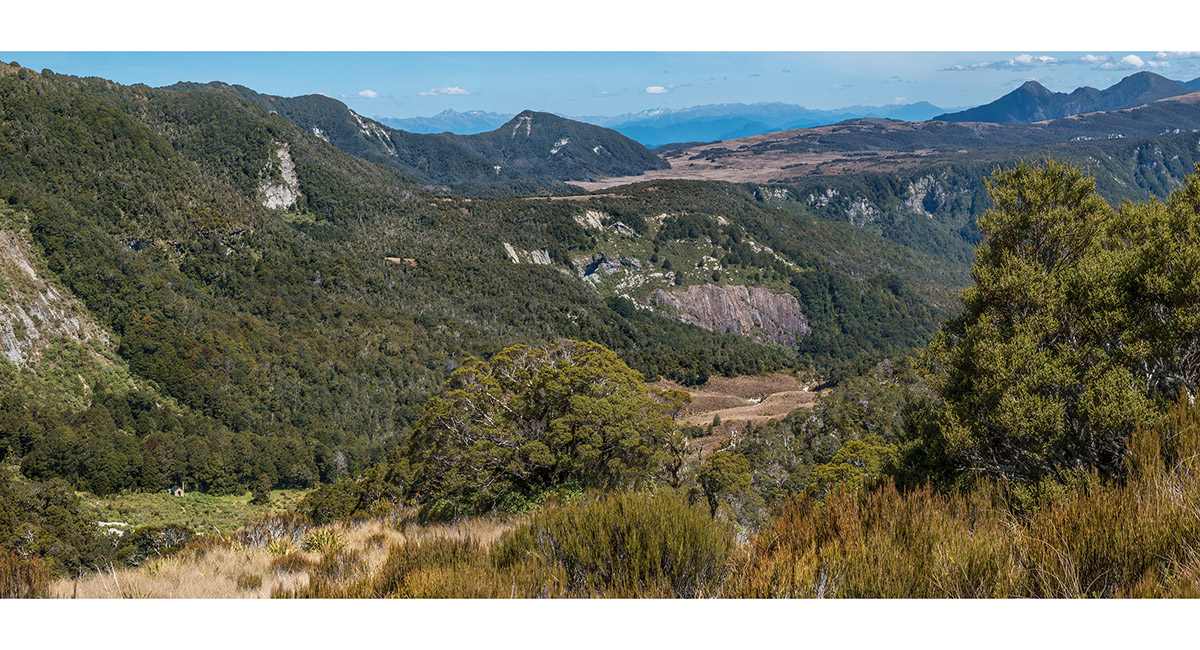
The view south from a small forest clearing at about 650m to Lake Matiri, and east along Matiri River


Above 700m the trail levels out for over a kilometre in lovely beech forest, before climbing steeply again to the eastern edge of 1000 Acre Plateau at 1,300m

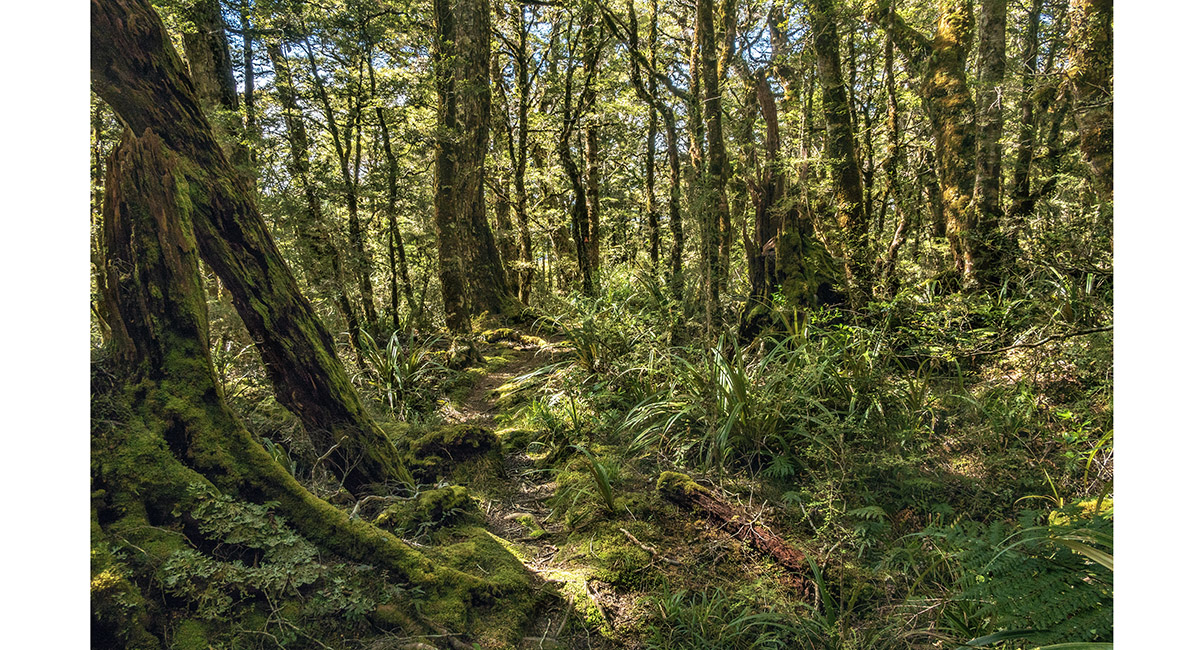
Much of the trail to 1000 Acre Plateau is steep and rugged, but there are many lovely moss covered sections to enjoy


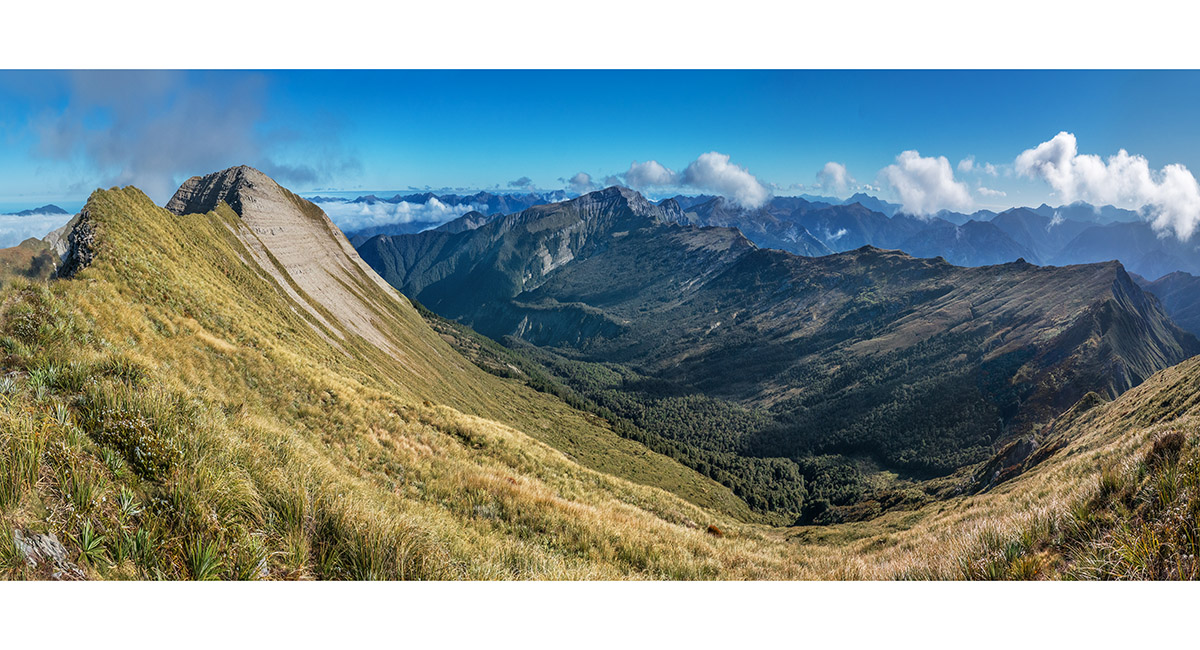
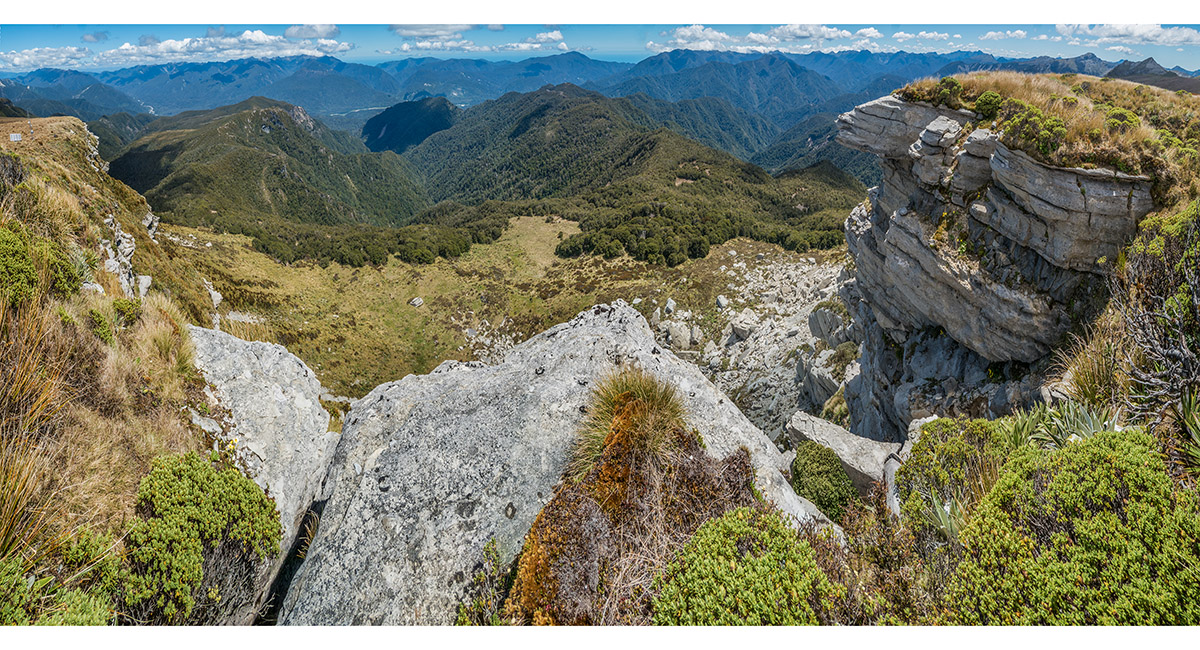
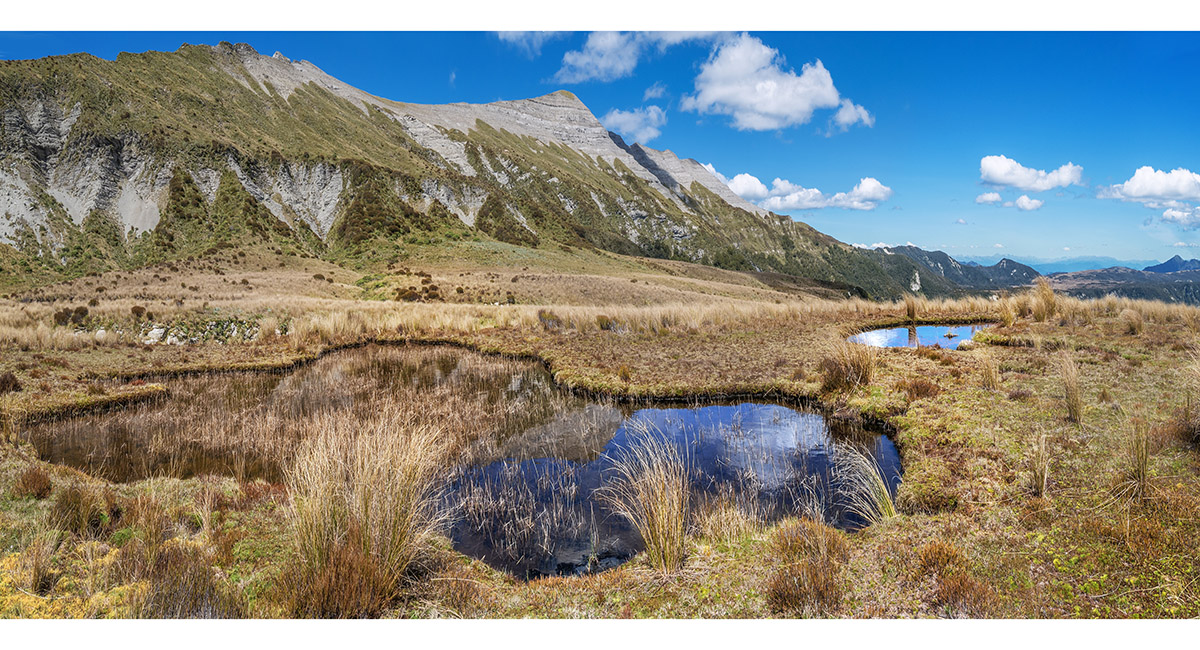
The view north across 1000 Acre Plateau from the point at 1,100m where the trail drops off south. The Haystack is mid right and The Needle centre. 100 Acre Plateau stretches left

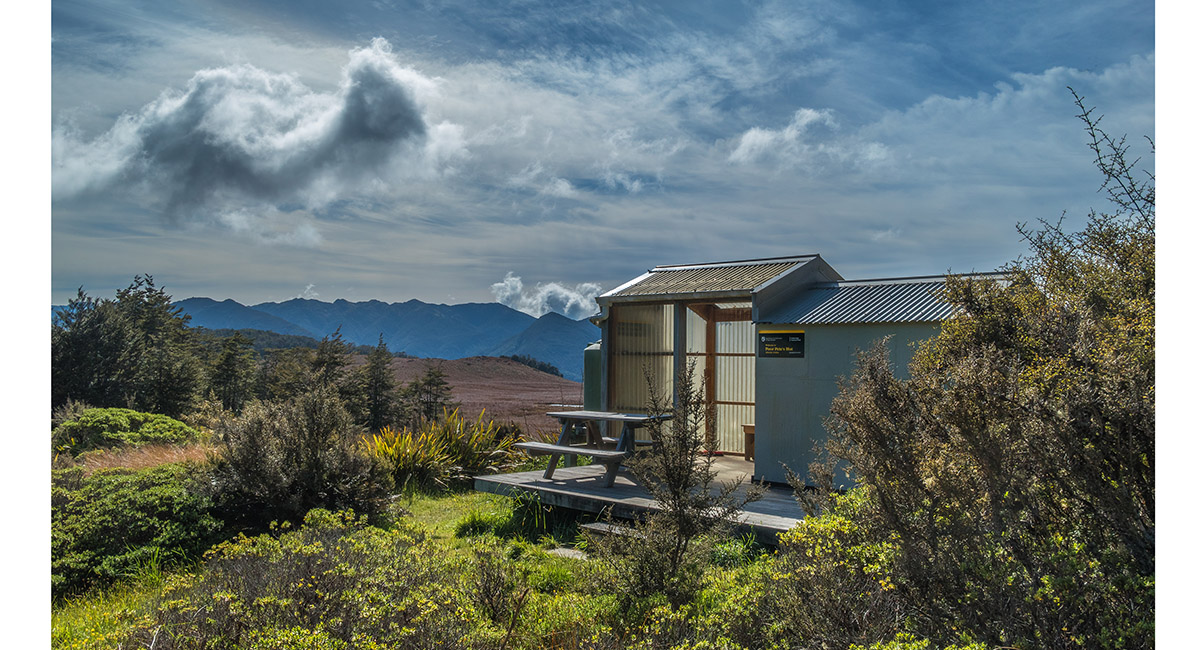
Poor Pete's Hut (1,030m)


Inside Poor Pete's Hut

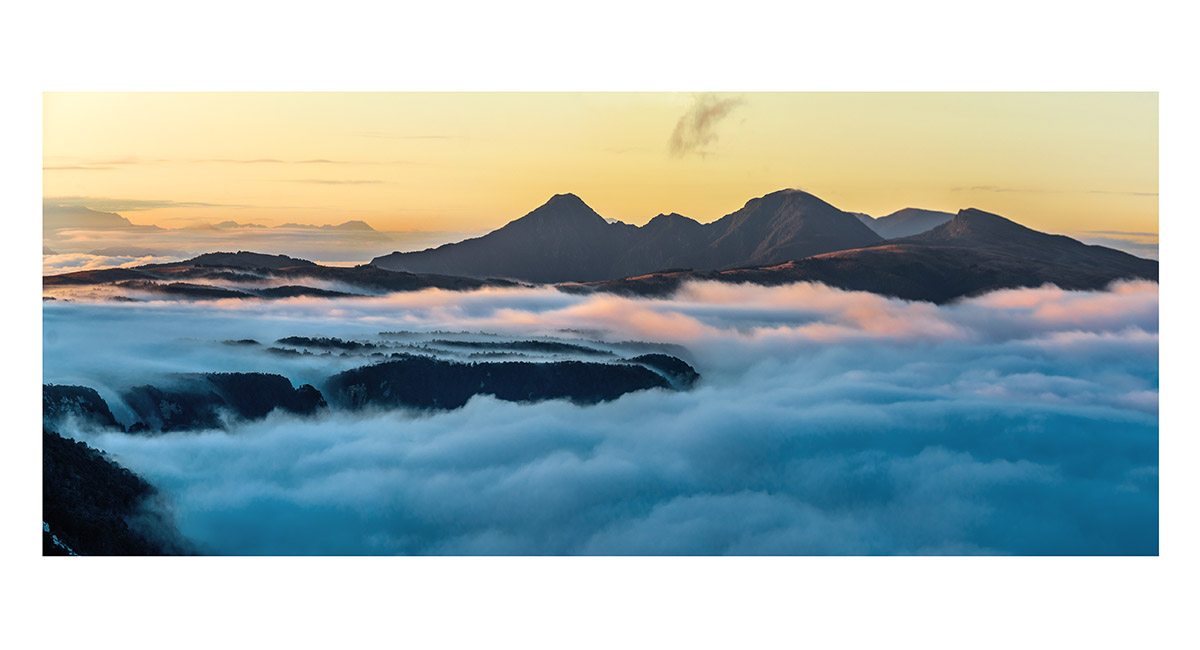
Above Poor Pete's Hut, looking north along 1000 Acre Plateau to The Haystack (1,526m, centre) and The Needle (1,438m, left of centre)

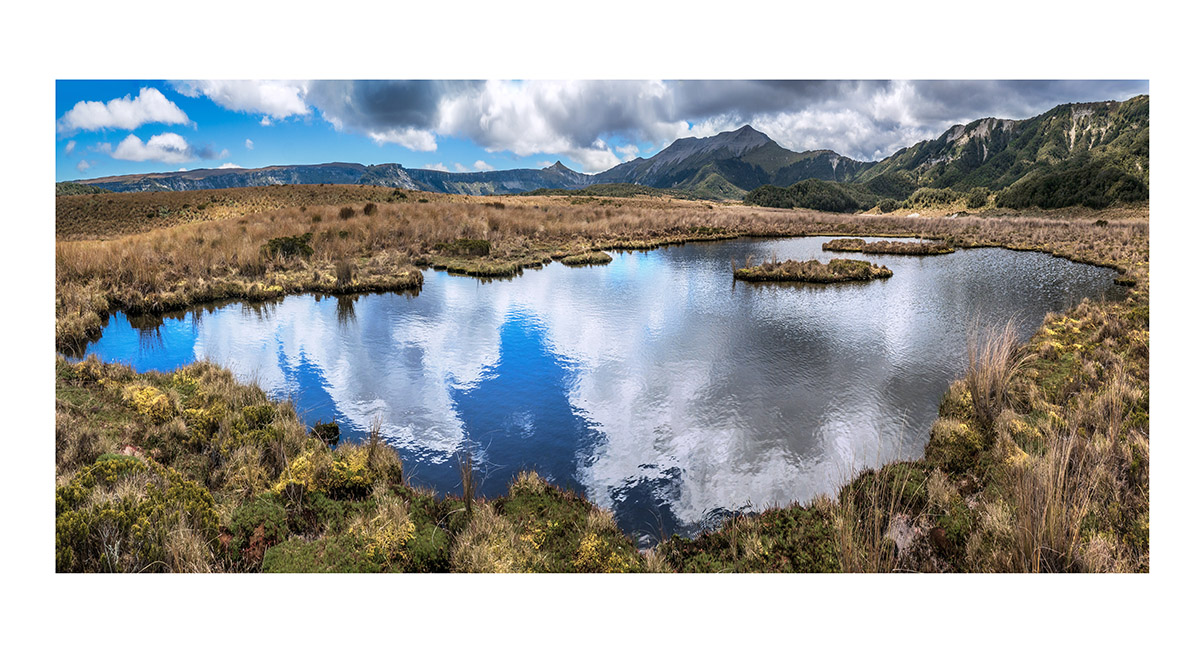
The Haystack and The Needle, beyond a tarn at 1,000m, south of a rugged forested section before Larrikin Creek Hut

Larrikin Creek Hut (1,040m), viewed from the trail leading up to 100 Acre Plateau

Inside Larrikin Creek Hut

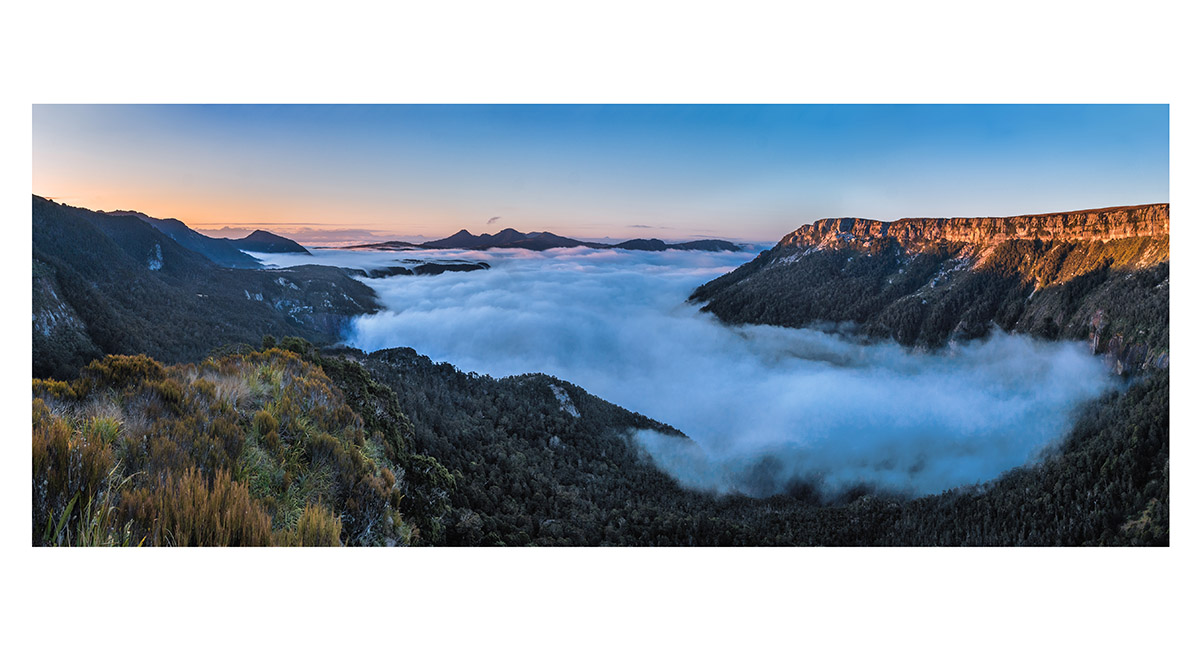
At about 1,180m at dawn, looking south with 1000 Acre Plateau mostly in cloud at left and the eastern cliffs of 100 Acre Plateau at right

At about 1,180m at dawn, looking south


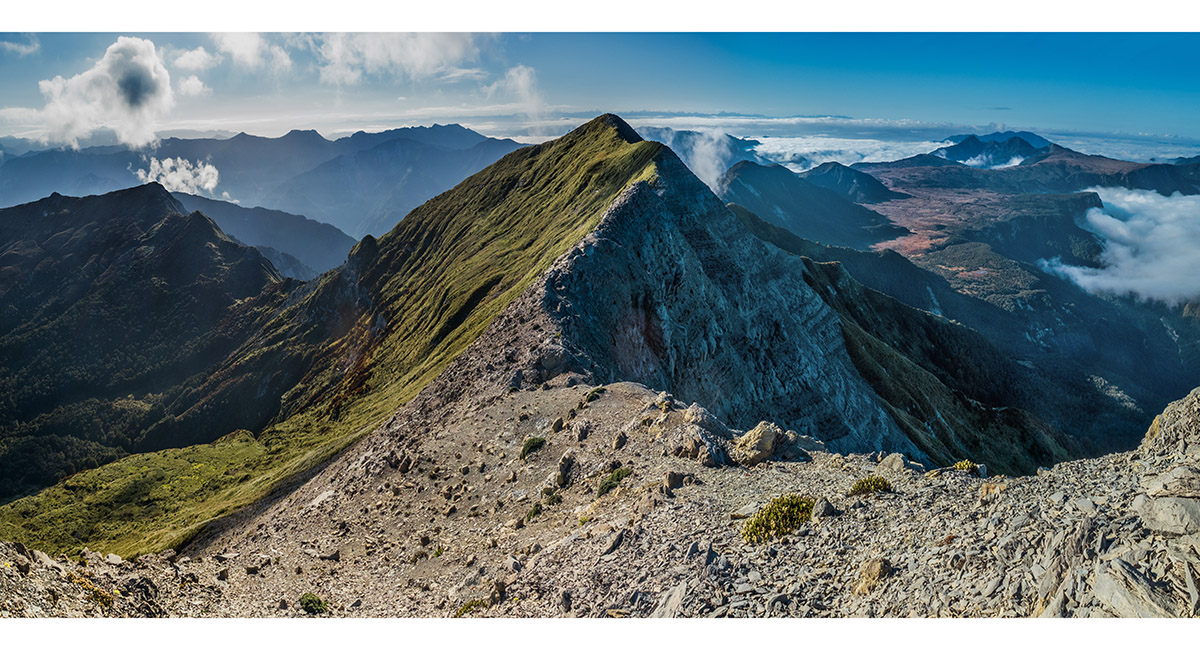
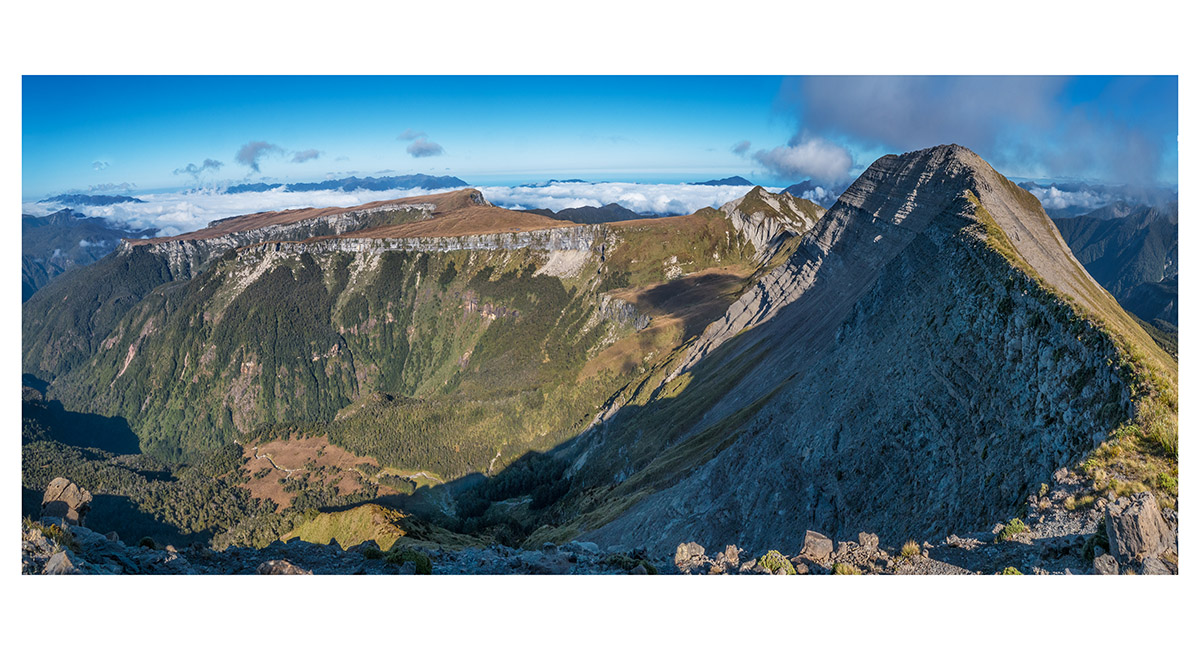
On the ridge of The Haystack, south of Pt1411, with the route to the summit at left and The Needle far right, with 100 Acre Plateau and Mt Misery beyond

A view from The Haystack to 100 Acre Plateau, with Mt Misery (1,388m) far right

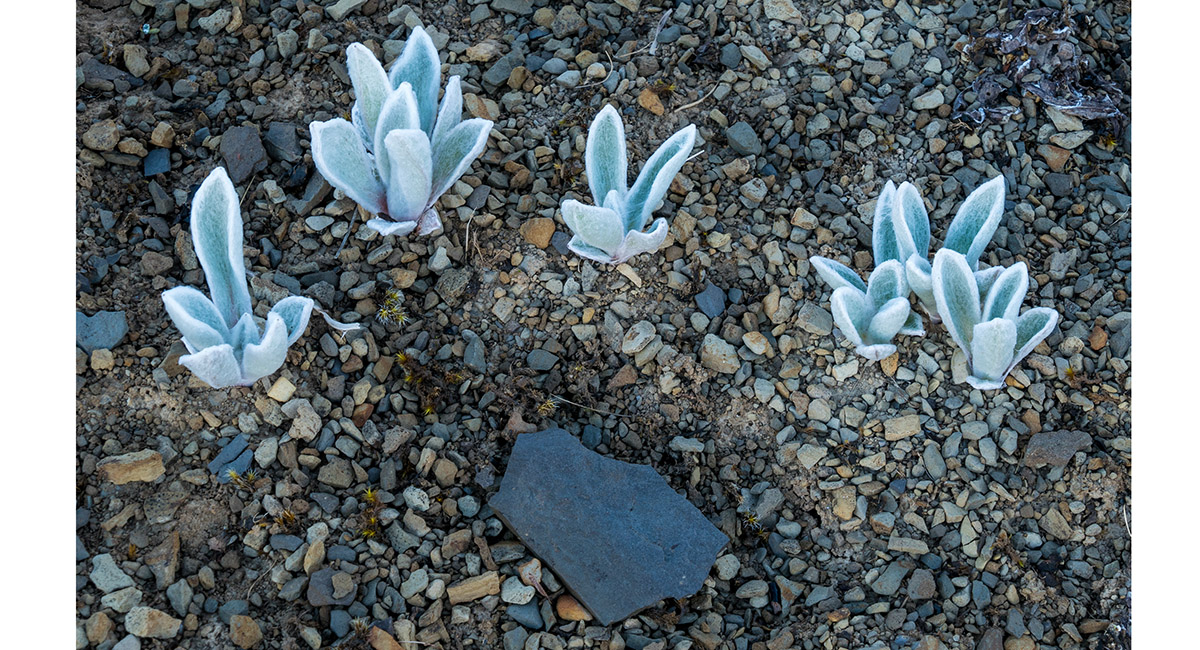
Alpine plants on the ridge of The Haystack

A view southeast along the summit ridge of The Haystack, 1000 Acre Plateau right. The true summit is hidden beyond the tussock humps

The Haystack summit view (1,526m). 1000 Acre Plateau left, 100 Acre Plateau and Mt Misery centre, The Haystack ridge stretching to The Needle right

The Haystack summit view to 1000 Acre Plateau left

A view north along the east face of The Haystack to the Matiri Range

A view north along the west face of The Haystack to 100 Acre Plateau

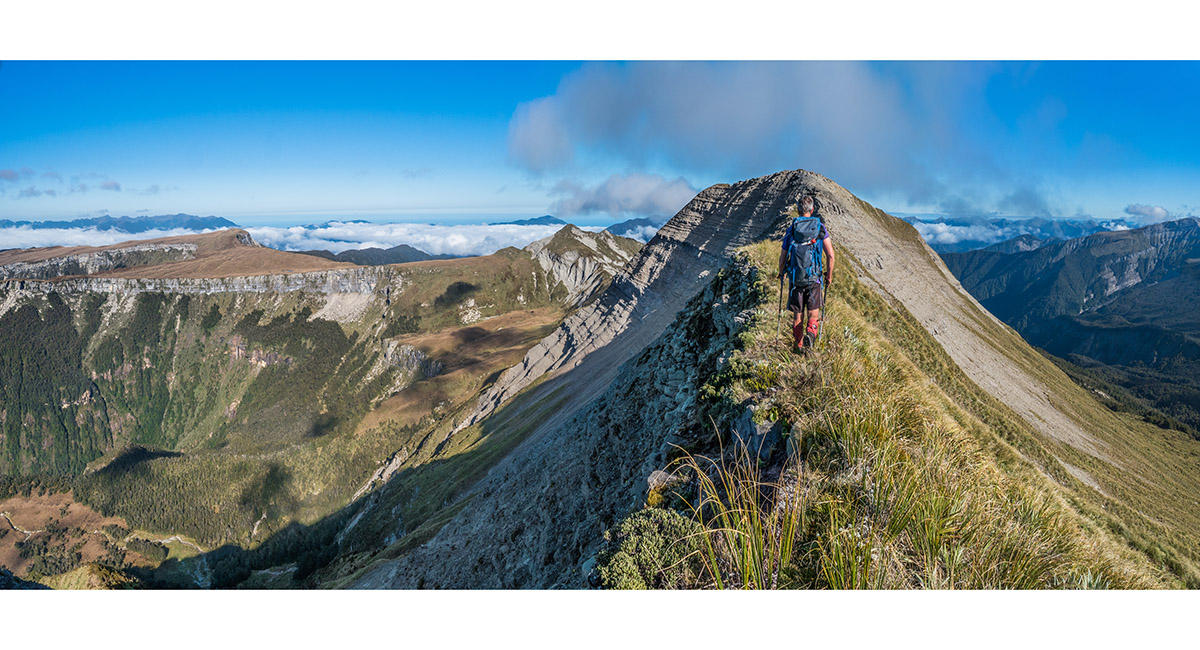
Heading north from the true summit of The Haystack


At 1,300m in the saddle between The Needle (left) and The Haystack (right)


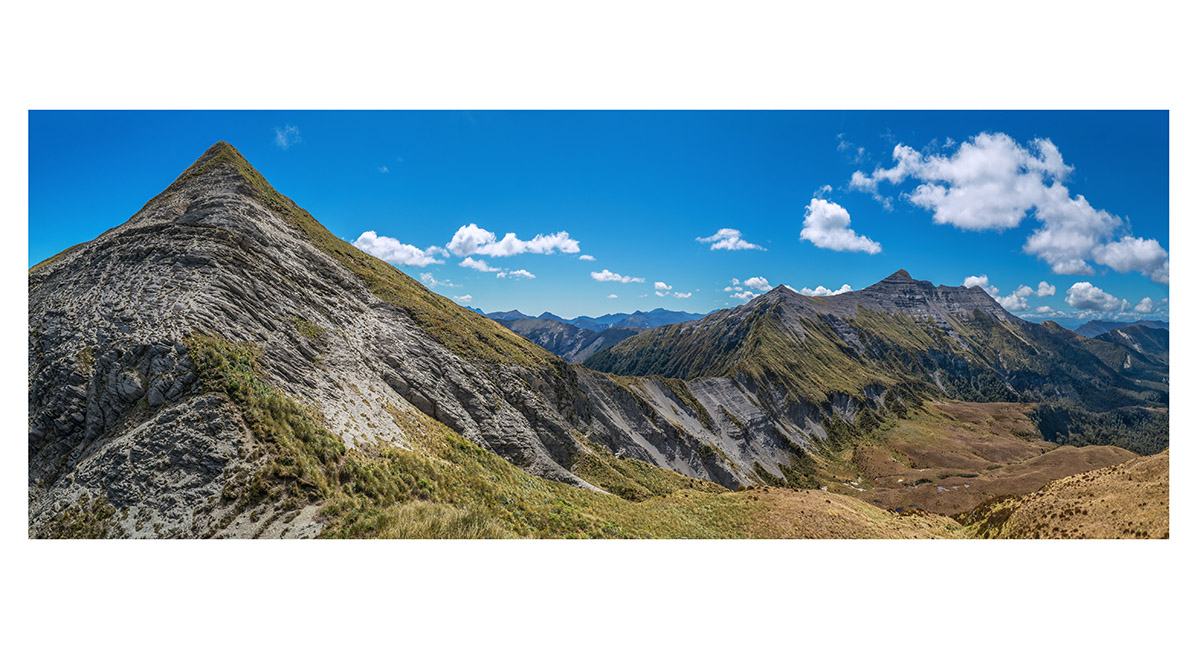
On the summit of The Needle (1,438), looking southwest across 100 Acre Plateau to Mt Misery (right) and southeast across 1000 Acre Plateau to The Haystack (left)

At about 1,320m, south of The Needle, with the ridge between it and The Haystack stretching right

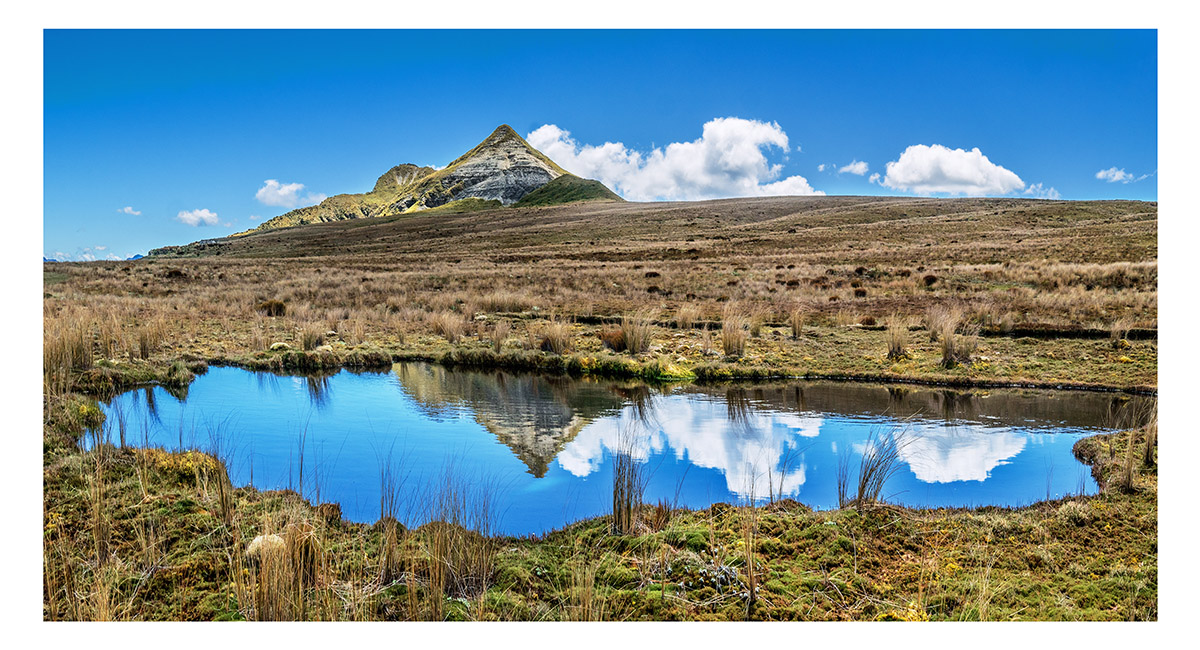
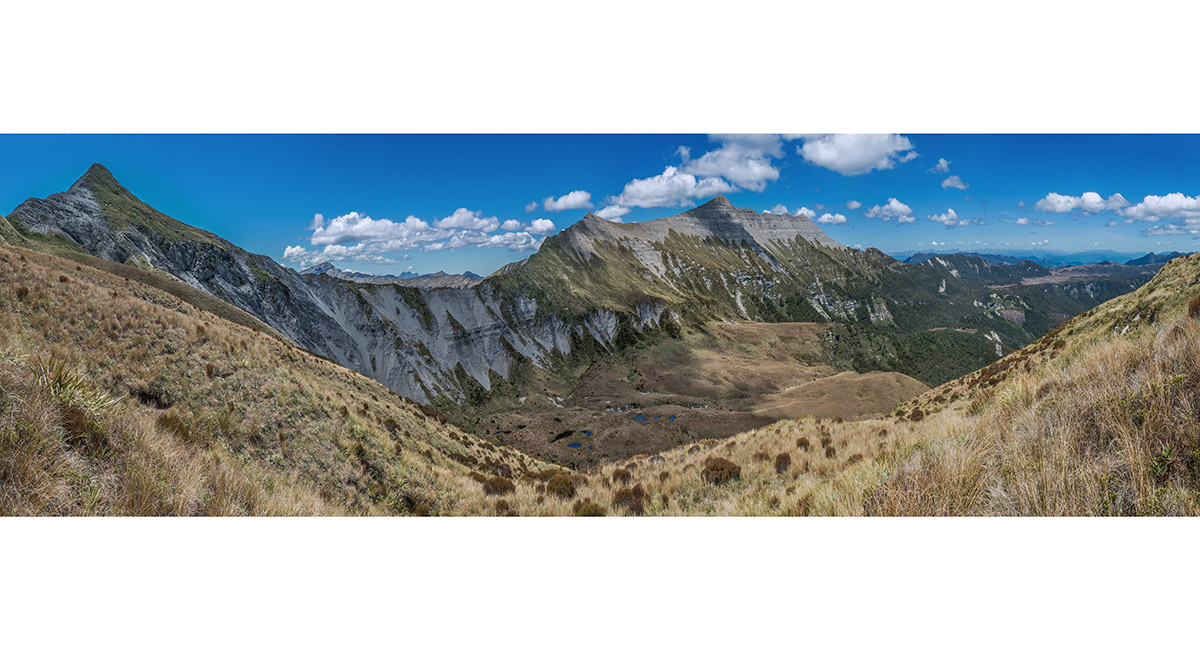
In the dip between The Needle and Mt Misery at 1,250m, where a group of picturesque tarns lie


There are many sink holes on 100 Acre Plateau, appearing like rock gardens amongst the rolling tussock and moss

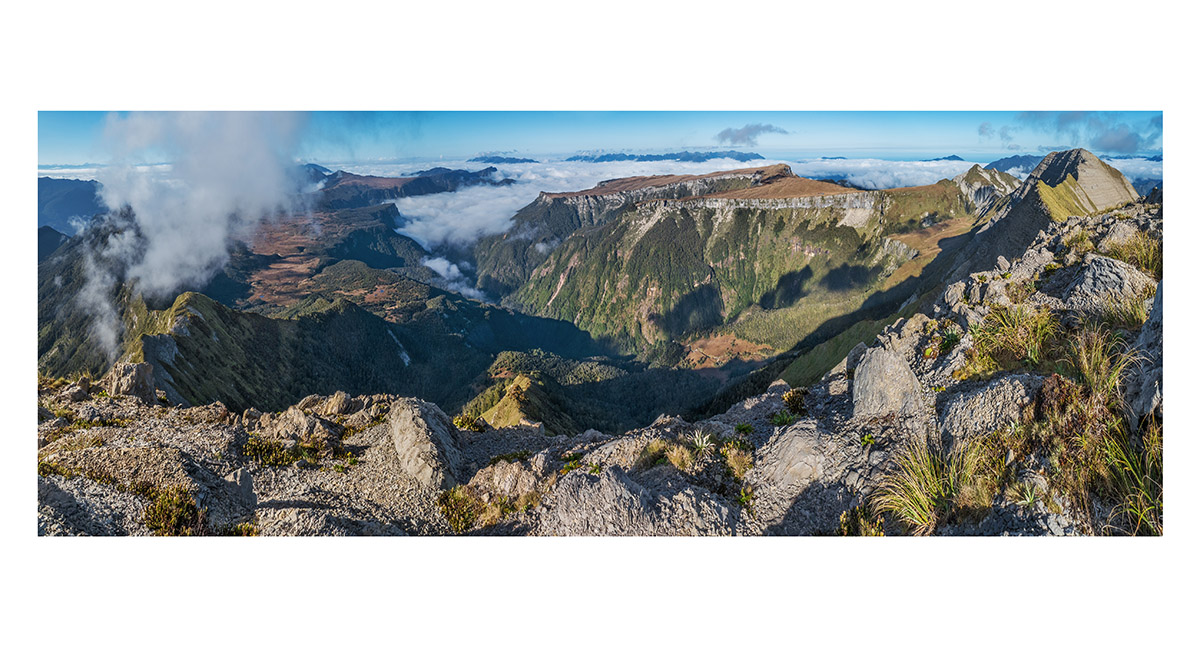
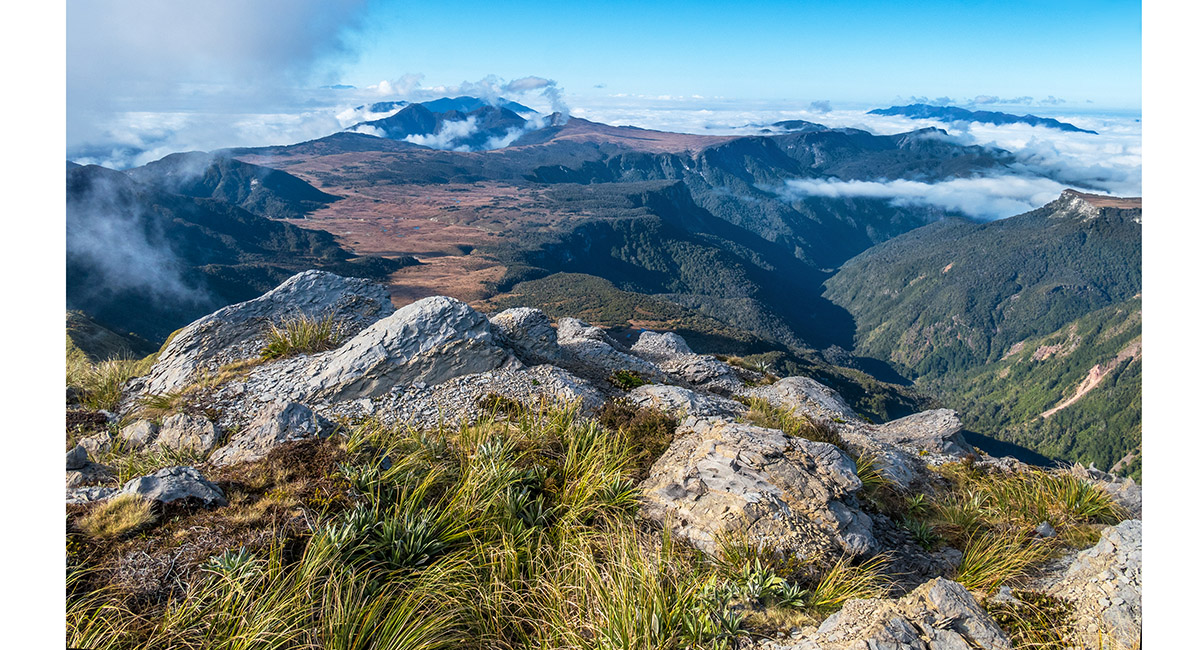
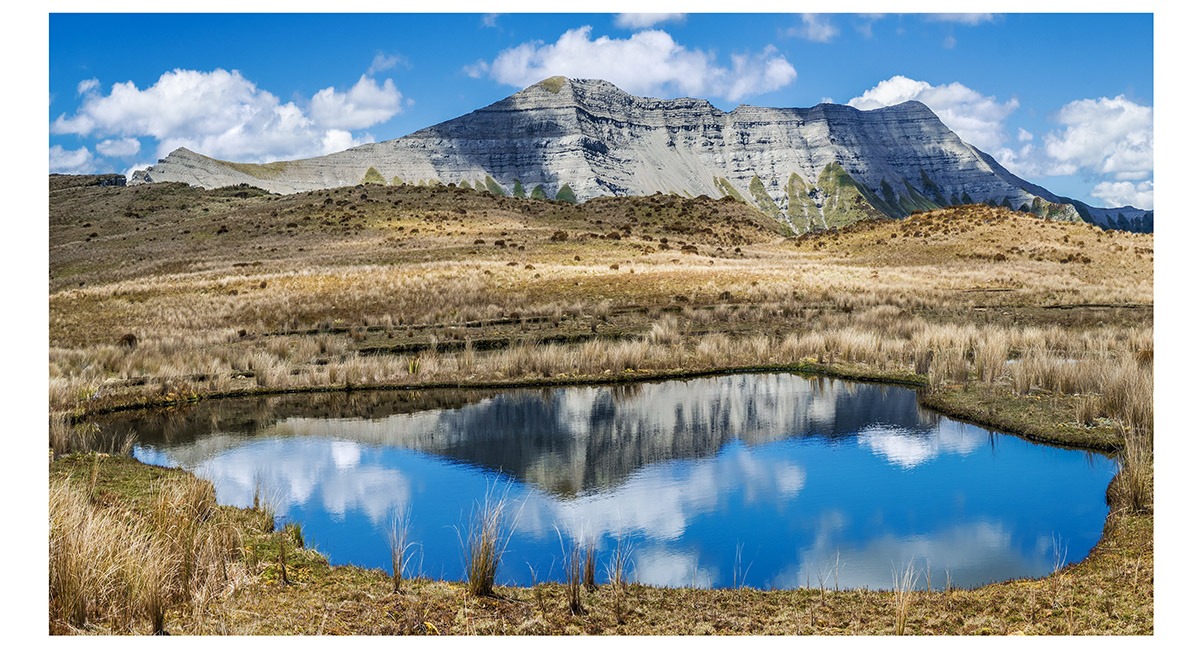
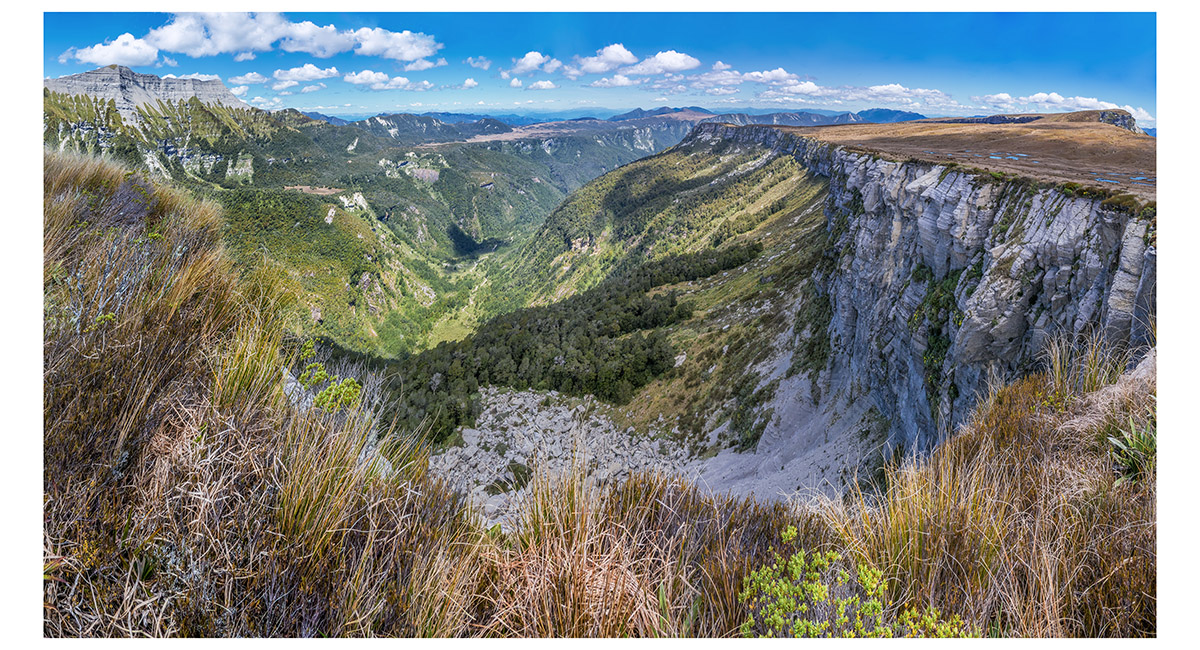
The view west from the flat top of Mt Misery (1,383m), where the western cliffs of 100 Acre Plateau plummet away for about 100 metres

The view south from the flat top of Mt Misery (1,383m), to the remaining section of 100 Acre Plateau. The Needle and The Haystack are on the left skyline


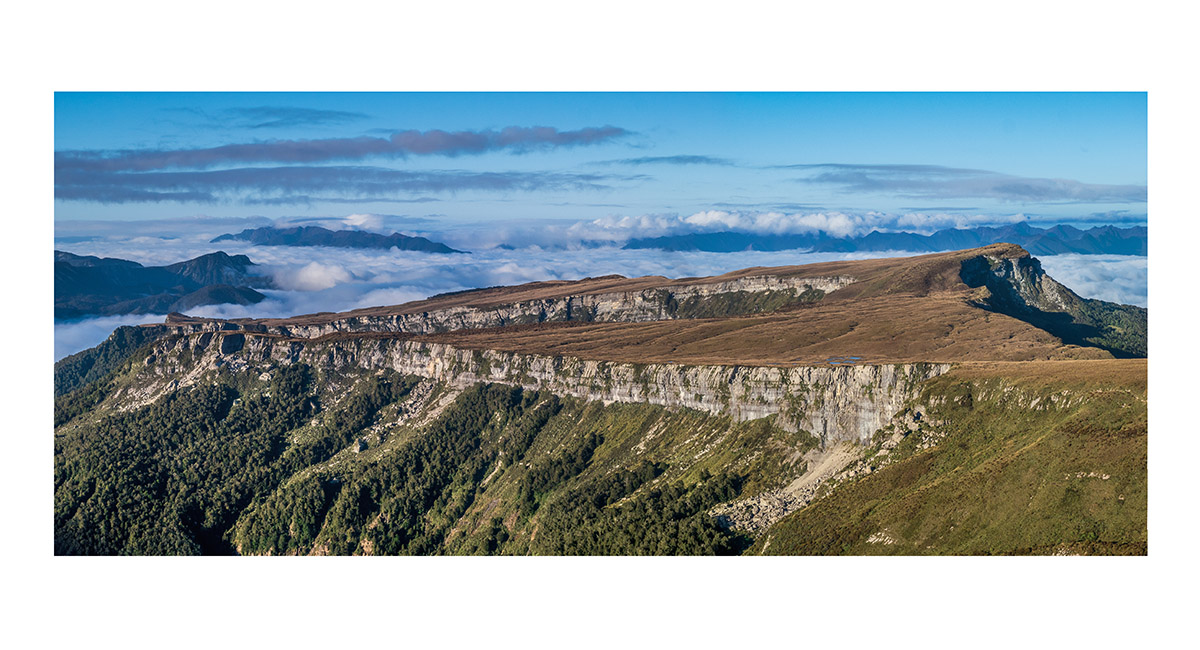
The view northeast from Mt Misery, along the cliffs of 100 Acre Plateau to The Needle and The Haystack

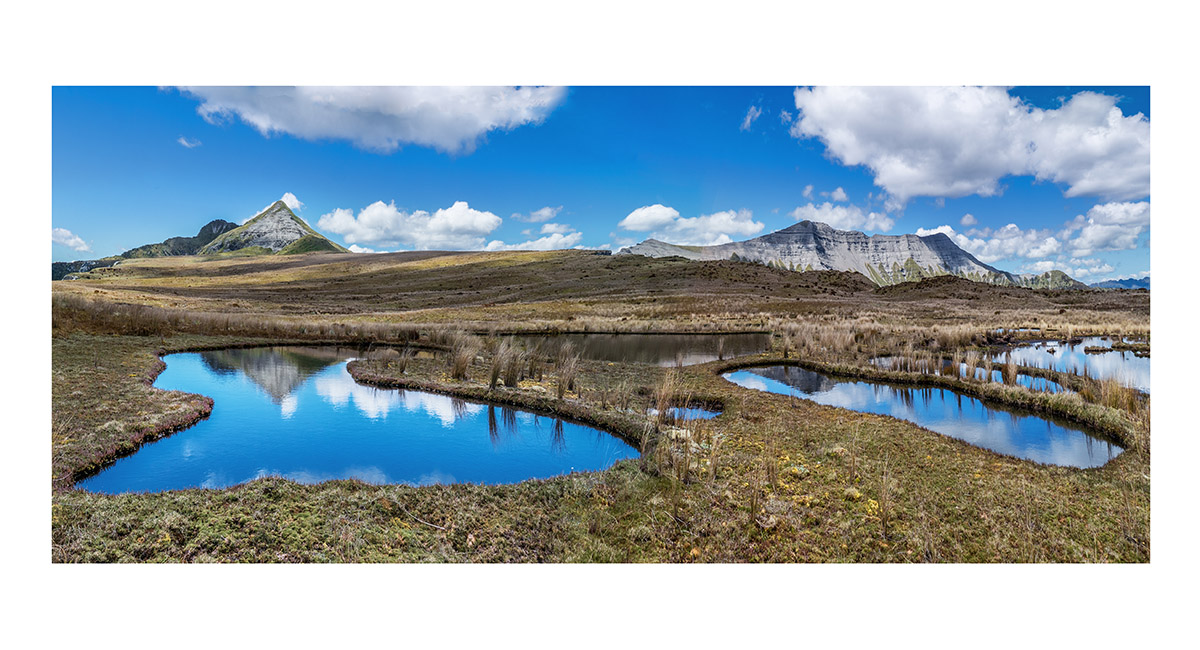
Back in the tarn-dotted dip, looking north and east to The Needle (left) and The Haystack

Back in the tarn-dotted dip, looking east to The Haystack

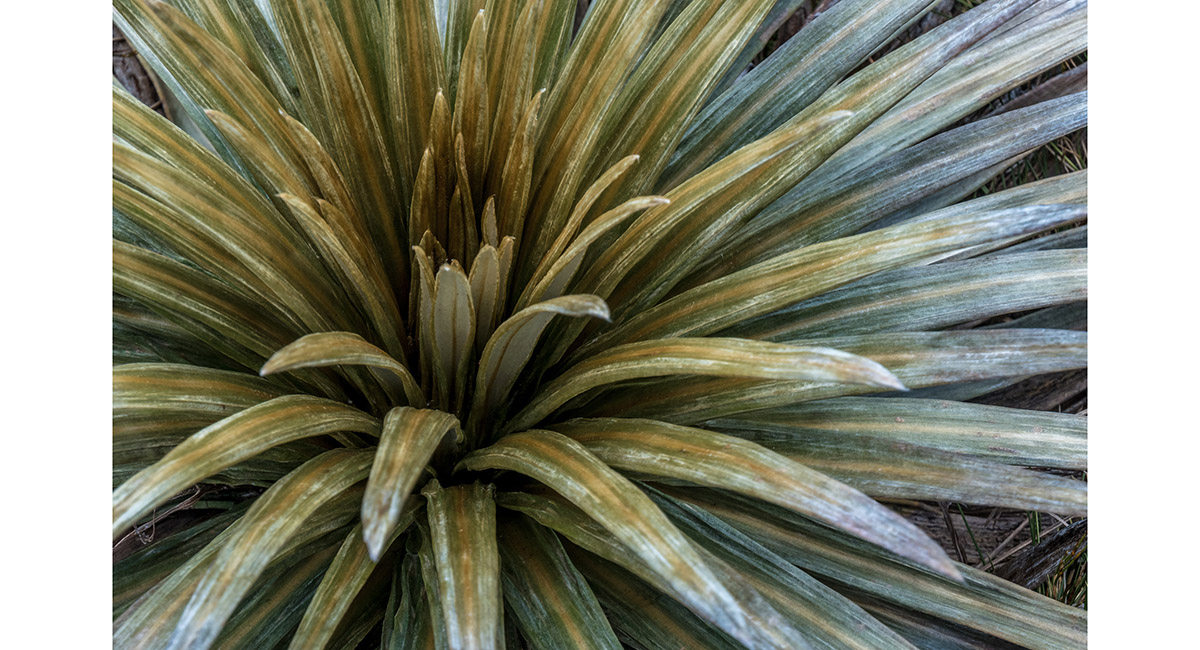
Even Spaniards can look nice

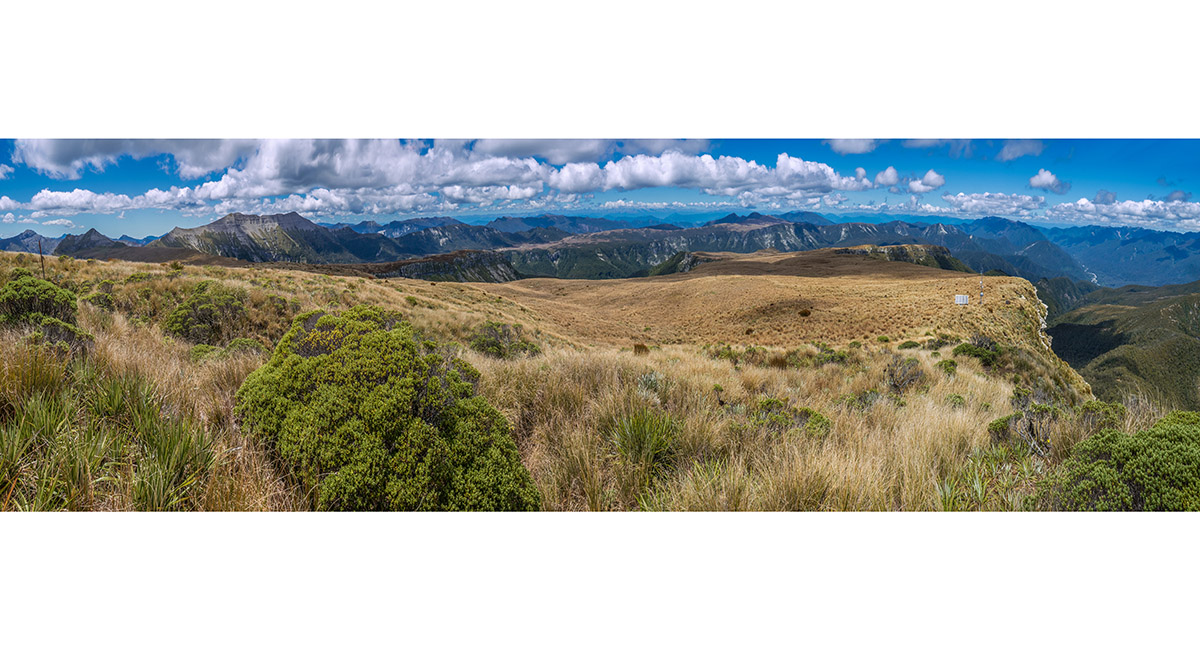
At 1,300m, on the north-eastern rim of 100 Acre Plateau, looking southwest (right) to 100 Acre Plateau and east (left) to The Haystack. 1000 Acre Plateau is distant centre

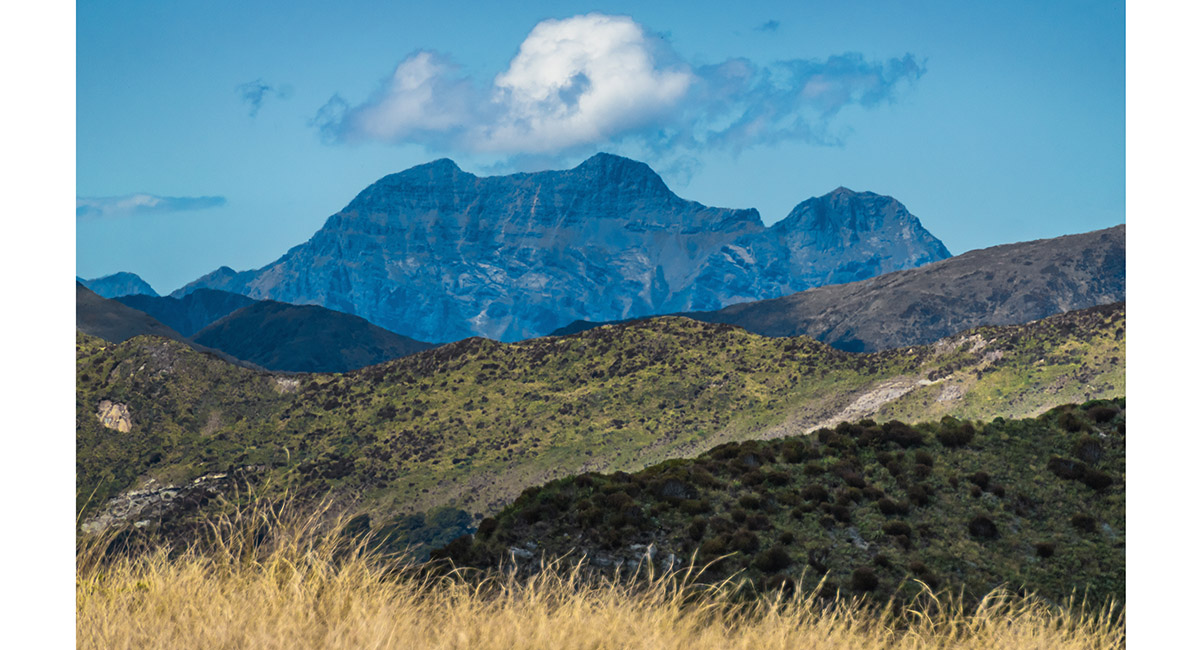
A view to distant Mt Patriarch

At 1,300m, on the north-eastern rim of 100 Acre Plateau, looking north (left) to The Needle and east (right) to The Haystack

Down on the 1,180m shelf above Larrikin Creek Hut, with the west face of The Haystack centre

At the southern end of the 1,180m shelf, looking southeast to Larrikin Creek Hut (bottom left) and 1000 Acre Plateau (centre)

Read about it Captivating Photography Apr/May 2025
To order a print or web resolution file of any image you see in this slide show, just right click the image, click “Copy Image URL” and paste in to the “Your message” box of our Contact Us form. Please also note, for each image, if you want a print or web resolution file. We will get back to you as soon as possible to confirm price and payment details.
Open Contact Us in a new window to paste Image URL(s) easily