Mt Rolleston via Rome Ridge, September 2018

Arriving at the snowline above the end of the Coral Track, about 1,300m, at dawn

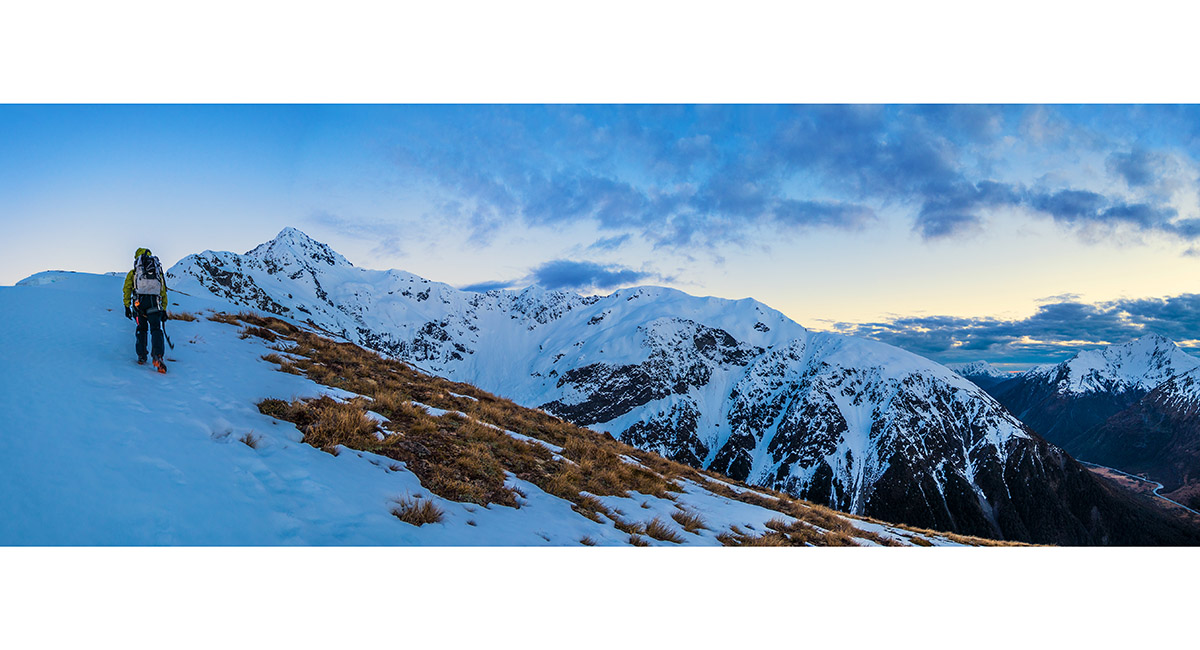
Heading northwest on the lower part of Rome Ridge, here at about 1,450m. Mt Rolleston's Low Peak is top left


Heading northwest on the lower part of Rome Ridge, here at about 1,500m. Mt Rolleston's Low Peak is top right

At about 1,550m on Rome Ridge


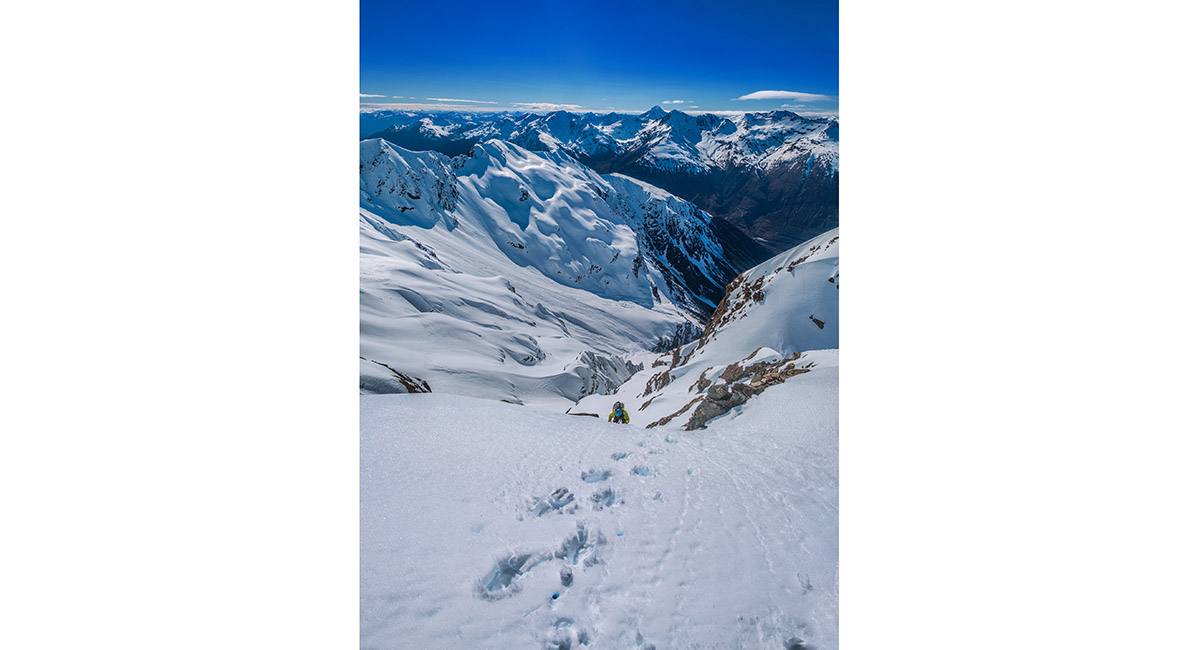
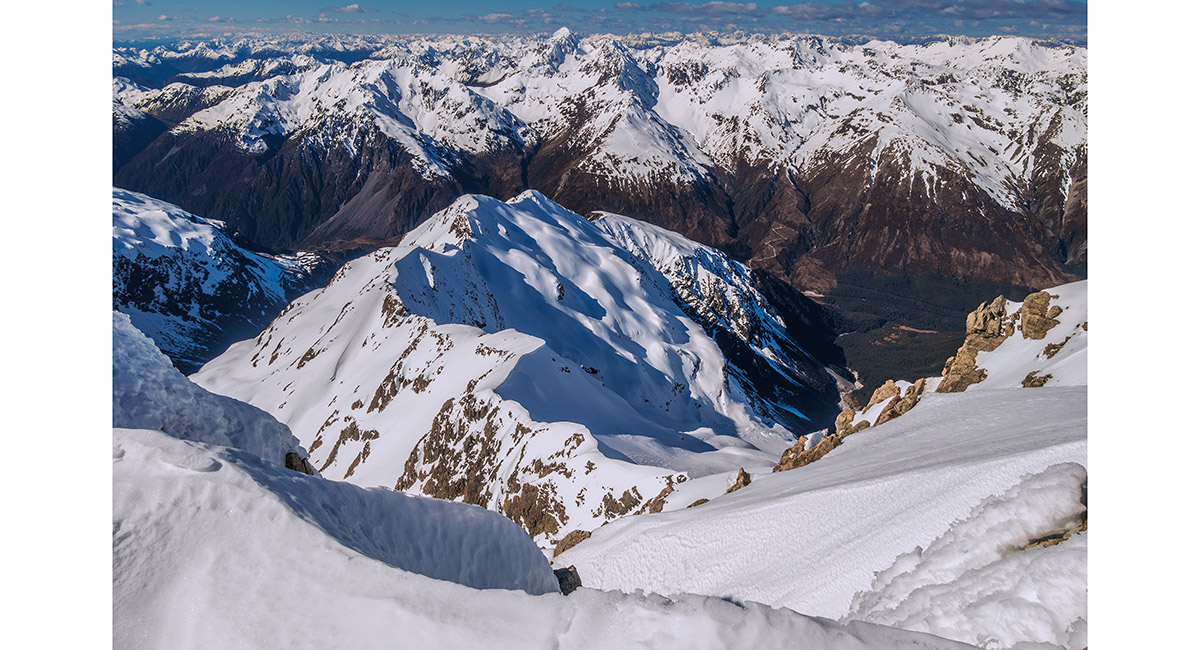
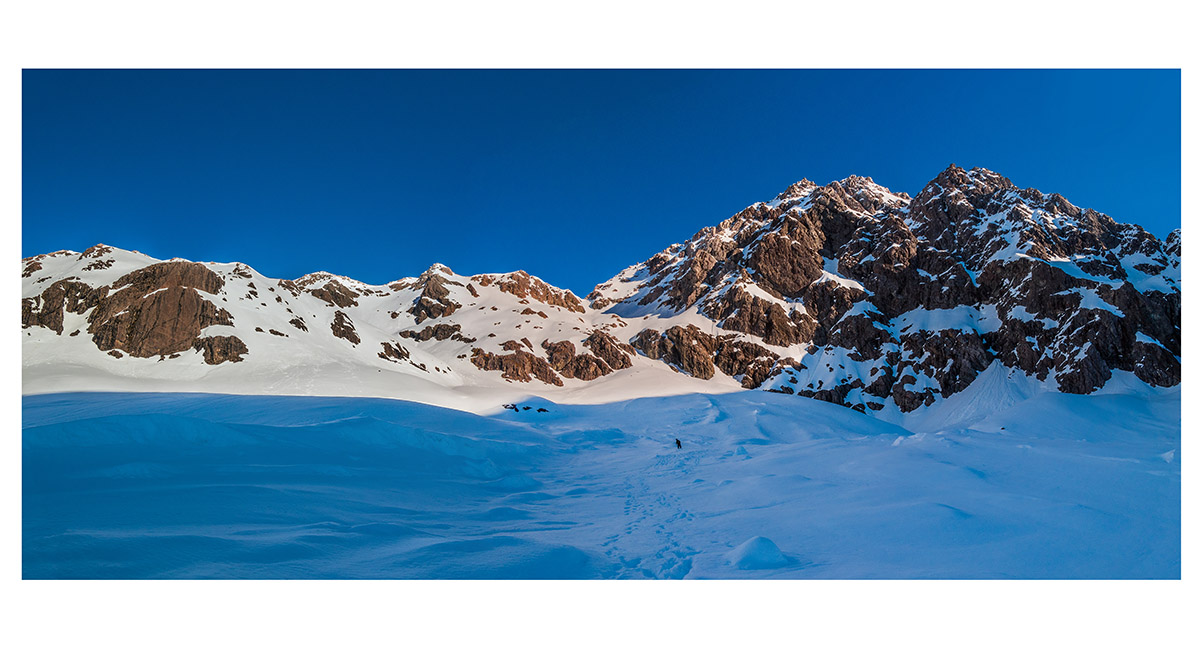
The view back down Rome Ridge from about 1,600m. McGrath Creek is below right and Avalanche Peak (1,833m) is on the right skyline


At about 1,650m on Rome Ridge, with State Highway 73 down in the valley behind

At about 1,700m on Rome Ridge, with Low Peak top right


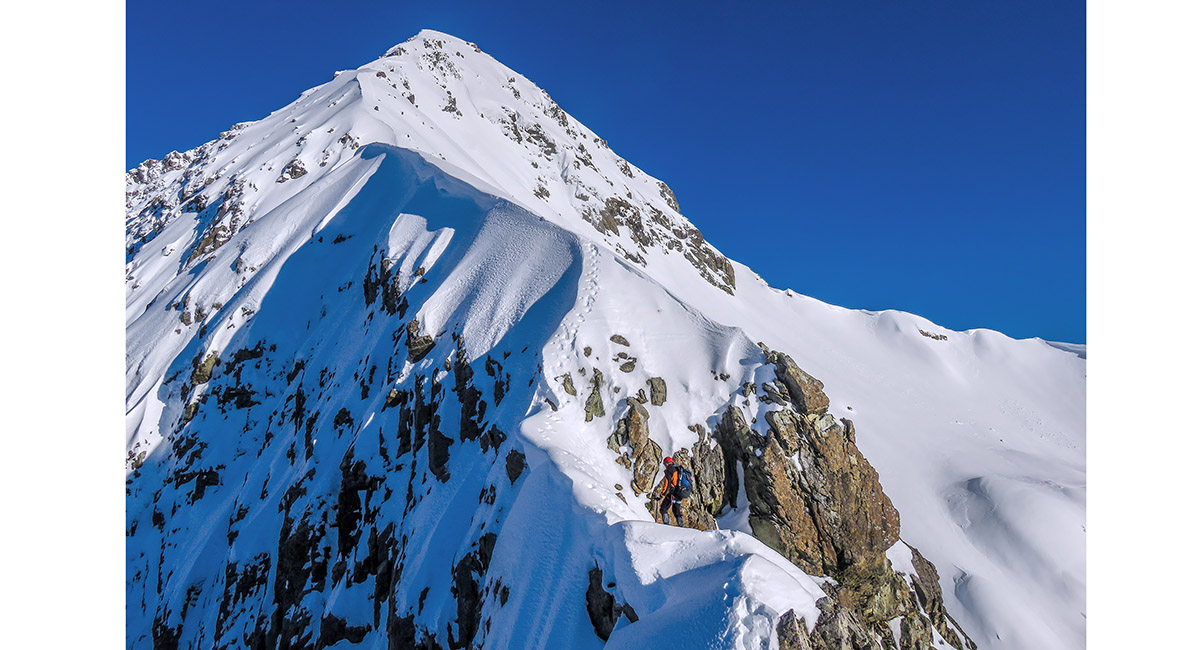
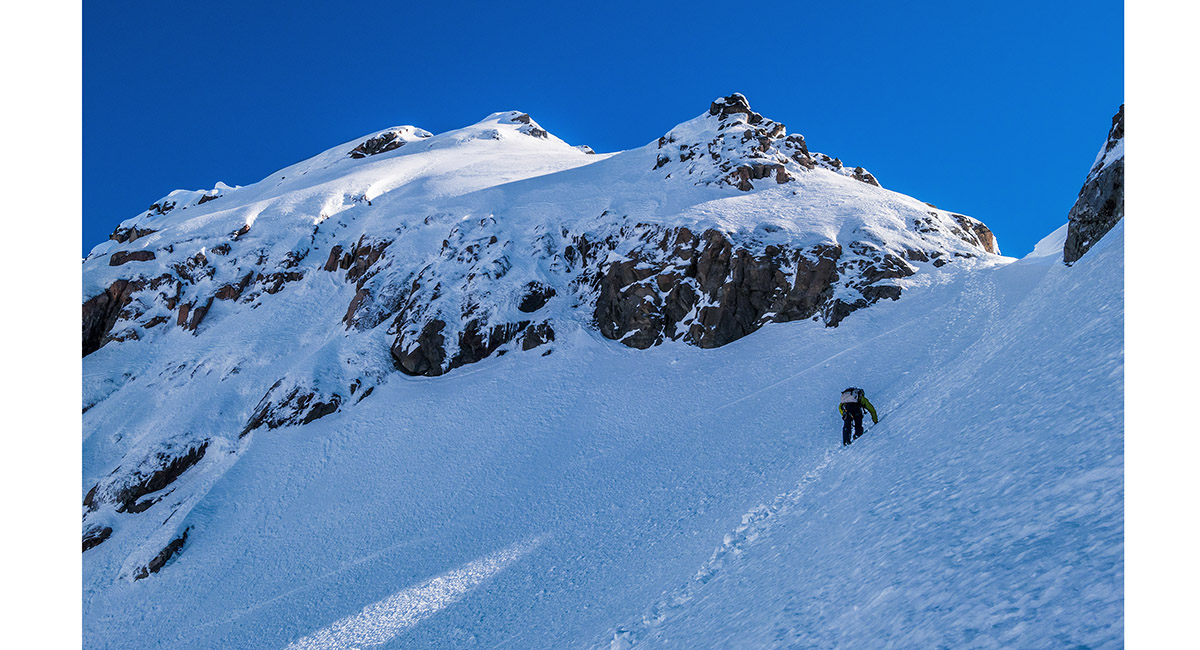
At about 1,800m on Rome Ridge, on the narrow section before the notch


At about 1,800m on Rome Ridge, on the narrow section before the notch

At about 1,800m on Rome Ridge, on the narrow section before the notch. Normally climbers drop down to the left around the rocky buttress before the notch


At about 1,800m on Rome Ridge, on the narrow section before the notch

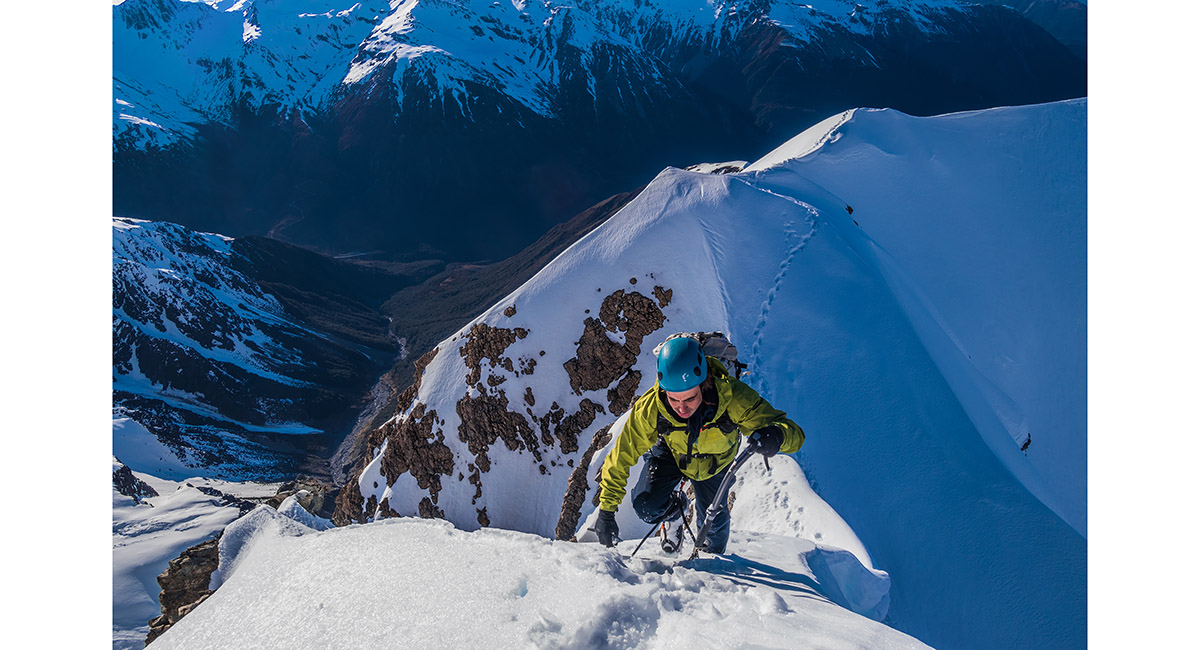
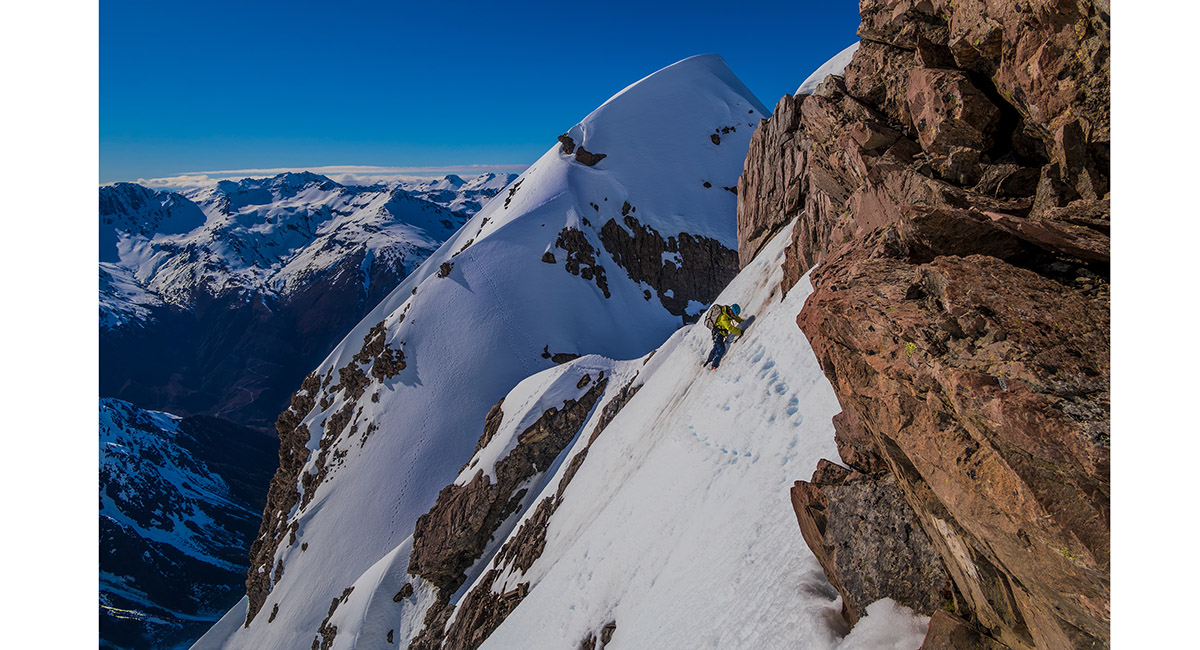
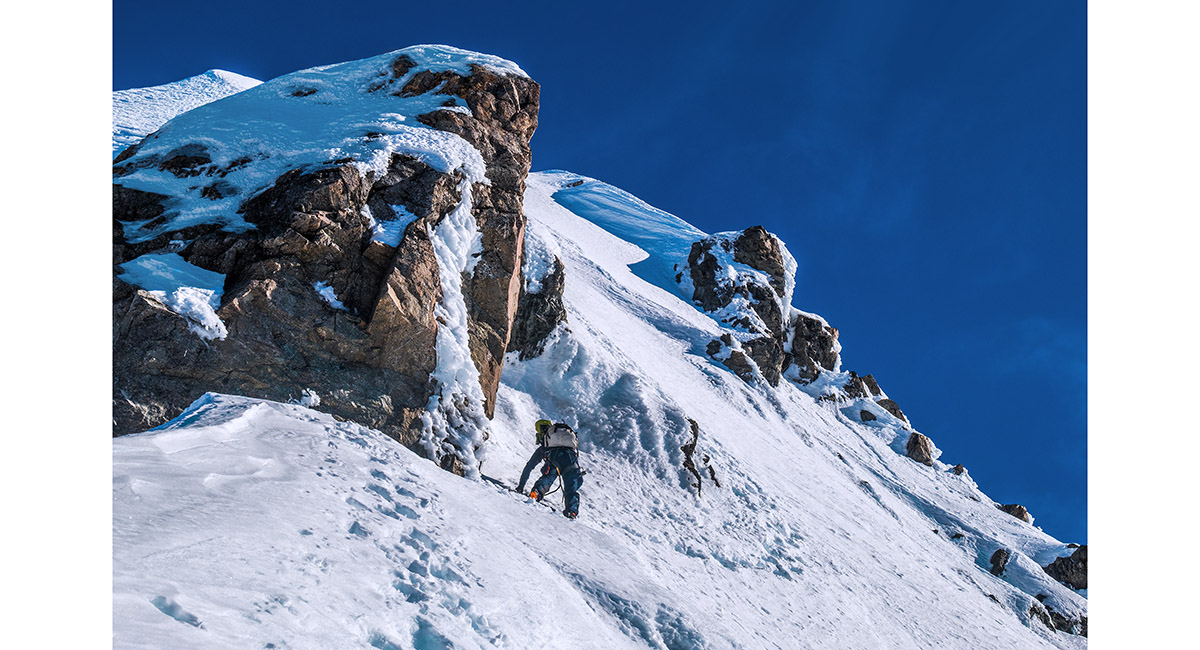
We elected to stay on the ridge proper, rather than dropping left. This little step required care as the snow and ice were thin and unstable (Photo by James Hobson)


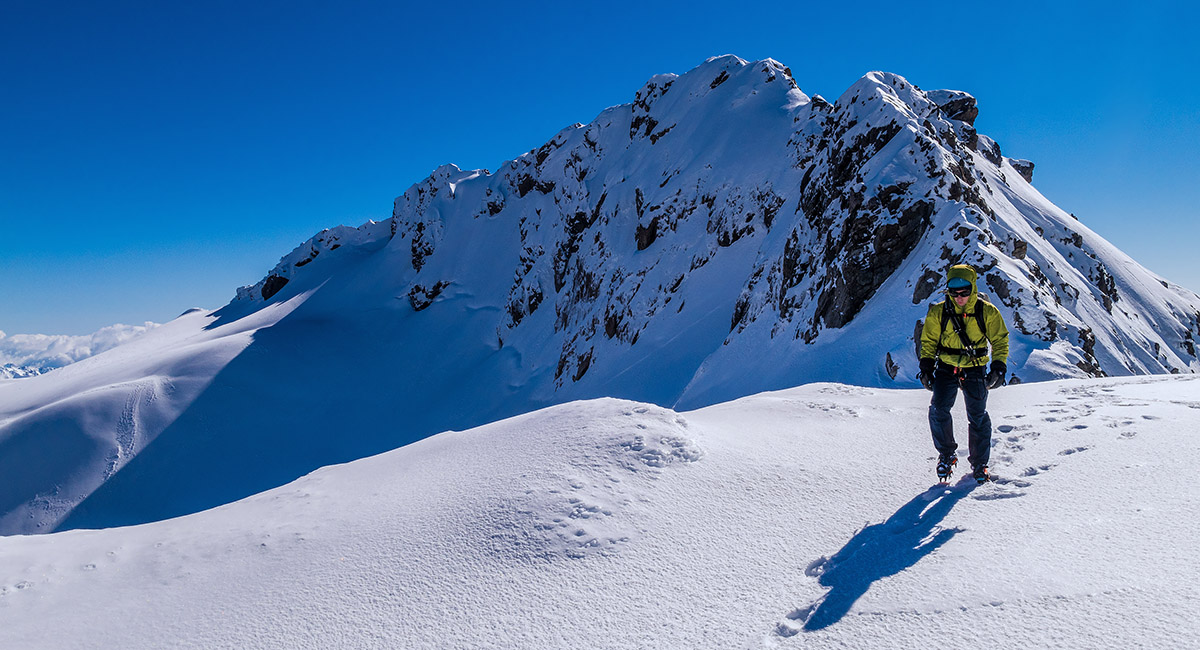
On the narrow ridge at about 1,850m, just above and east of the notch

On the narrow ridge at about 1,850m, just above and east of the notch

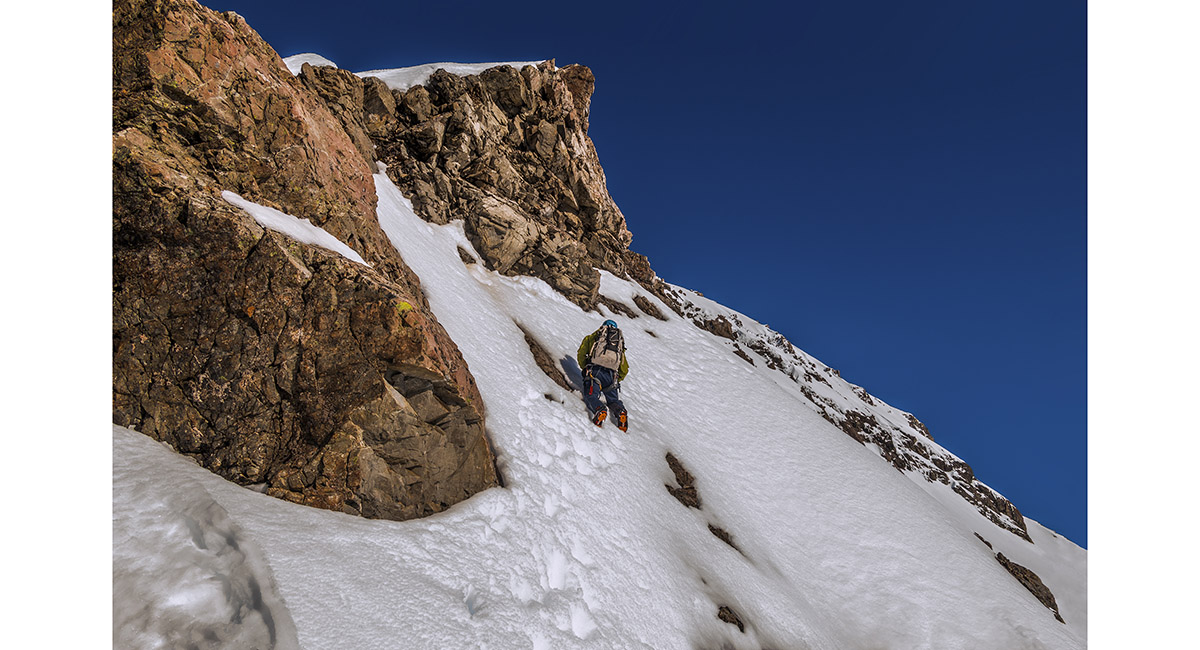
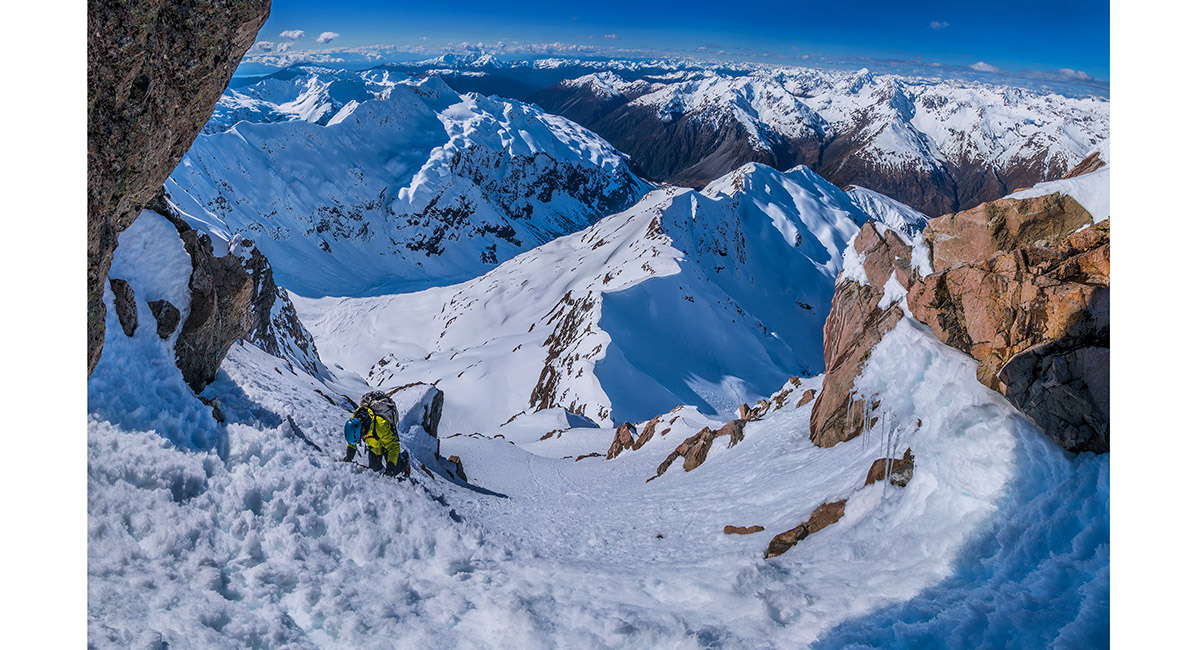
Climbing out of the notch, trending slightly out onto the Bealey side of Rome Ridge. This was steep, exposed, mixed climbing until we came back up onto the ridge again about 100 metres higher up

James about to cross a small ice cheval. Our tracks off Rome Ridge east of the notch are visible at centre

James making his way across a steep traverse on the Bealey side of the ridge

Above the traverse was a steep snow slope giving access back onto the ridge proper


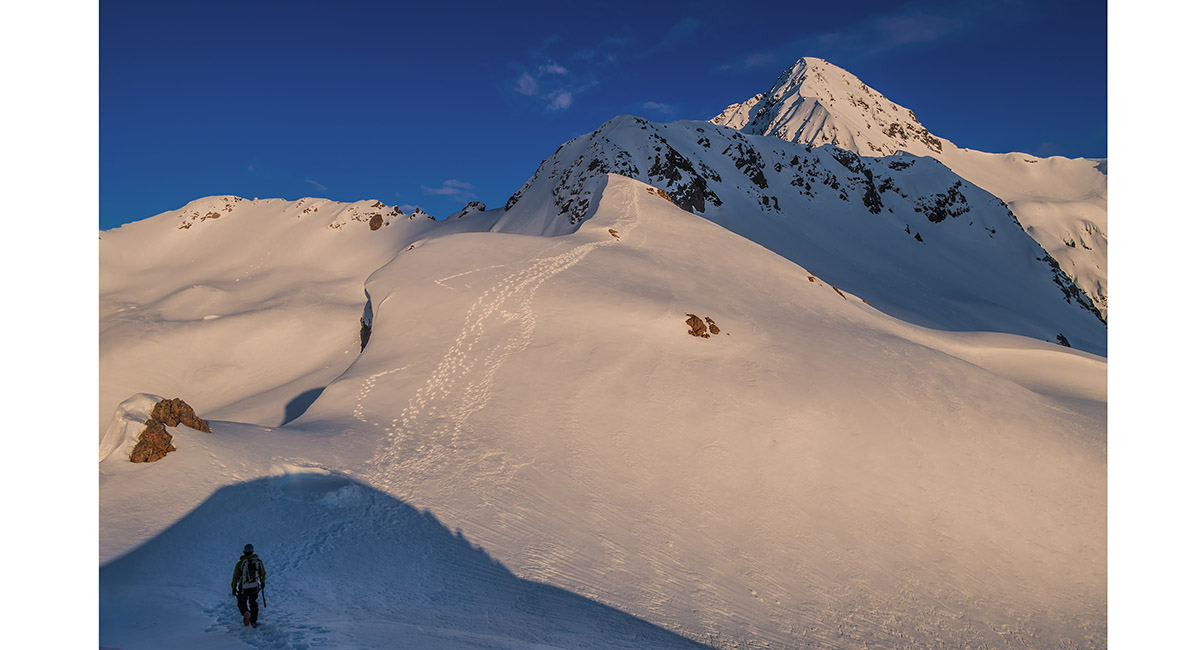
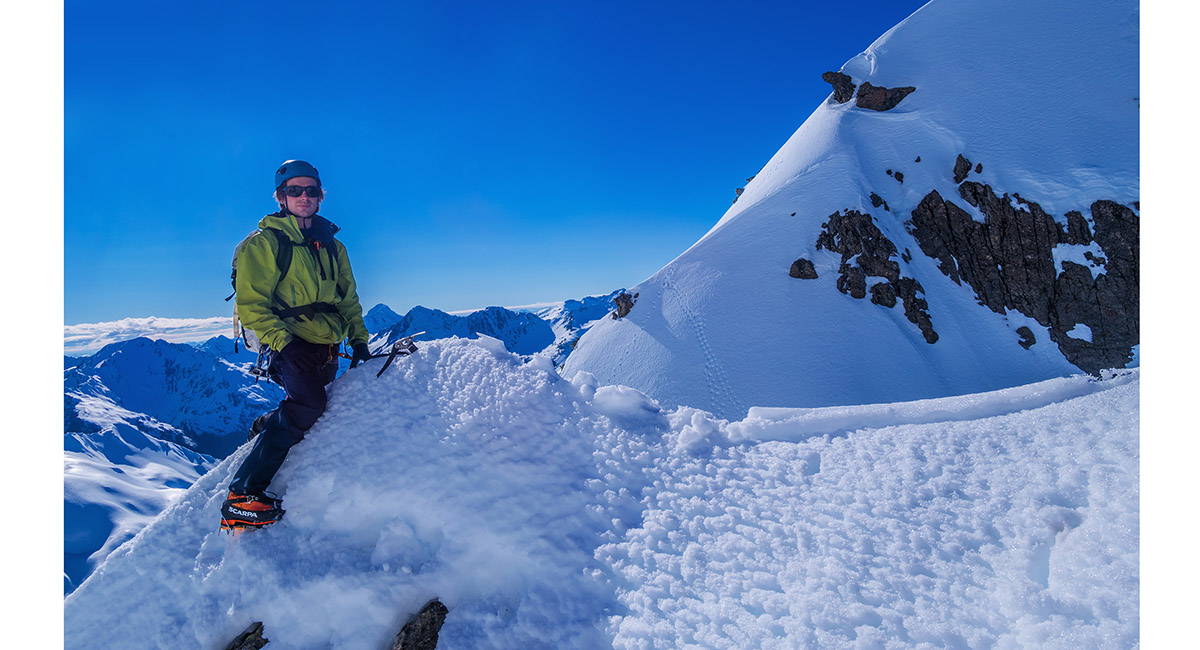
Back on Rome Ridge at about 1,950m

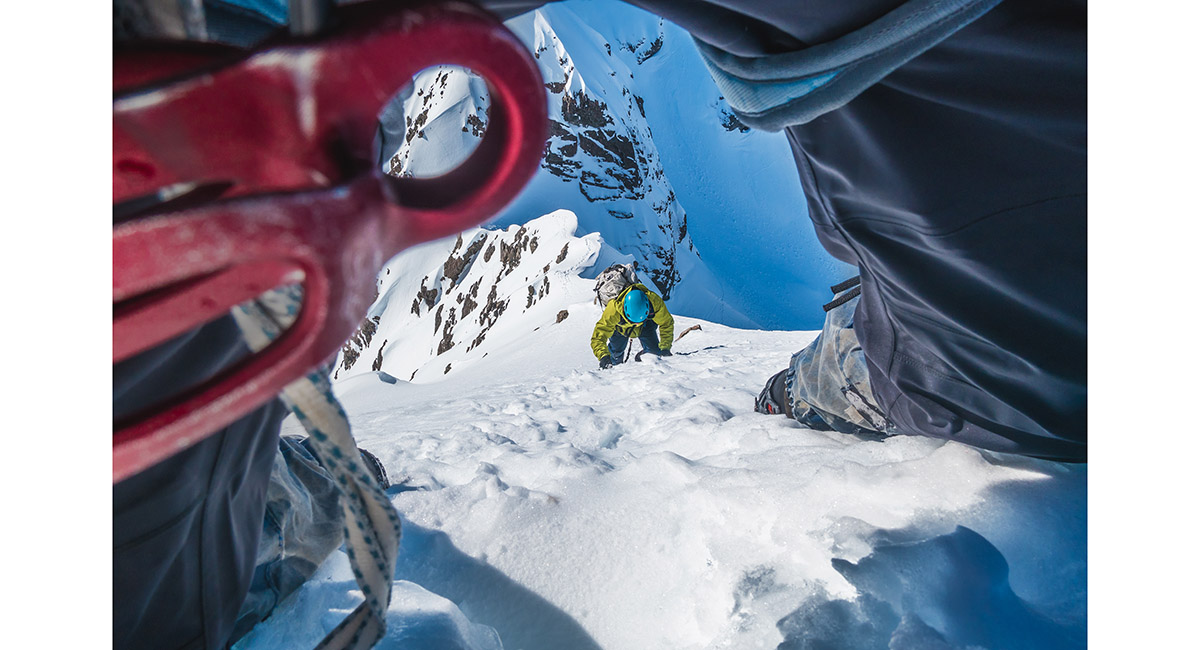
Crotch-eye view at about 2,000m on Rome Ridge

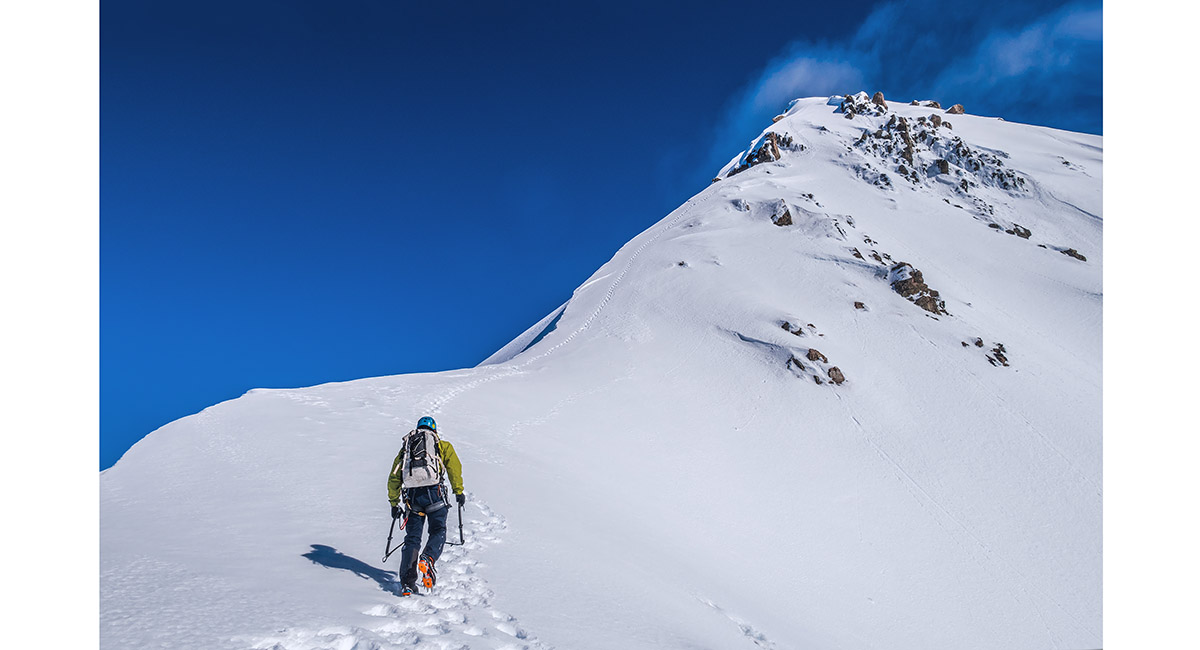
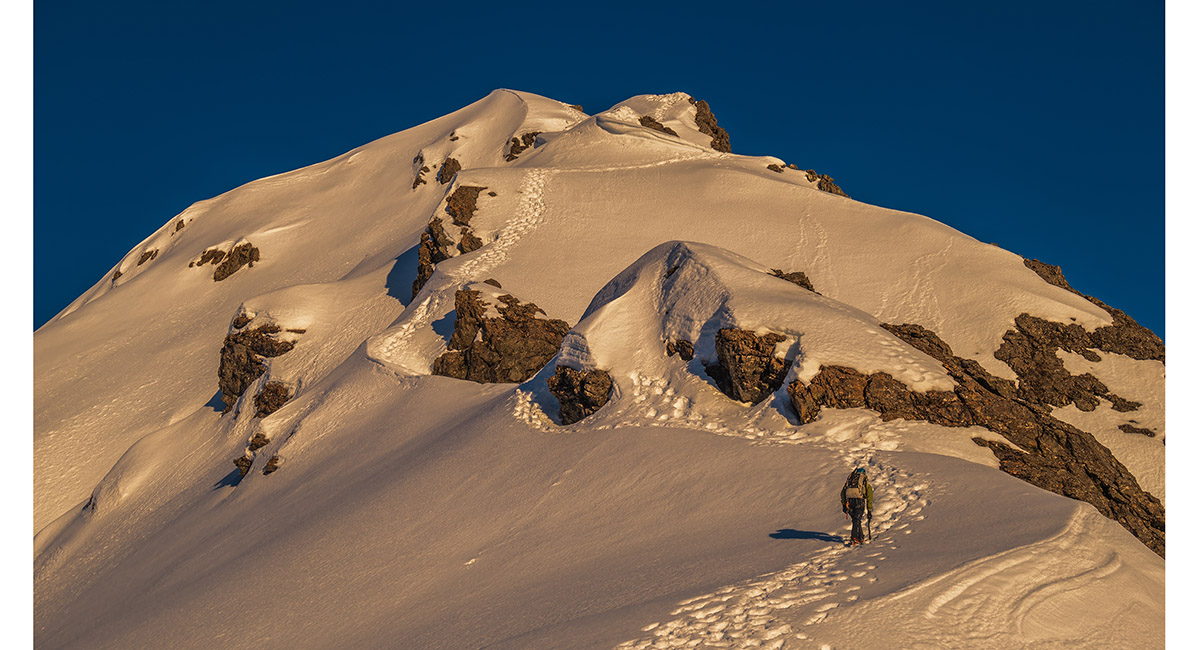
Approaching the last 200 or so metres of Rome Ridge, below Low Peak

At about 100 metres below Low Peak

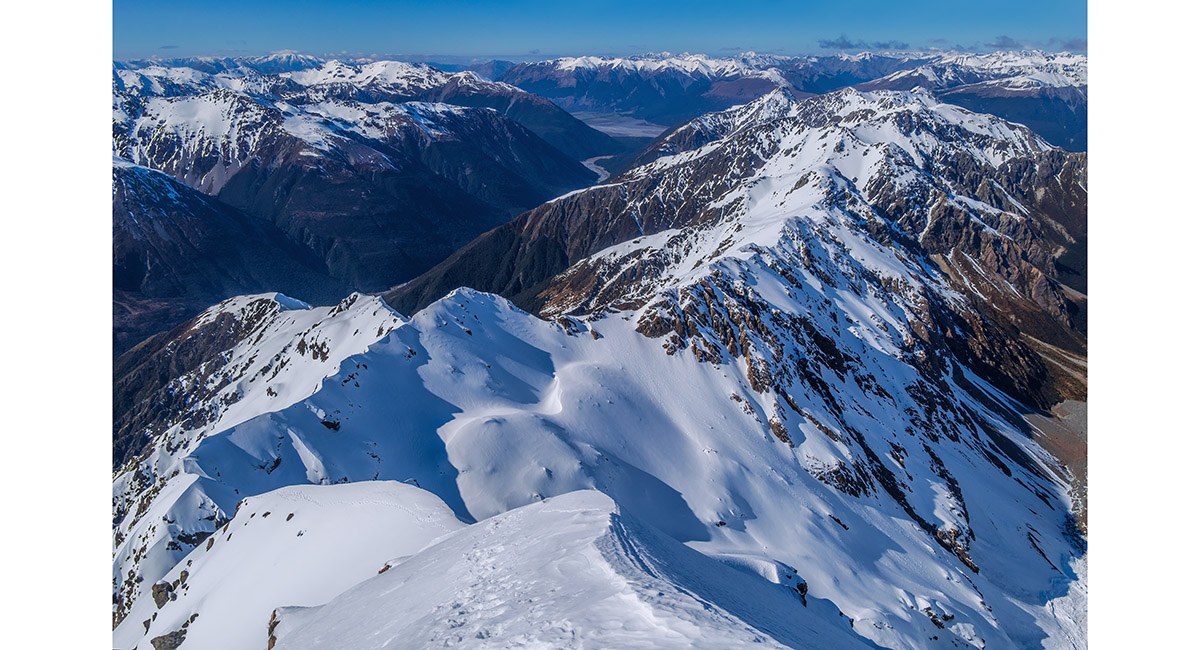
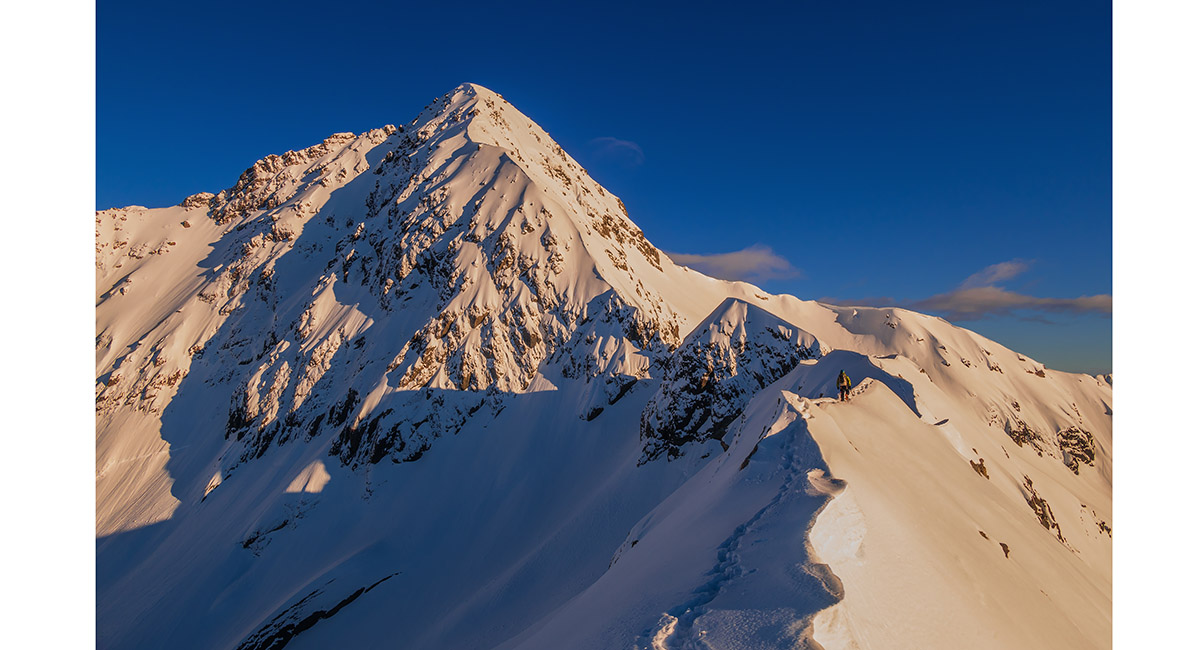
The view from 100m below Low Peak, back south along the snowy ridge to Avalanche Peak. Rome Ridge stretches down to the left


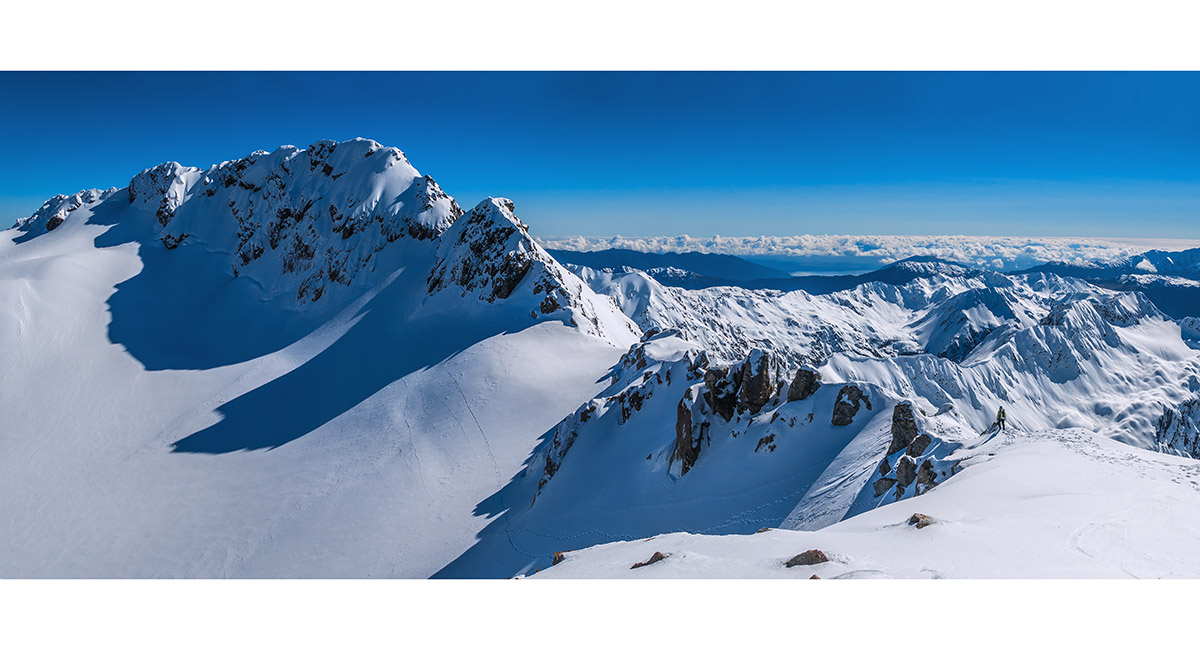
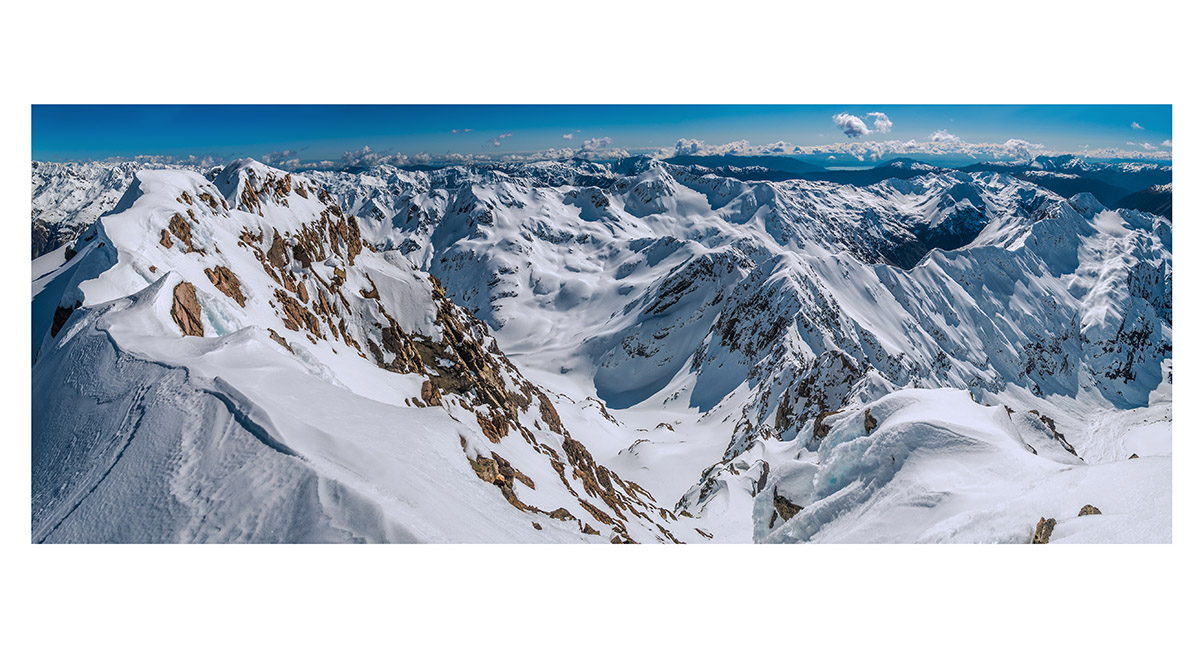
A panorama from Low Peak (2,212m). Bealey Valley is left (east), Rome Ridge and the ridge to Avalanche Peak are centre and Crow Valley is right (south)

The view from Low Peak to Rolleston's main summit (2,275m - left). Tracks dropping off Low Peak, around the rocky buttress above Crow Glacier, then back into the notch just east of the summit, show the route

The section north of Low Peak. The ridge coming off Rolleston's summit that leads around to Mt Philistine (1,967m) is in the distance and Goldney Ridge stretches right


Finding a sheltered spot for lunch before heading on to the summit

Approaching the notch at about 2,150m, just to the east of the main summit


Climbing out of the notch was a little trickier and quite a bit steeper than it looks here. Again the snow and ice were thin and unstable on the exposed rock. We put in some cams in the rock at top left for some protection on to the summit. A sling was also in place that we could rap off on the descent

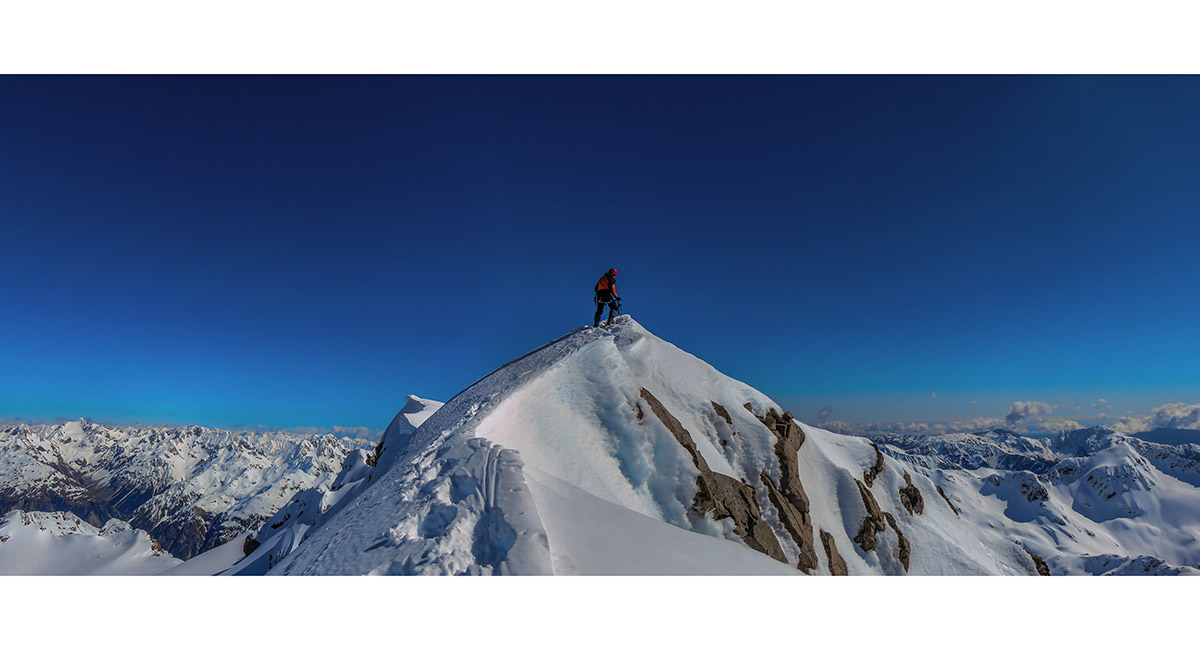
On the summit of Mt Rolleston (2,275m), looking west (Photo by James Hobson)

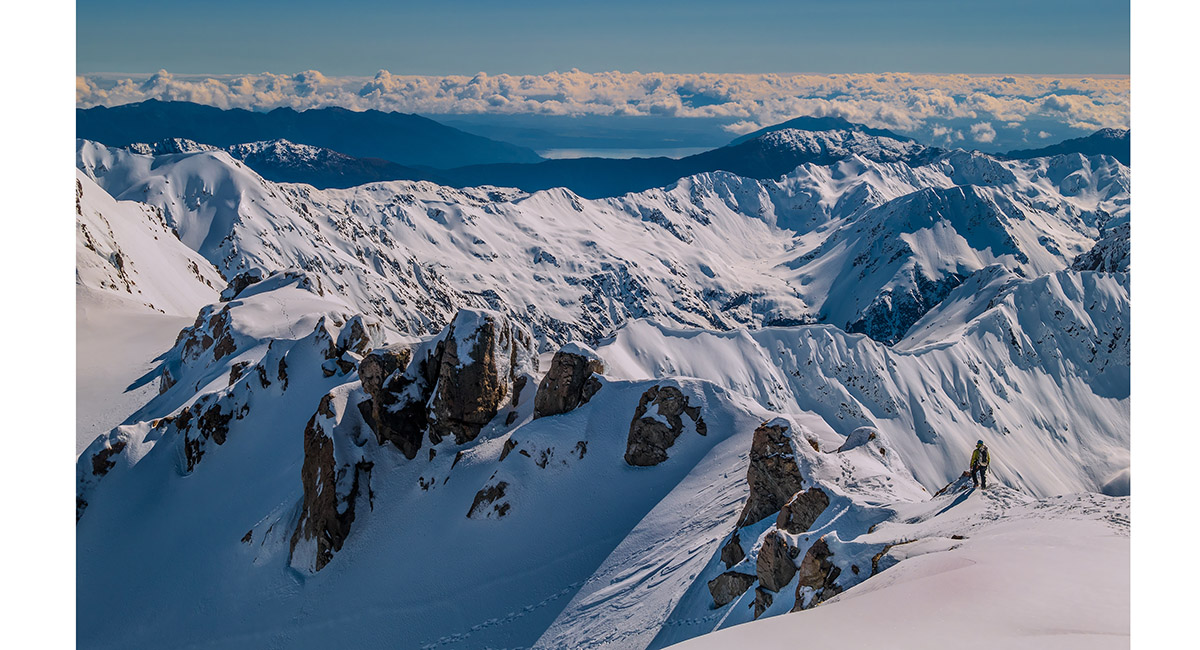
Looking north and west from the summit, with the rest of Mt Rolleston extending left above Crow Glacier. Mt Armstrong (2,110m) is in the middle distance and Mt Philistine and Rolleston Glacier far right


Looking north and east from the summit, with Goldney Ridge centre, Otira Valley left of centre and Mt Philistine further left, above Rolleston Glacier


Beginning our descent from the summit, with Otira Valley left, Crow Glacier on the right and Low Peak right of centre


On our descent from the summit, with Otira Valley below left

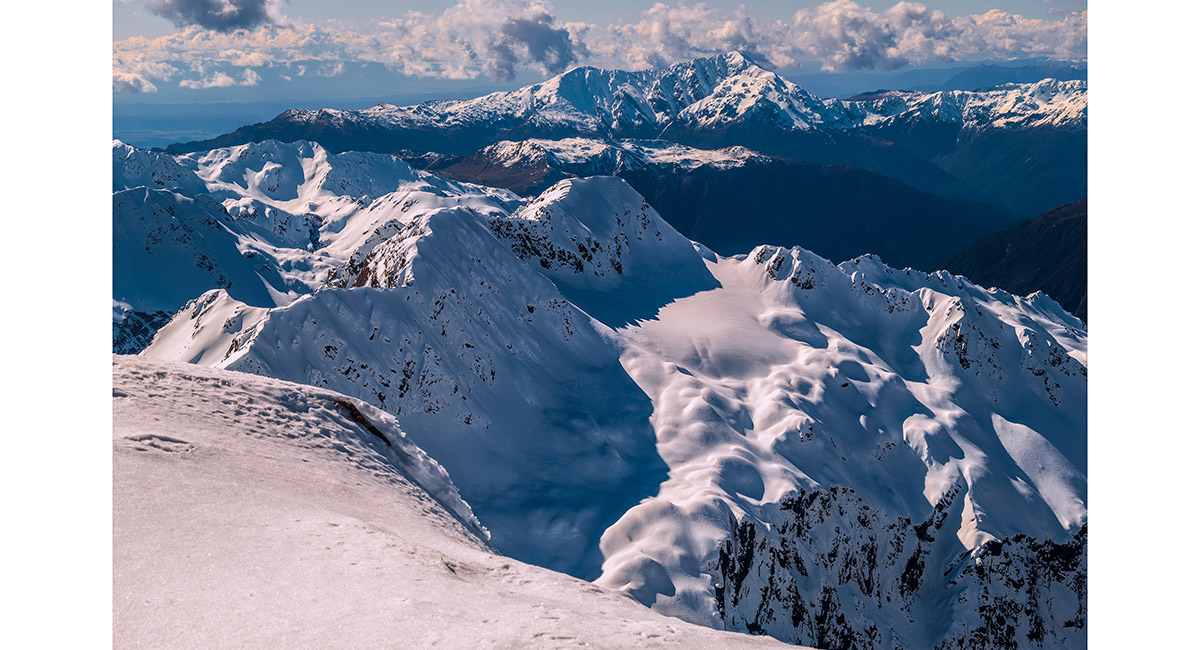
Back on Low Peak, looking across Rolleston Glacier and Mt Philistine to Mt Alexander (1,958m)

Back on Low Peak, looking along Goldney Ridge to Mt Franklin (2,145m) on the skyline left of centre

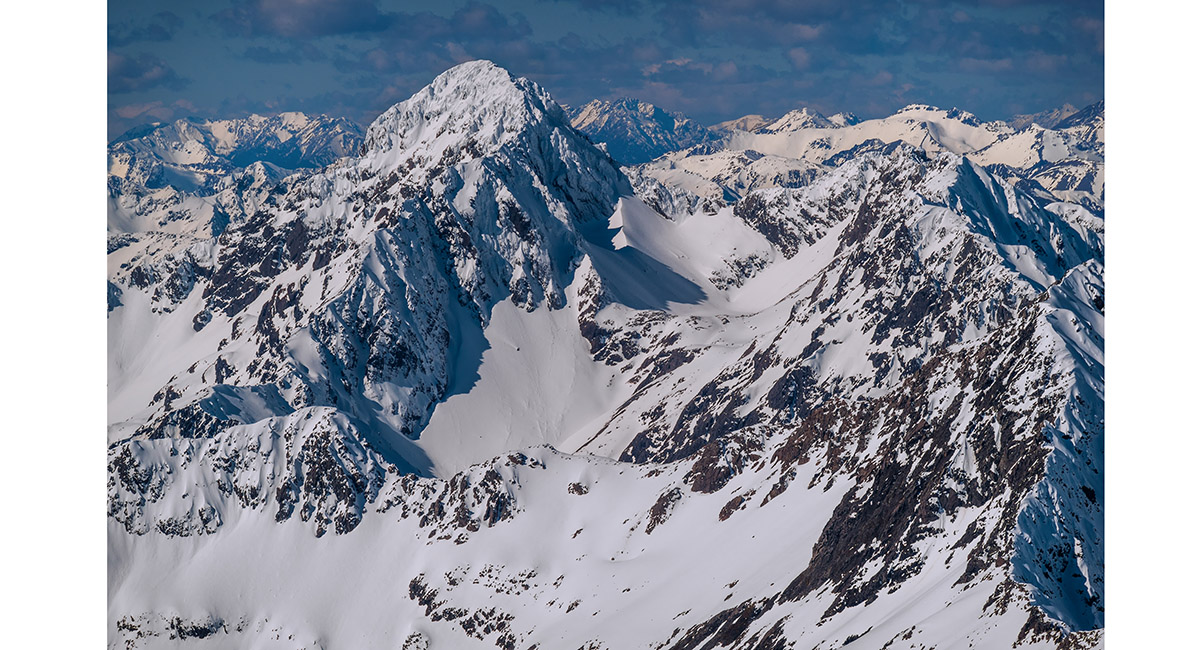
A view of Mt Franklin (2,145m) from Low Peak

Preparing to drop off Low Peak towards Goldney Ridge

On the descent at about 2,100m, with Goldney Ridge below centre


On the descent at about 1,950m, with Goldney Ridge below centre


On the descent at about 1,950m, with Goldney Ridge below right and Otira Valley left

Below Otira Slide at about 1,500m, with Mt Rolleston's northeast face above right. Soft thigh deep snow proved somewhat arduous until it ran out at about 1,300m. A small price to pay for such a superb day's climbing

Read about it A fortunate alignment Vertigo Oct 18
![]()

To order a print or web resolution file of any image you see in this slide show, just right click the image, click “Copy Image URL” and paste in to the “Your message” box of our Contact Us form. Please also note, for each image, if you want a print or web resolution file. We will get back to you as soon as possible to confirm price and payment details.
Open Contact Us in a new window to paste Image URL(s) easily