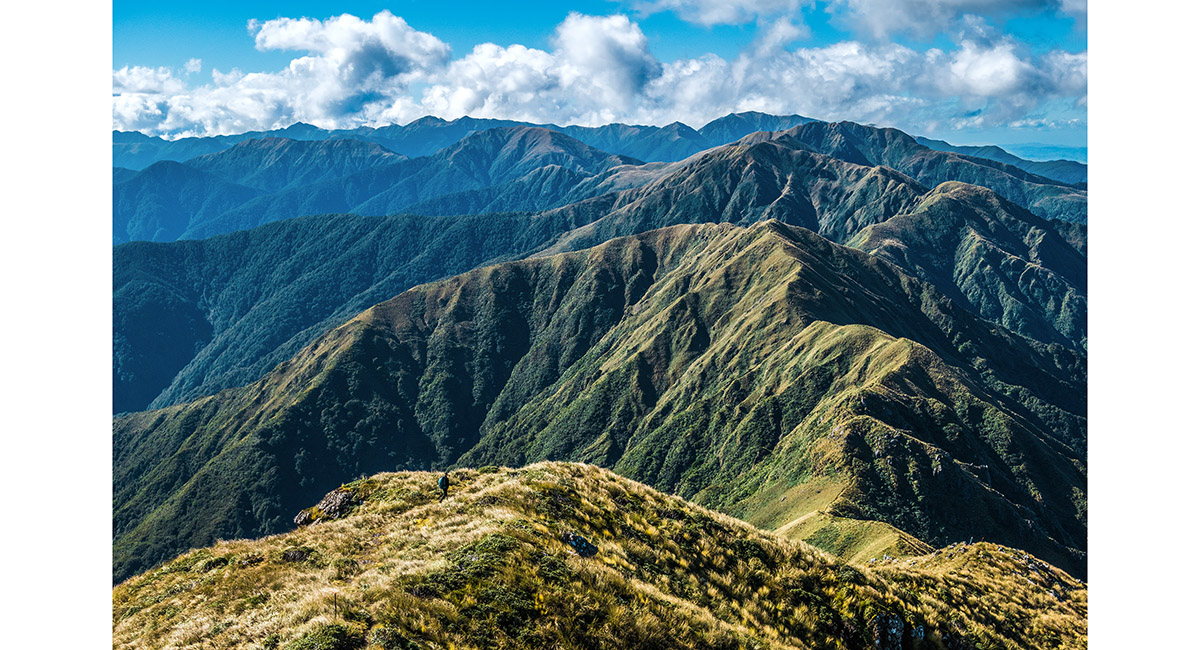
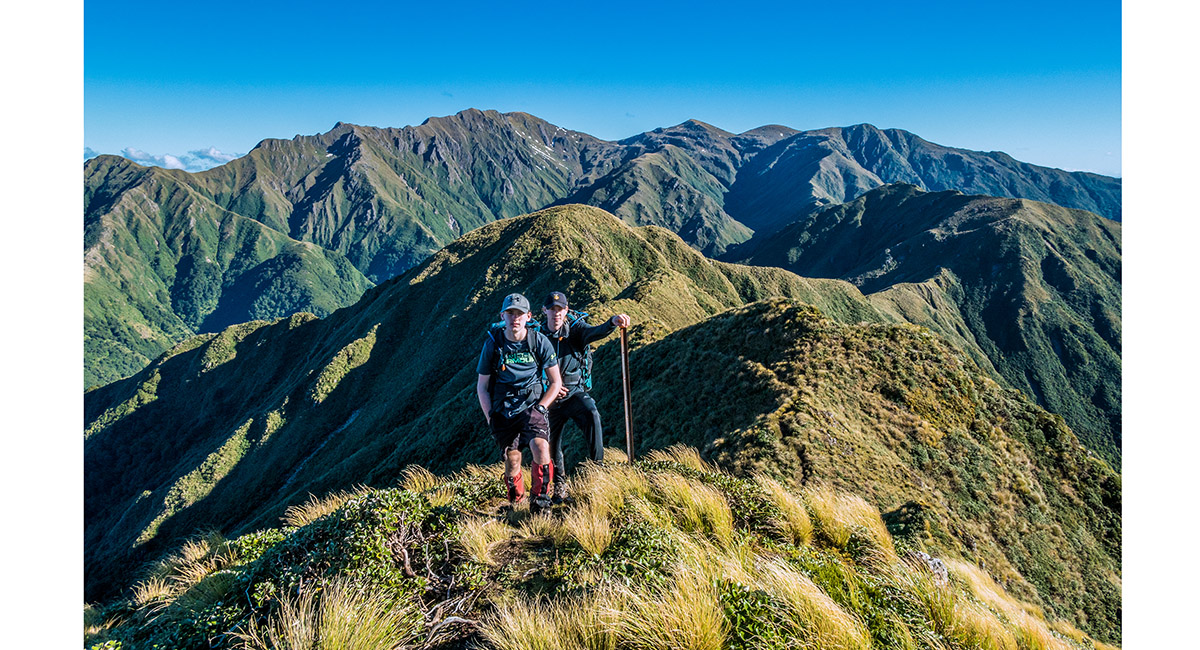
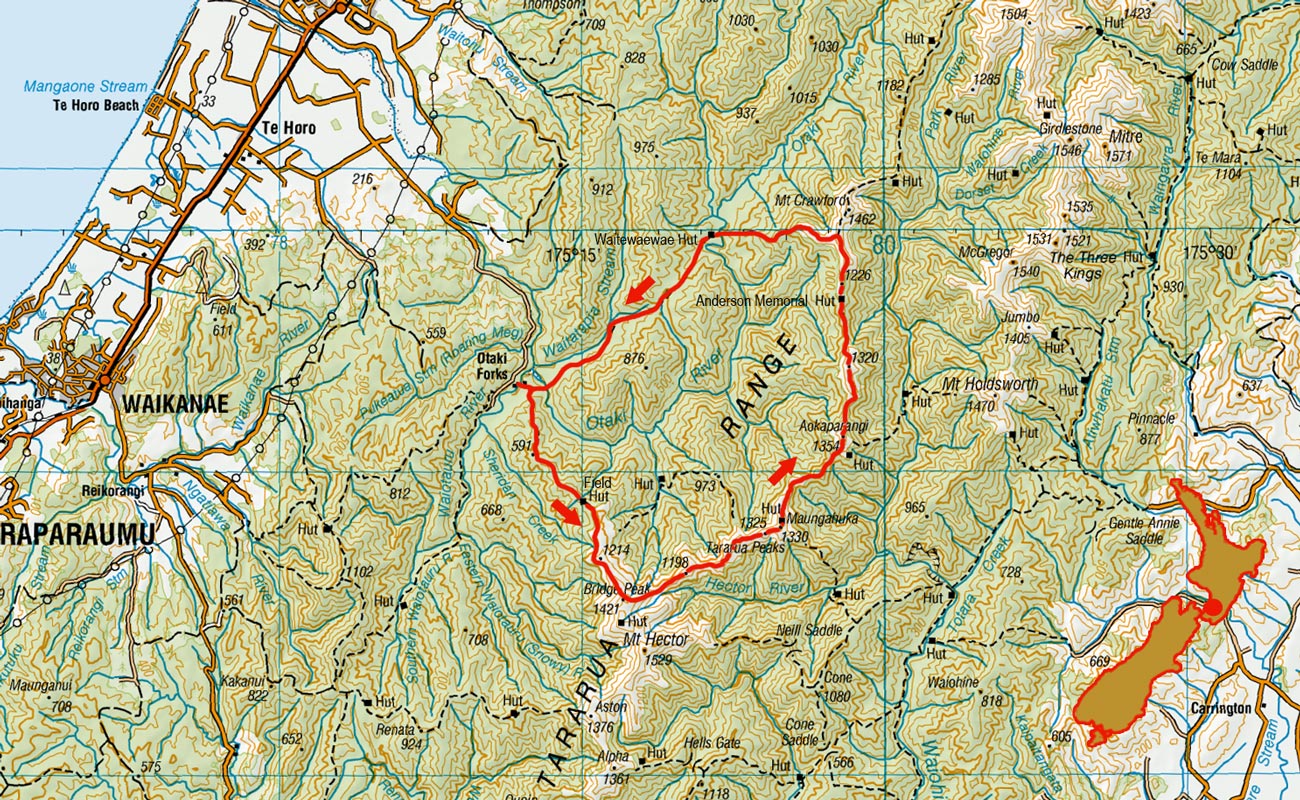
Tararua Peaks, April 2018

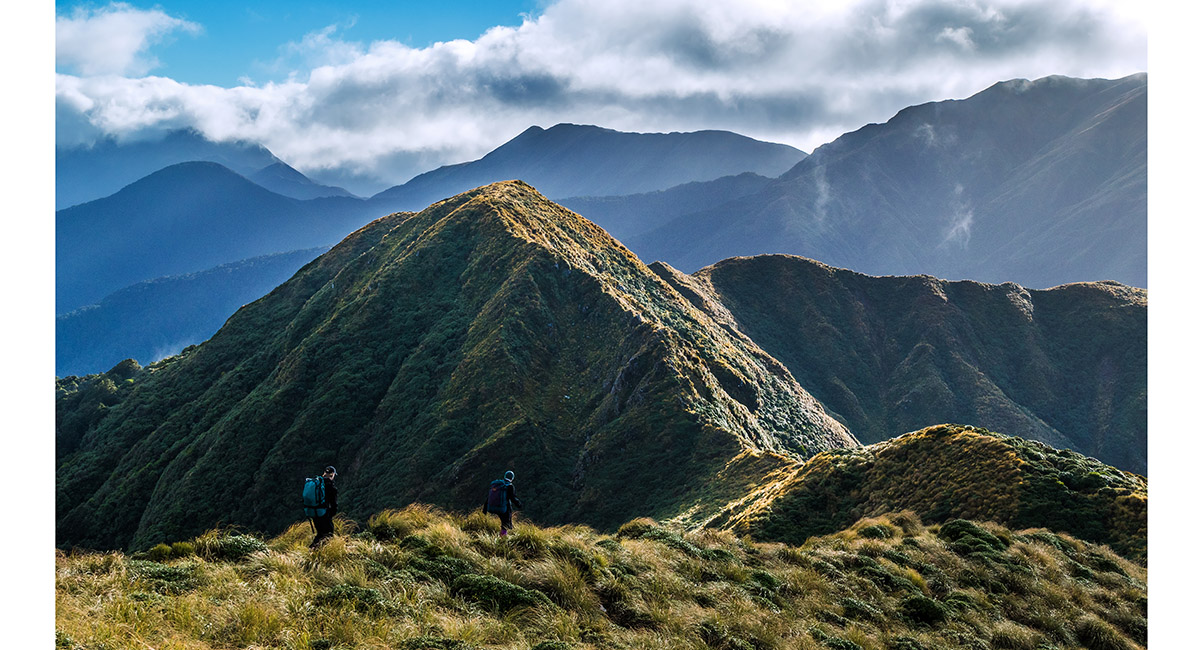
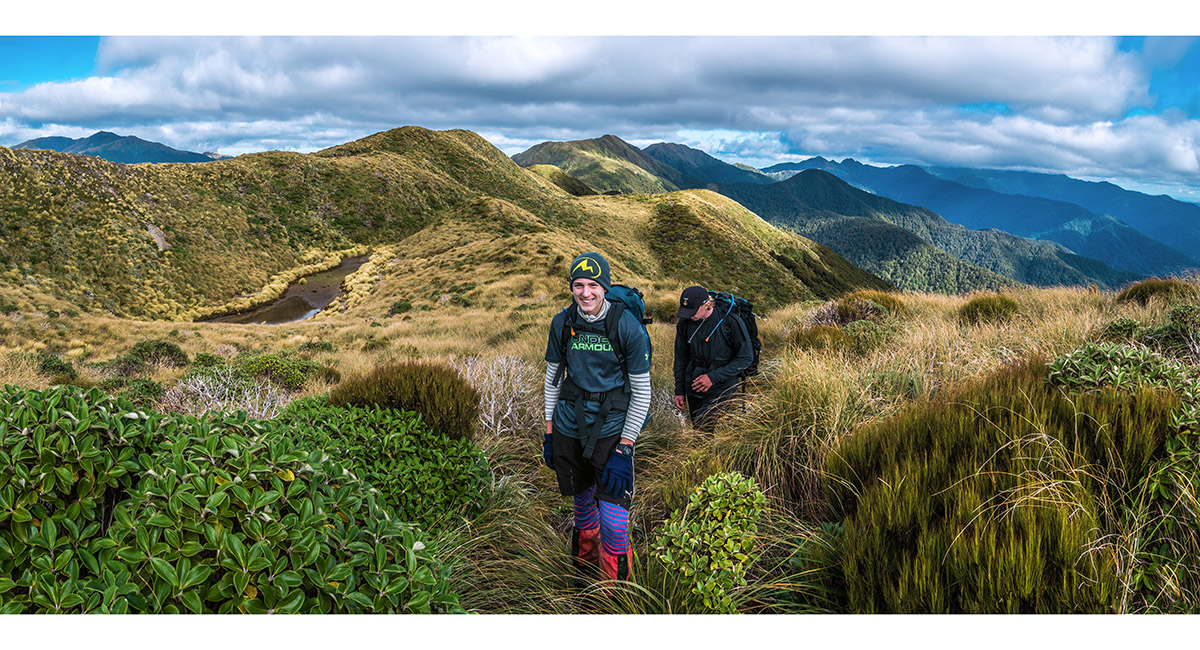
Climbing above Table Top towards Bridge Peak (1,421m), with the main Tararua Range stretching left

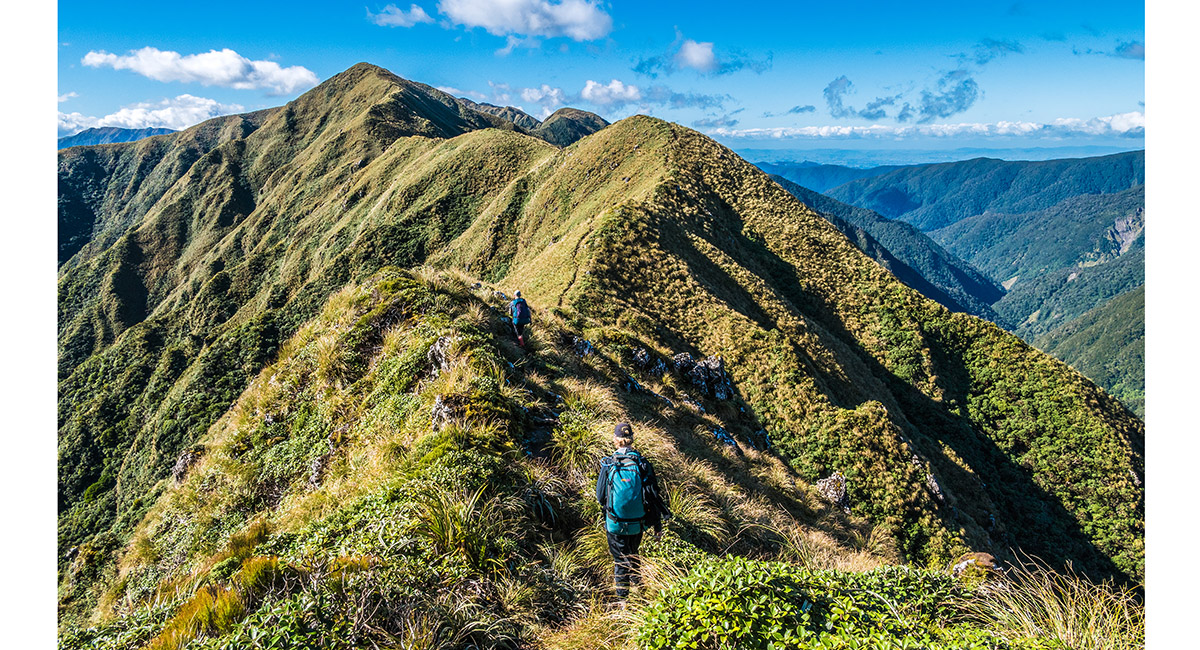
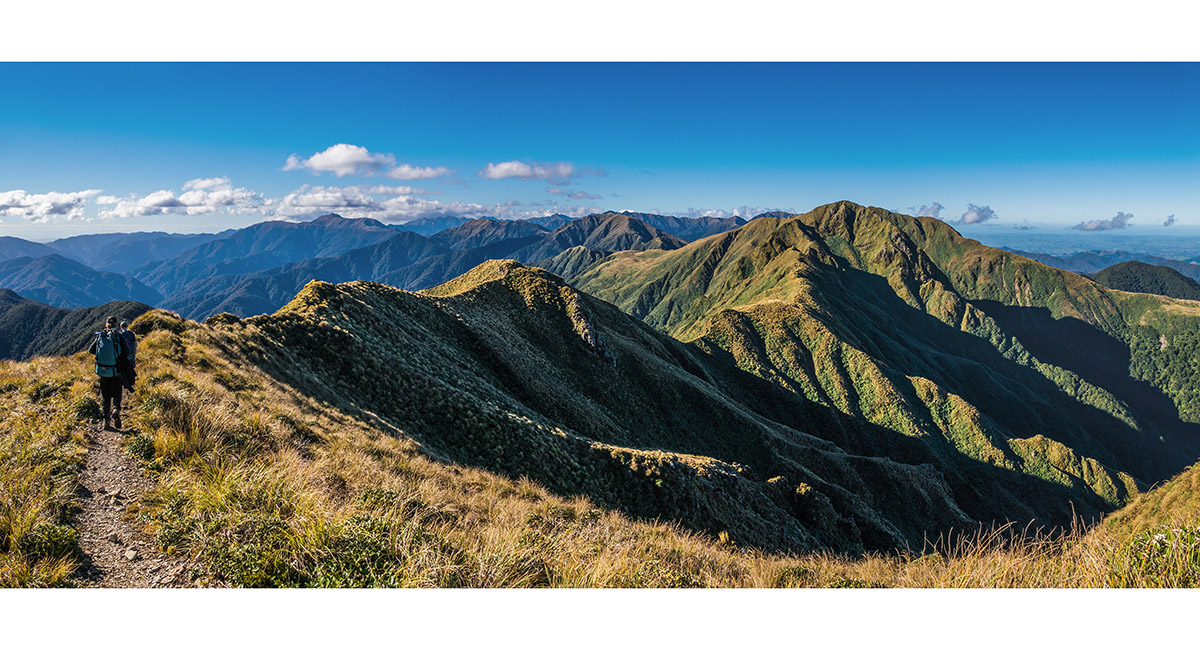
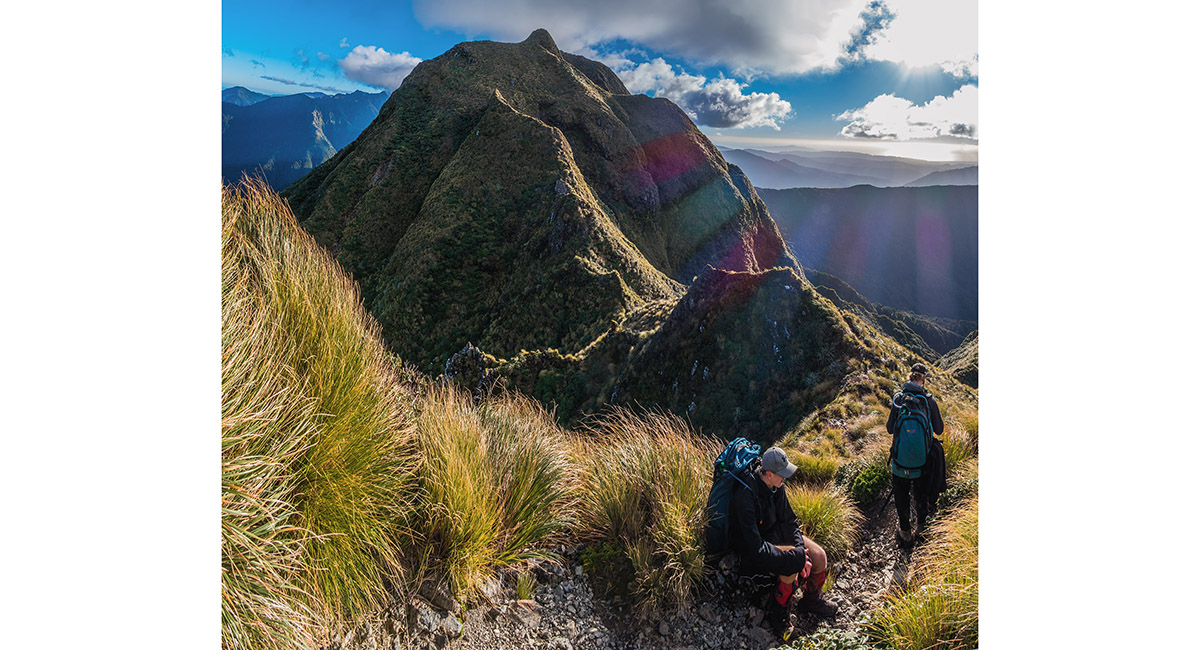
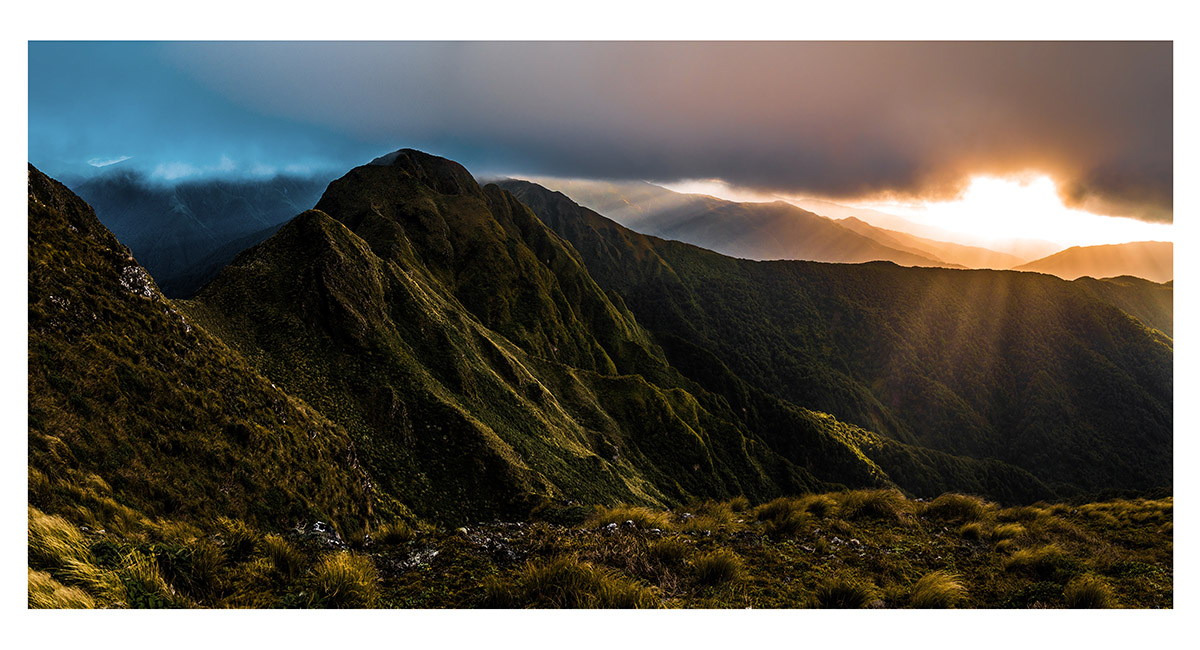
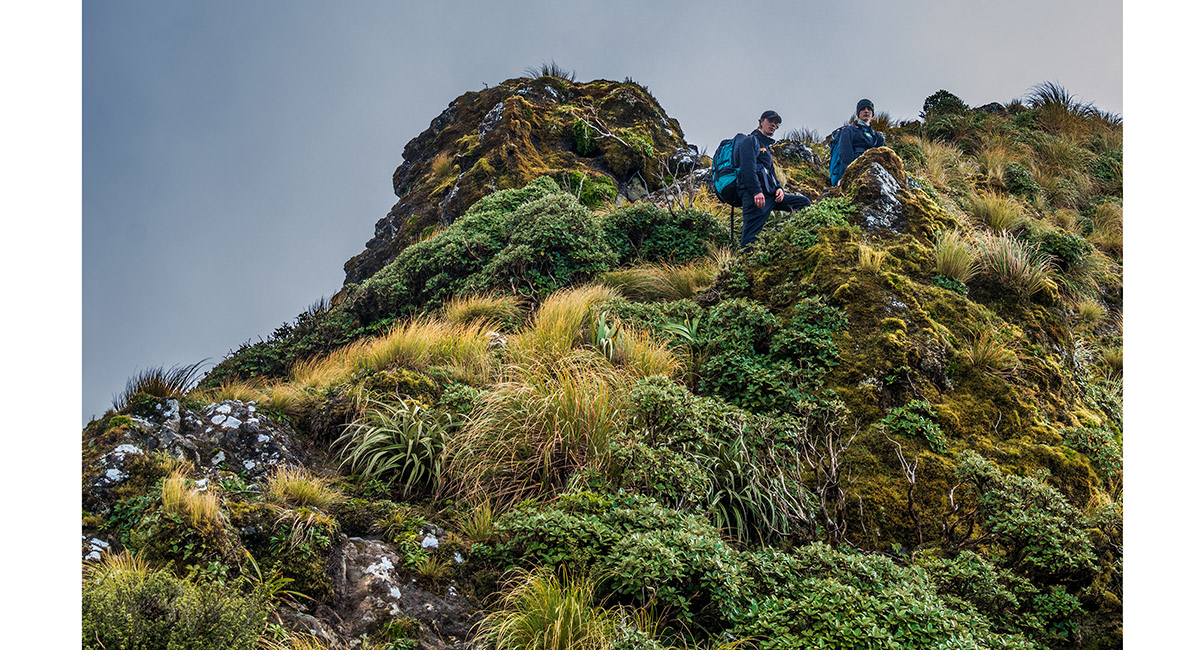
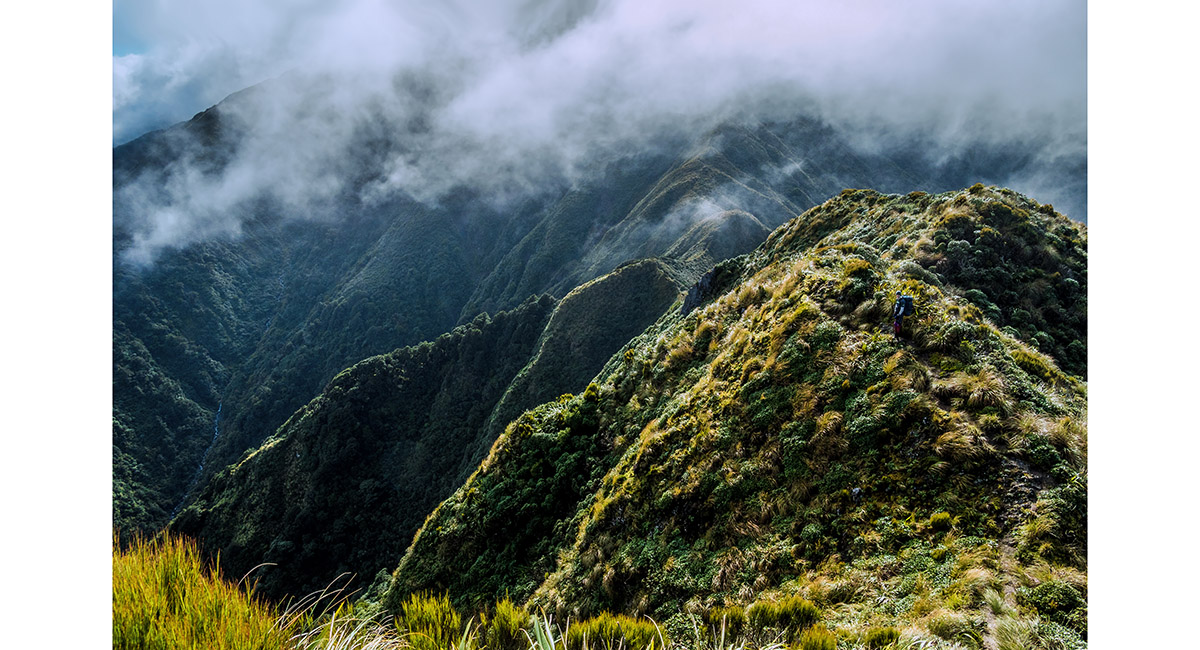
On the descent from Bridge Peak on to the main Tararua Range, looking north east


On the descent from Bridge Peak on to the main Tararua Range, looking north east, with Hector River right and Penn Creek left

On Vosseler (1,198m), with Yeates (1,205m) right

On Yeates, looking to McIntosh (1,286m) and the Pakihore Range stretching left


The view west down to Penn Creek and, in the far distance, Kapiti Island, from near Yeates

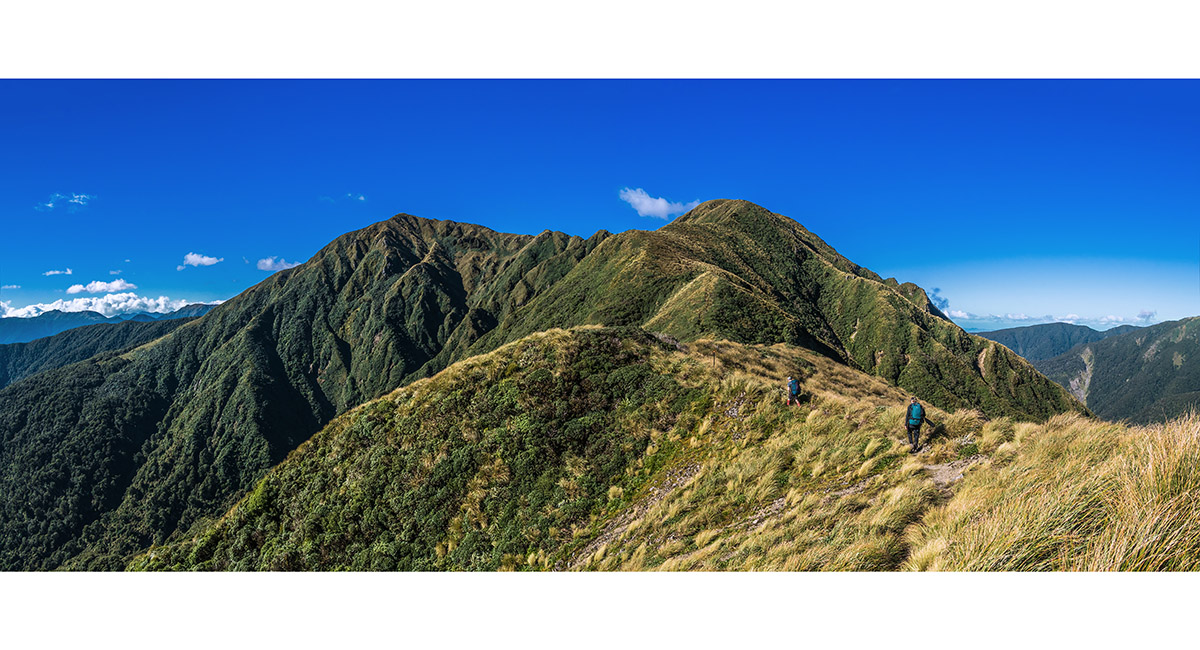
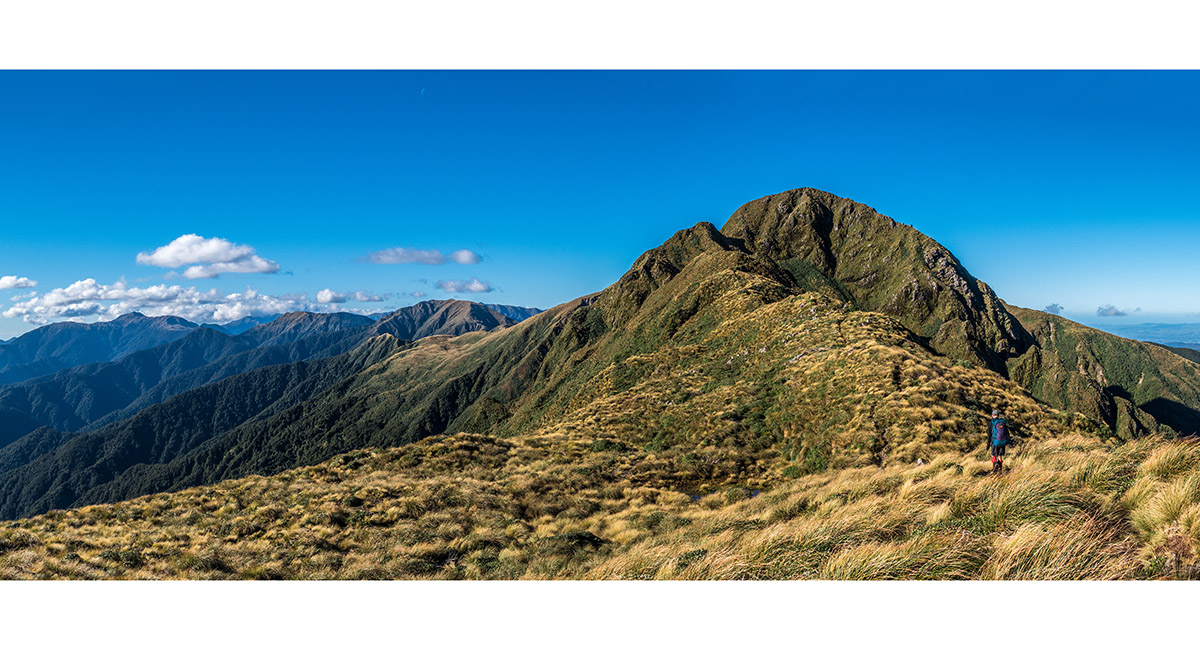
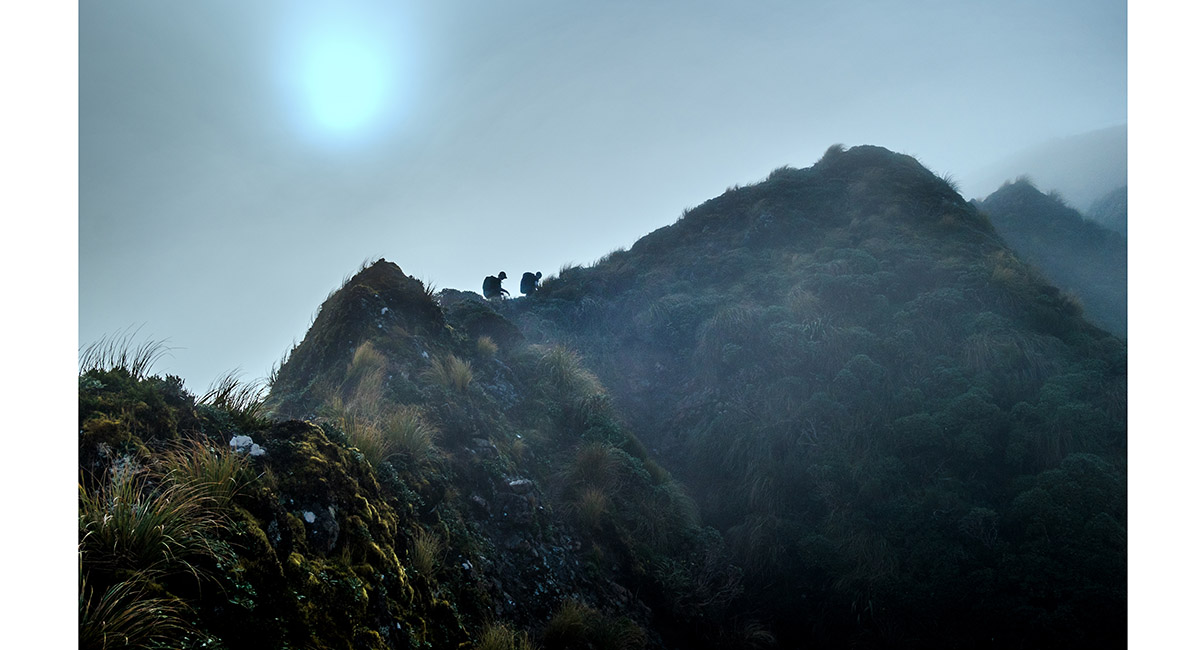
Approaching McIntosh (1,286m)

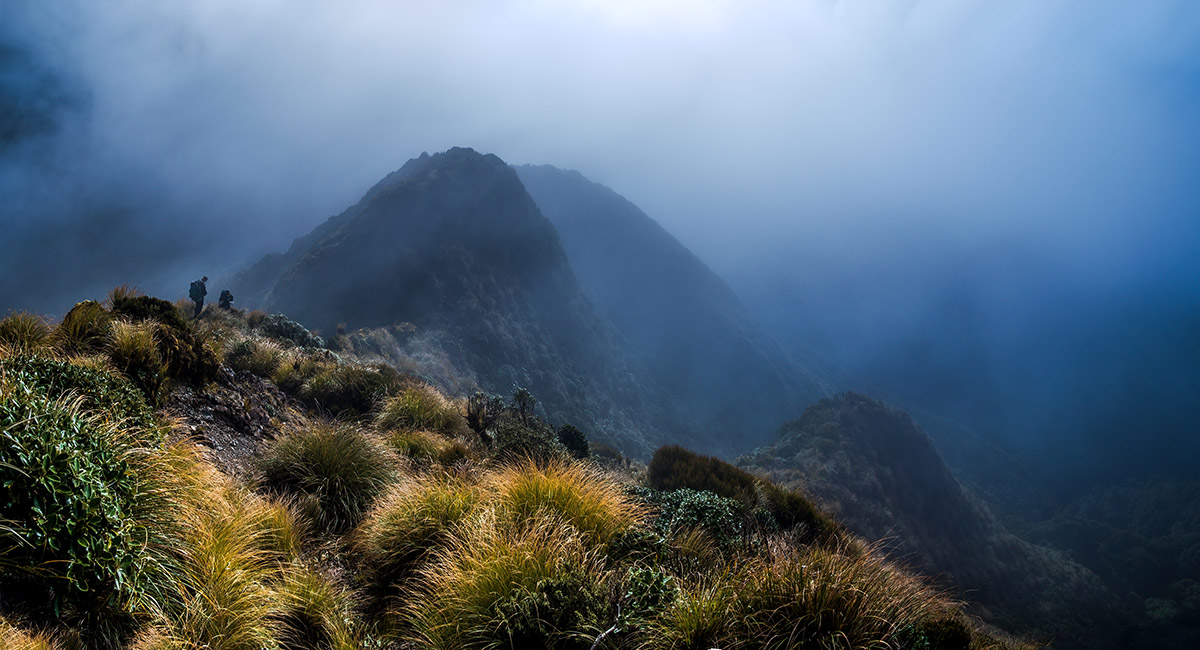
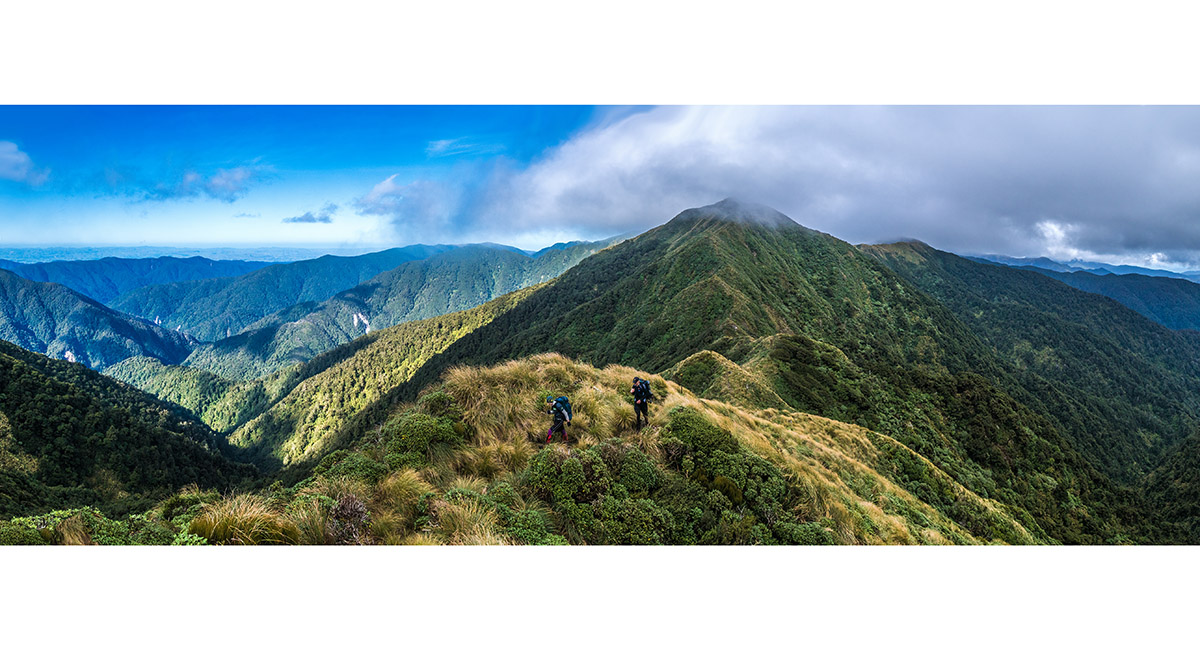
A view From McIntosh, south west, back along the main range


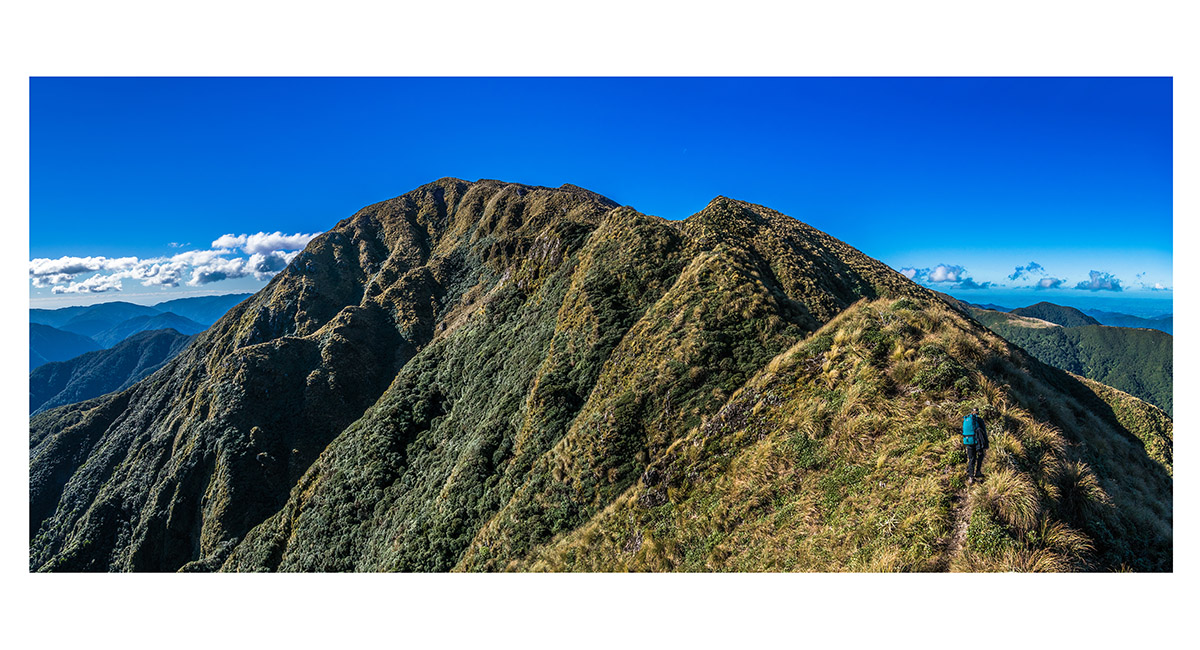
On the ridge beyond McIntosh, looking south, back along the main range

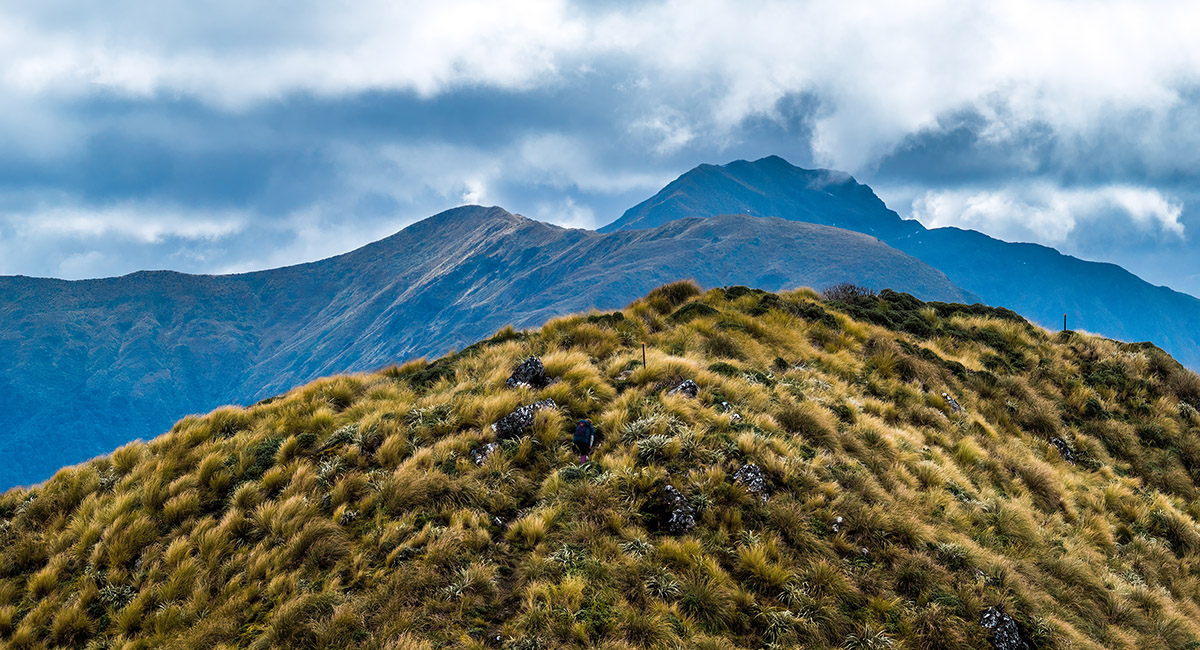
On the ridge beyond McIntosh, looking to Tuiti (1,325m) - the western-most of the two Tararua Peaks. The other is Tunui, almost the same height

Approaching Tuiti (1,325m)


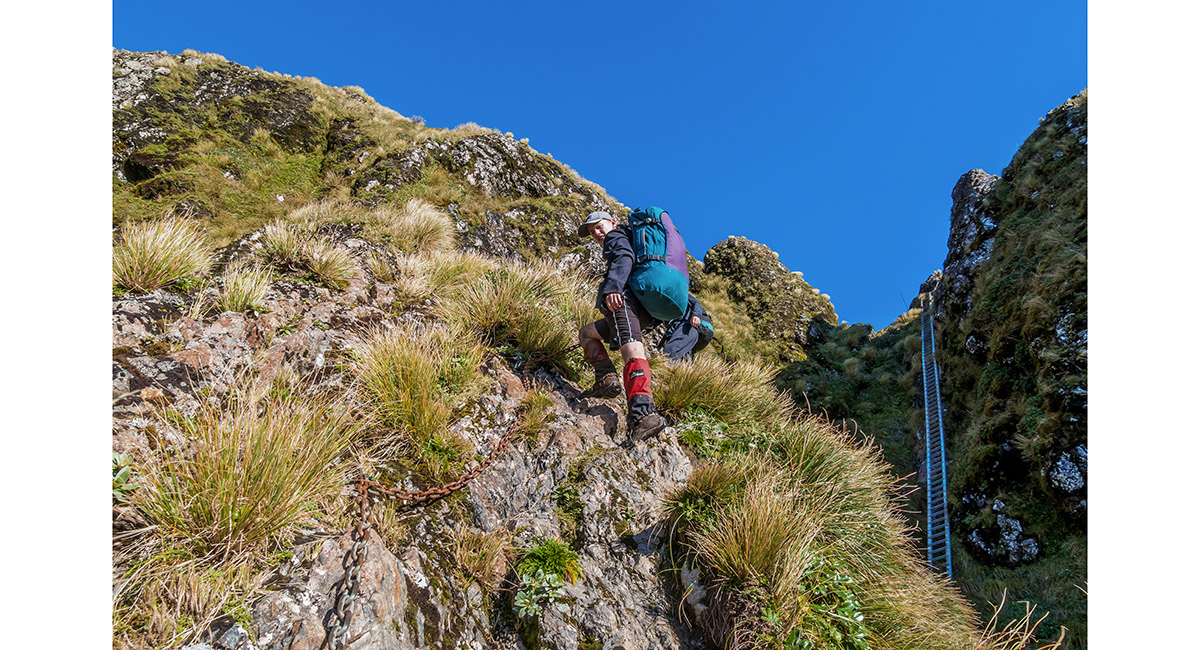
Climbing Tuiti (1,325m)


Just beneath the top of Tuiti, with the notch giving access to the Ladder lower left


A view south west, back along the main range, from Tuiti


Descending Tuiti to the notch and ladder, with the main range stretching north


From the top of the ladder


From the top of the ladder


From the bottom of the ladder

On the chain protected route beneath the ladder, which goes beneath Tunui before rejoining the ridge west of Maungahuka Peak (1,330m)


On the chain protected route beneath the ladder, which goes beneath Tunui before rejoining the ridge west of Maungahuka Peak (1,330m)


Back on the main ridge, on the approach to Maungahuka

Just before the climb to Maungahuka (1,330m)

Climbing Maungahuka (1,330m)


On top of Maungahuka (1,330m), with the main range stretching away to the left. Maungahuka Hut is just beyond the next high point


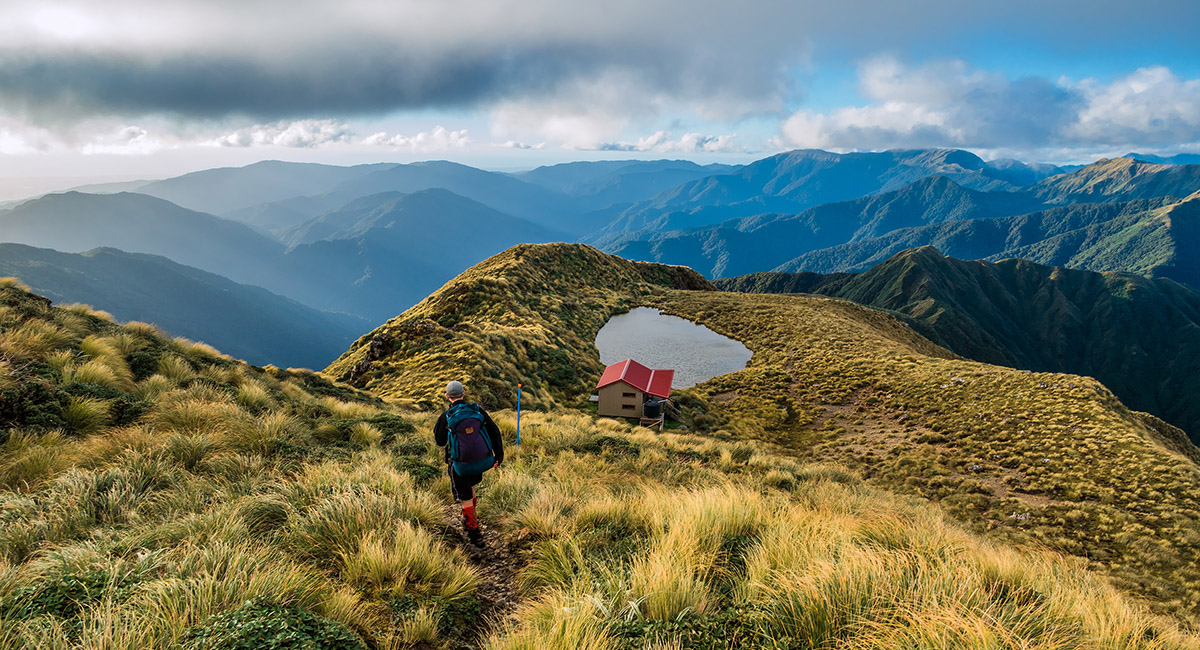
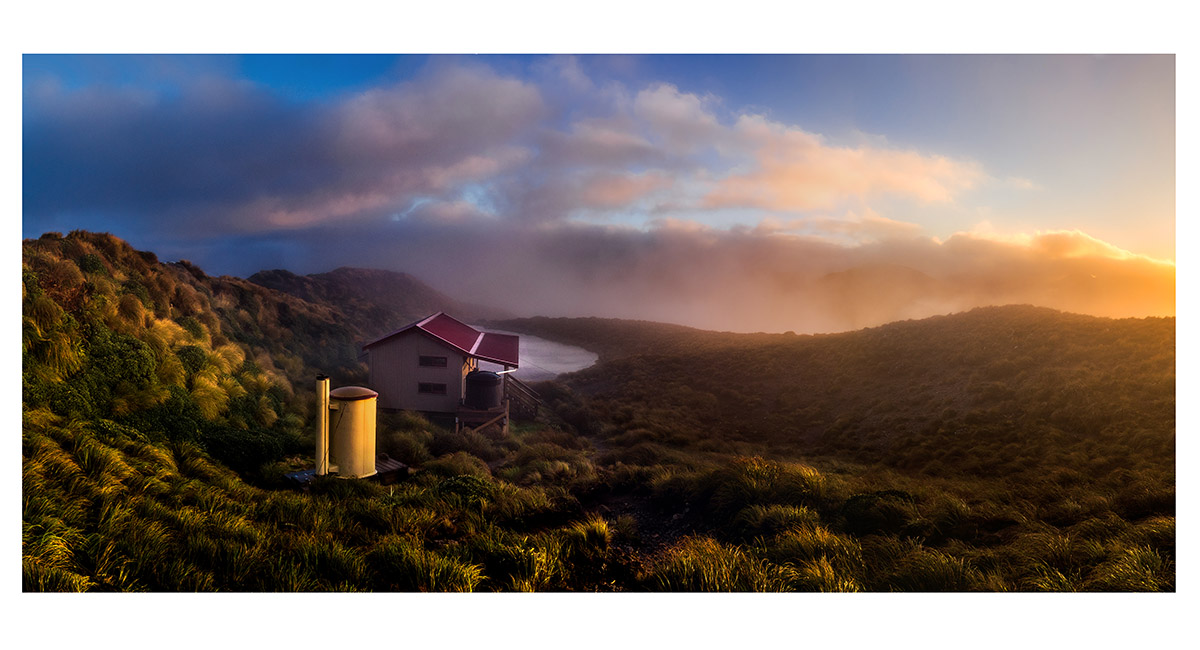
Nearing sunset and Maungahuka Hut

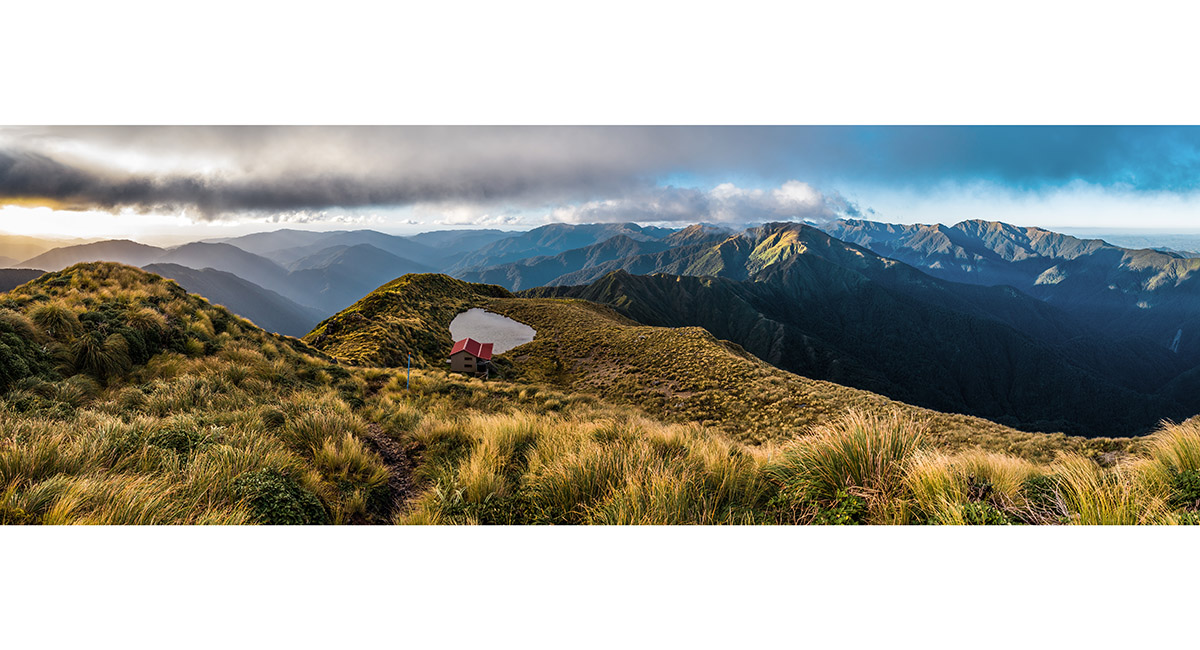
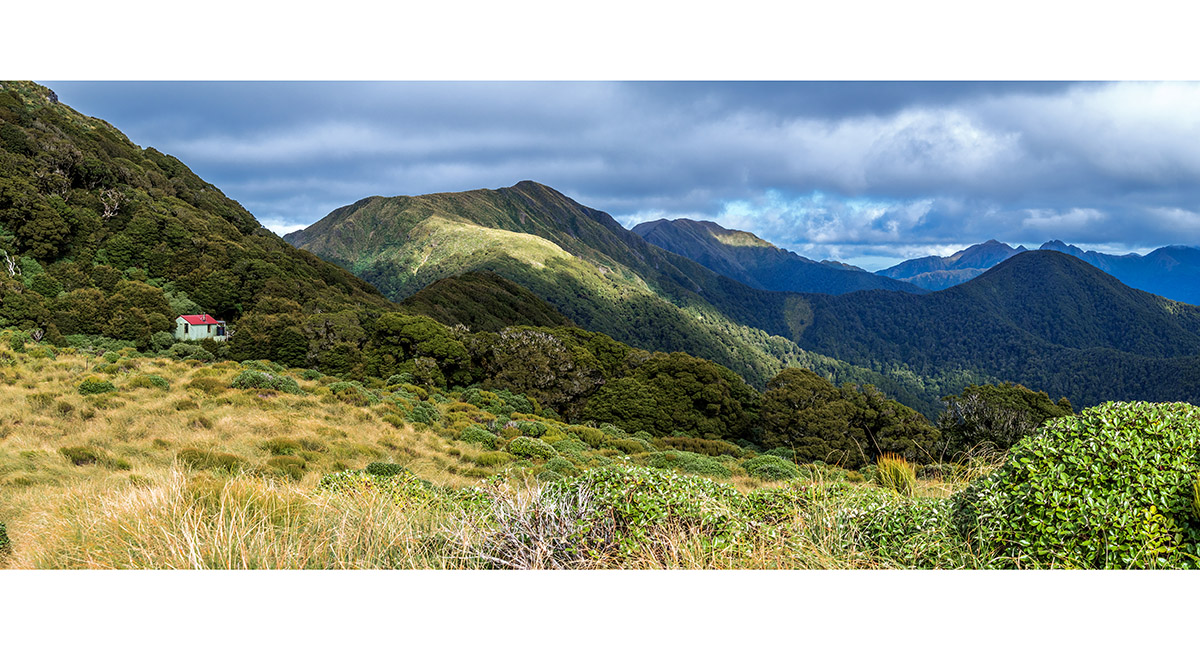
Looking north to Maungahuka Hut (1,280m). Mount Holdsworth (1,470m) is on the right skyline

Looking north to Maungahuka Hut (1,280m). After 8.5 hours on the go one day 1, some room temperature (i.e. lovely and cold) beers awaited me at this hut - Kiwi Lager, possibly the nicest beer I've ever enjoyed and I didn't even have to carry it in!


A view west, from just above Maungahuka Hut, at sunset

A view from just above Maungahuka Hut, with the Tararua Peaks left and the Pakihore Ridge stretching right, at sunset

Maungahuka Hut (1,280m) at sunrise

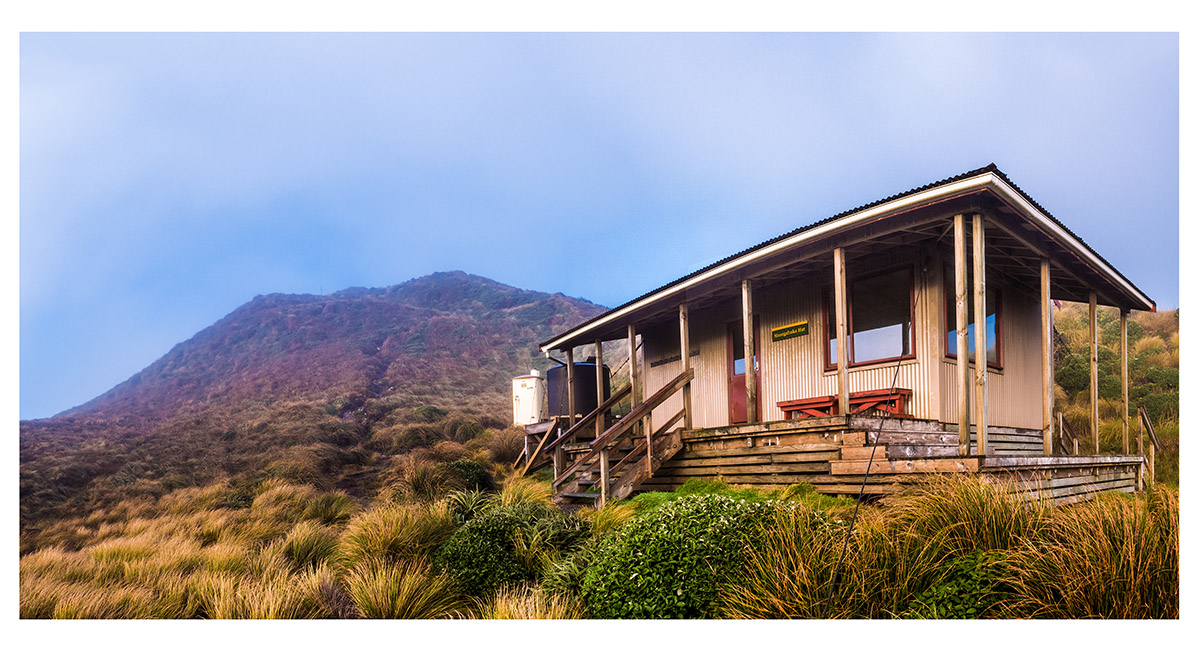
A view to the south, of Maungahuka Hut

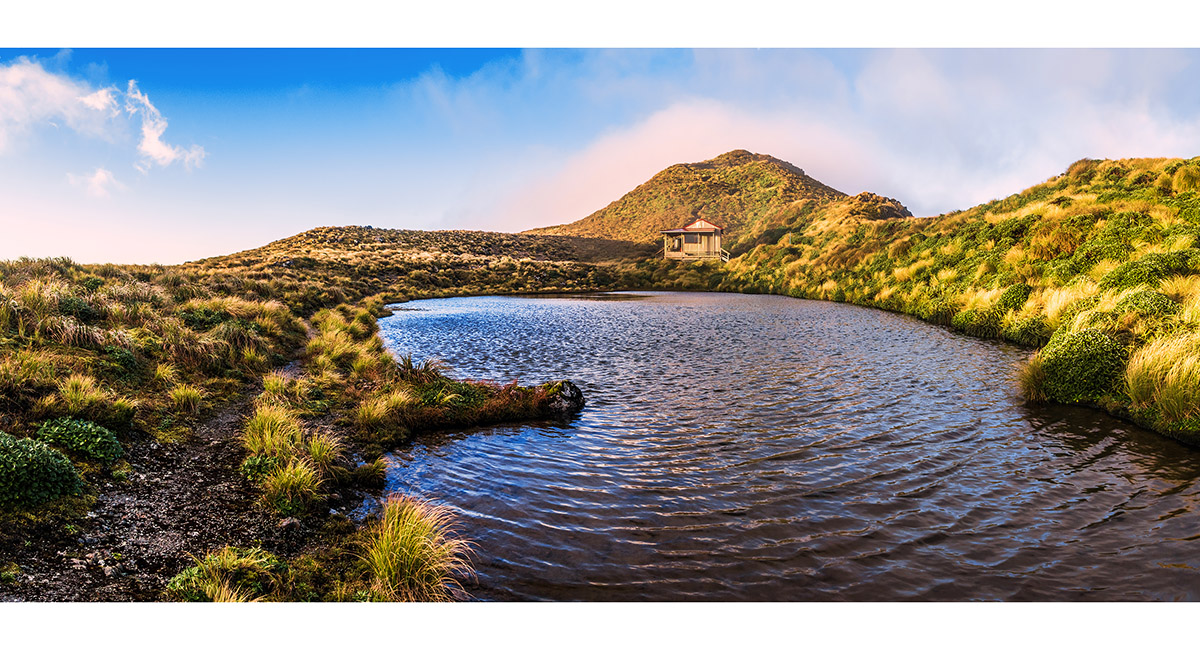
A view to the south, of Maungahuka Hut


A view to the south, of Maungahuka Hut


The view north just beyond Maungahuka Hut to Simpson (1,138m), Wright (1,196m) and Aokaparangi (1,354m), in cloud at right


Heading north along the main range in cloud

Approaching Simpson (1,138m)


Approaching Wright (1,196m)

Climbing Wright (1,196m)

Climbing Wright (1,196m)


Descending the northern side of Wright

Descending the northern side of Wright


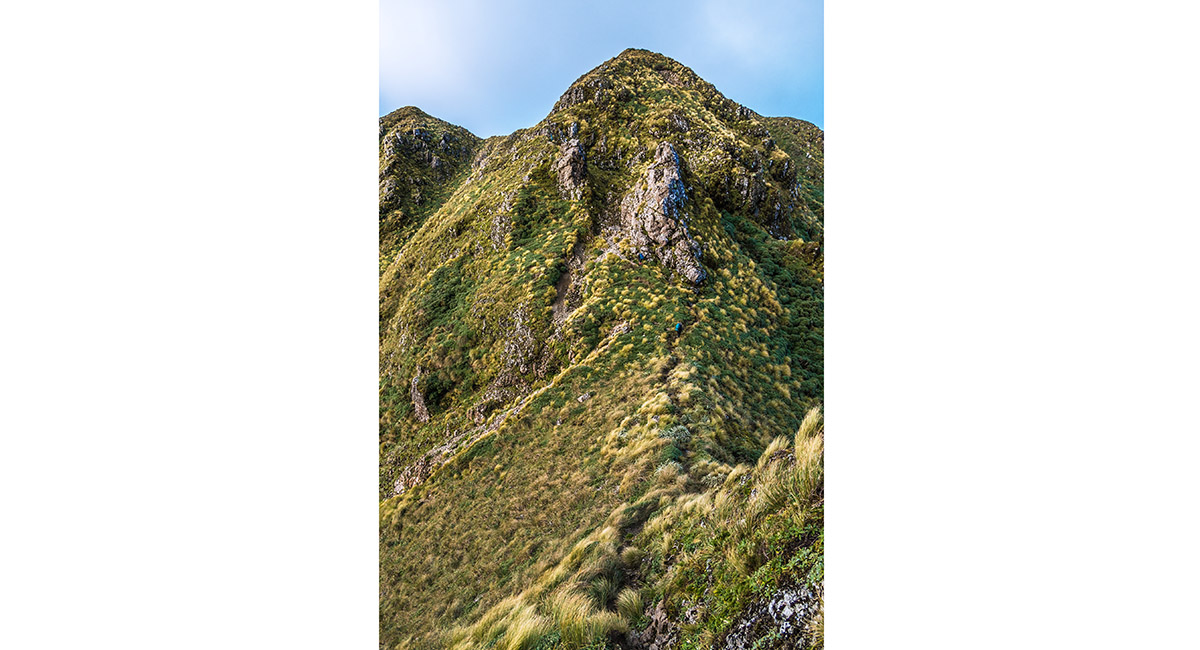
Climbing Aokaparangi (1,354m)

Climbing Aokaparangi (1,354m)


Climbing Aokaparangi (1,354m)

The view south, back to Aokaparangi


Heading north on the ridge between Aokaparangi and Kahiwiroa


Approaching Kahiwiroa (1,320m)

Climbing Kahiwiroa (1,320m), with Junction Knob (1,375m) and Mount Crawford (1,462m) on the skyline


The view north just beyond Kahiwiroa (1,320m) to Junction Knob (1,375m) and Mount Crawford (1,462m), centre skyline

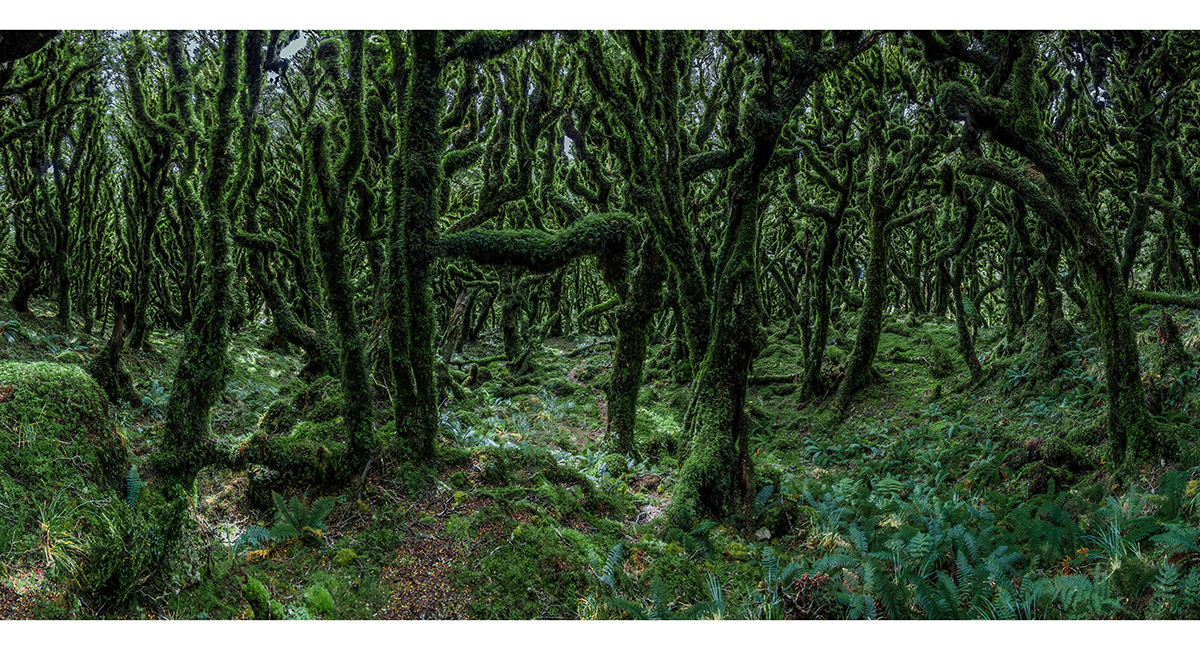
A fine example of Goblin forest, immediately after dropping beneath the bushline beyond Kahiwiroa


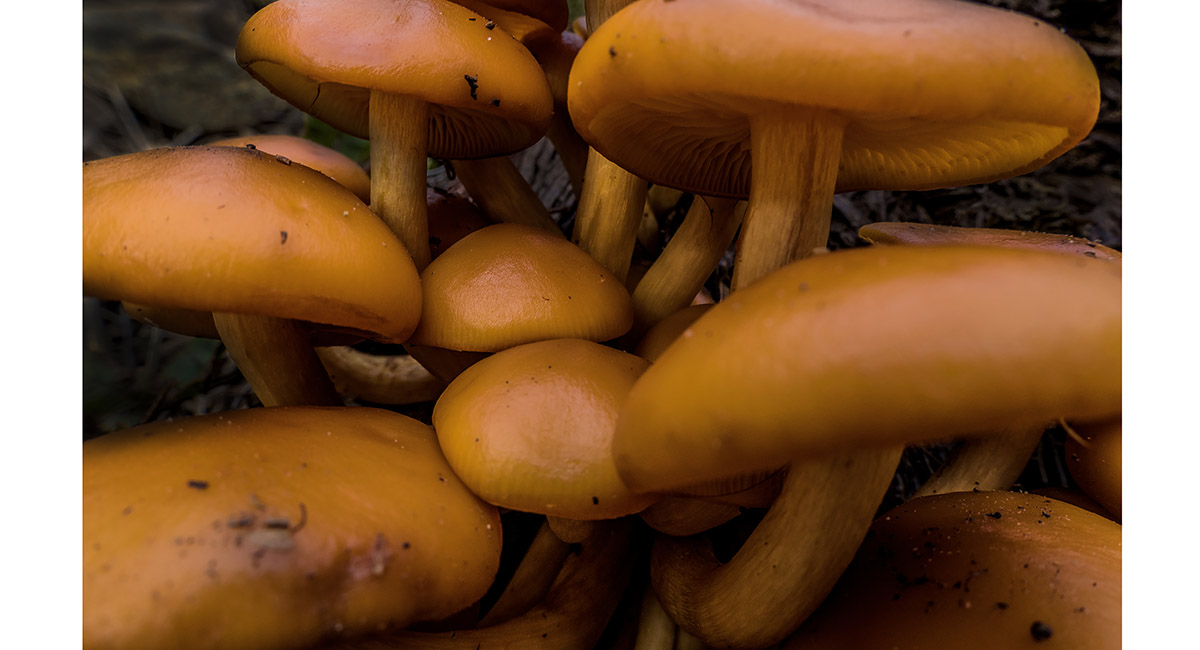
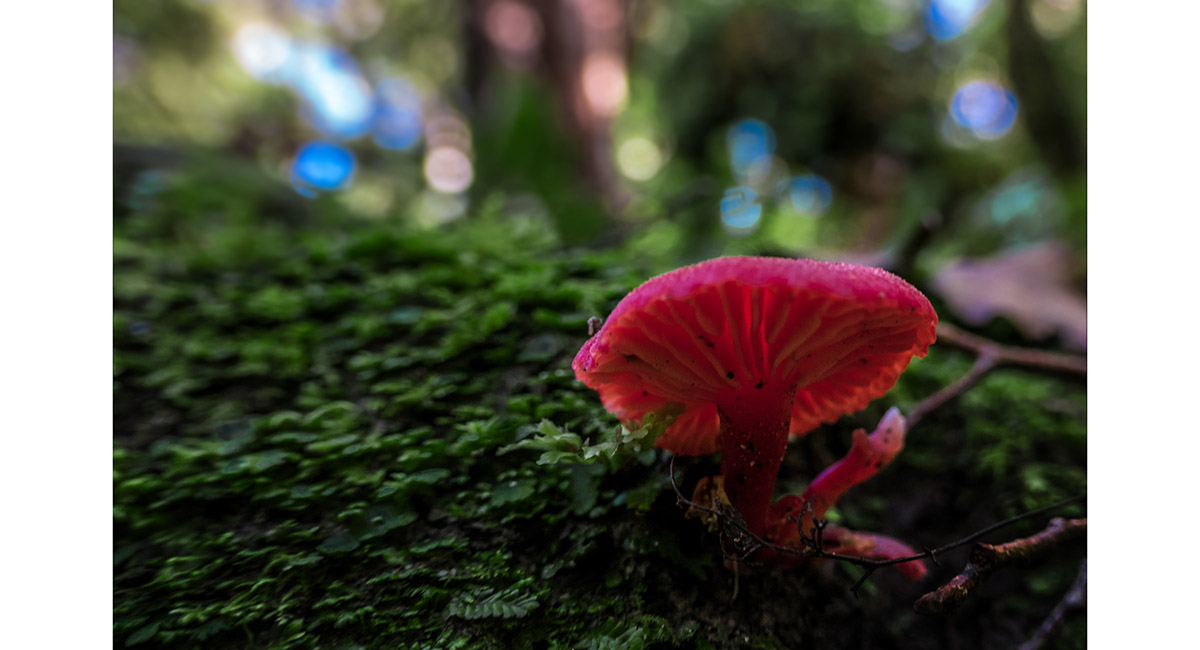
Forest fungi


Emerging from the bush at Anderson Memorial Hut (1,150m)

A view south, back to Anderson Memorial Hut

A view south, back to Anderson Memorial Hut and the main Tararua Range

A view south, at about 1,200m, beyond Anderson Memorial Hut

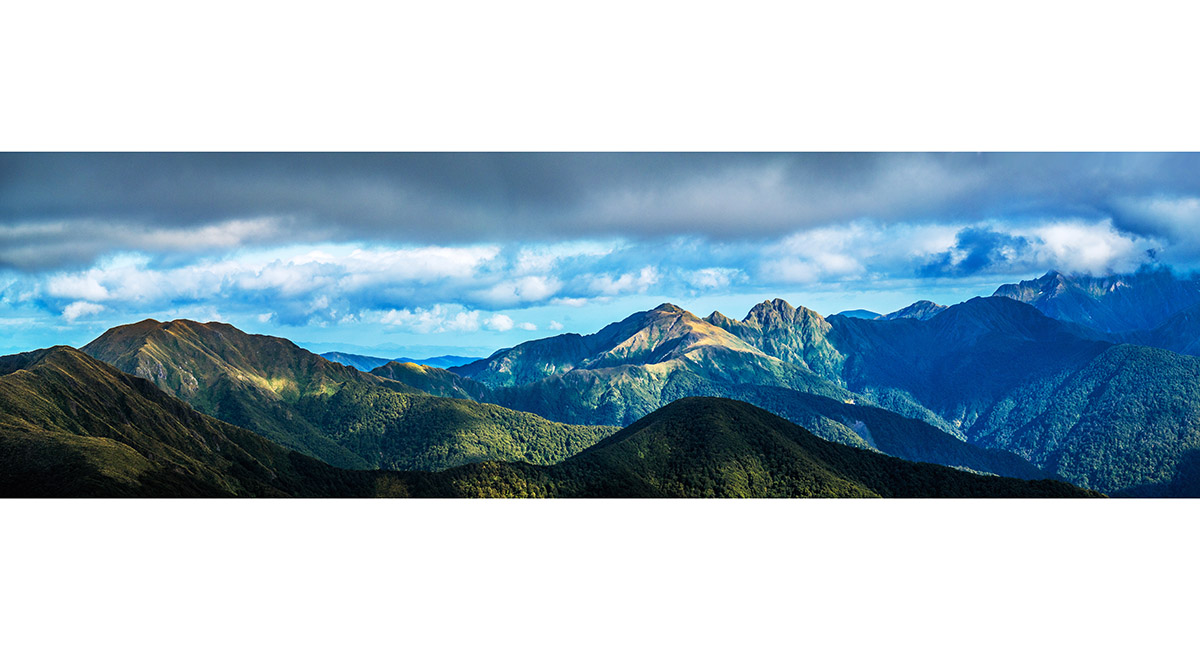
The Tararua Peaks and Maungahuka Peak and Hut are in the centre of this panorama of the main Tararua Range, viewed from the north


The Tararua Peaks (right) and Maungahuka Peak and Hut (left), viewed from the north of Anderson Memorial Hut


Descending the ridge heading west from Junction Knob (1,375m)

Back below the treeline en route to Waitewaewae Hut

Back below the treeline en route to Waitewaewae Hut


The swing bridge crossing the Otaki River, just north of Waitewaewae Hut


Approaching Waitewaewae Hut


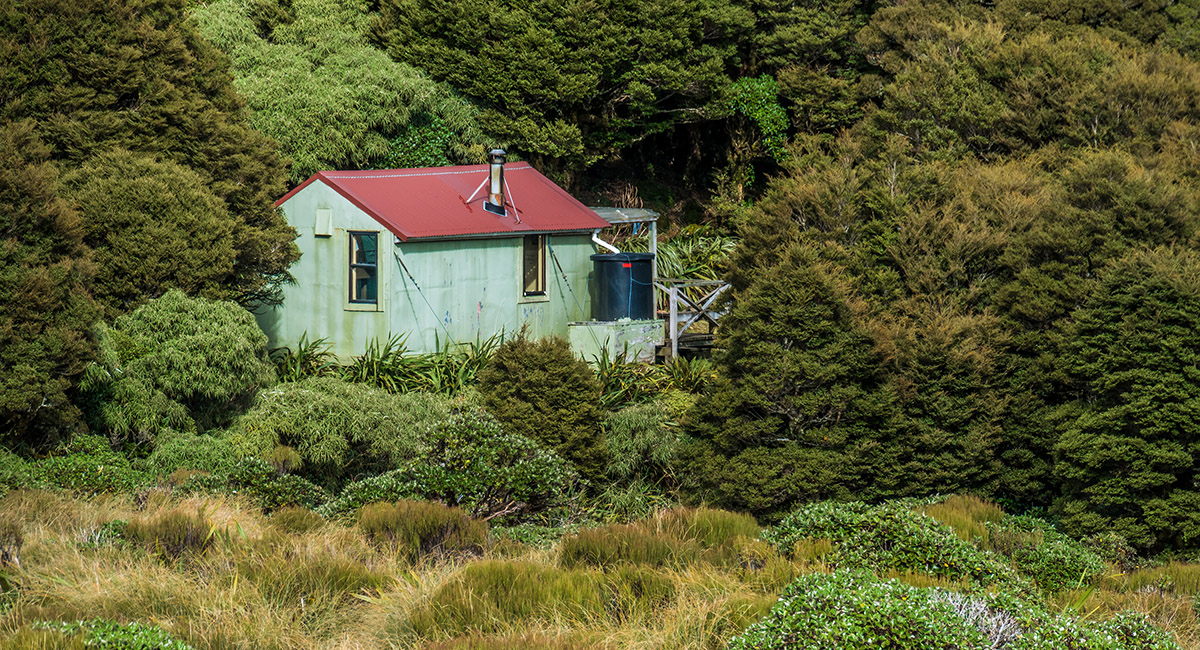
Waitewaewae Hut (290m)


An uncharacteristically straight and flat section of Tararua bush trail near Plateau (530m), on the trail out from Waitewaewae Hut

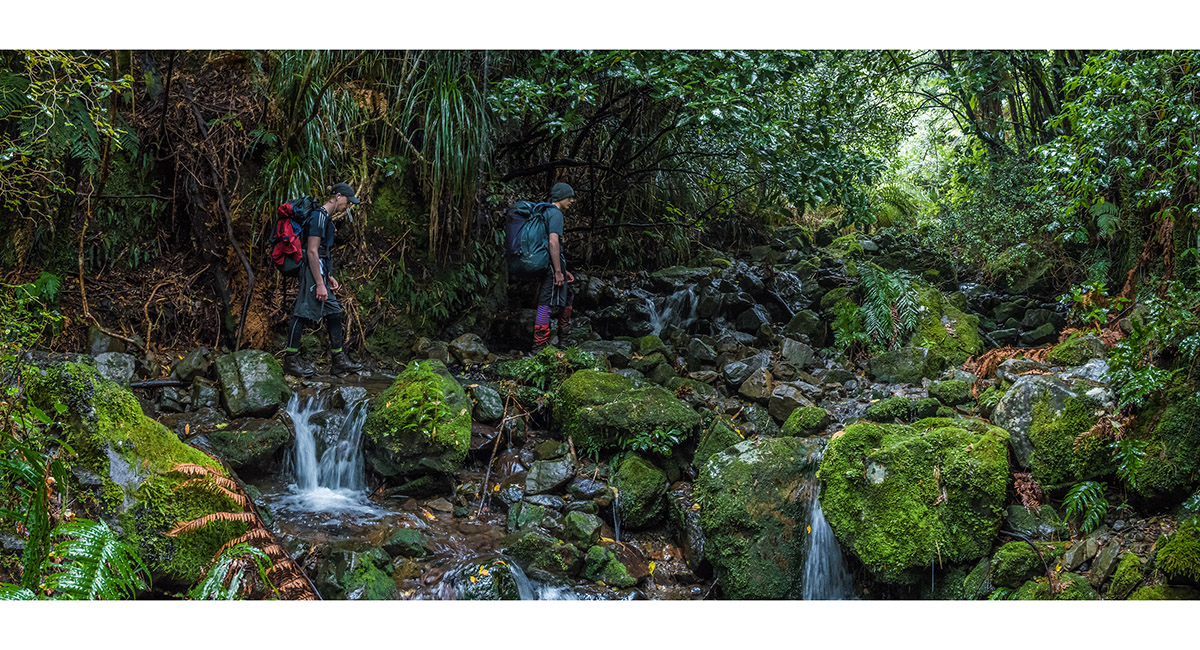
Waterfall action breaks the dreariness as we trudge in the rain out to Otaki Folks. 57 horizontal and 4 vertical kms made this a good solid two and a half day trip into the hills

Read about it In to the void Vertigo May 18 Ladder in the wilderness Wilderness Magazine Mar 19 Worth sweating for #4 NZ Photographer Aug 20
![]()
To order a print or web resolution file of any image you see in this slide show, just right click the image, click “Copy Image URL” and paste in to the “Your message” box of our Contact Us form. Please also note, for each image, if you want a print or web resolution file. We will get back to you as soon as possible to confirm price and payment details.
Open Contact Us in a new window to paste Image URL(s) easily