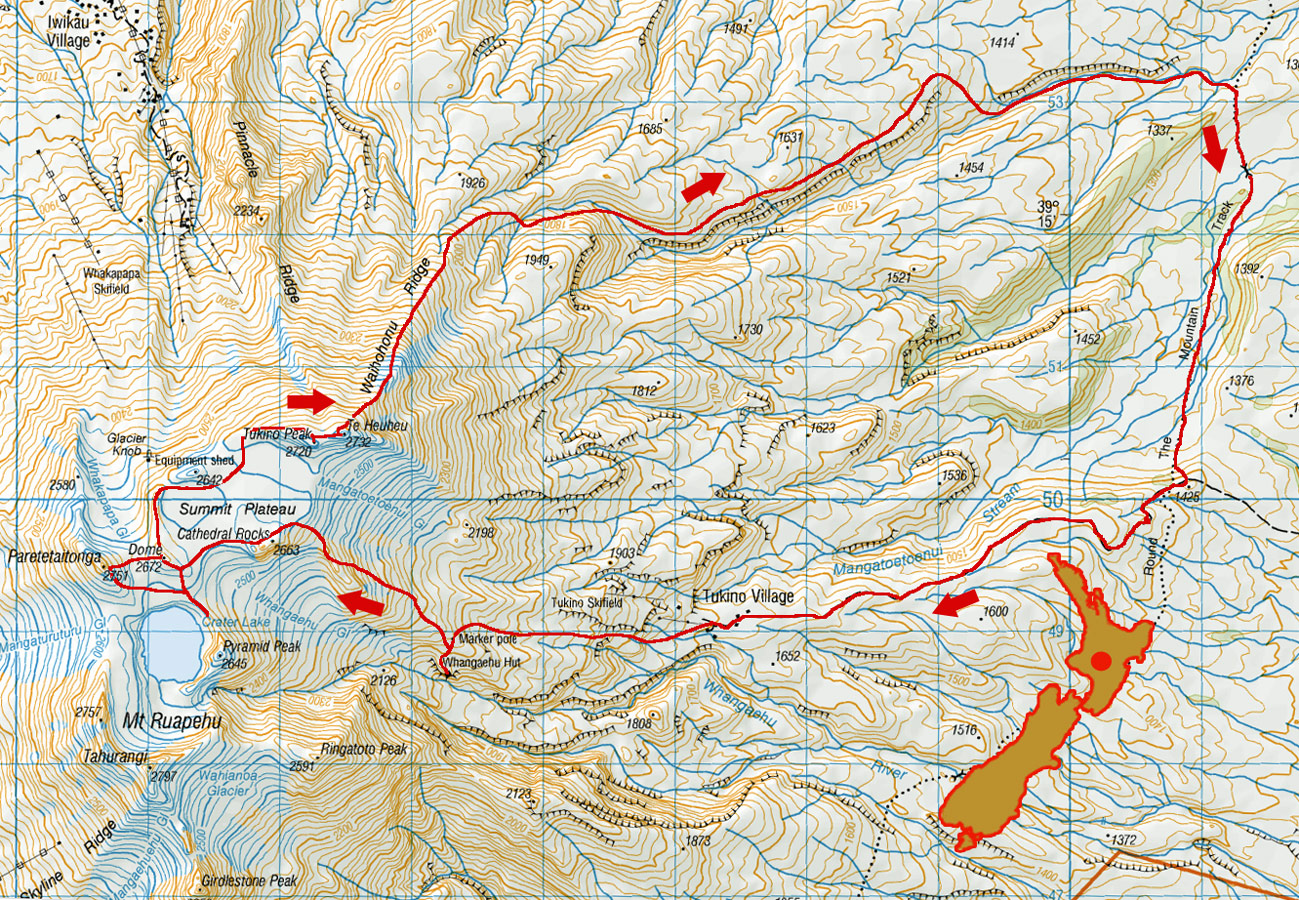
Whangaehu Dome Tukino Te HeuHeu circuit, May 2020
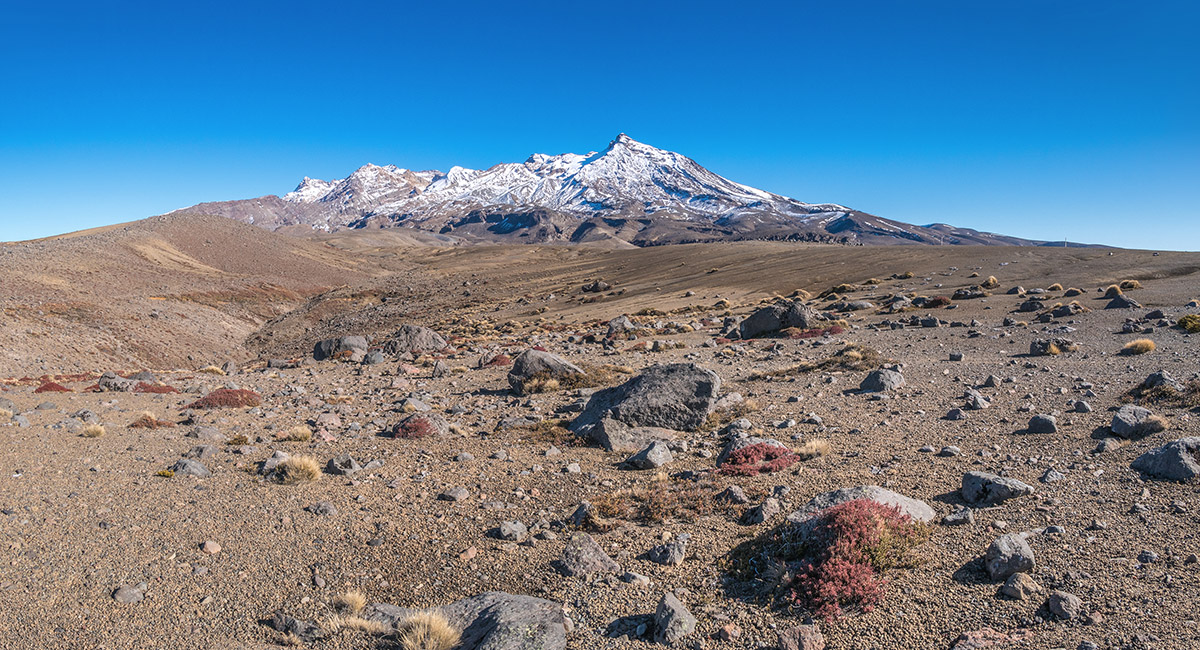
The view west to Mount Ruapehu, from about 1,450m, beside the Tukino village road

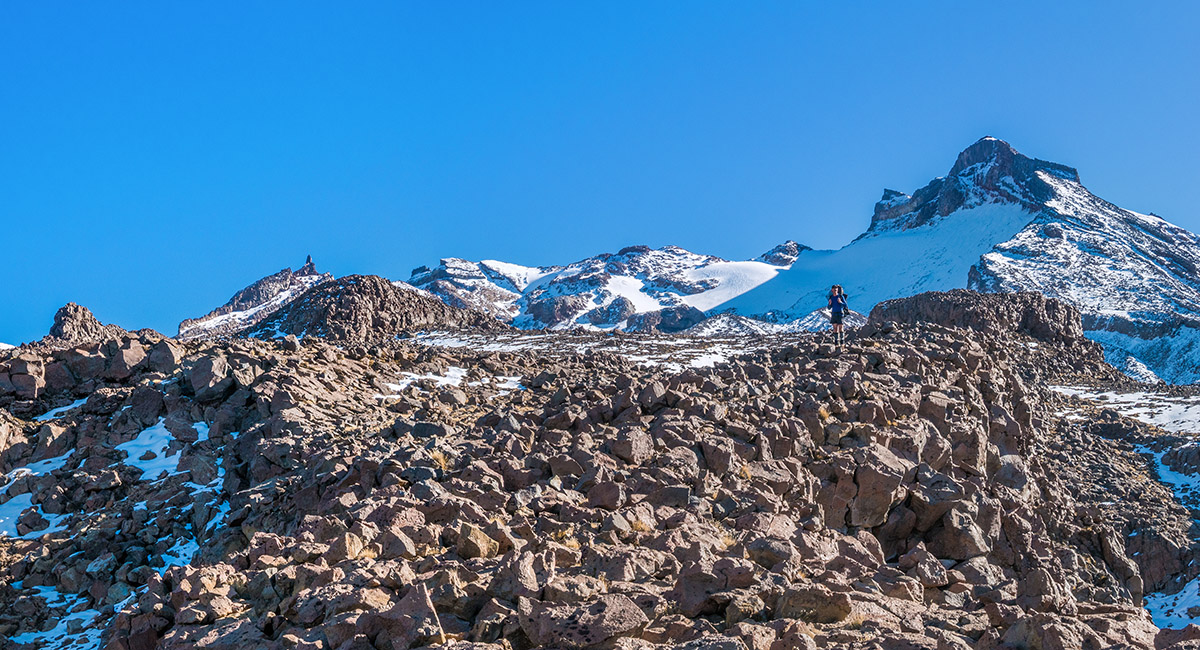
At about 1,700m on the poled route between Tukino and Whangaehu Hut, with Te Heuheu behind

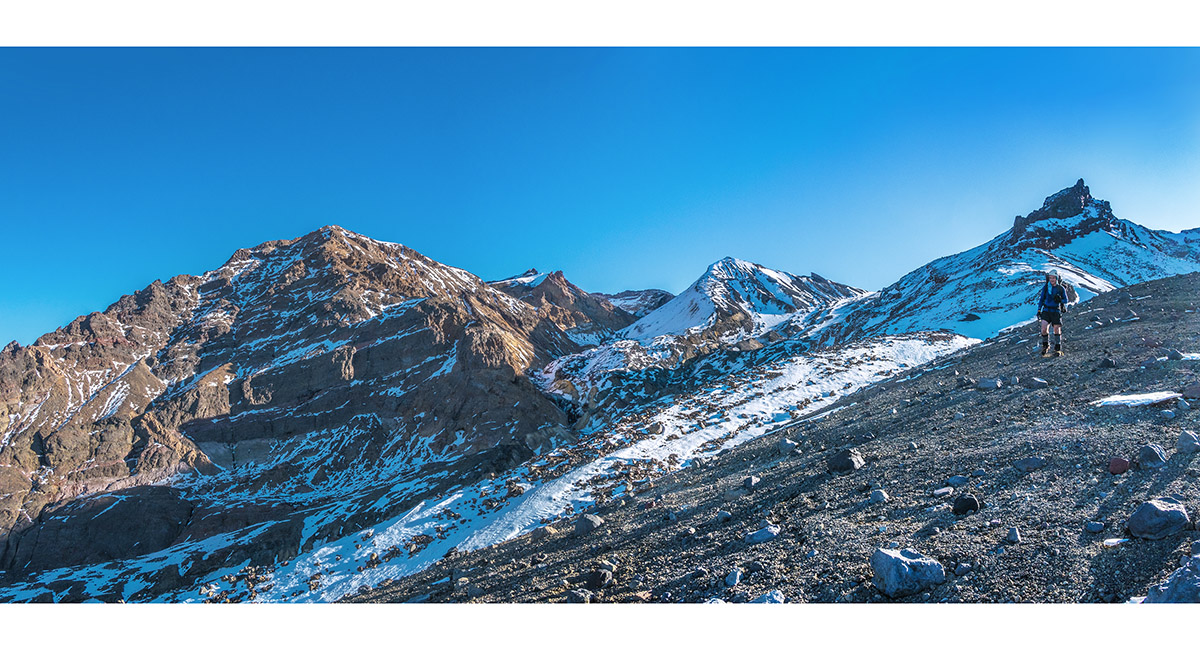
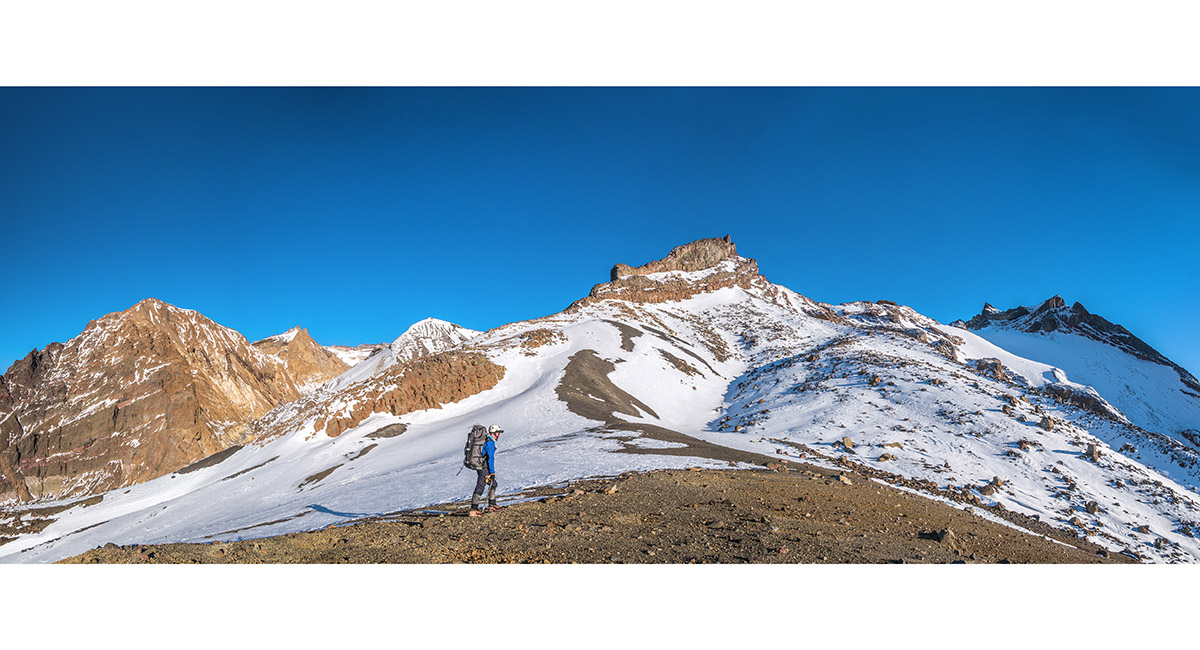
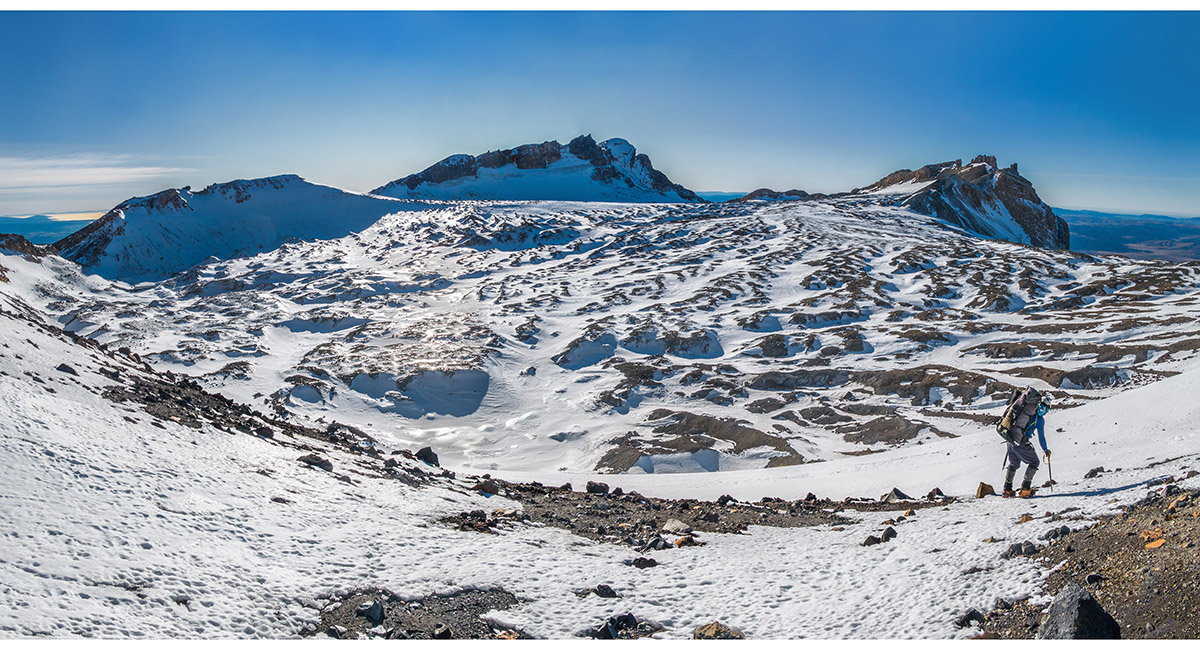
Descending the ridge to Whangaehu Hut, with Cathedral rocks (2,663m) top right, Pyramid (2,645m) centre and Mitre/Ringatoto (2,591m) left

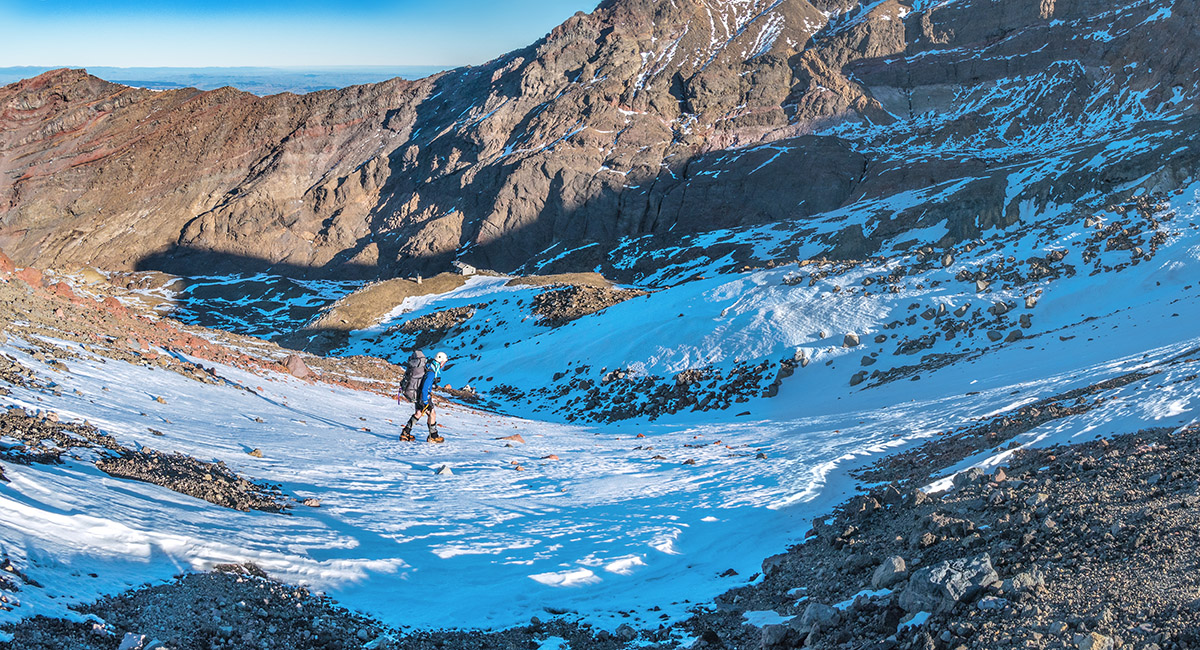
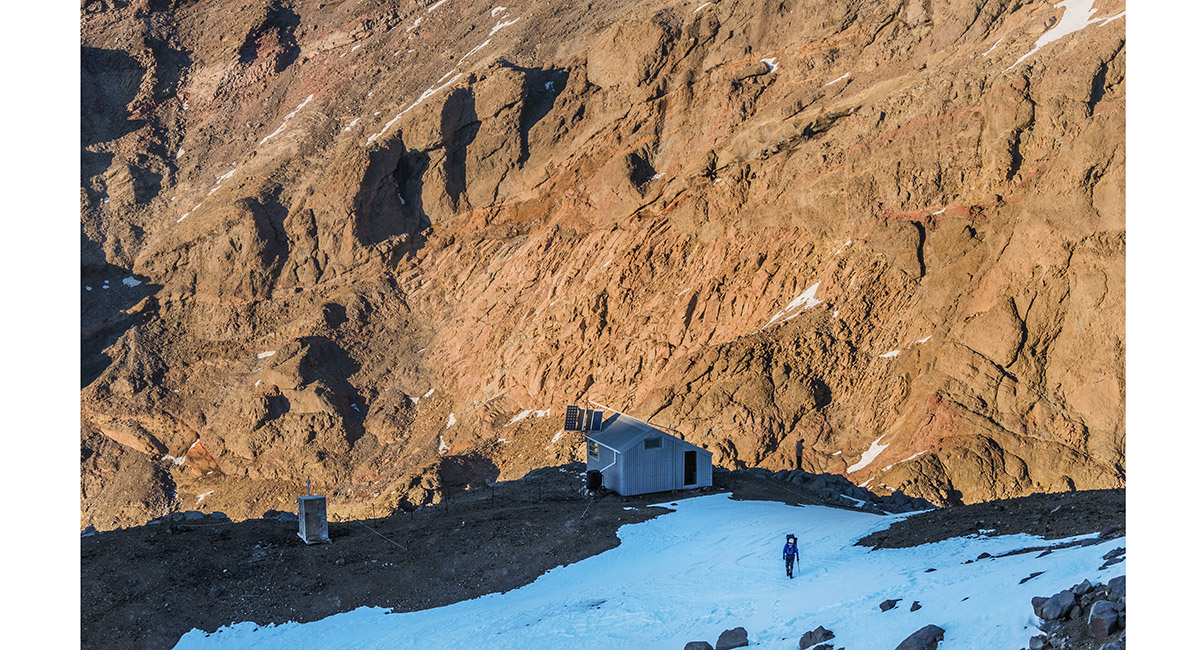
Descending the ridge to Whangaehu Hut (2,020m)

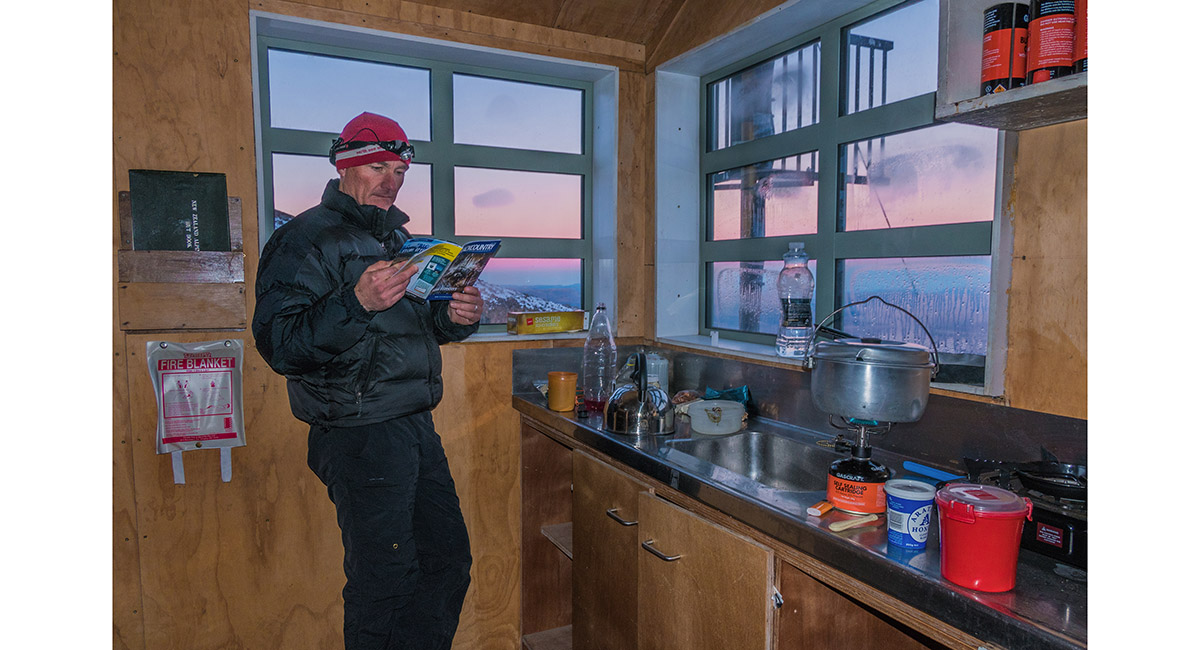
Inside Whangaehu Hut at dusk - Shaun Barnett perusing a copy of Backcountry


Whangaehu Hut at dusk, with Cathedral rocks (2,663m) top right, Pyramid (2,645m) centre and Mitre/Ringatoto (2,591m) left

Departing Whangaehu Hut, morning

Back on the ridge at about 2,150m, en route to the Clock Tower

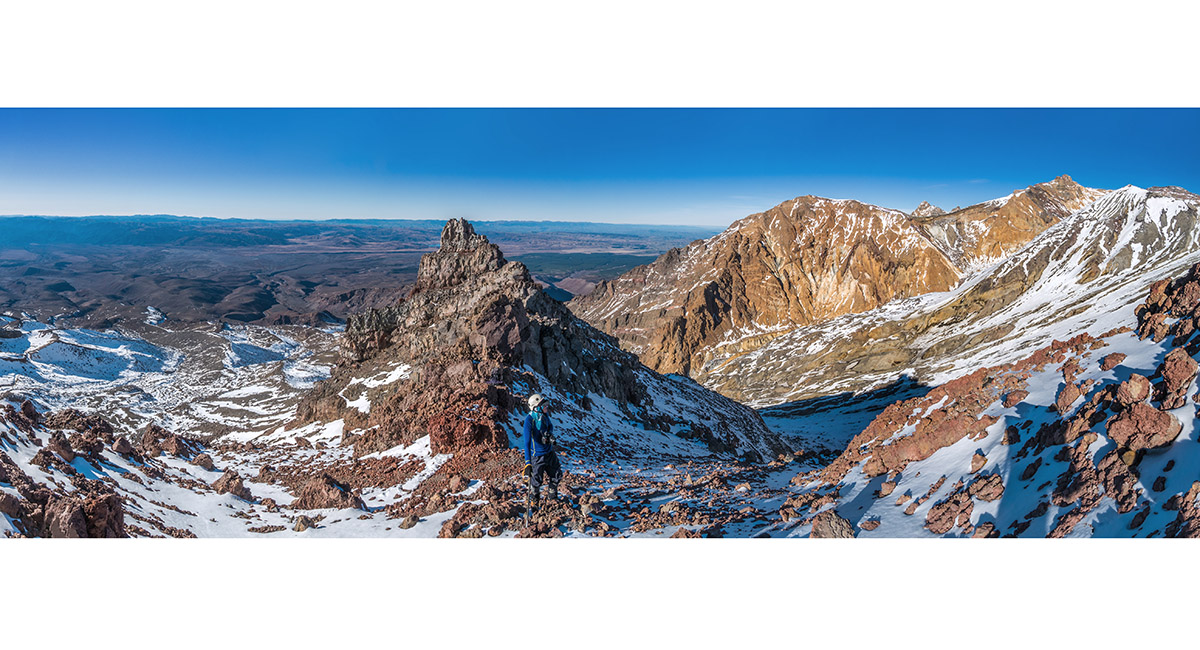
A view back down the craggy ridge from about 2,400m, past the Clock Tower to Desert Plateau

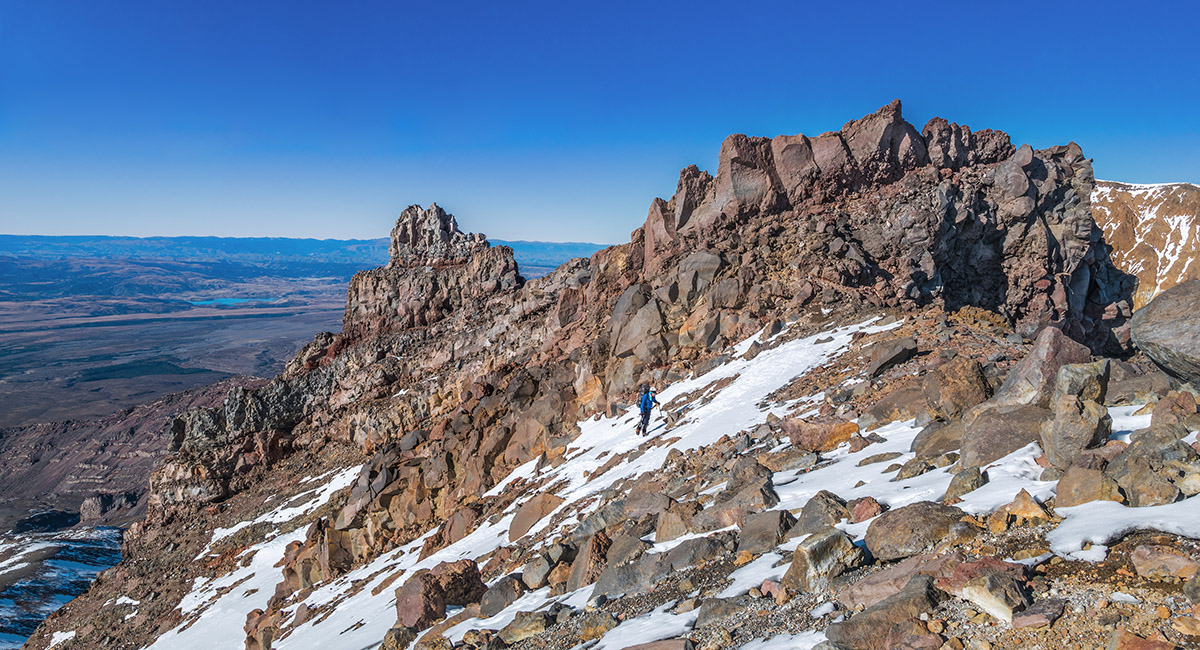
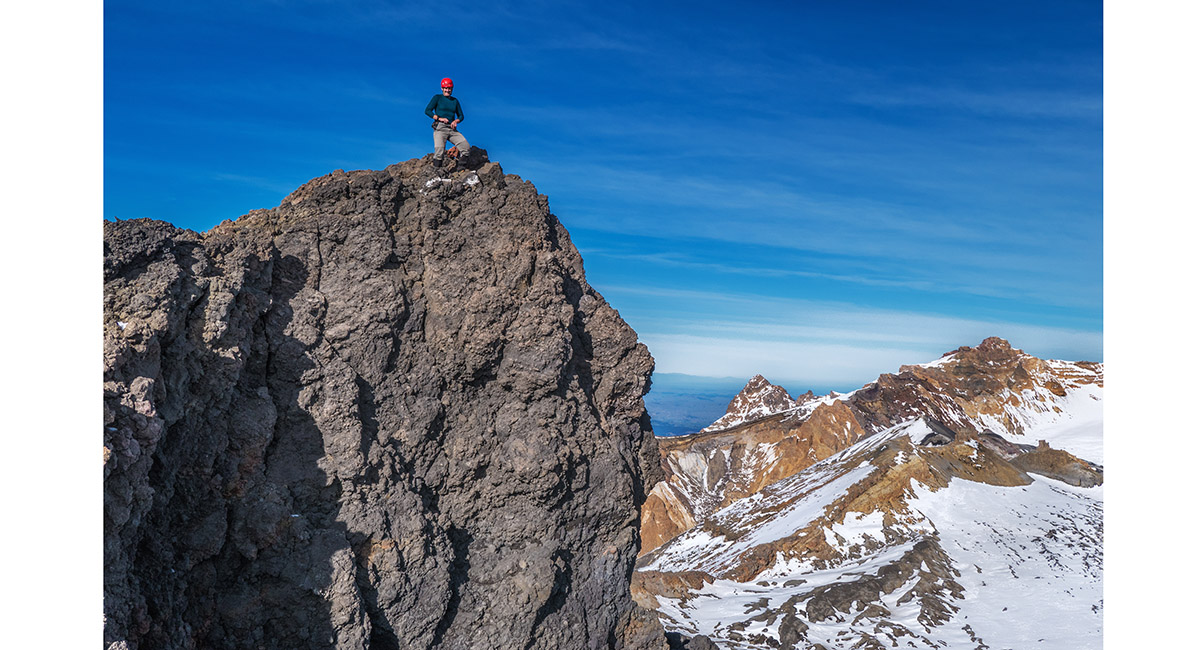
On the ridge between the Clock Tower and Cathedral Rocks


On the ridge between the Clock Tower and Cathedral Rocks

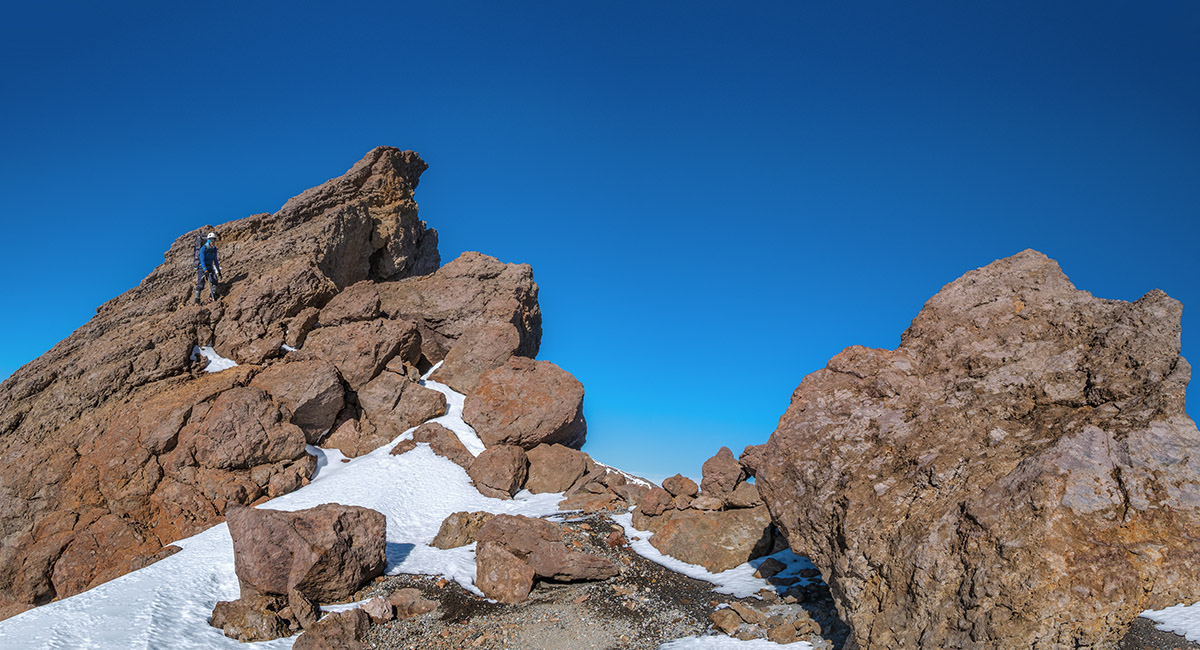
At about 2,500m, about to leave the rock for the snow slope giving access to the Summit Plateau, north of Cathedral rocks

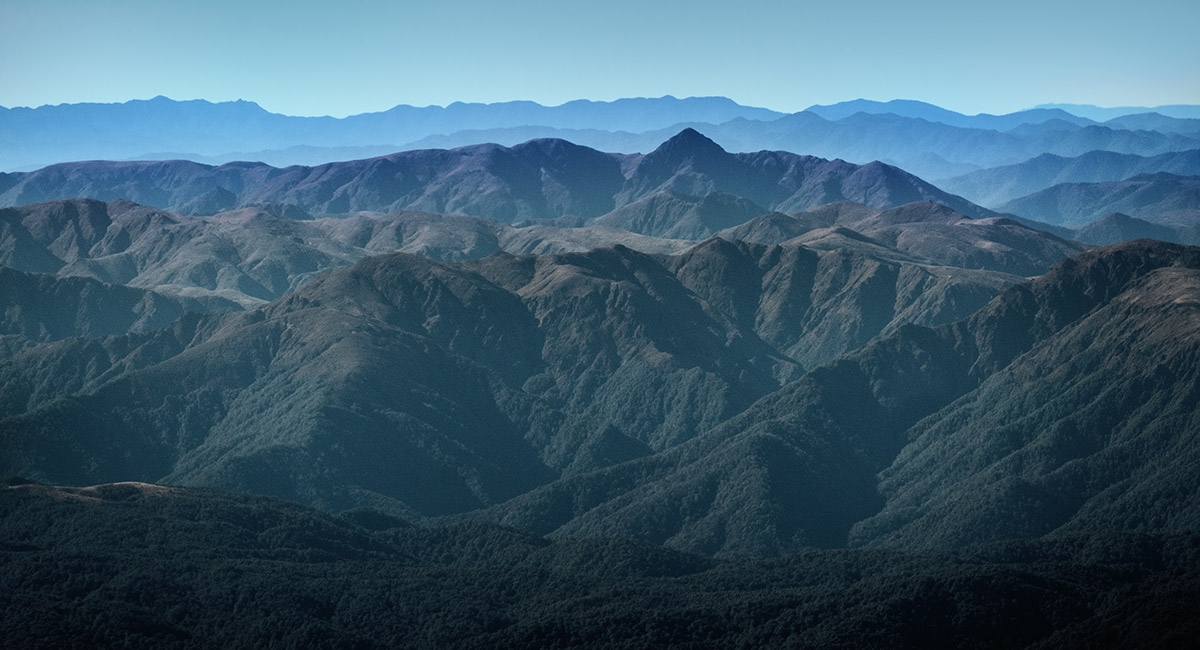
Looking northeast to Makorako (1,726m), the highest peak in the Kaimanawa Ranges


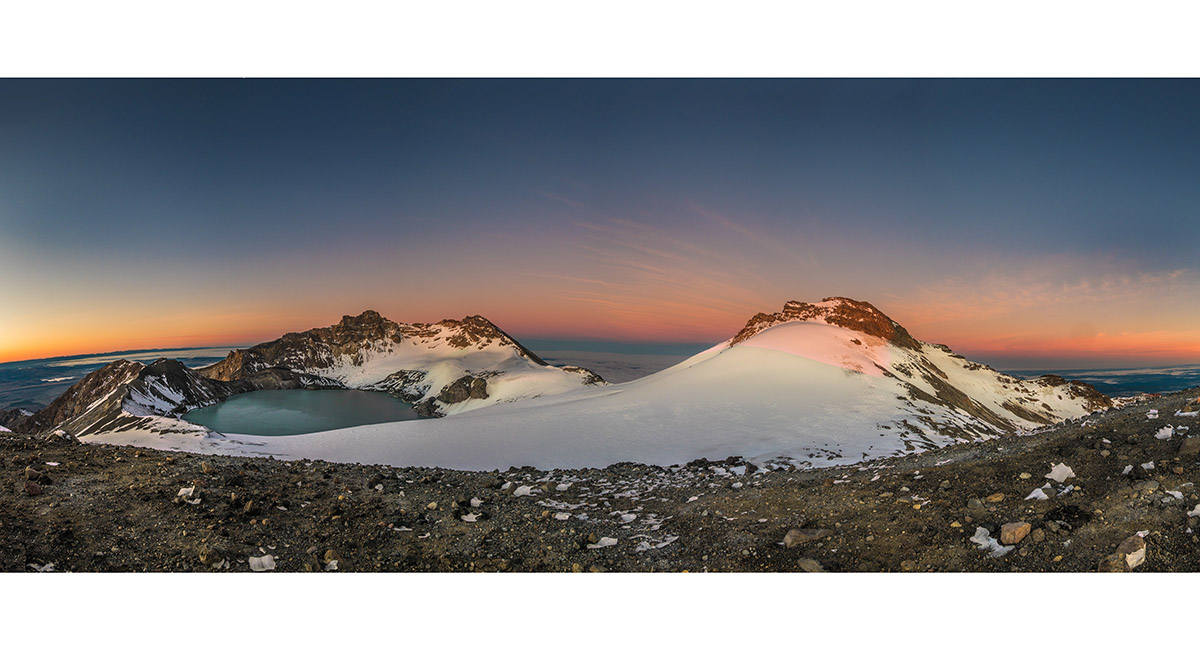
A little west of Cathedral Rocks, on the small dome at about 2,600m on the Summit Plateau


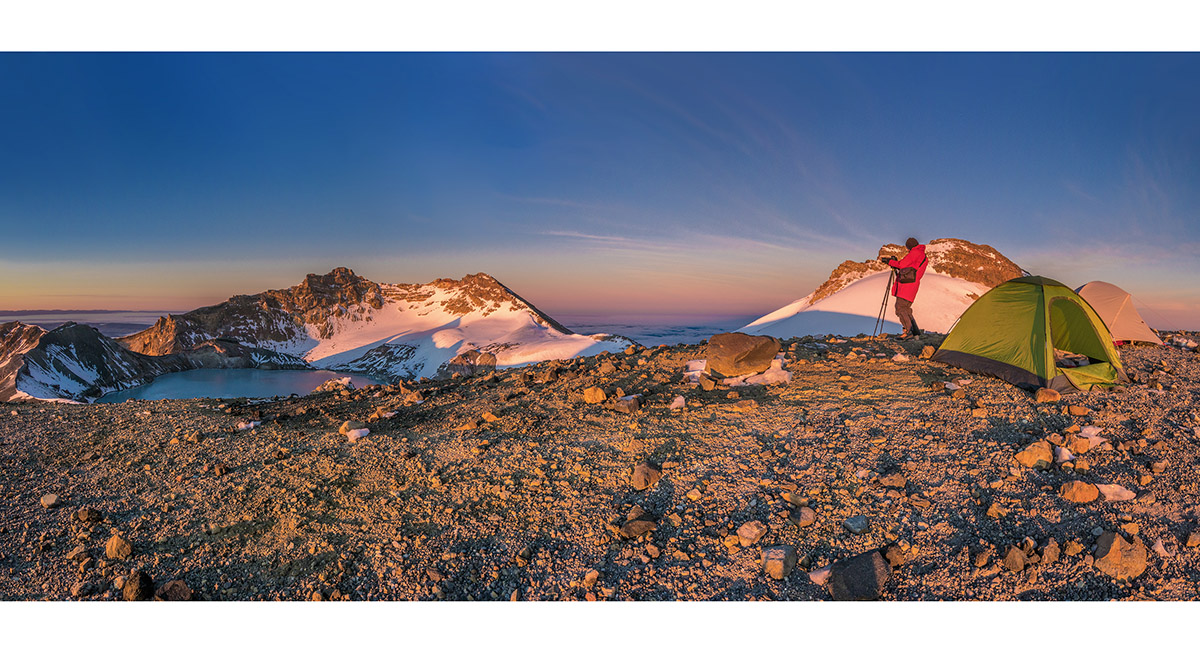
Looking south, across Crater Lake to Tahurangi (2,797m)

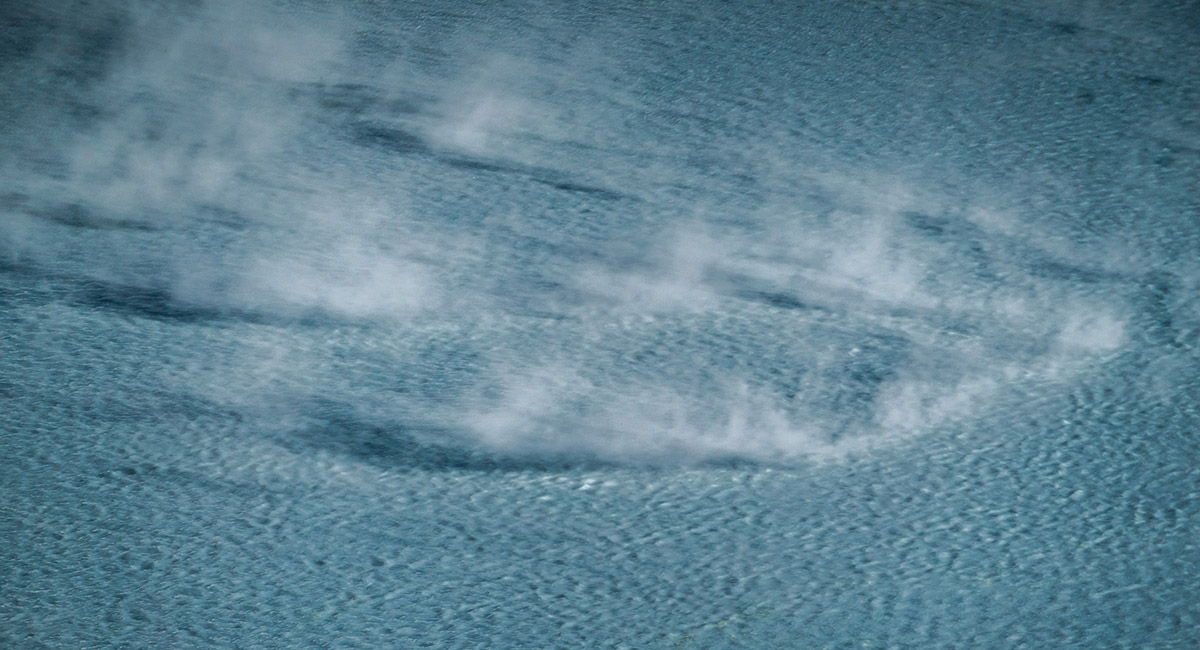
Vapour on the surface of Crater Lake

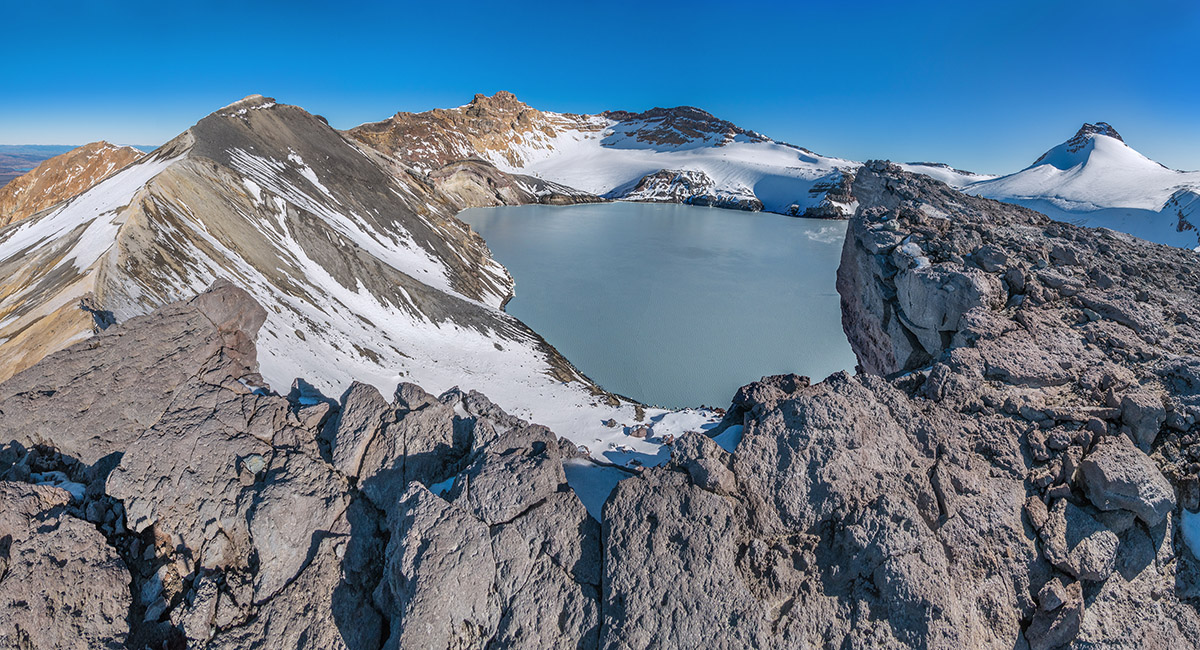
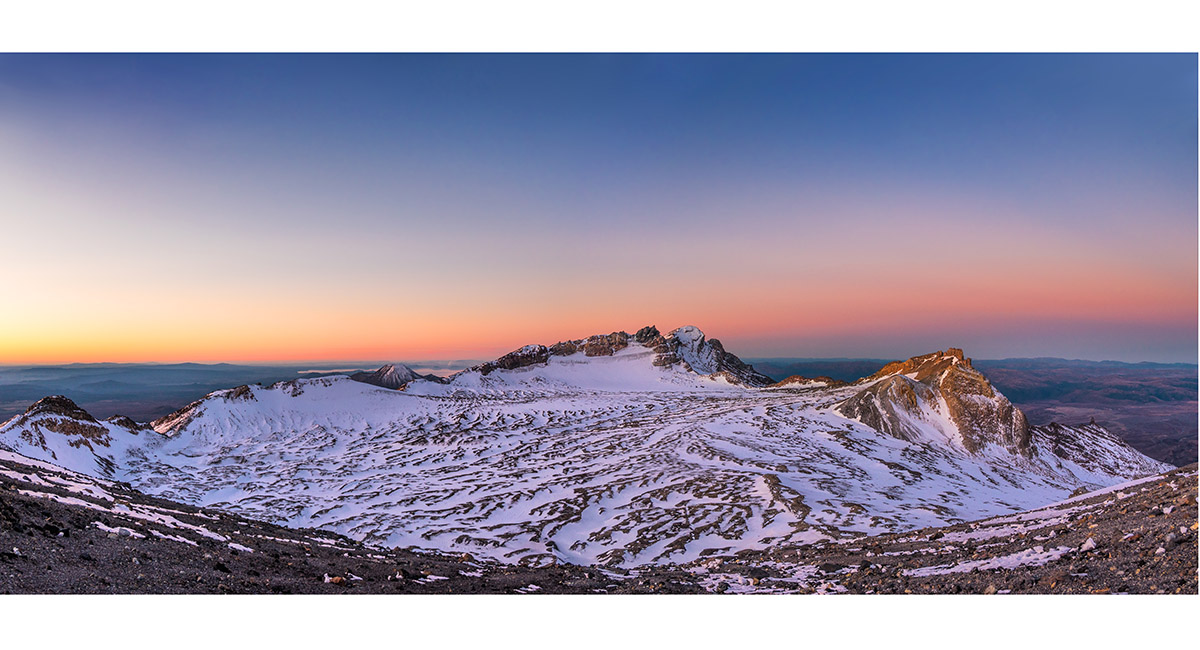
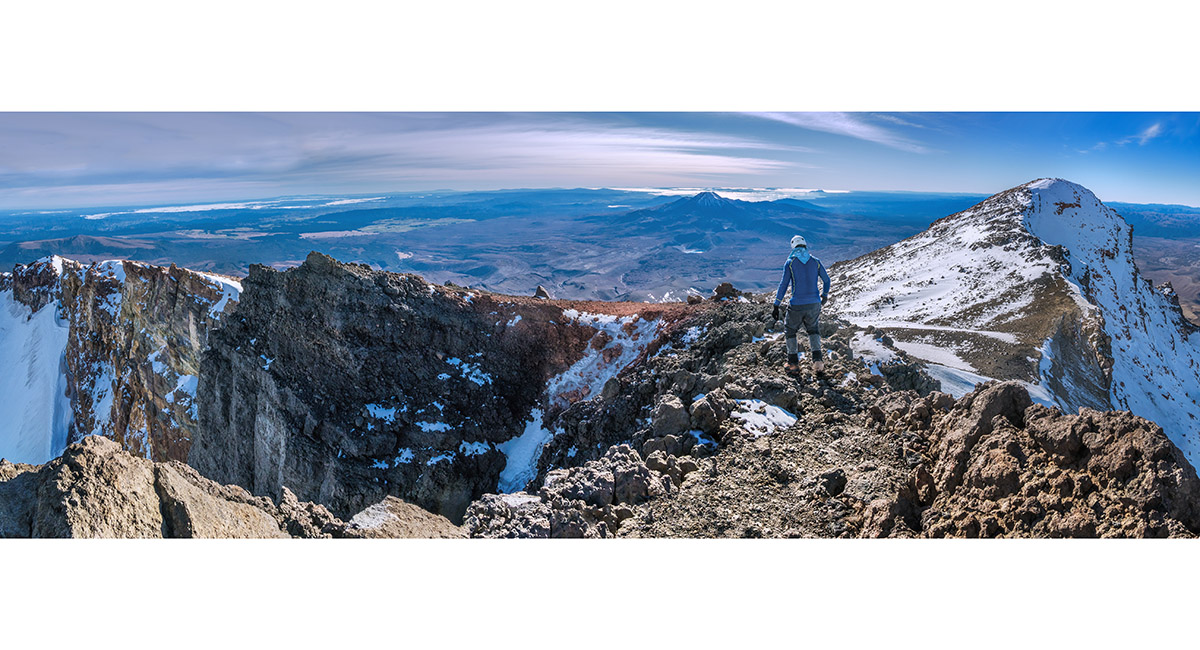
Looking across Crater Lake from the first high point (2,600m) on the eastern side of the crater rim, to Paretetaitonga (2,751m - far right), Tahurangi (left of centre), Pyramid (2,645m - left) and Mitre/Ringatoto (2,591m - far left)

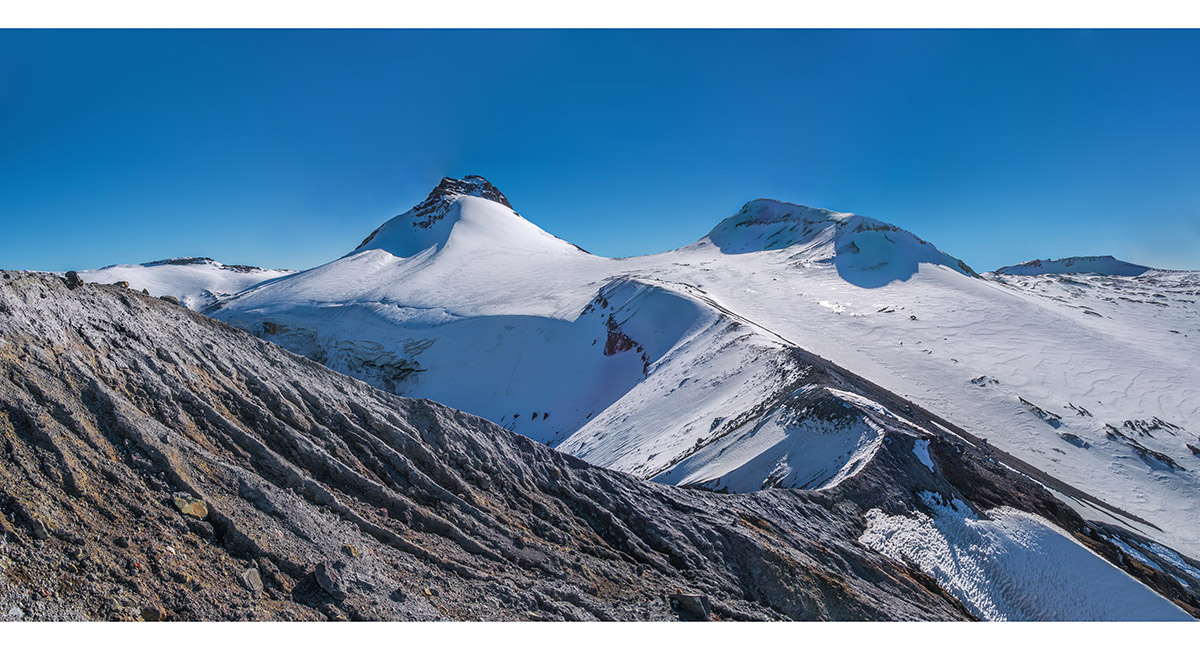
A view north along the eastern crater rim, with the Dome (2,672m - right) and Paretetaitonga, left


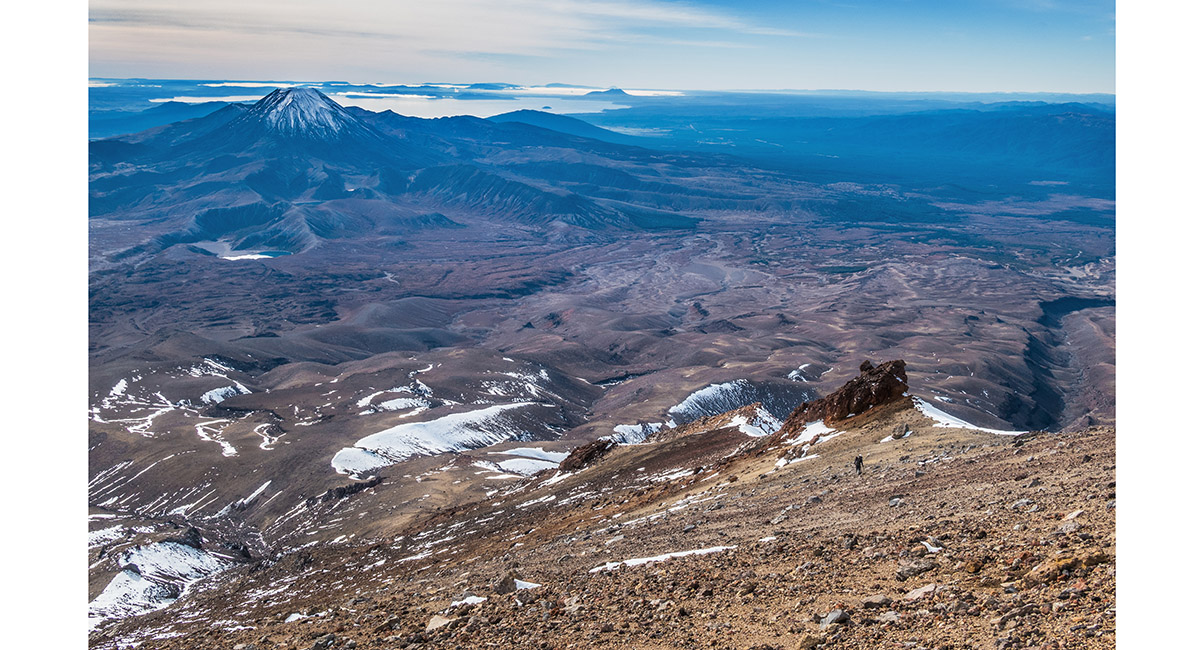
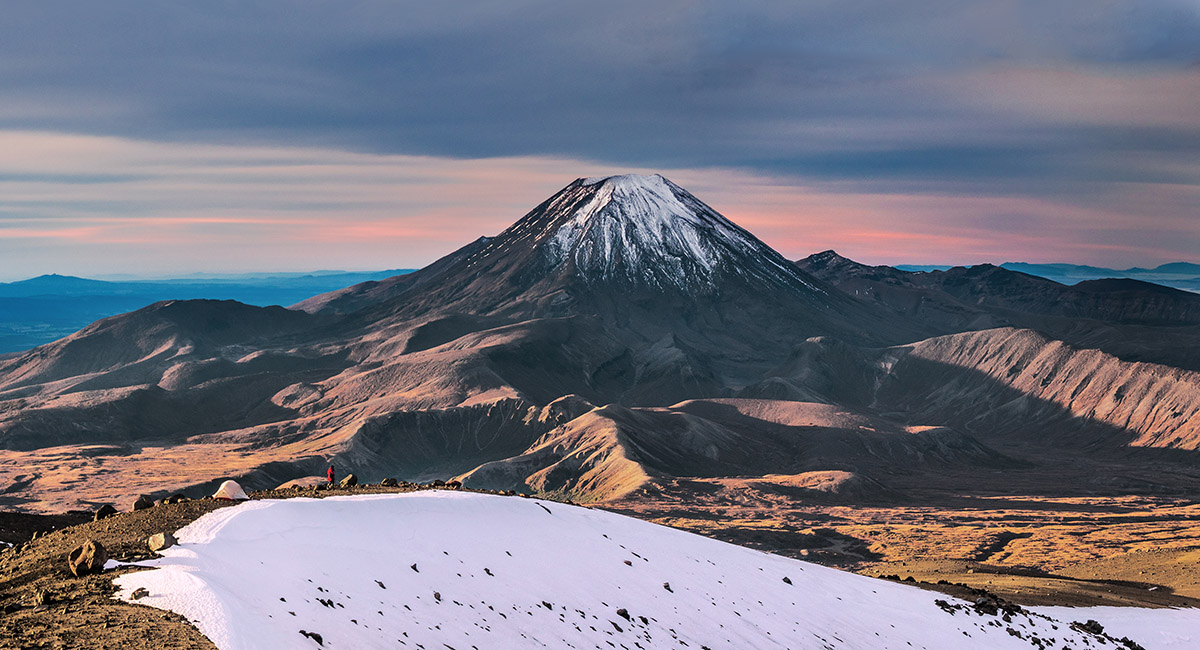
Ngauruhoe (2,287m), viewed from 2,700m, beneath Paretetaitonga


The Summit Plateau, viewed from 2,700m beneath Paretetaitonga. Clockwise - Ngauruhoe far left, Tukino, Te Heuheu, Cathedral Rocks, Pyramid, Mitre/Ringatoto and Tahurangi


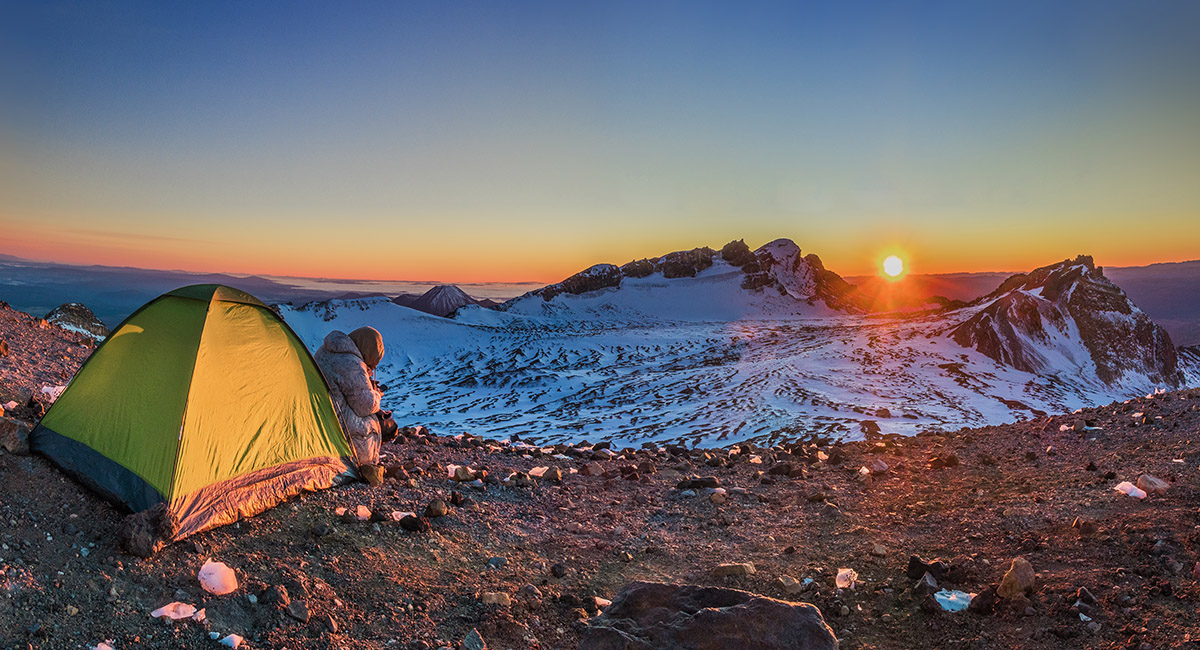
Camping on the Dome, looking north


A view east from the Dome at sunset, with a shadow of Ruapehu stretching eastwards

Dusk photography from the Dome, here looking north

Dusk photography from the Dome, here looking south

Sunset view north from the Dome

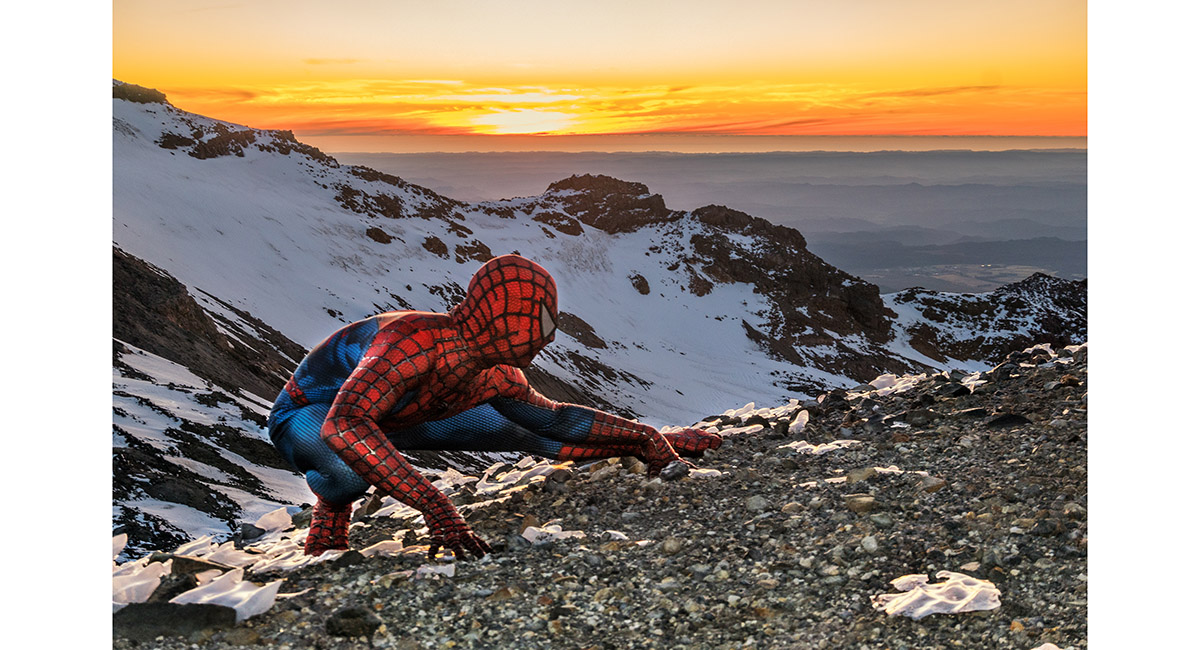
Spiderman visits the Dome briefly at sunset - Jamie Kelly posing for a picture for his son back in Hawke's Bay

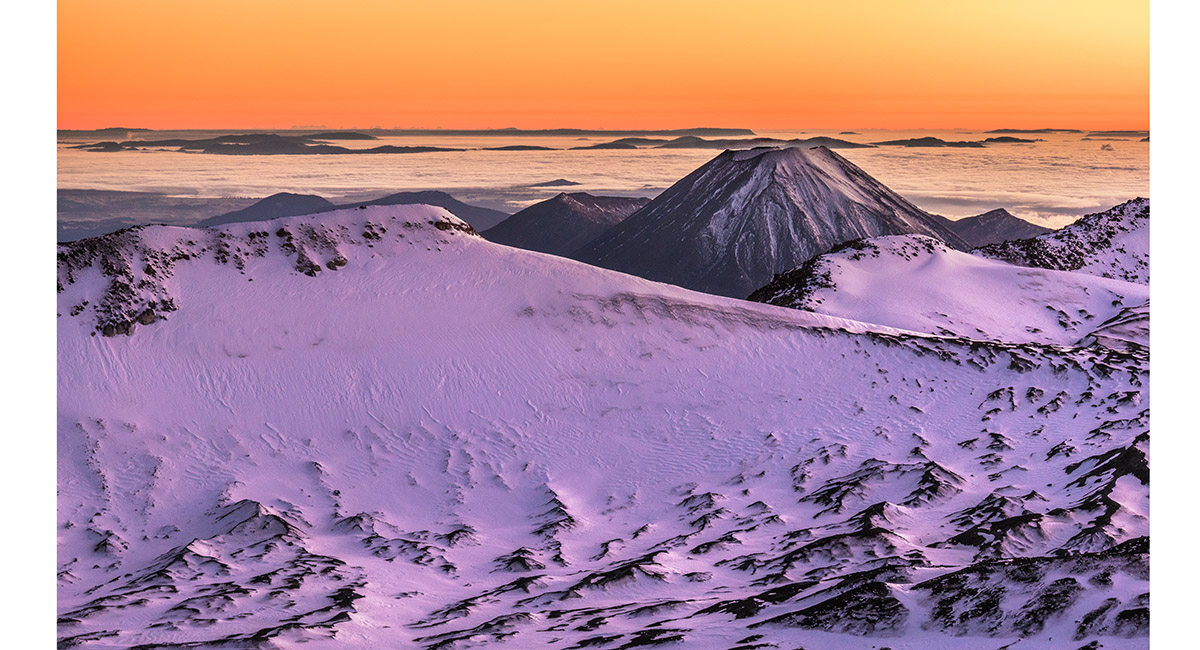
Dawn view of Ngauruhoe from the Dome


Dawn view of Cathedral Rocks from the Dome

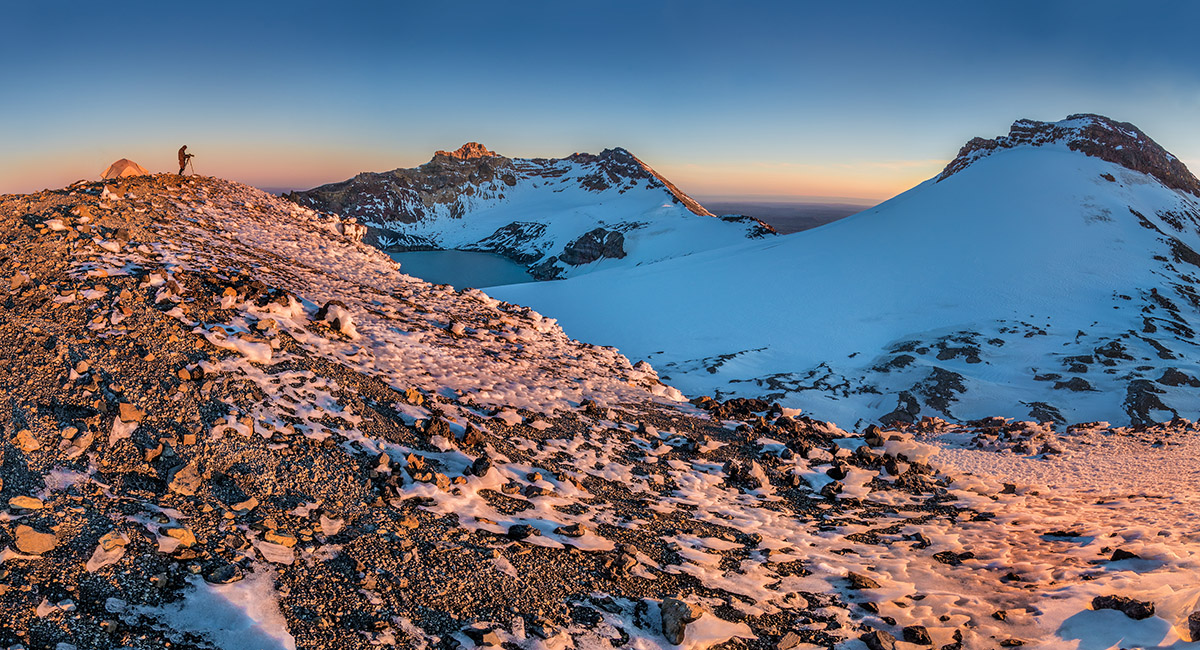
Dawn view southwest from the Dome - Paretetaitonga right and Tahurangi left

Spiderman, now back in civilian clothing, enjoys a dawn view north from the Dome

Shaun Barnett in action, at dawn on the Dome

Descending the Dome en route to Tukino and Te Heuheu, straight ahead


On the Summit Plateau, north of the Dome (far right)


On the northern crater rim, which culminates in Tukino and Te Heuheu


Beneath Tukino, at the point where a steep frozen face allows access to the ridge from the plateau below

On Tukino (2,720m) Photo: Shaun Barnett

A view north and east from the summit of Tukino (2,720m) - Ngauruhoe ahead and Te Heuheu (2,732m) right


Te Heuheu summit view south, of the Summit Plateau

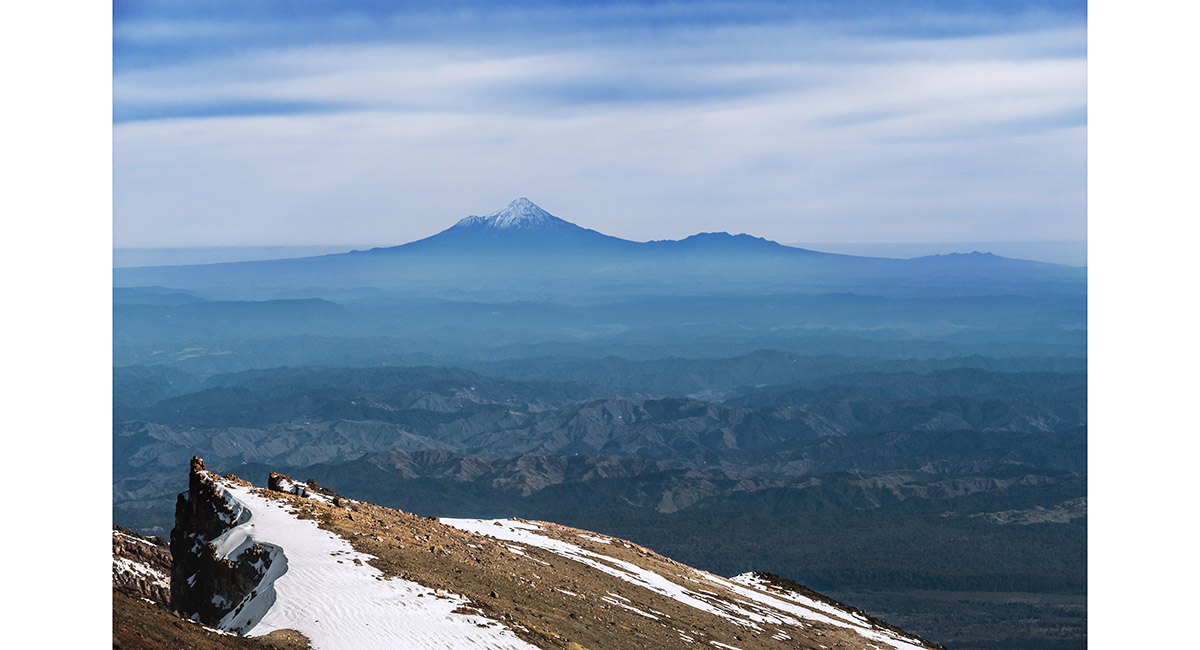
Mt Taranaki, to the west, viewed from Te Heuheu

A view north from about 2,500m, down Waihohonu ridge

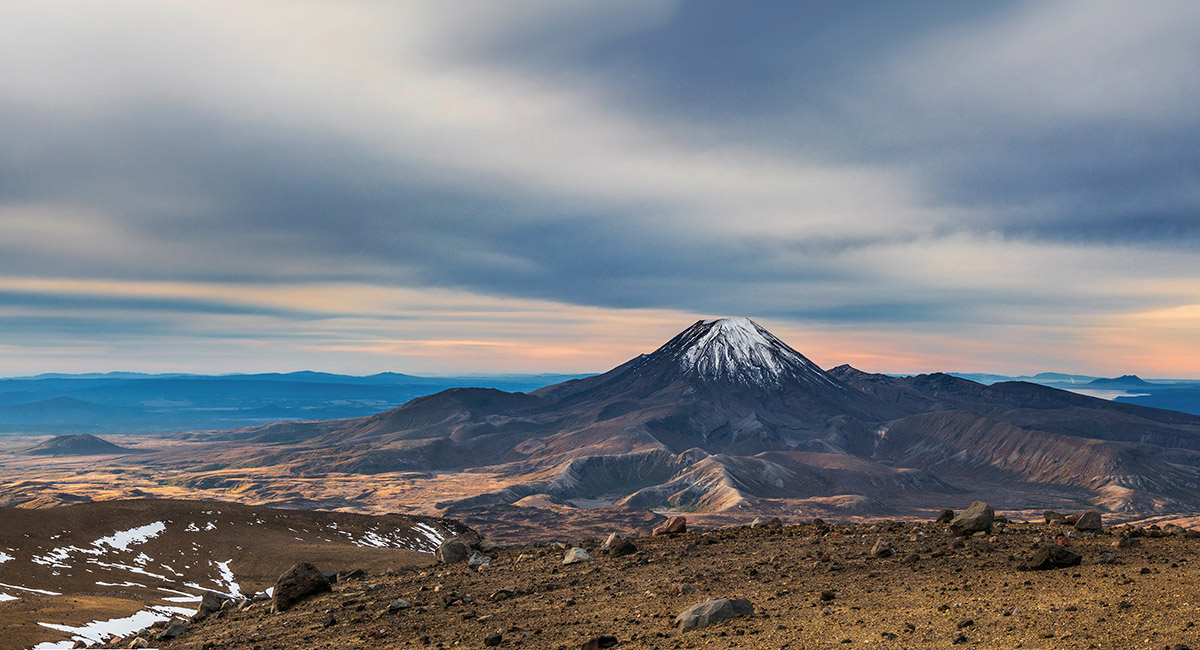
Mt Ngauruhoe, to the northeast from 2,000m, on Waihohonu ridge

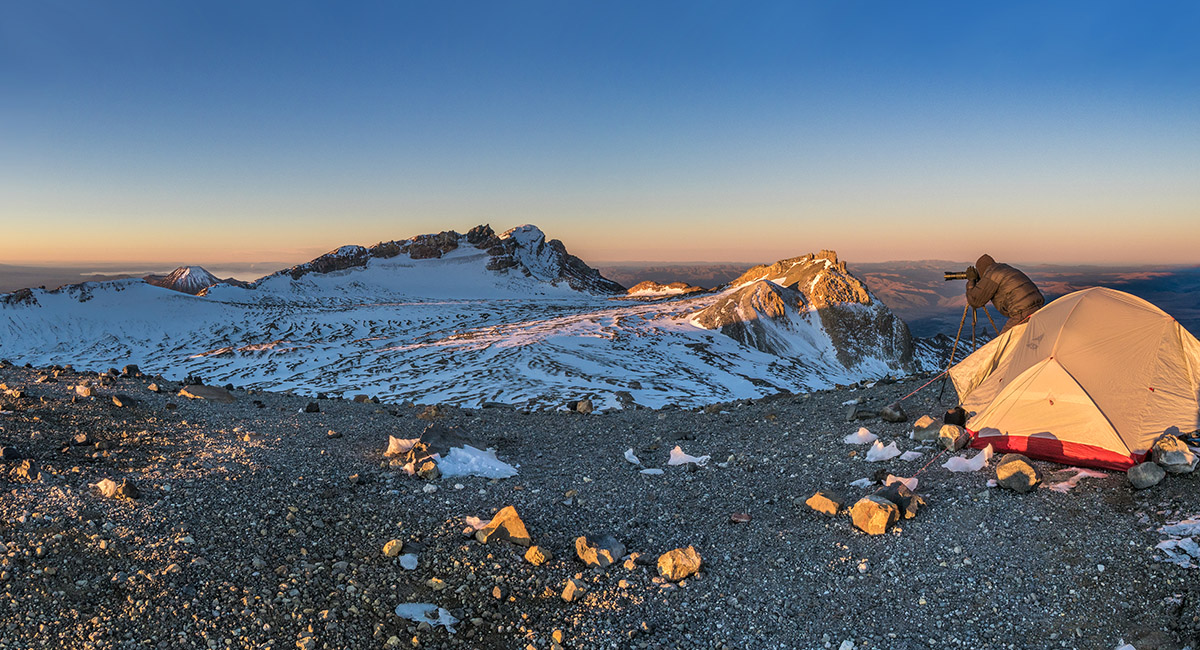
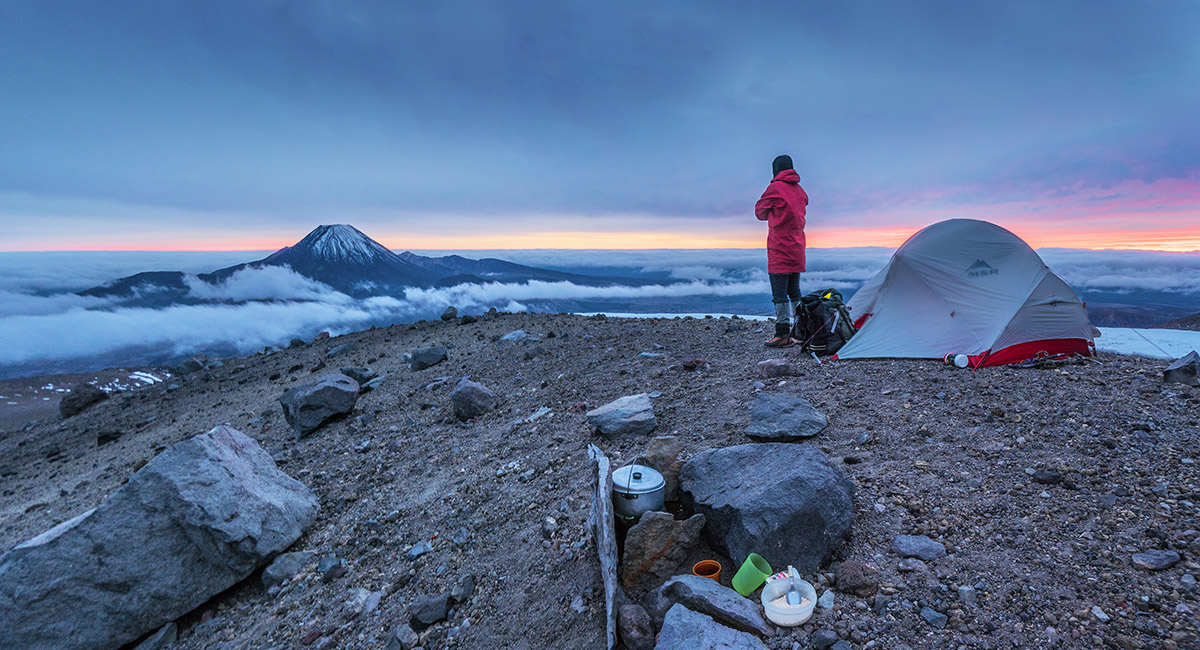
Our camp at 2,000m on Waihohonu ridge, sunset

Our camp at 2,000m on Waihohonu ridge, sunrise


Looking across scoria at about 1,750m, to Ngauruhoe to the north

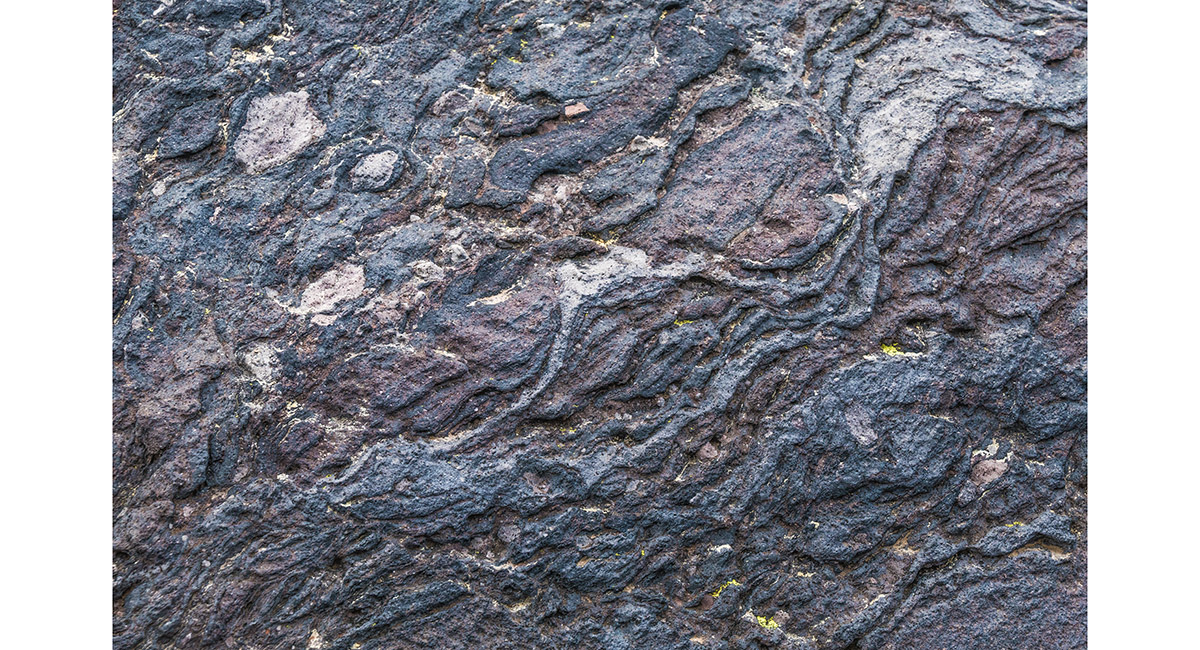
Solidified volcanic lava


Looking across scoria at about 1,650m, to Ngauruhoe to the north


A view, looking southwest, back to Te Heuheu from about 1,600m

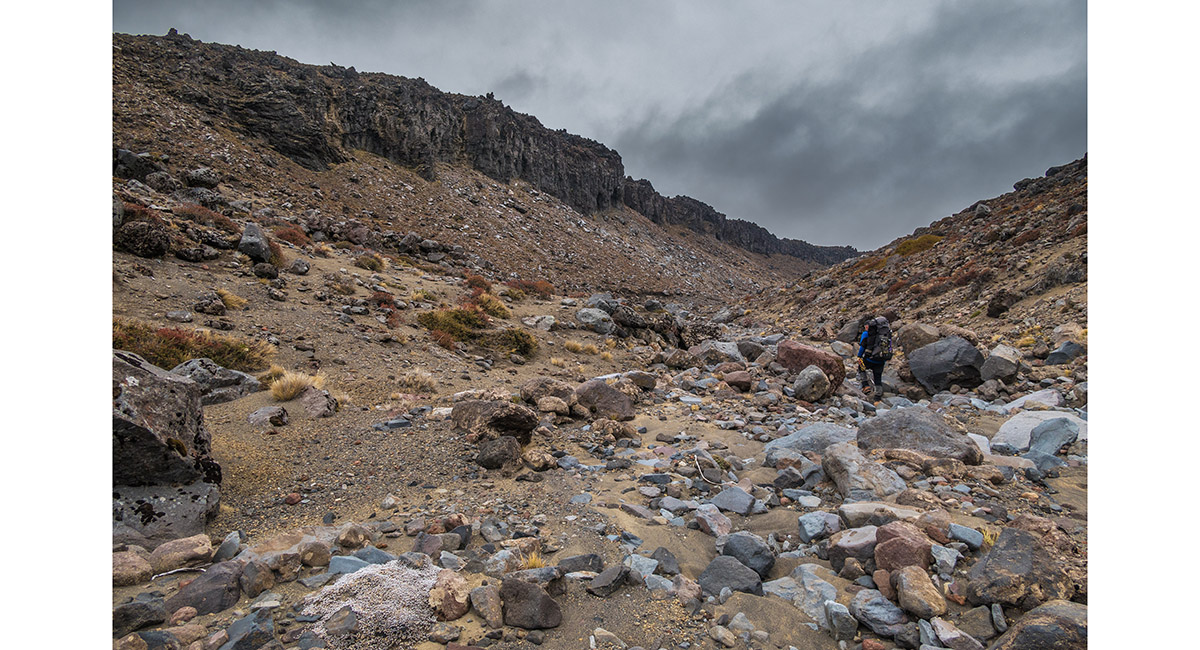
In a dry stream bed at 1,350m, which led northeast to intersect the round the mountain trail

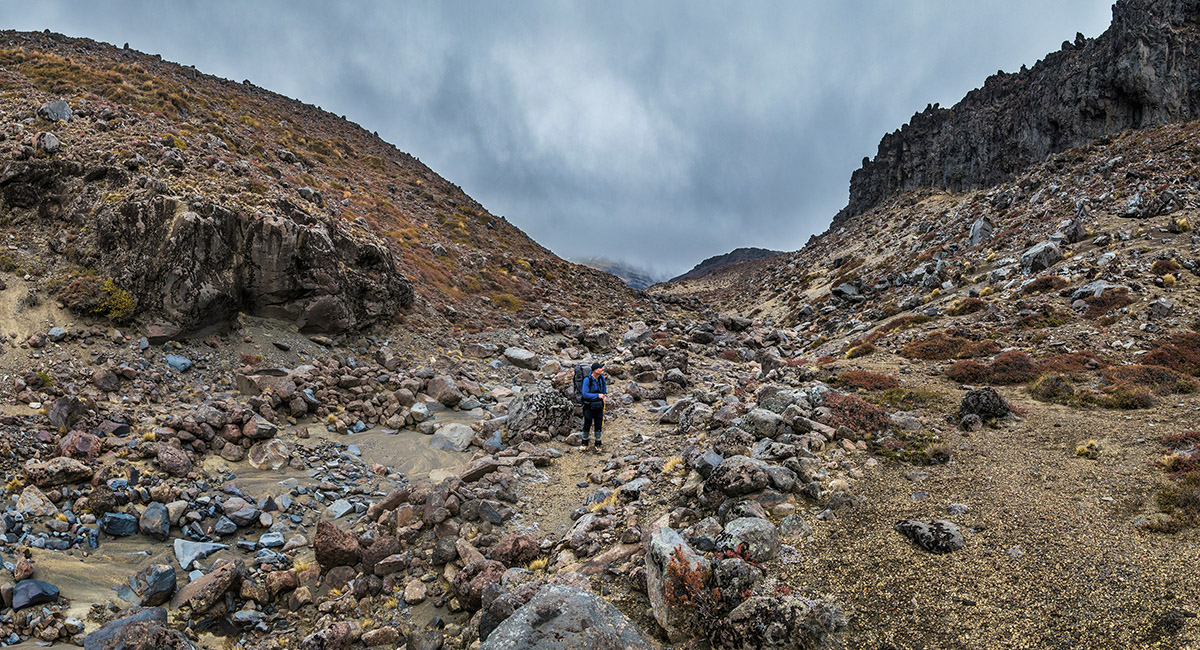
In a dry stream bed at 1,350m, which led northeast to intersect the round the mountain trail


Crossing a stream on the round the mountain trail, near the 1,400m carpark on the Tukino road

Read about it Over the mountain Wilderness Magazine Nov 20
To order a print or web resolution file of any image you see in this slide show, just right click the image, click “Copy Image URL” and paste in to the “Your message” box of our Contact Us form. Please also note, for each image, if you want a print or web resolution file. We will get back to you as soon as possible to confirm price and payment details.
Open Contact Us in a new window to paste Image URL(s) easily