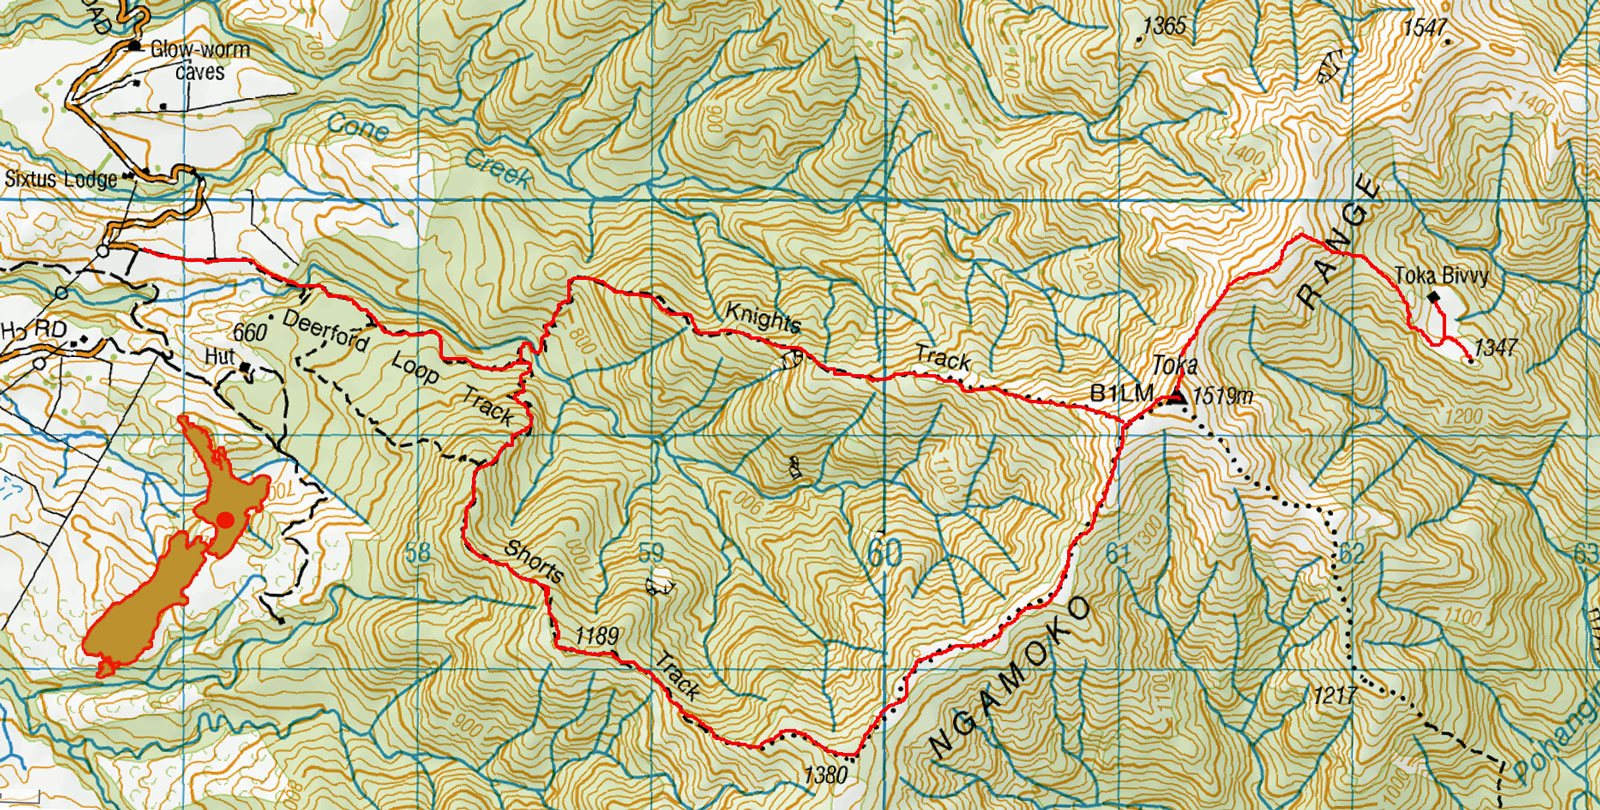
Toka Biv, Ngamoko Range
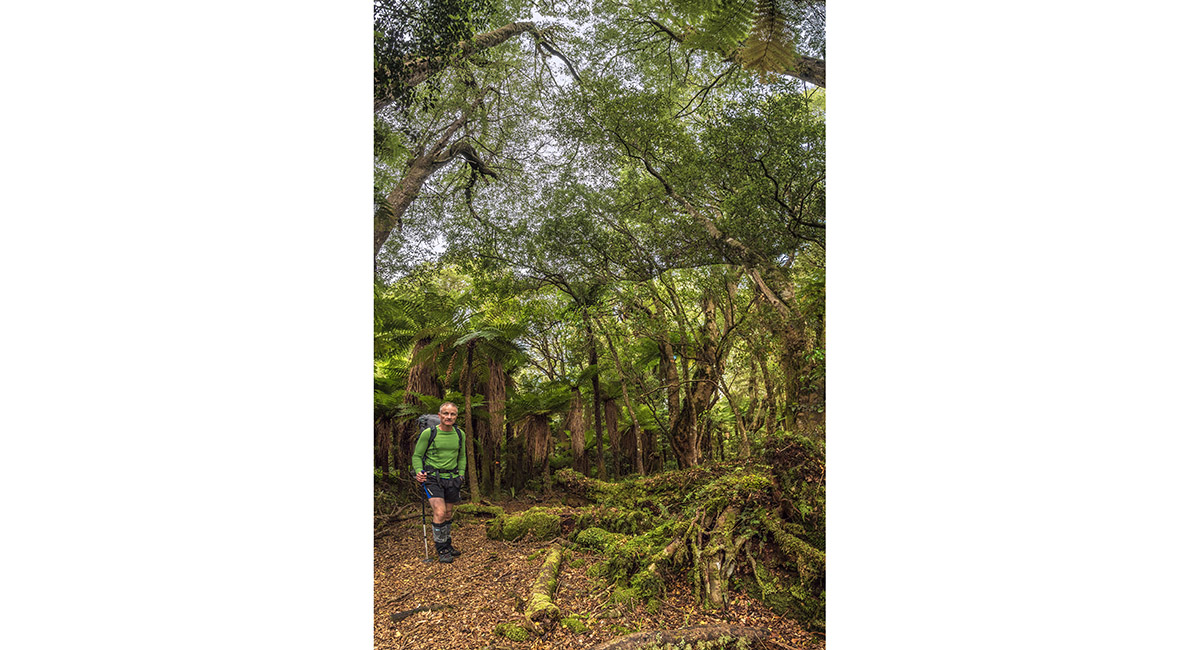
At about 800m, on the Deerford loop track


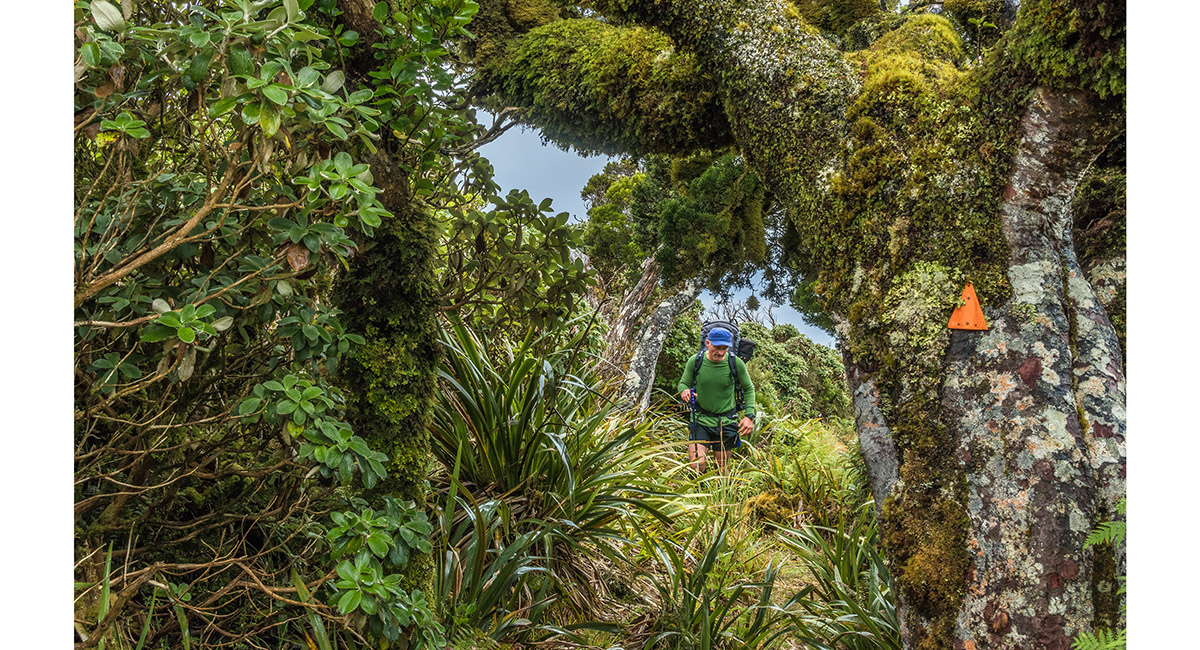
At about 1,100m on Shorts Track


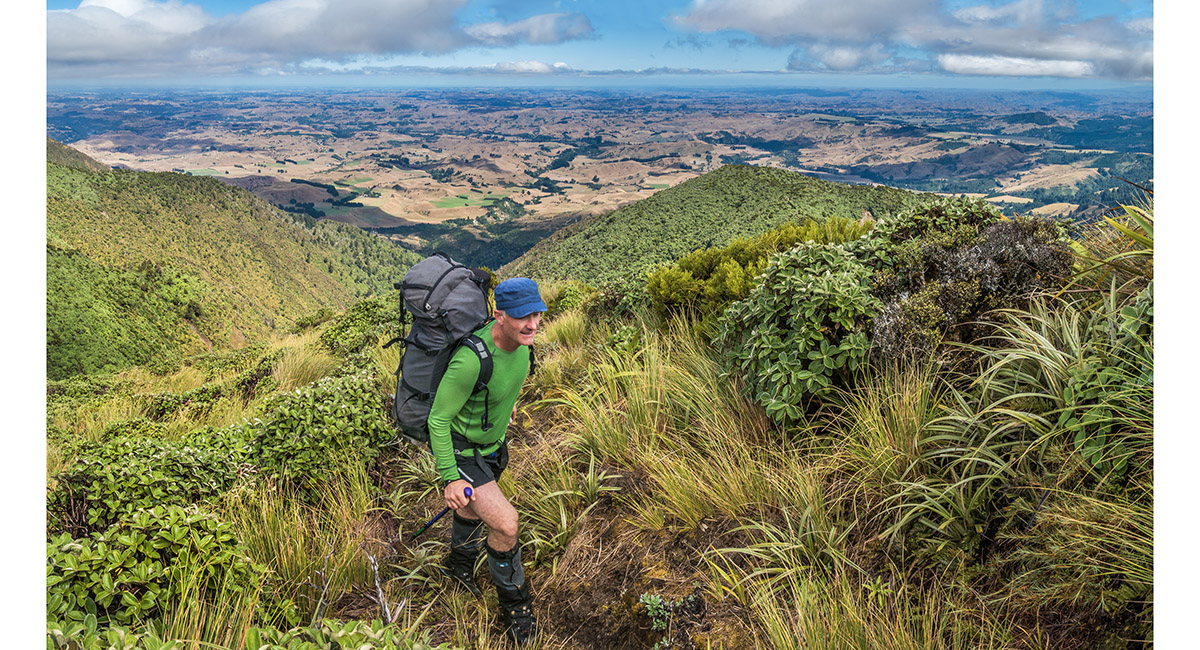
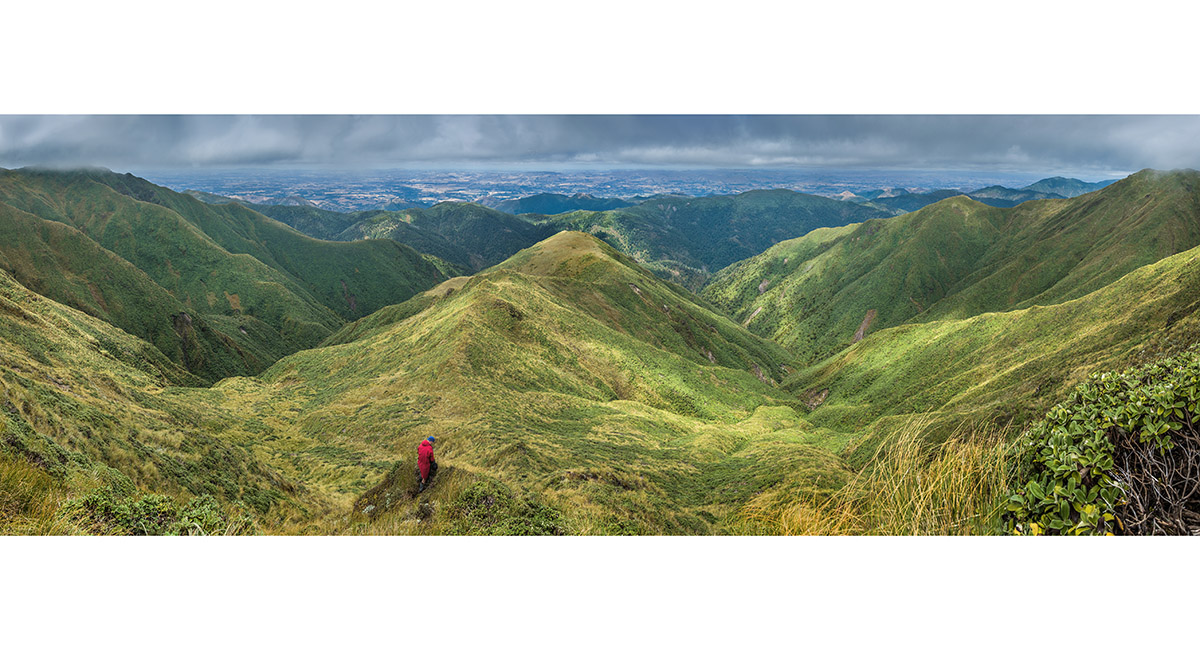
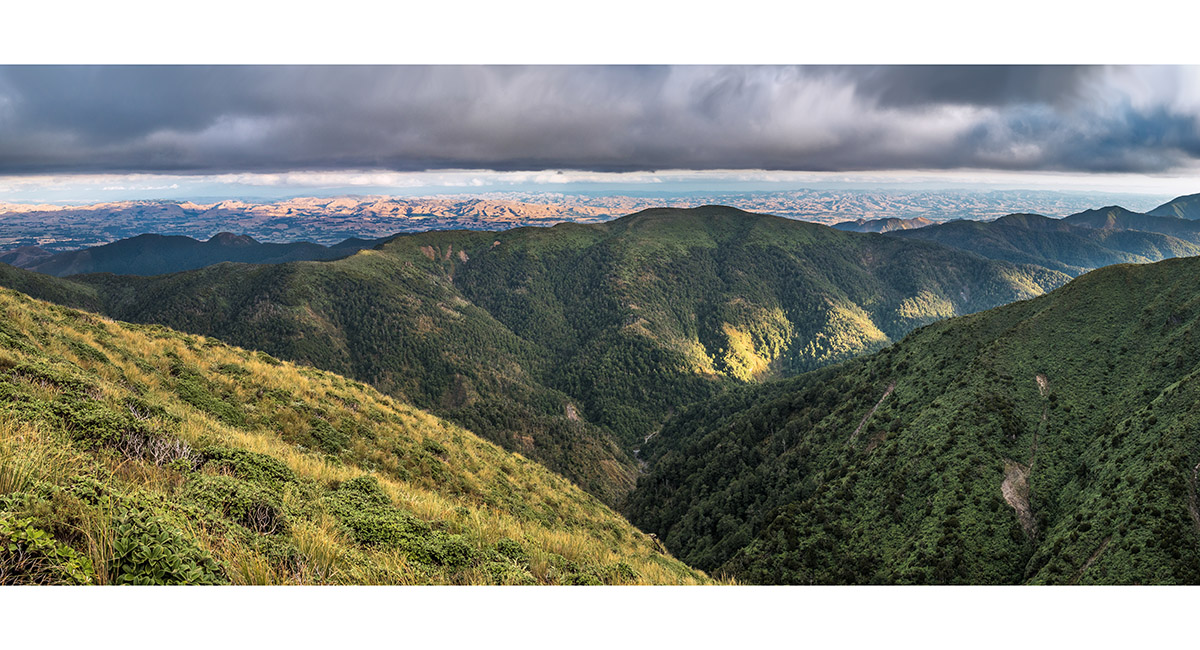
At about 1,200m on Shorts Track, looking south

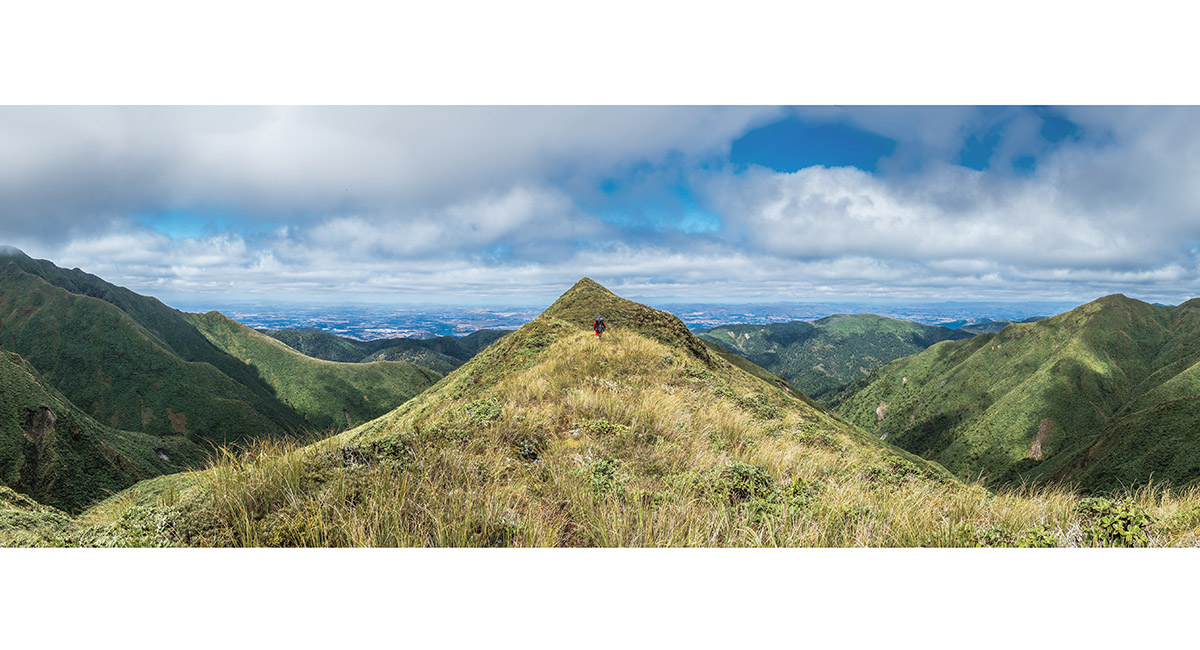
At about 1,200m on Shorts Track

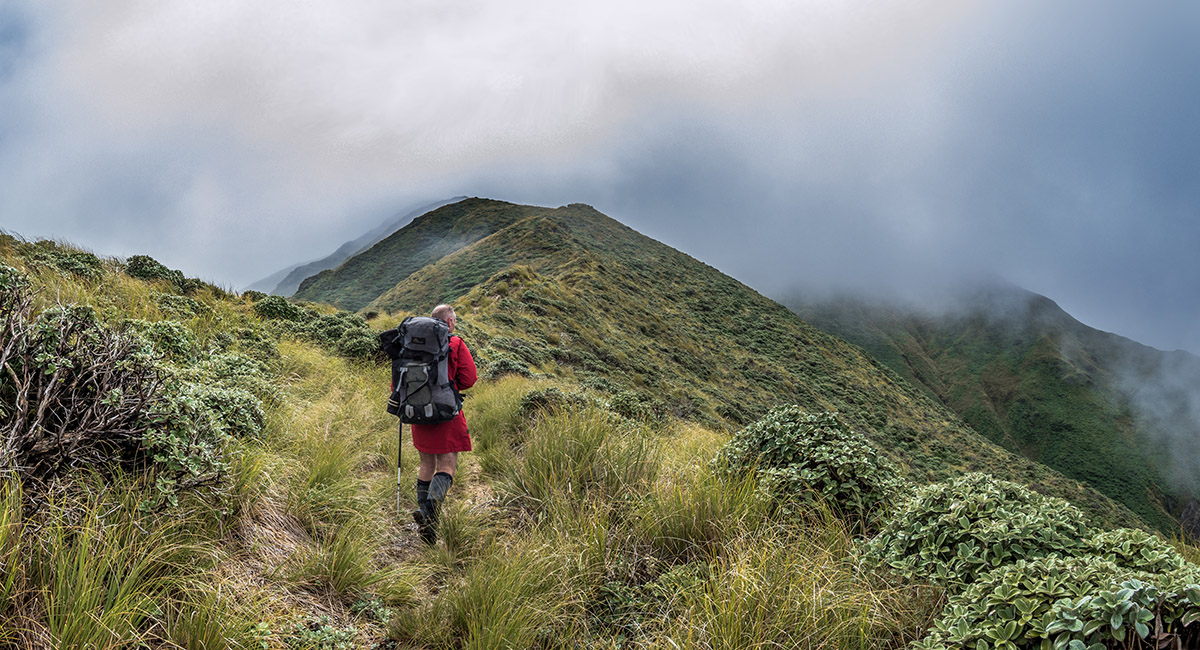
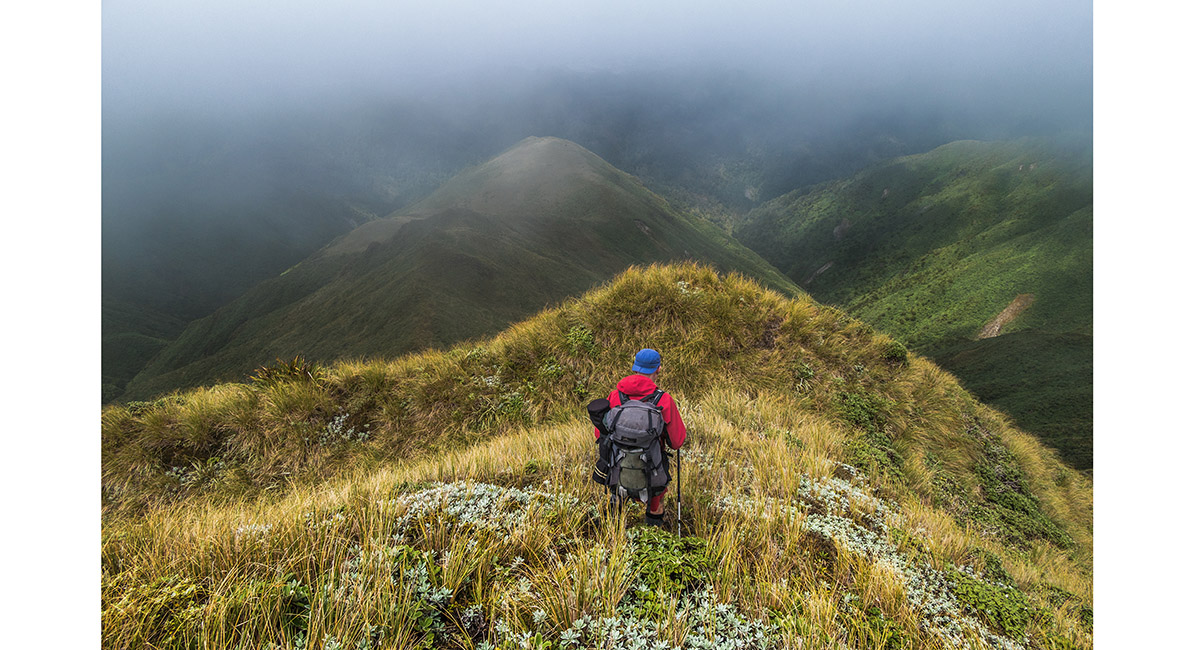
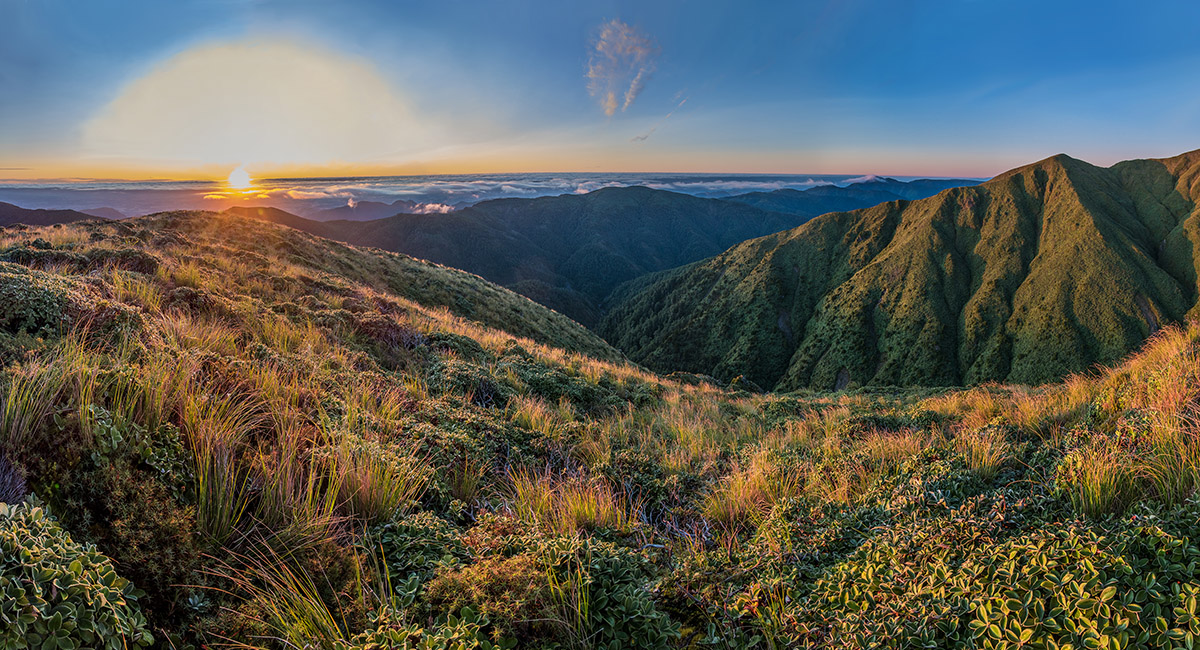
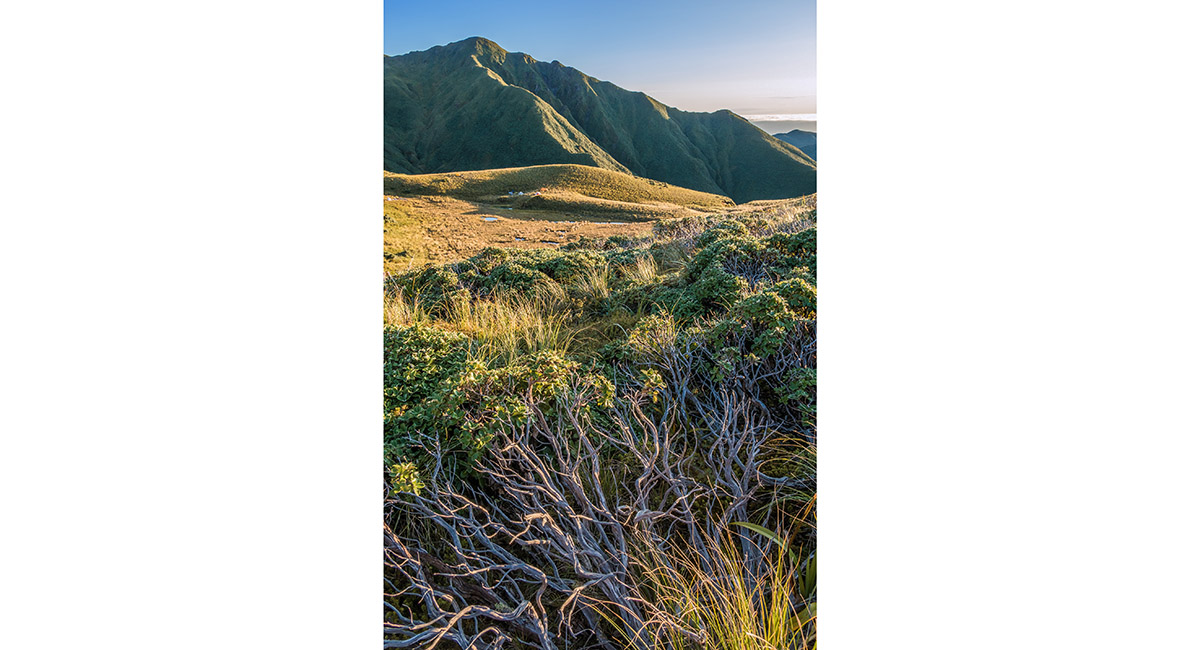
At about 1,300m on Shorts Track, looking south west

At about 1,350m on Shorts Track, looking east to Toka


At about 1,400m on Shorts Track, looking south west


Snow lillies

On the descent from the 1,540m high point, heading south east to Toka Biv

On the descent from the 1,540m high point, heading south east to Toka Biv (hidden by the dark crag directly above Shaun's head)

At about 1,350m on the descent from the 1,540m high point, heading south east to Toka Biv


Toka Biv (1,290m), with Hawkes Bay in the distance

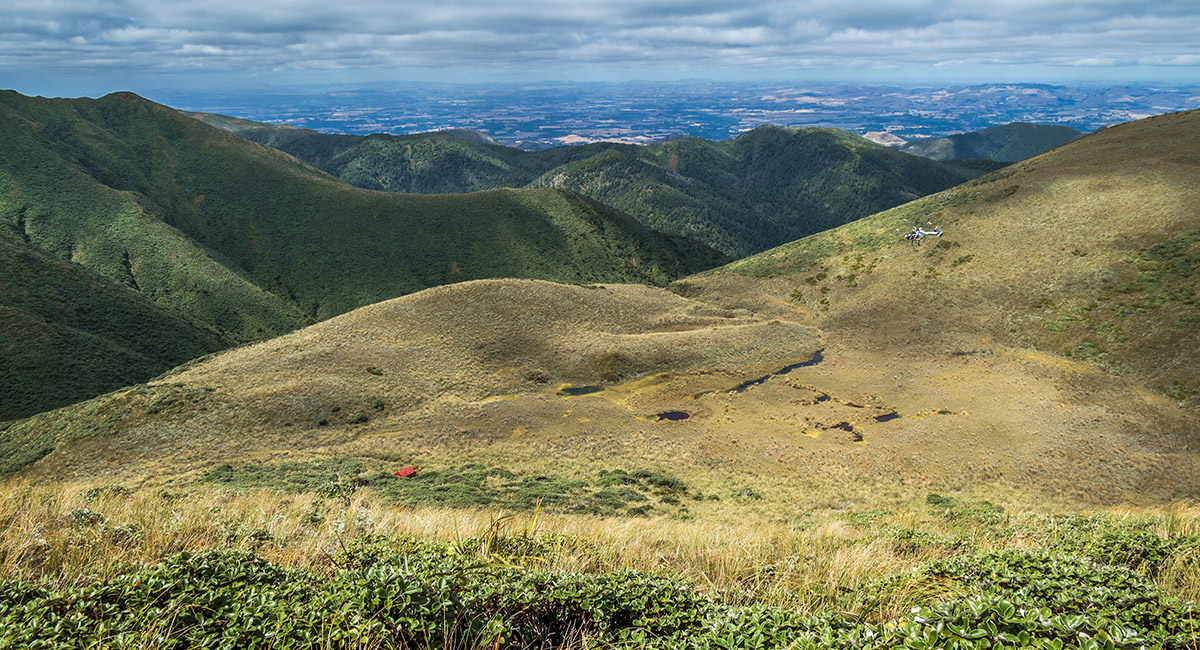
The building party arriving by helicopter to replace Toka Biv

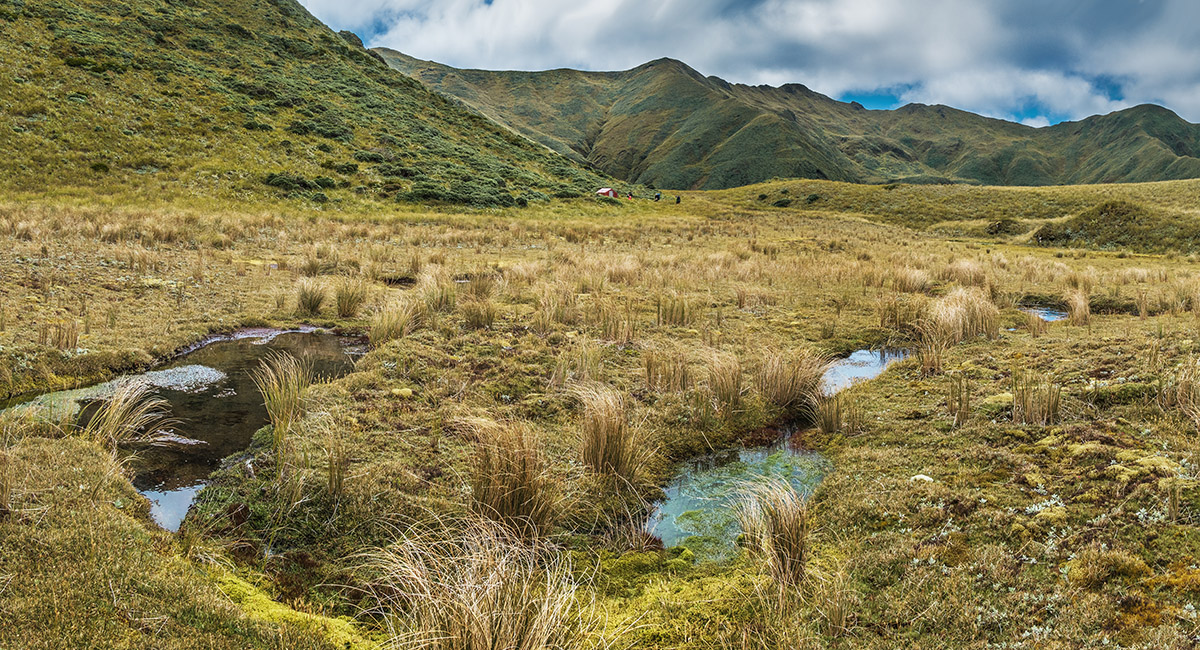
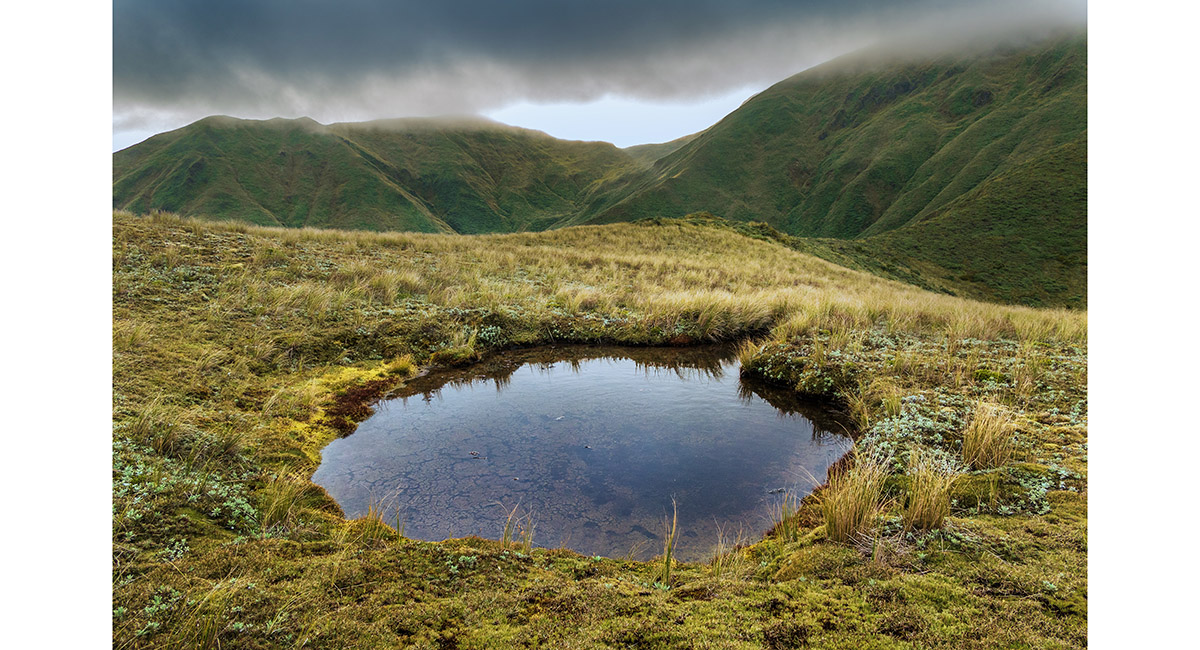
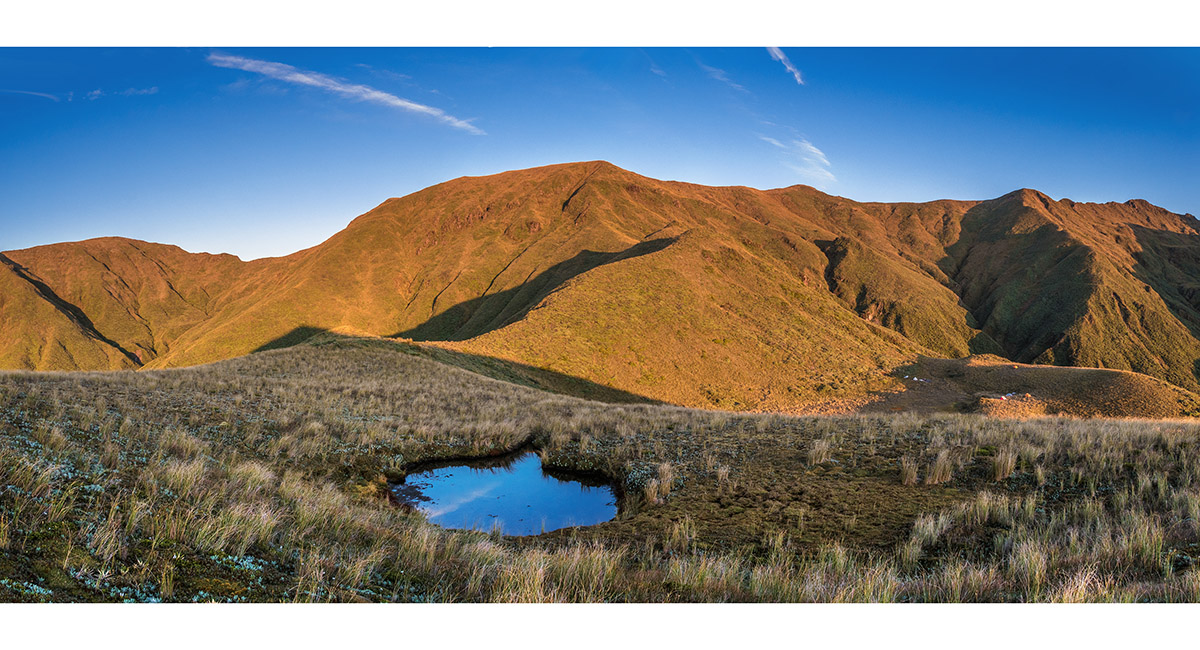
Tarns near Toka Biv

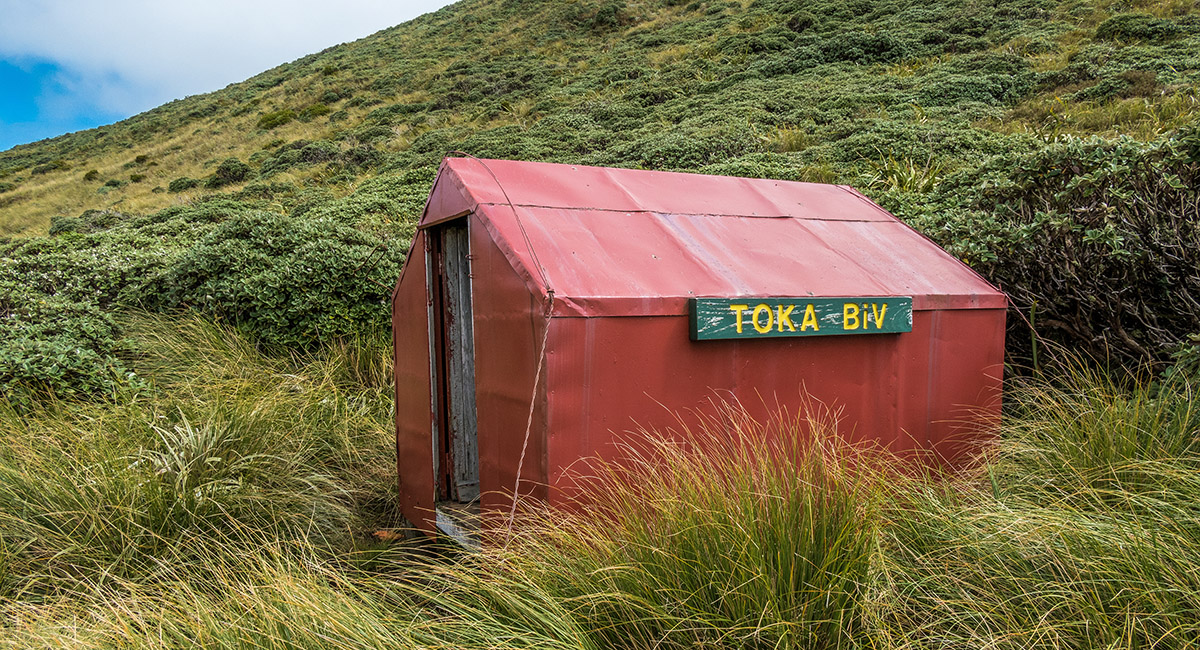
The old Toka Biv, very soon to be demolished and replaced by a structurally sound replica

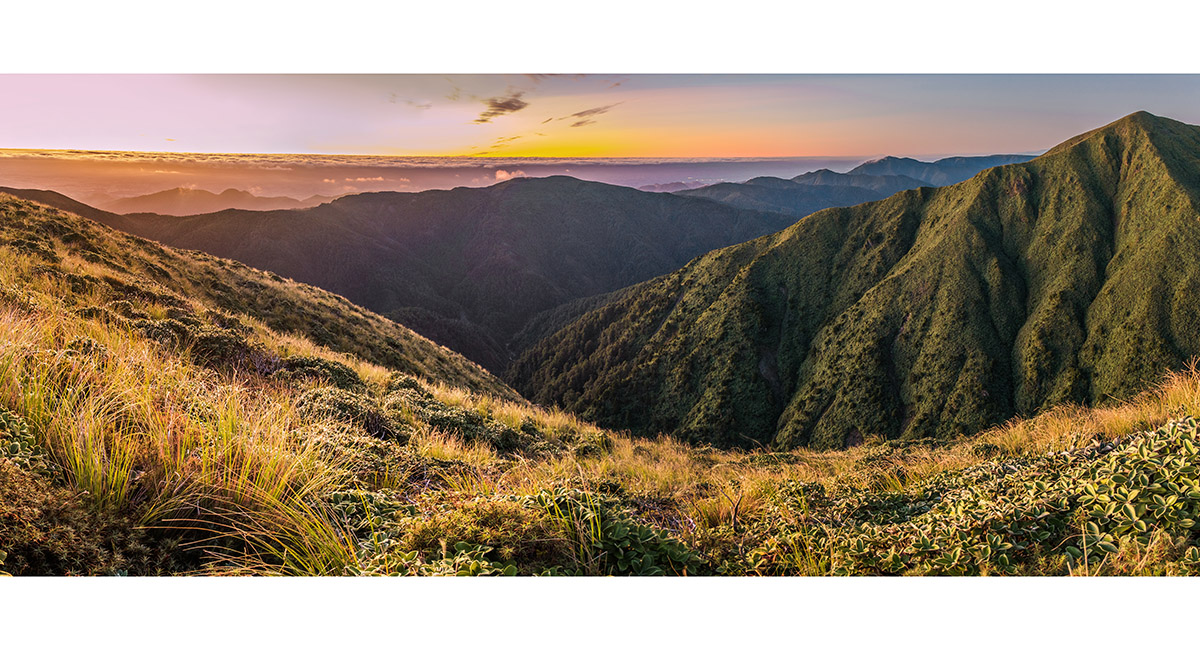
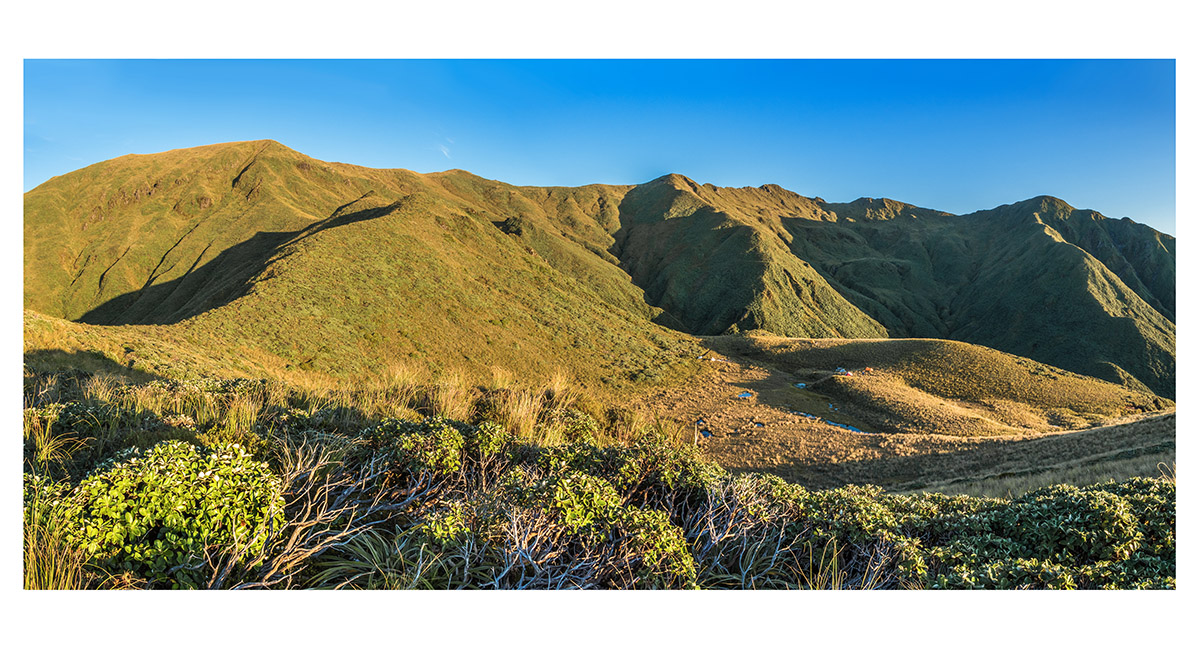
Above Toka Biv, looking west to the Ngamoko Range at dusk

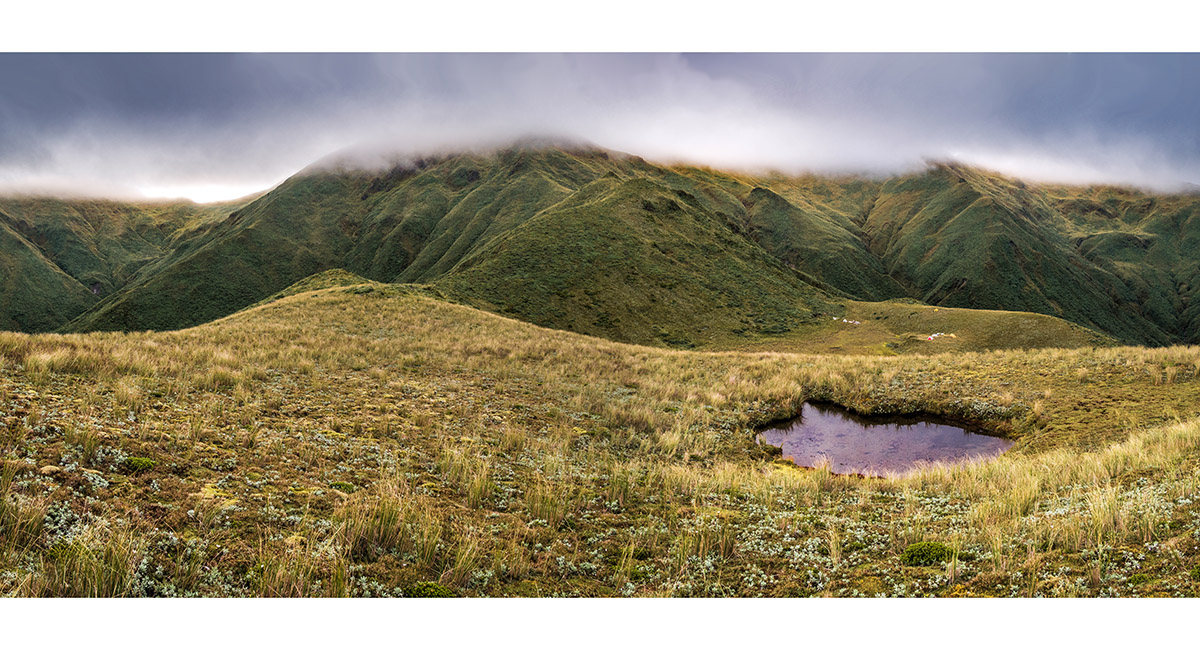
Above Toka Biv, looking west to the Ngamoko Range at dusk. The spur dropping from the 1,540m high point on the Range angles up from the left, then right

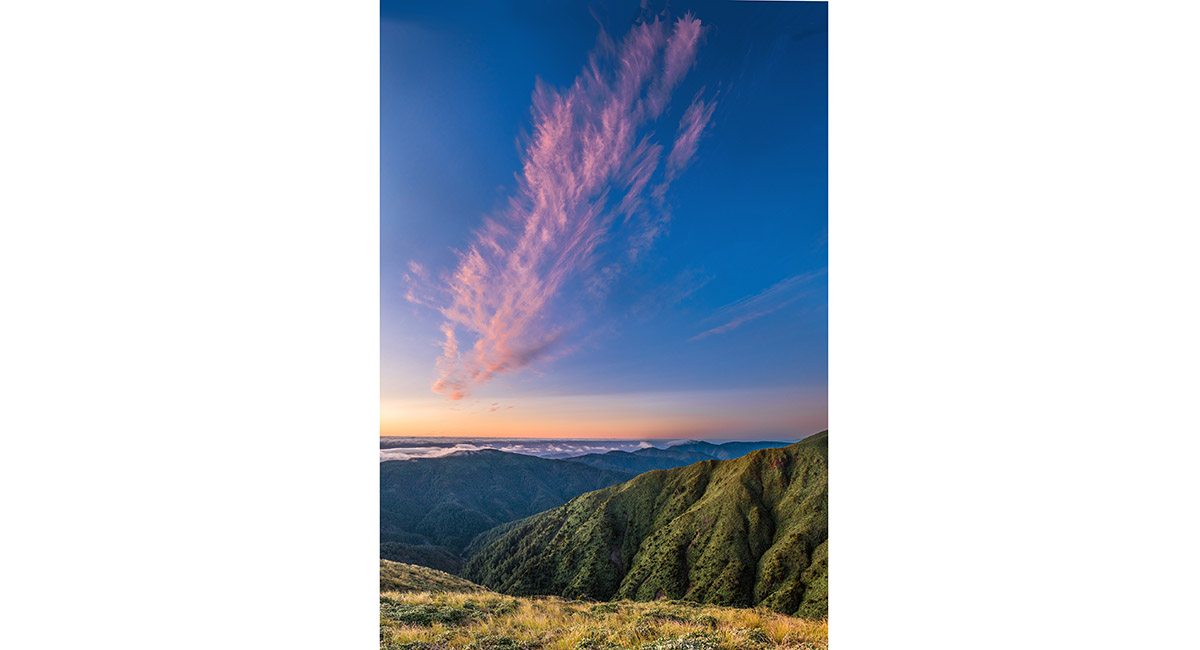
Looking east at dusk, from 1,347m, to Hawkes Bay


A view from the 'Thunder box', looking east at dusk, from near Toka Biv, to Hawkes Bay. No privacy, but also no stink and no flies

Looking east at dawn, from 1,347m, to Hawkes Bay

Looking east at dawn, from 1,347m, to Hawkes Bay


Looking east at dawn, from 1,347m, to Hawkes Bay

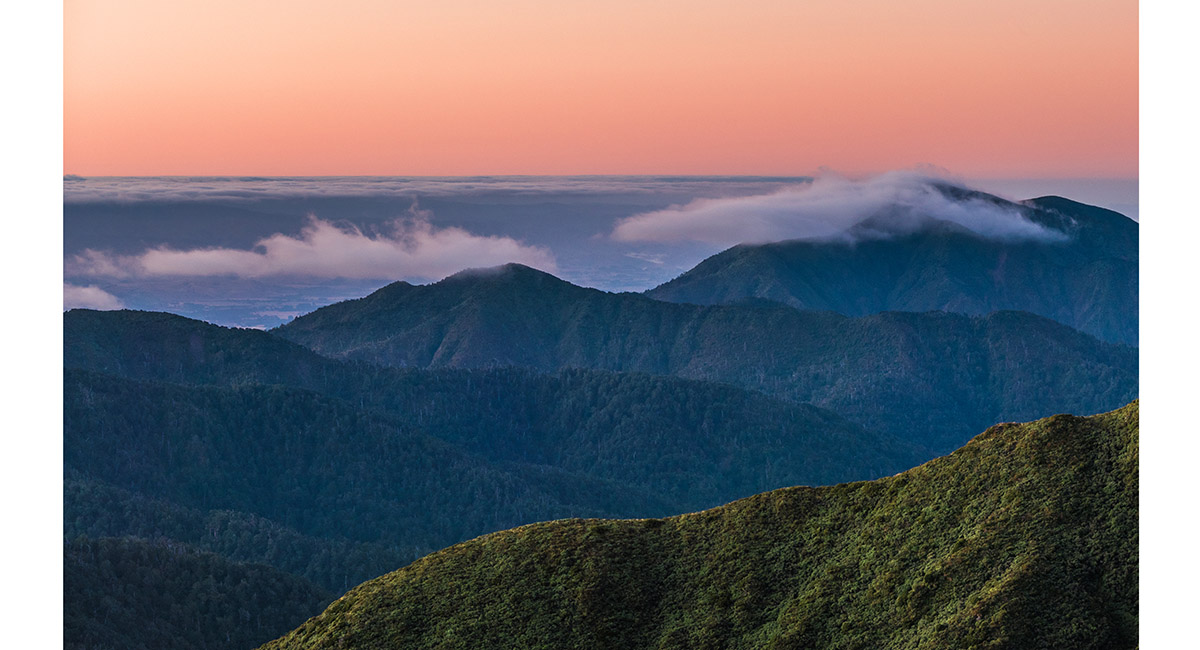
Looking east at dawn, from 1,347m, to Hawkes Bay


Looking east at dawn, from 1,347m, to Hawkes Bay

Looking east at dawn, from 1,347m, to Hawkes Bay


Looking west at dawn, from 1,347m, to the Ngamoko Range

Above Toka Biv, looking west to the Ngamoko Range at dawn. The spur dropping from the 1,540m high point on the Range angles up from the left, then right

Looking west at dawn, from 1,347m, to the Ngamoko Range

Looking west at dawn, from 1,347m, to the Ngamoko Range

Looking north across Leatherwood at dawn, above Toka Biv, to the Ngamoko Range

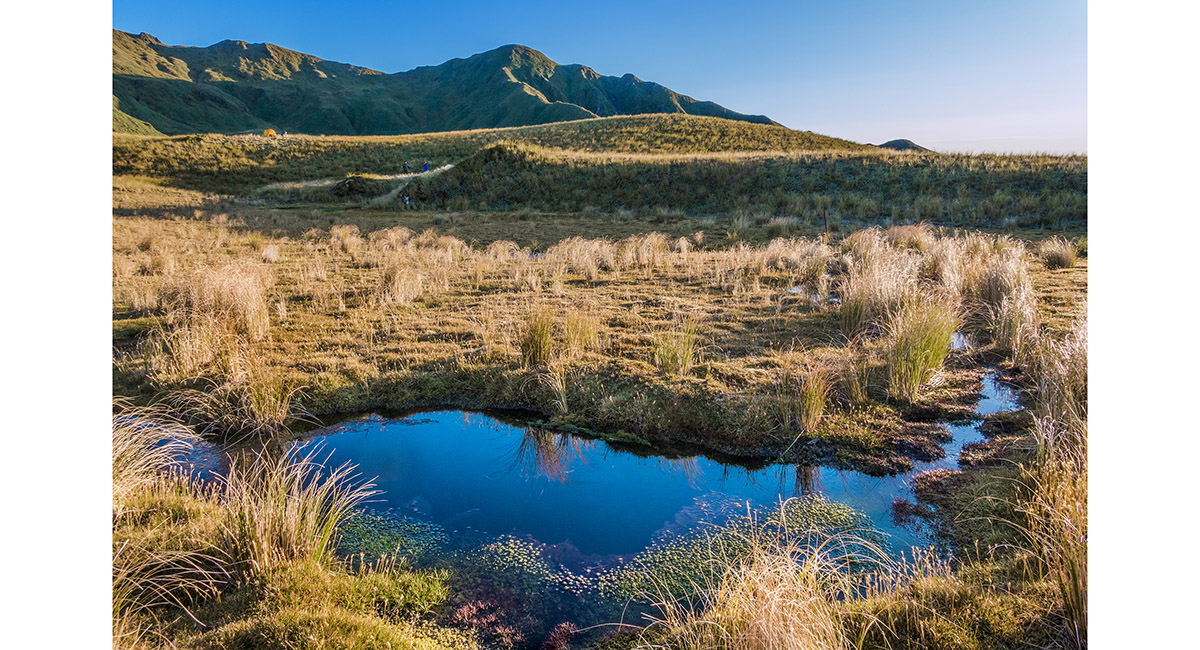
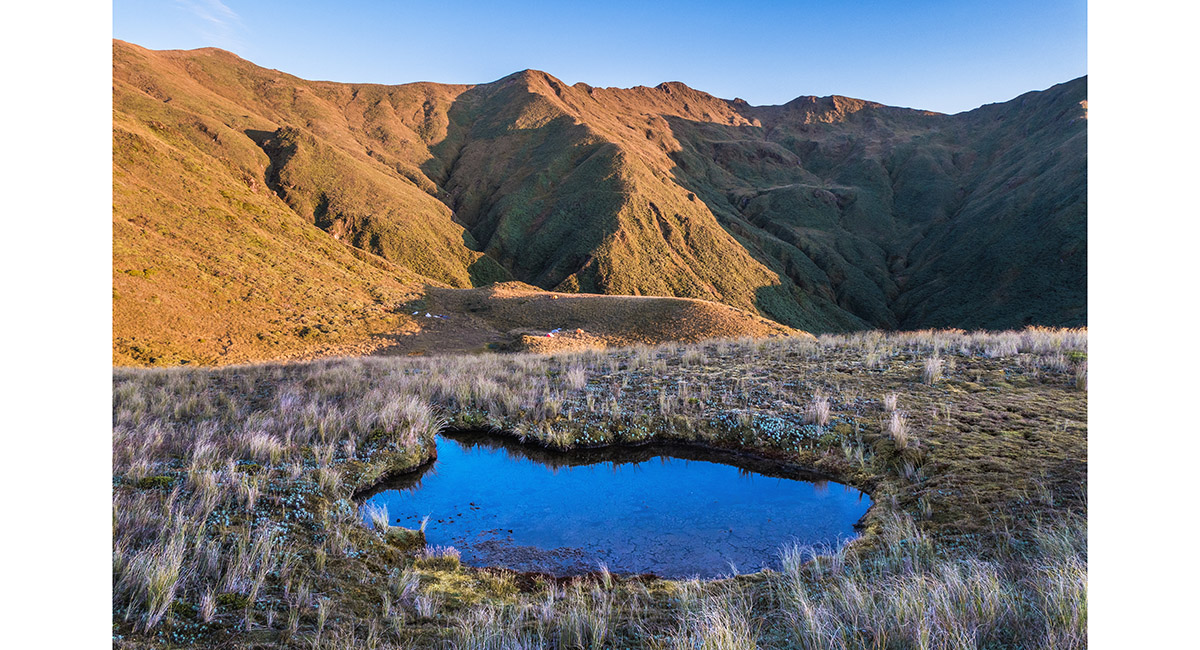
A tarn near Toka Biv, looking north

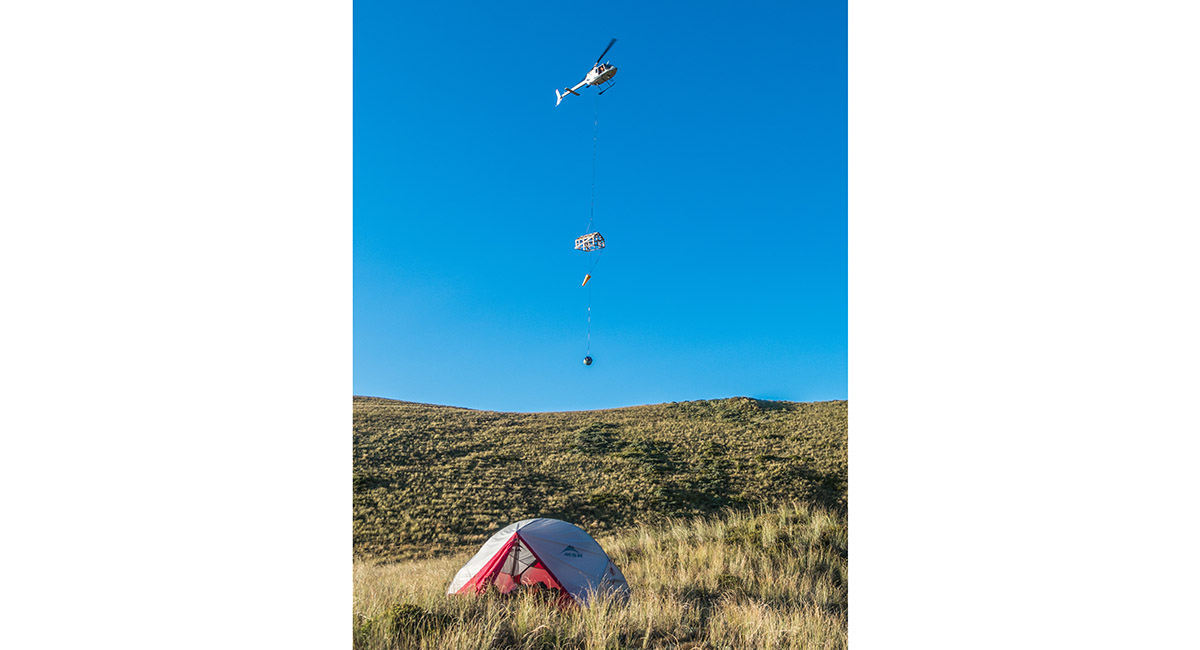
Day 2 of the working bee, the new Toka Biv frame and water tank arrive early morning


A great day to rebuild a Biv

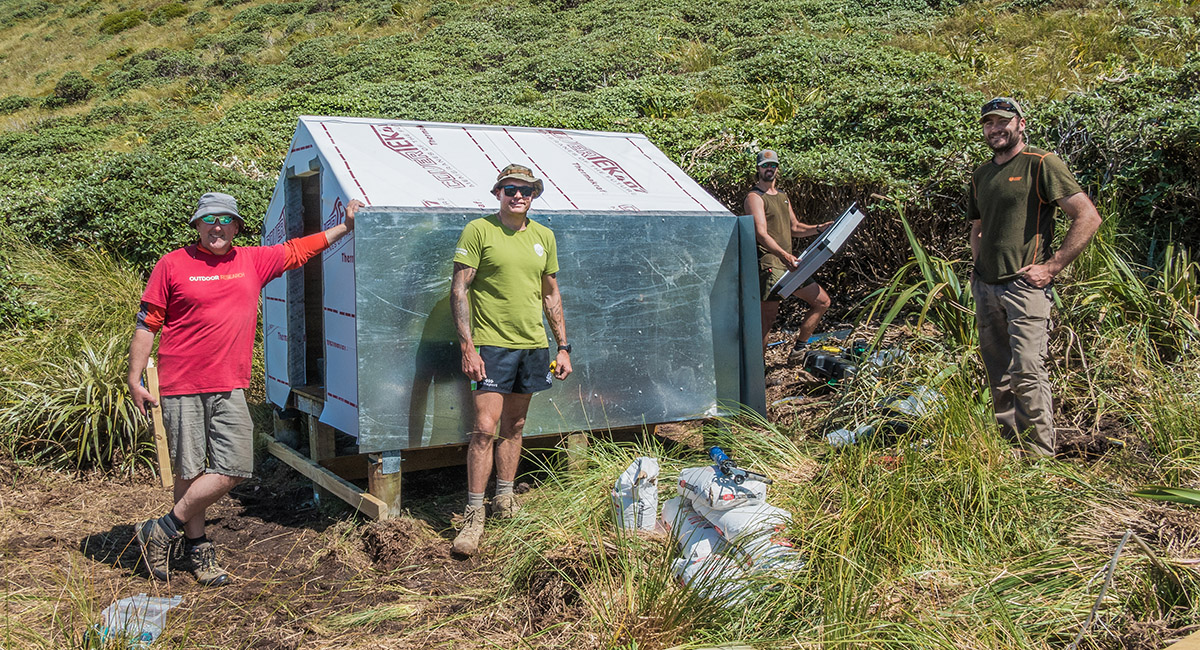
The 'engine room' - Rob Brown, head of Back Country Trust (left) and the volunteer building team

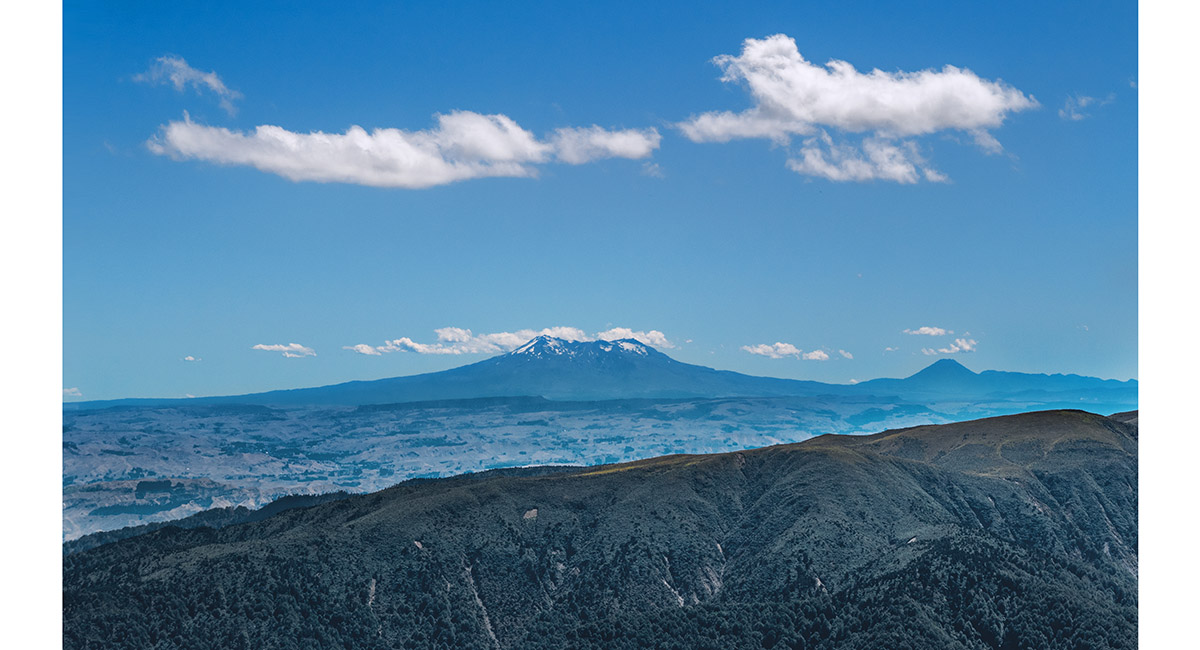
Mounts Ruapehu and Ngauruhoe, viewed from the 1,540m high point on the Ngamoko Range


Looking north along the Ngamoko Range from the 1,540m high point above Toka Biv

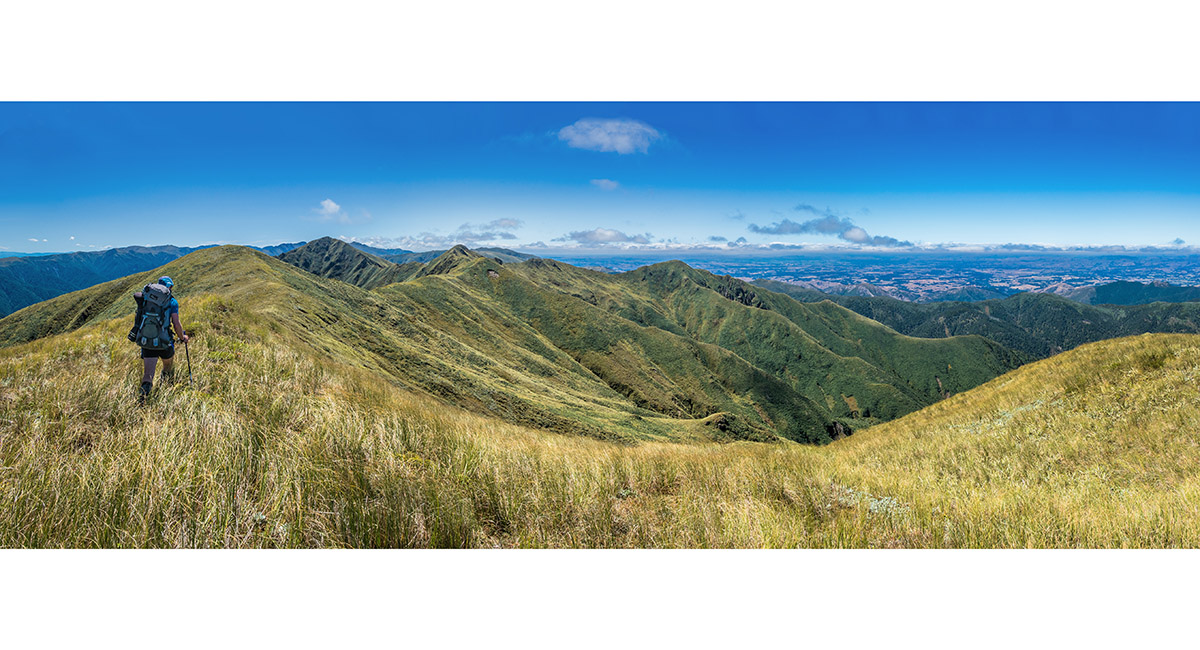
Looking north and east along the Ngamoko Range from the 1,540m high point above Toka Biv. Hawkes Bay is right


The view south, from just below Toka (1,519m)


Heading down the spur leading west off Toka, down Knights Track


Some welcome shade just before the Deerford Loop carpark

To order a print or web resolution file of any image you see in this slide show, just right click the image, click “Copy Image URL” and paste in to the “Your message” box of our Contact Us form. Please also note, for each image, if you want a print or web resolution file. We will get back to you as soon as possible to confirm price and payment details.
Open Contact Us in a new window to paste Image URL(s) easily