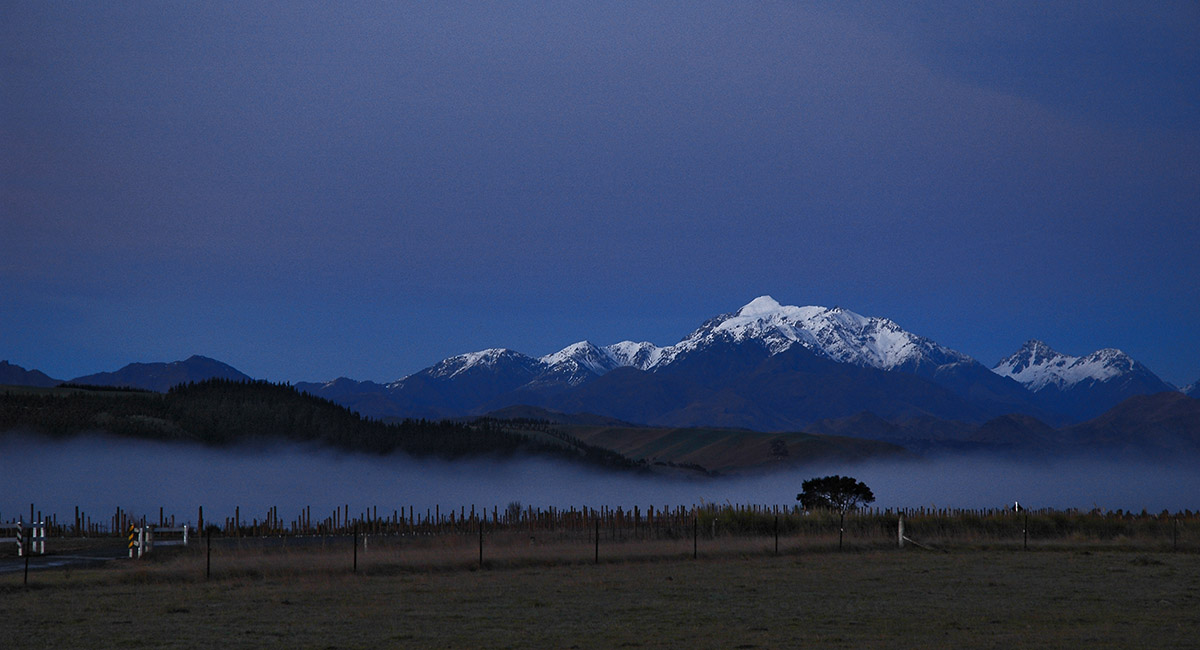
Tapuae o Uenuku, August 2007

The Kaikouras from the east

Tapuae o Uenuku (2,885m) at dawn on the approach up the Awatere River valley. Mount Alarm (2,877m) is to the right


Awatere River valley dawn view, looking south

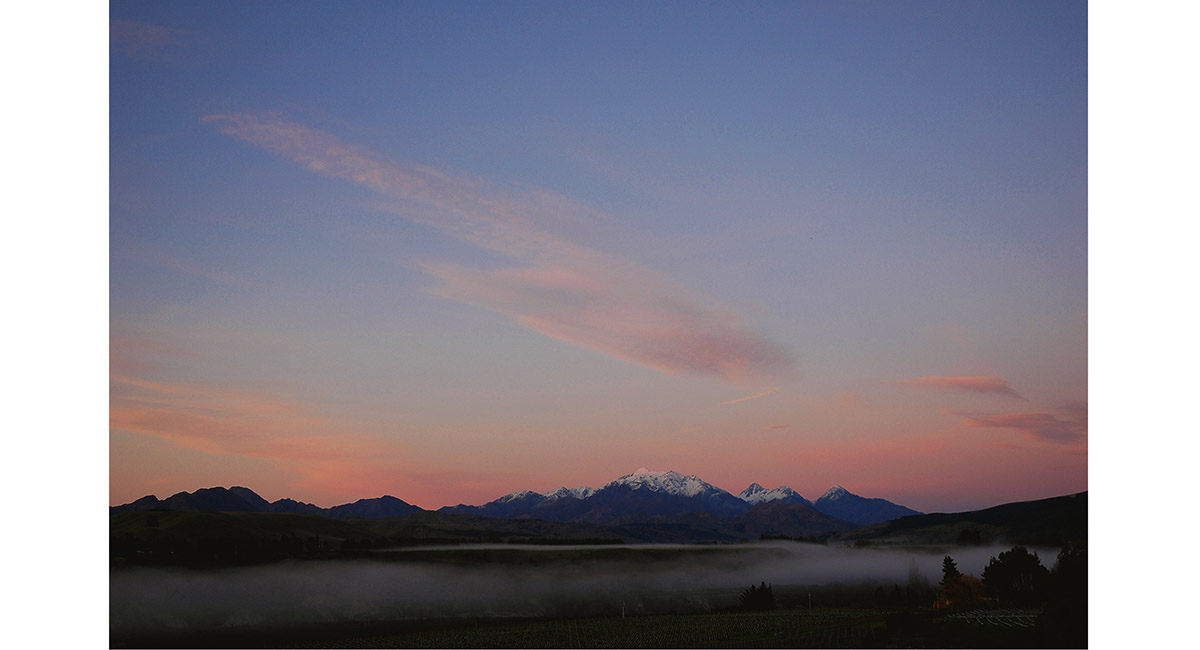
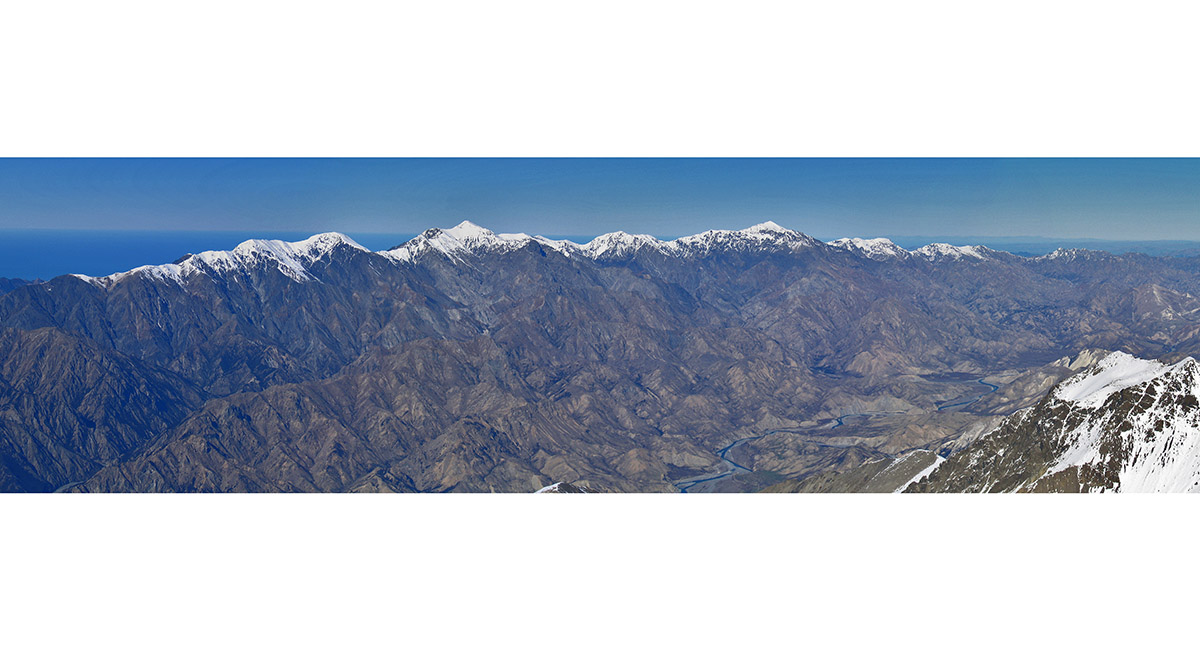
View southwards


Tapuae o Uenuku (2,885m) at dawn on the approach up the Awatere River valley. Mount Alarm (2,877m) is to the right and Mitre (2,621m) far right

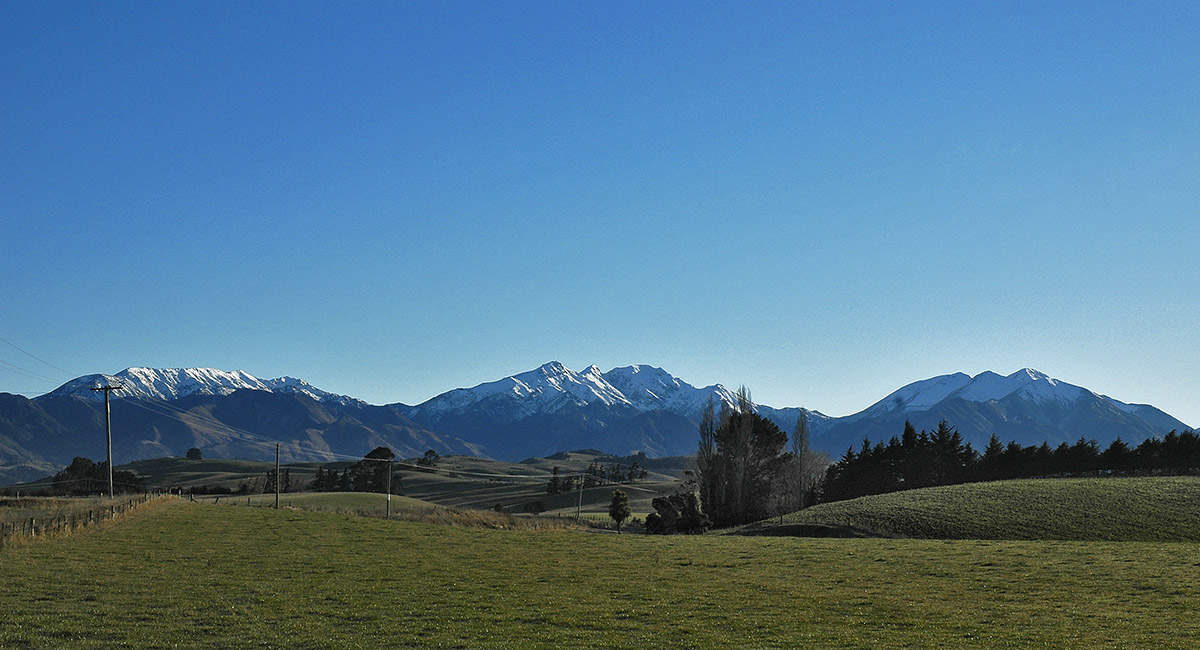
From left - Crows Nest (2,449m), Tapuae o Uenuku (2,885m), Alarm (2,877m) and Mitre (2,621m)

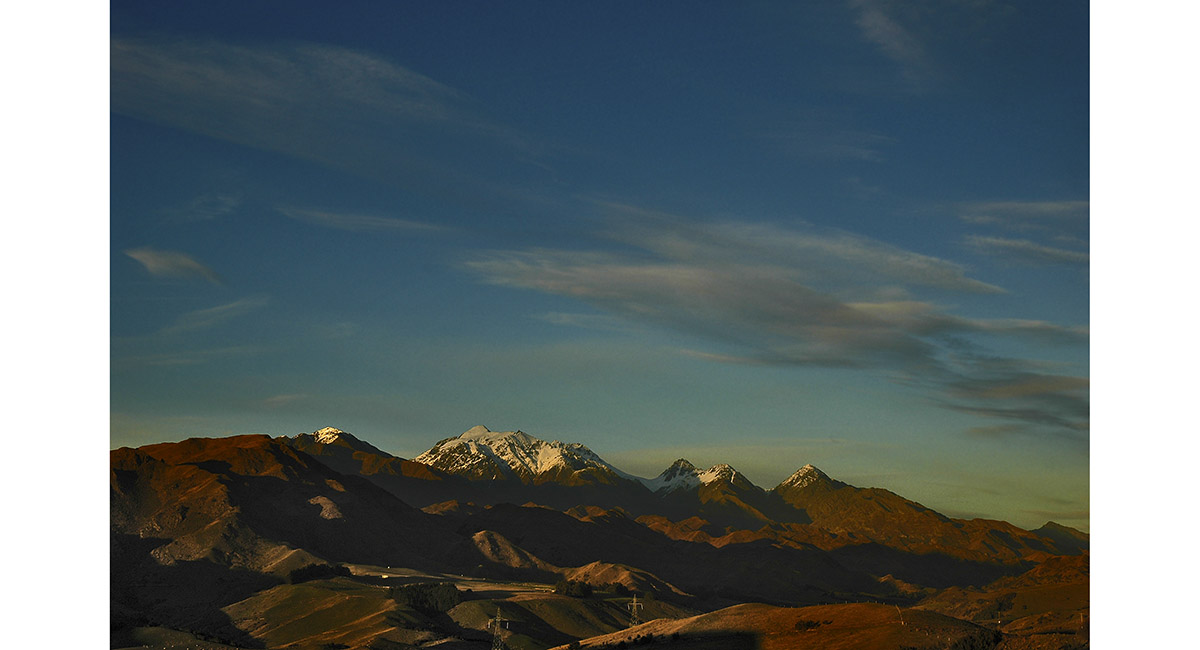
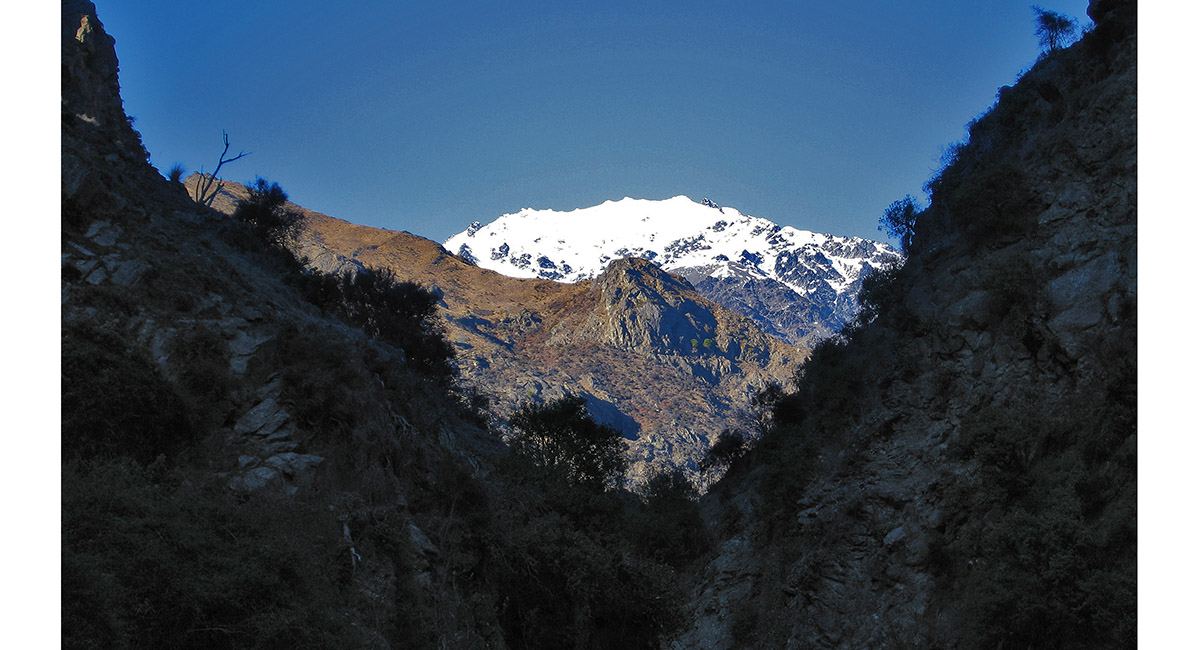
A view from the northern end of Awatere Valley

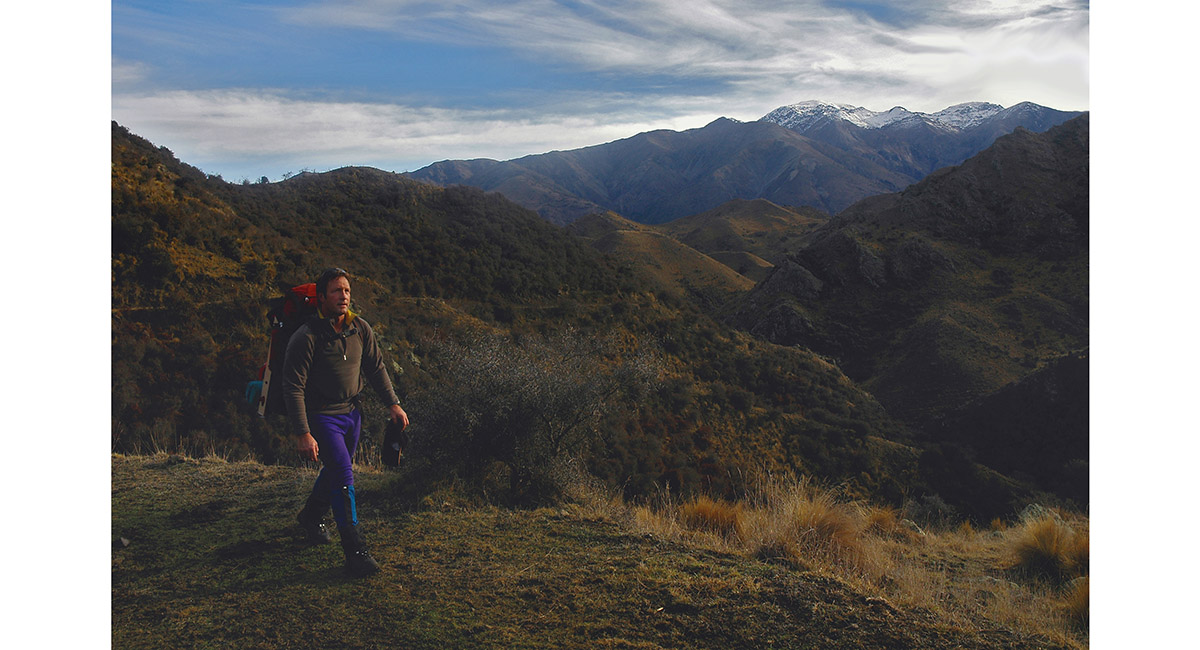
Setting off from Gladstone Downs

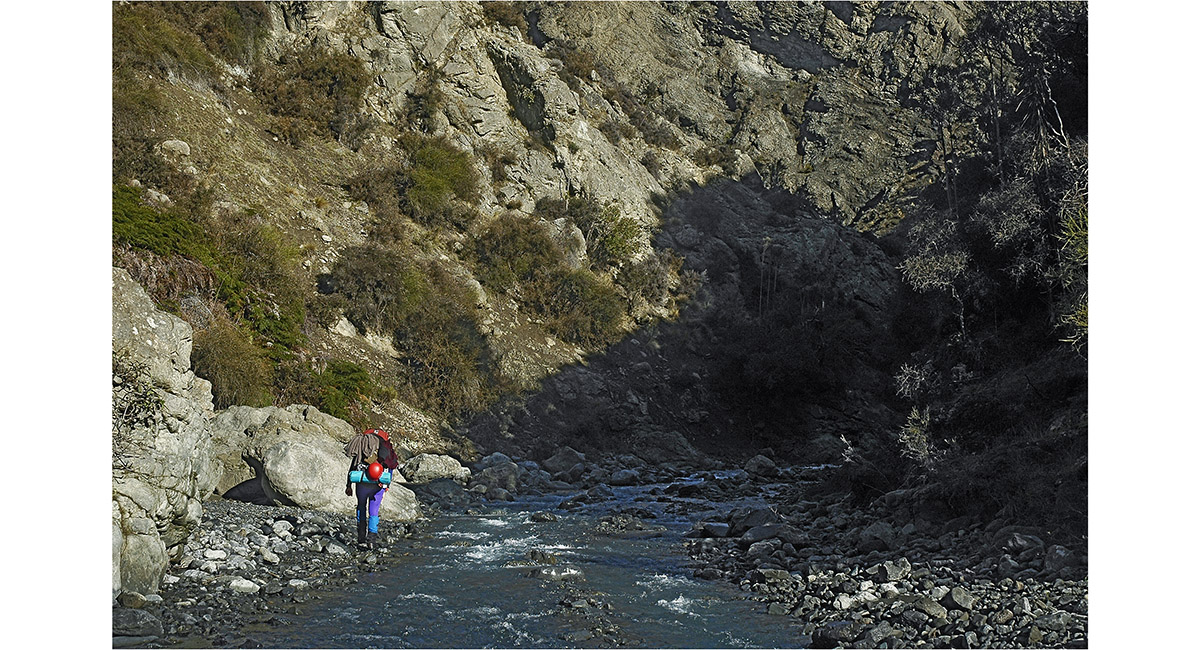
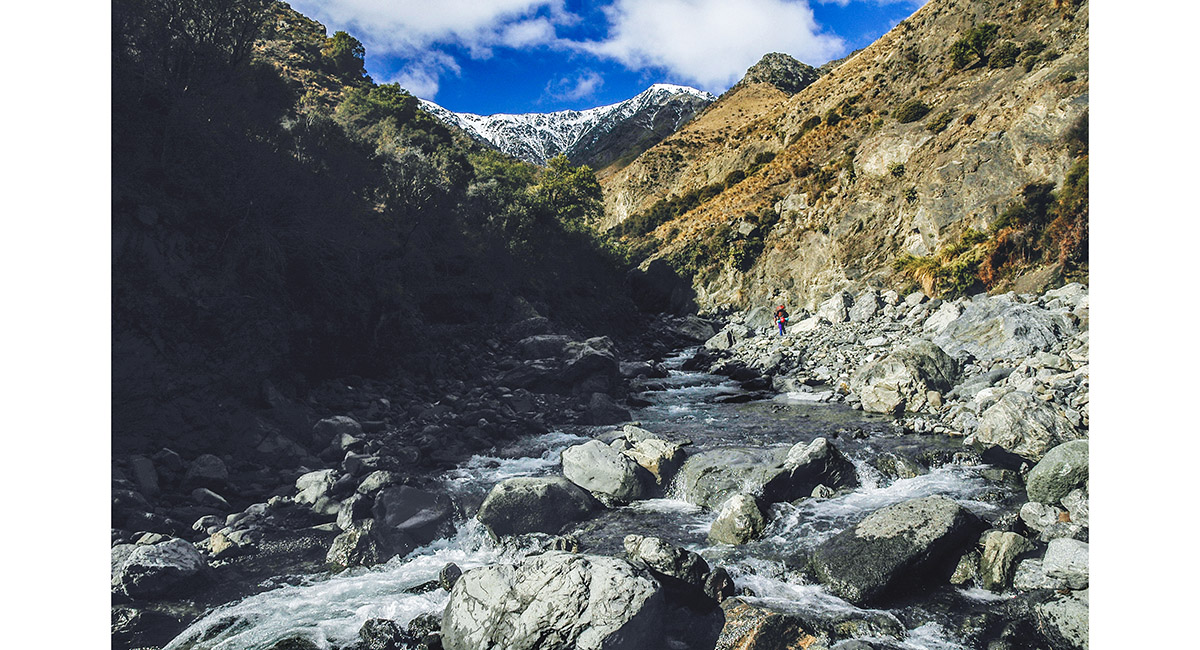
The Shin River

The Shin River

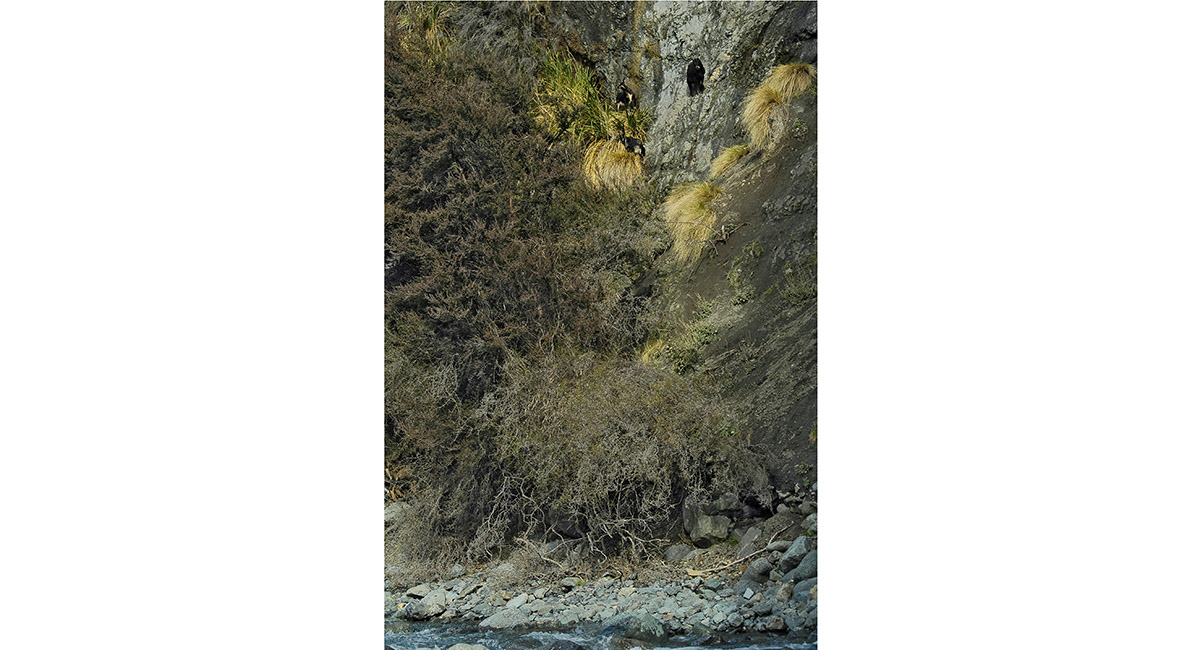
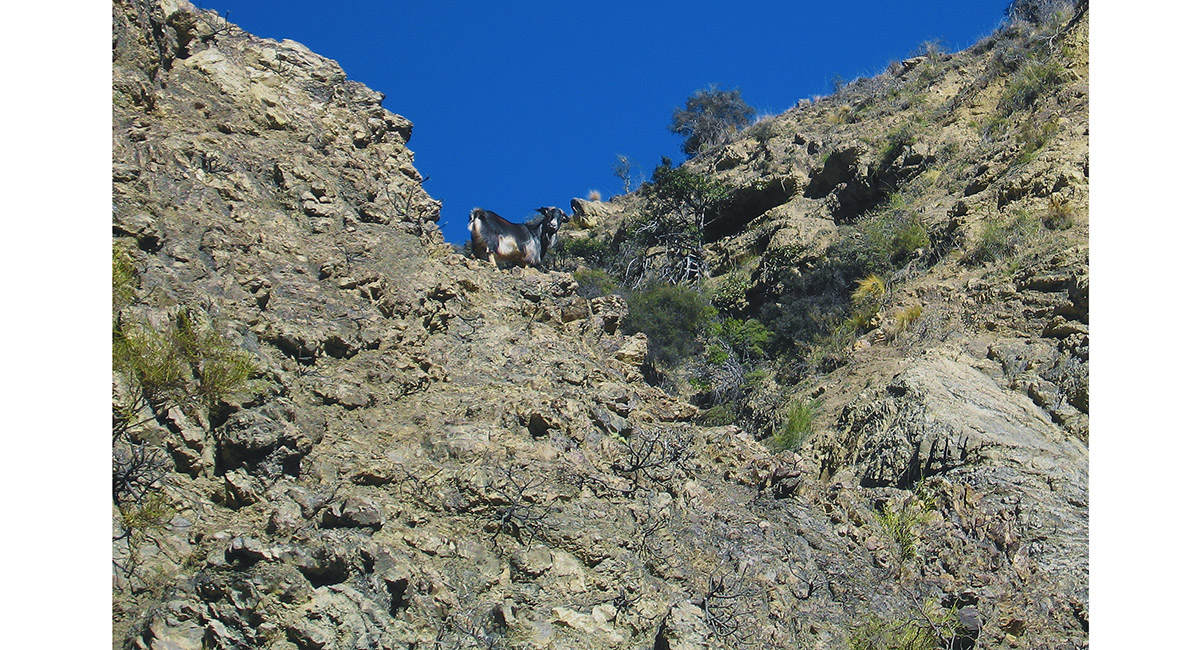
Wild goats up the Shin River

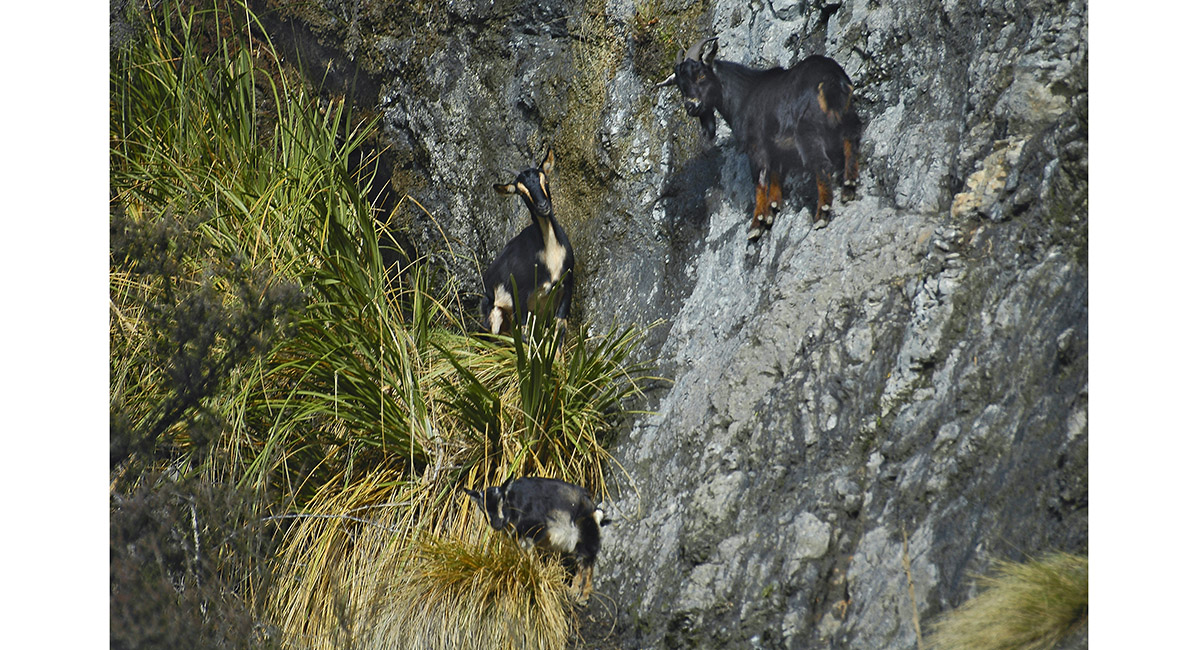
Wild goats, Shin River

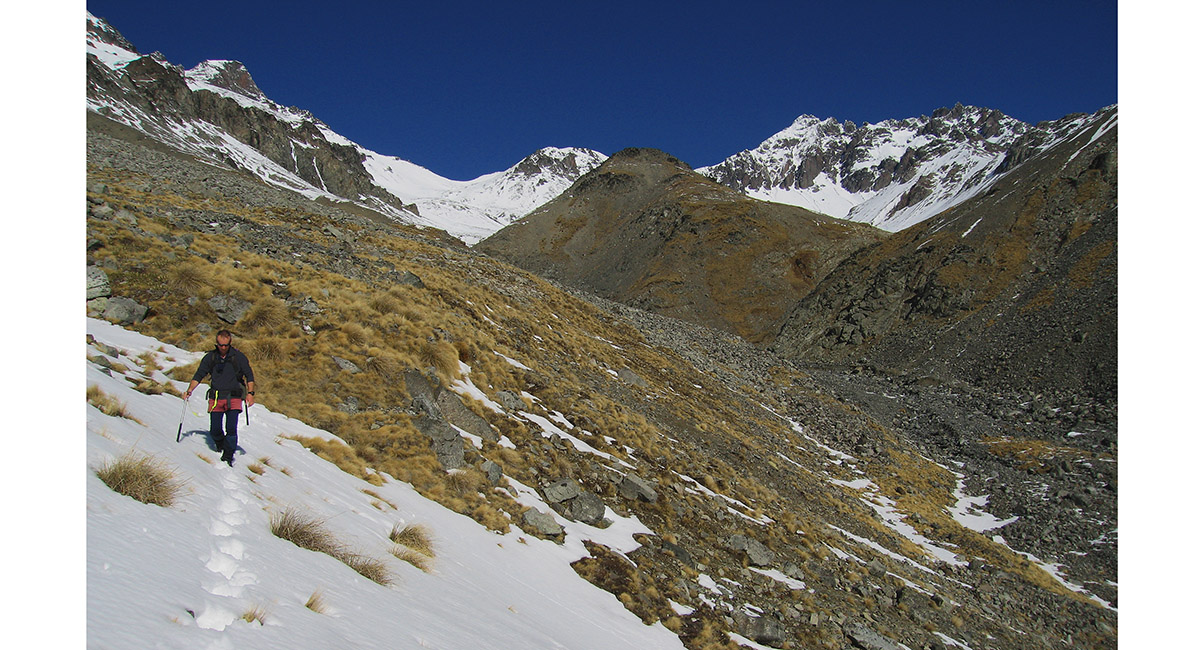
Upper Shin River

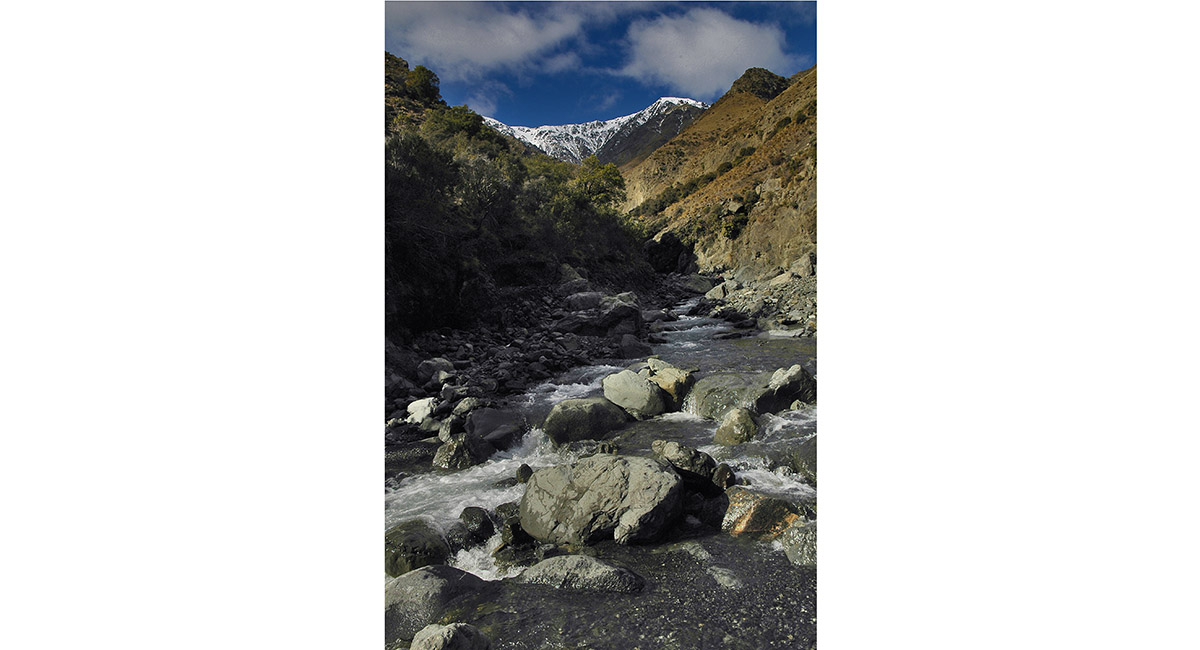
Upper Shin River

Near the head of the Shin River

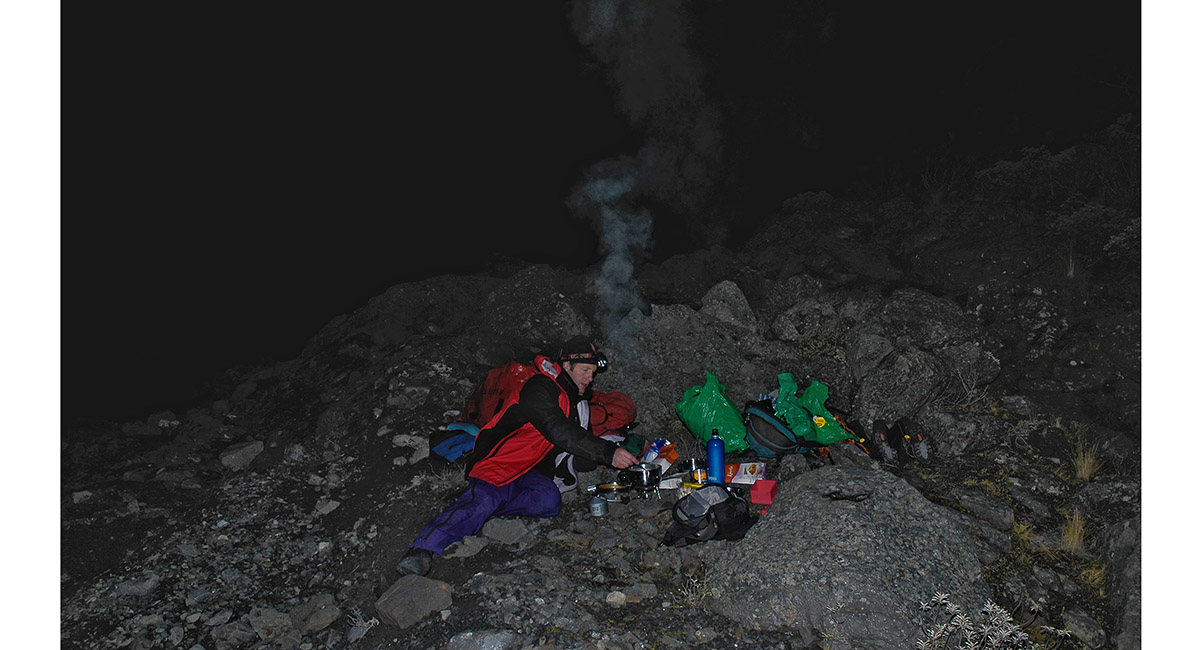
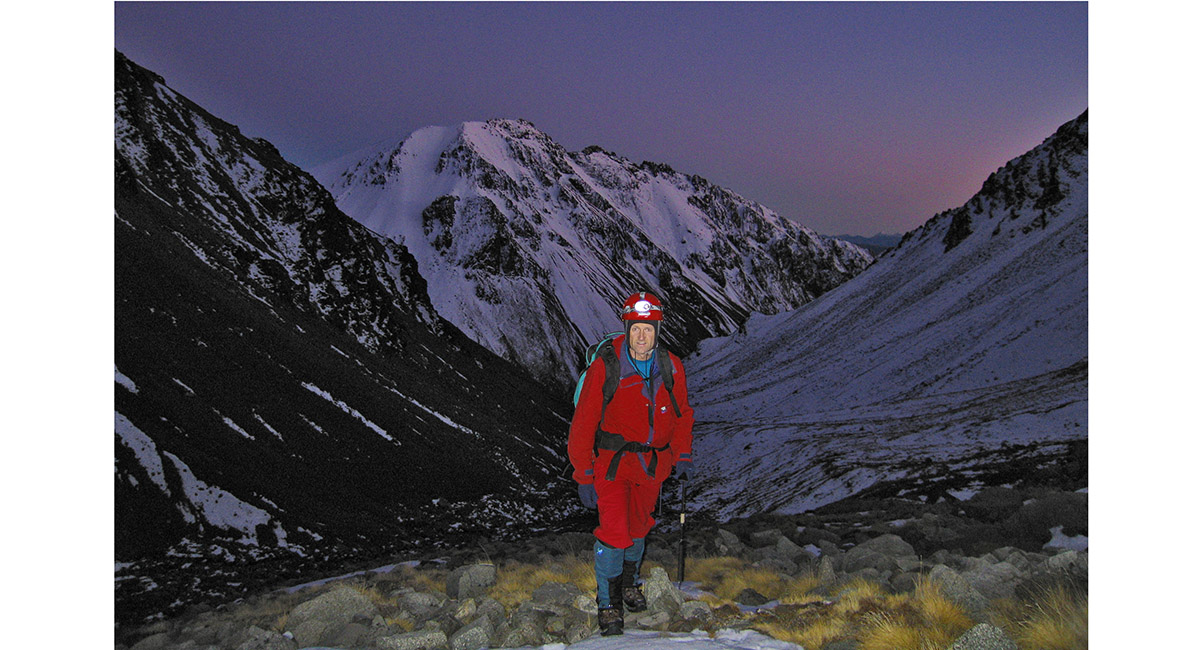
Camping out at the headwaters of the Shin River

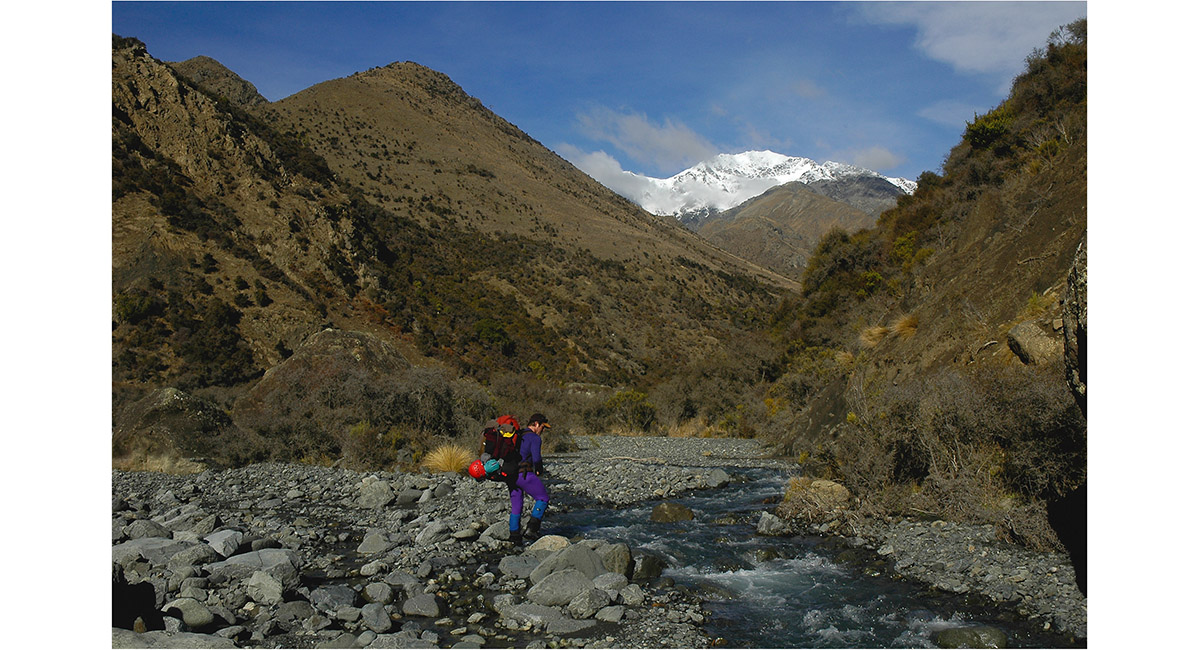
Tapuae o Uenuku from the Shin River


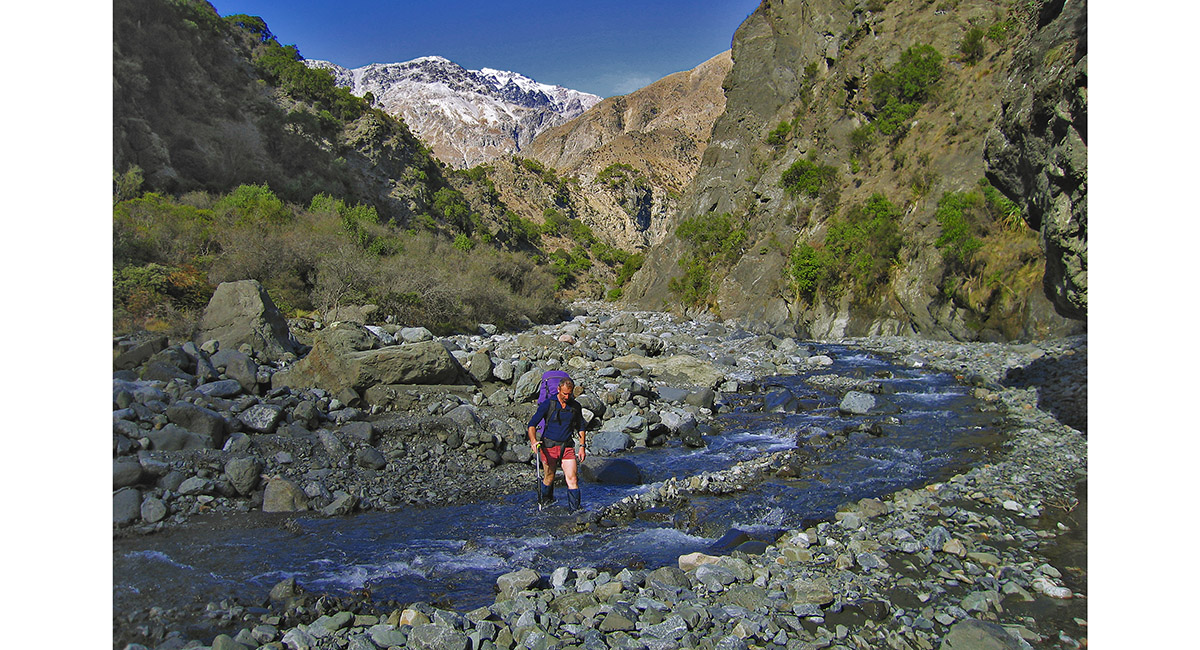
Heading up the Hodder River

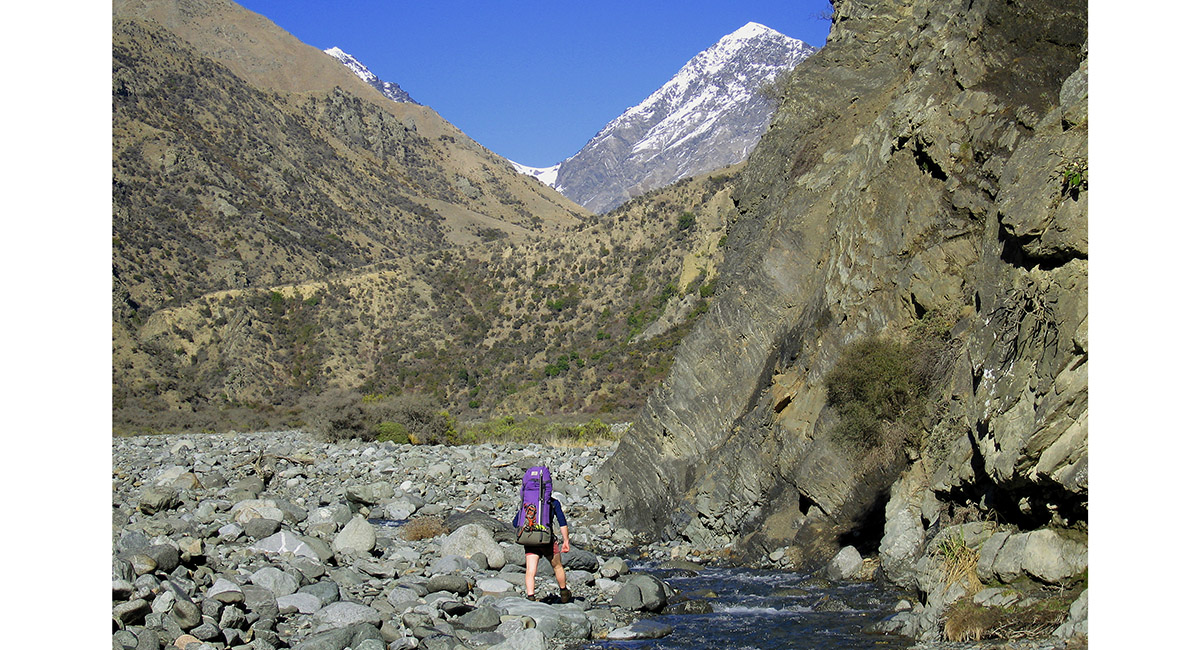
Hodder River

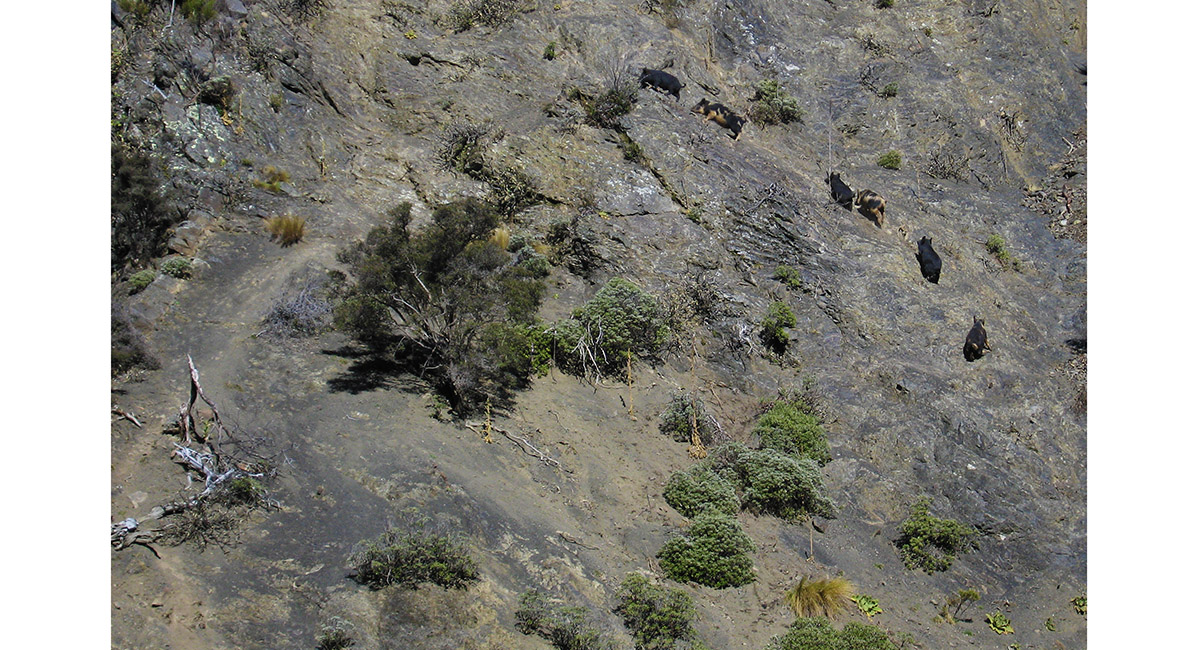
Wild pigs up the Hodder River

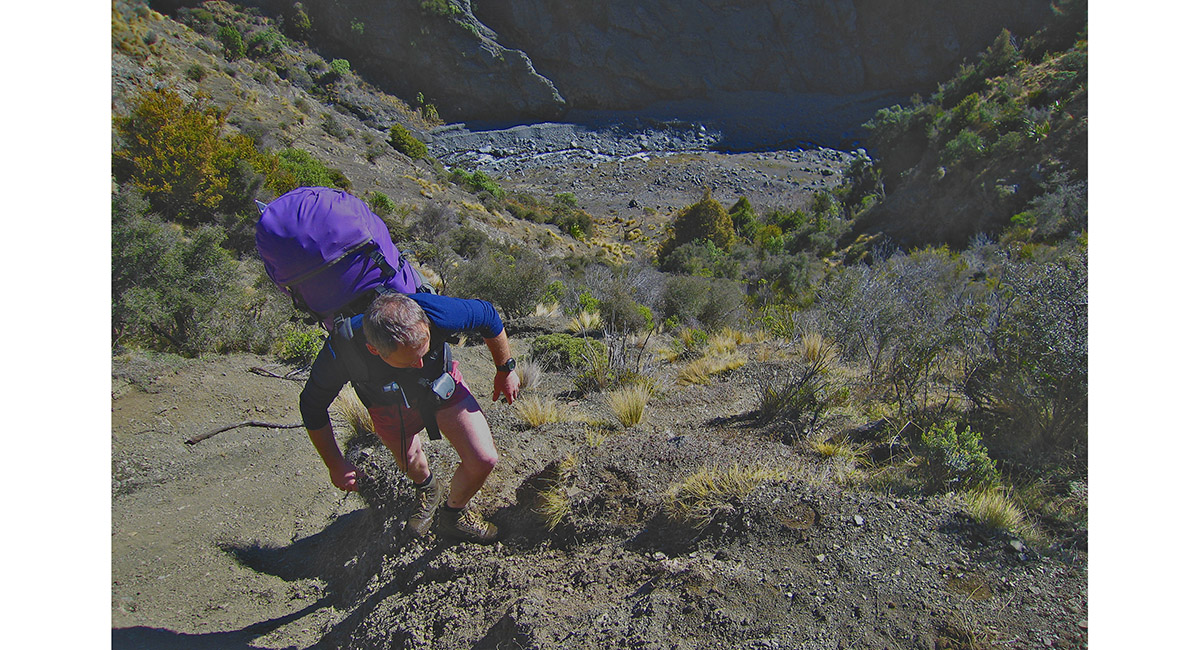
About half way along the Hodder River approach

Nearing the Hodder Huts

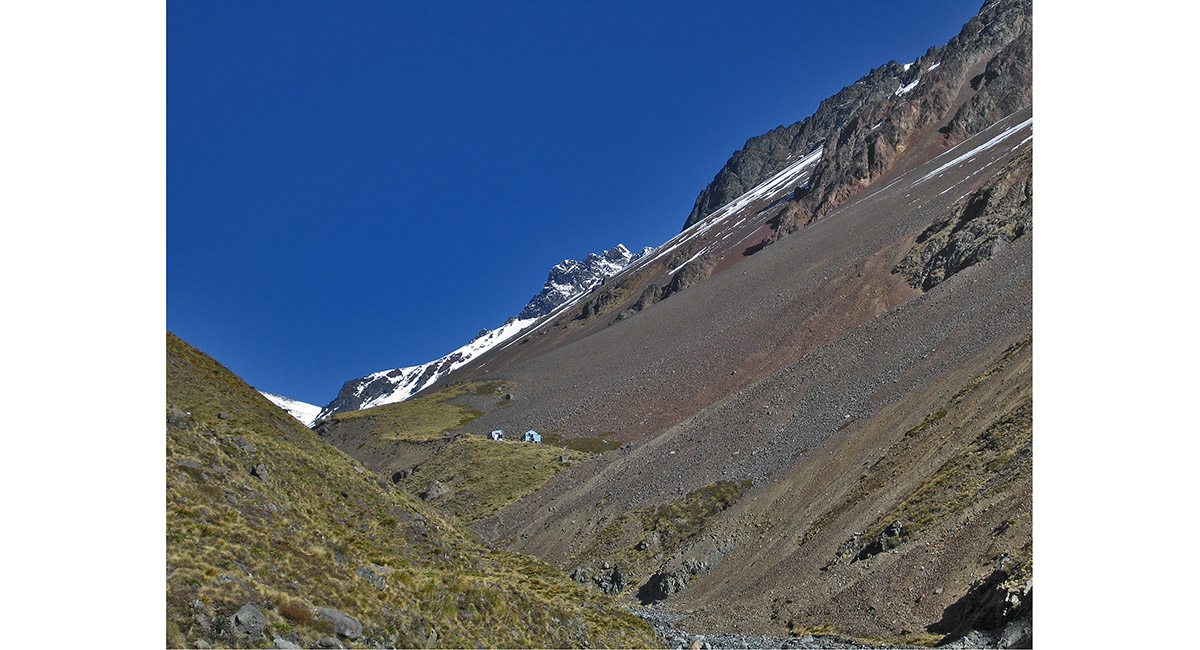
The Hodders Huts (1,430m)


View back down the Hodder valley just below the Hodder Huts

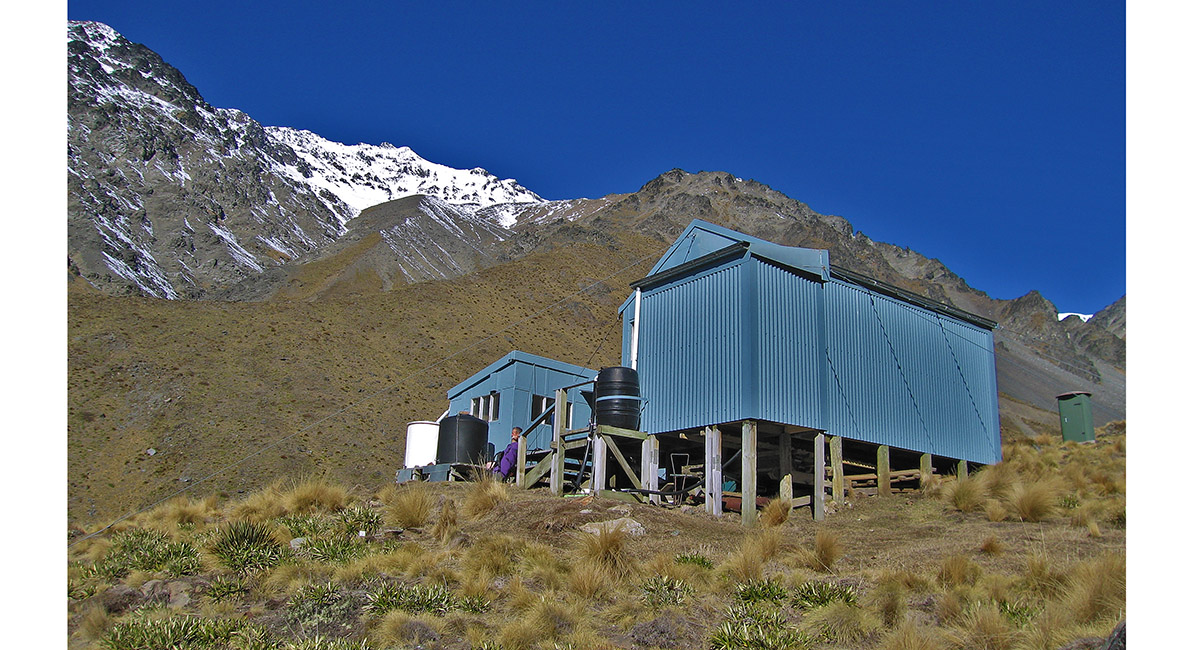
Hodder Huts (1,430m) - 6 and 12 bunks


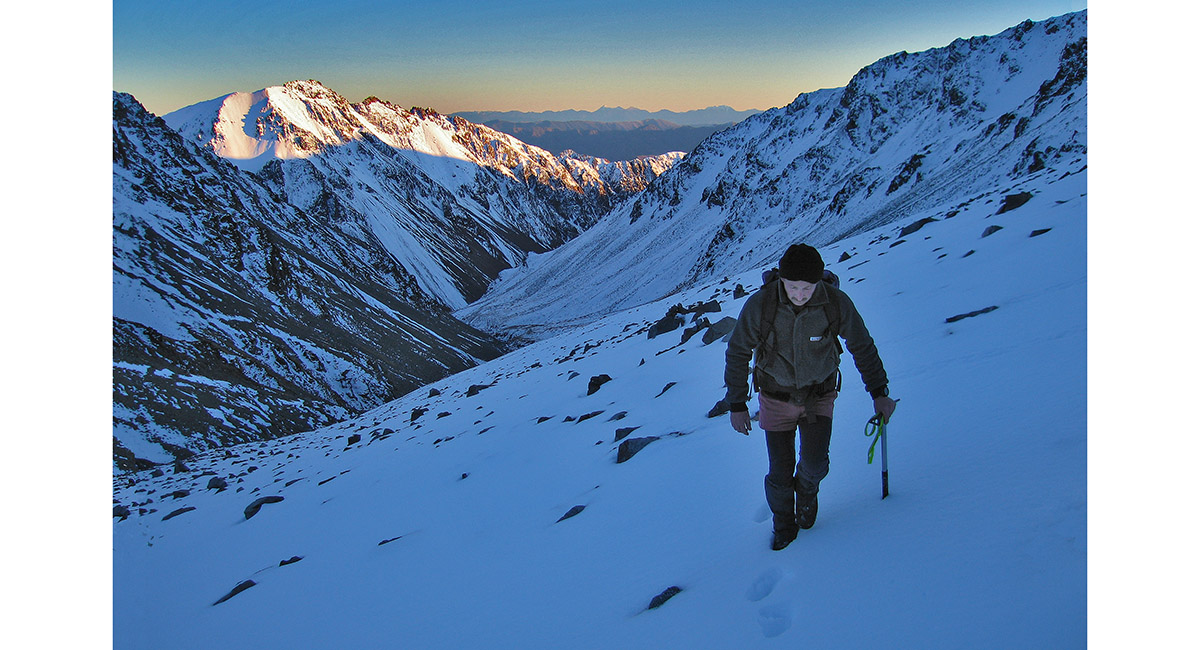
Dawn view looking back to the Red Hills and Hodder Valley


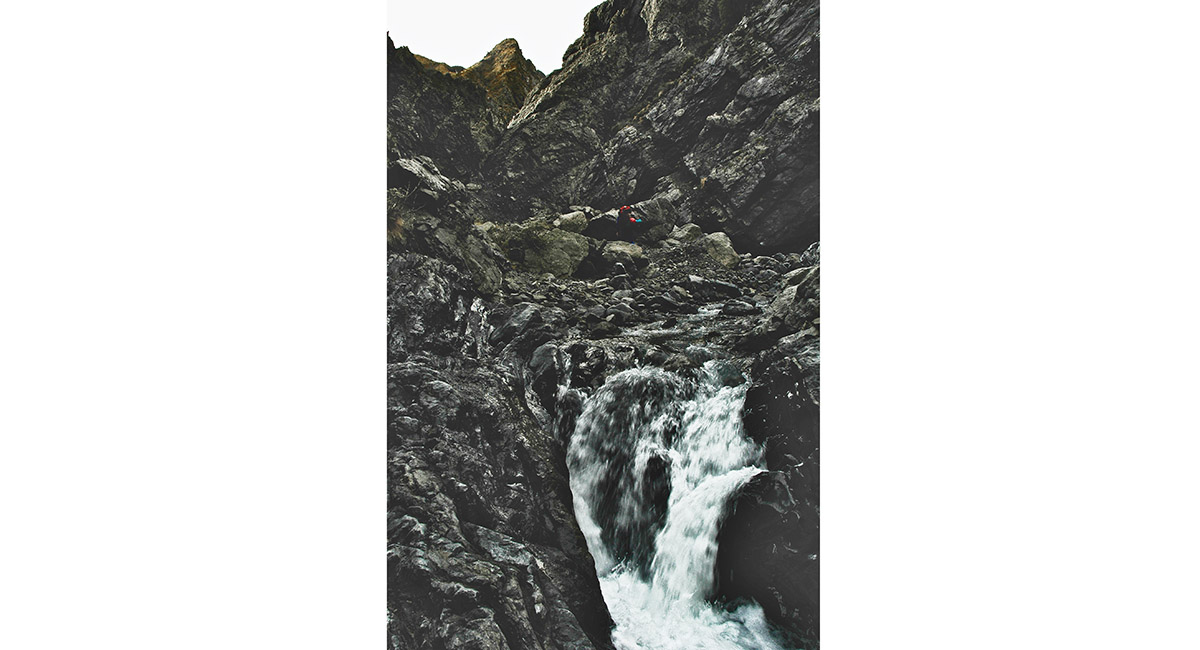
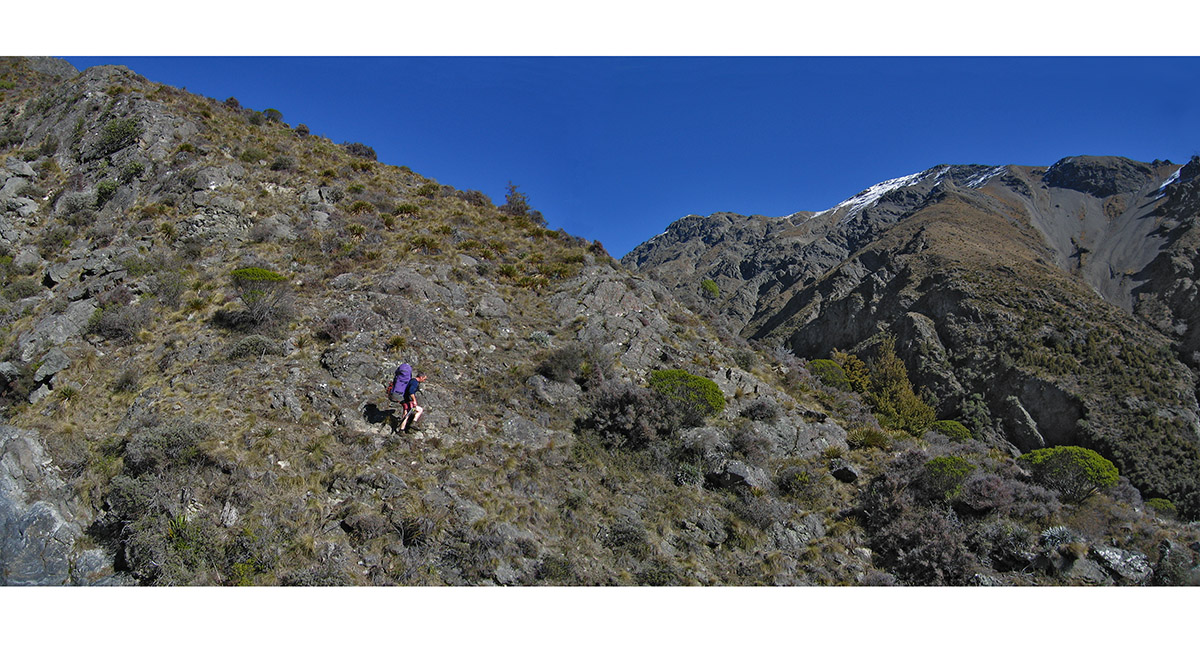
Climbing south east up Staircase Stream

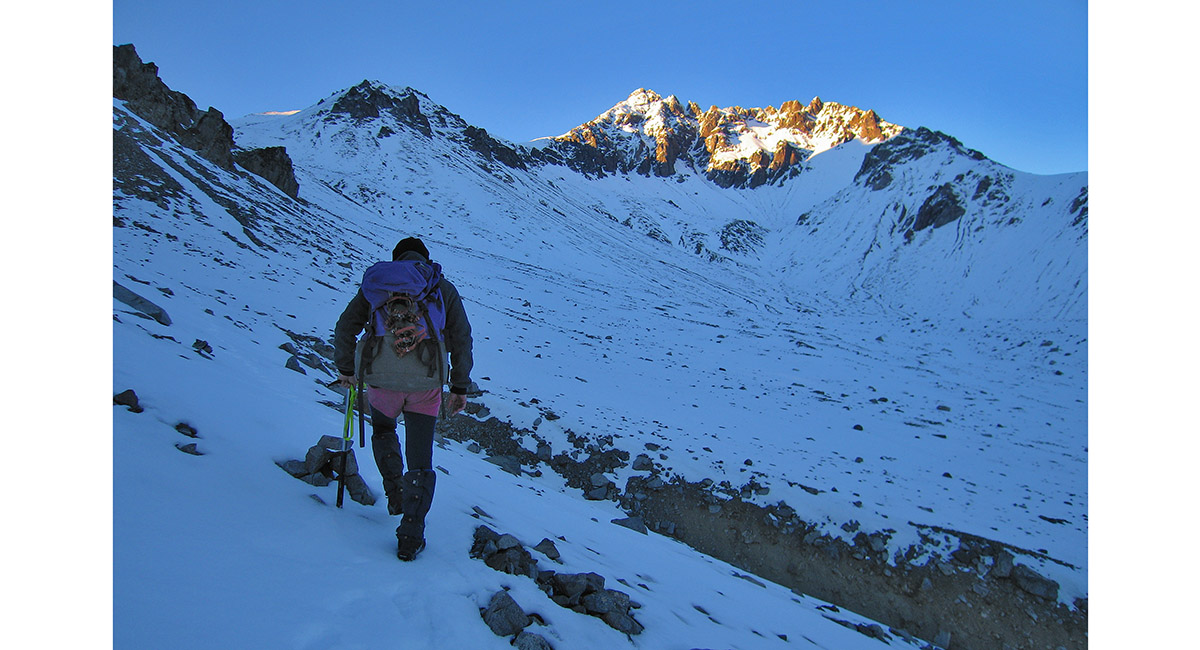
Looking south to Alarm

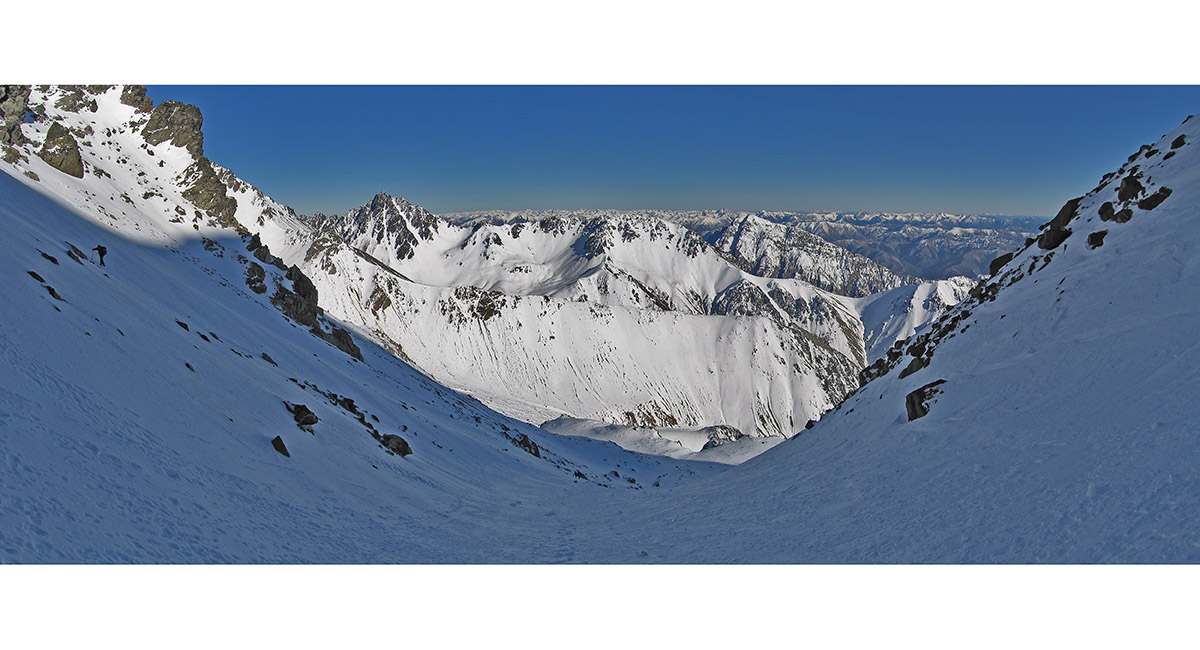
Westward view down the gully above Separation Stream at about 2,100m

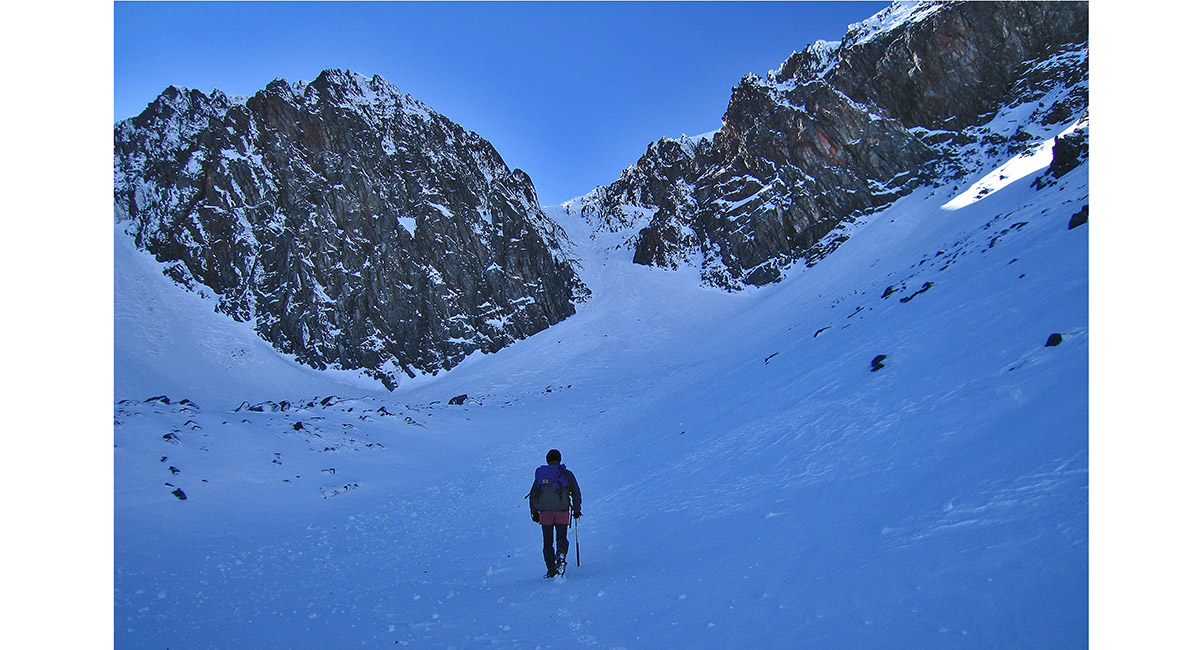
The Couloir leading to the summit ridge (right skyline) - about 100m, starting at around 2,600m. Pinnacle (2,720m) is at left

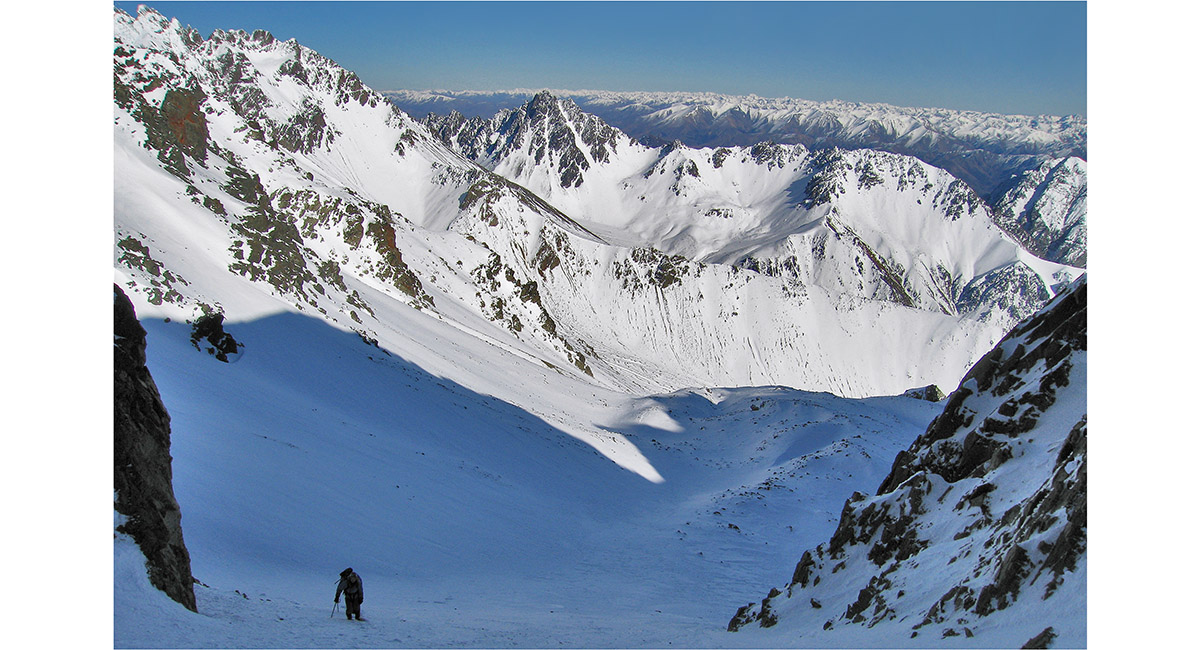
Looking west from near the bottom of the couloir

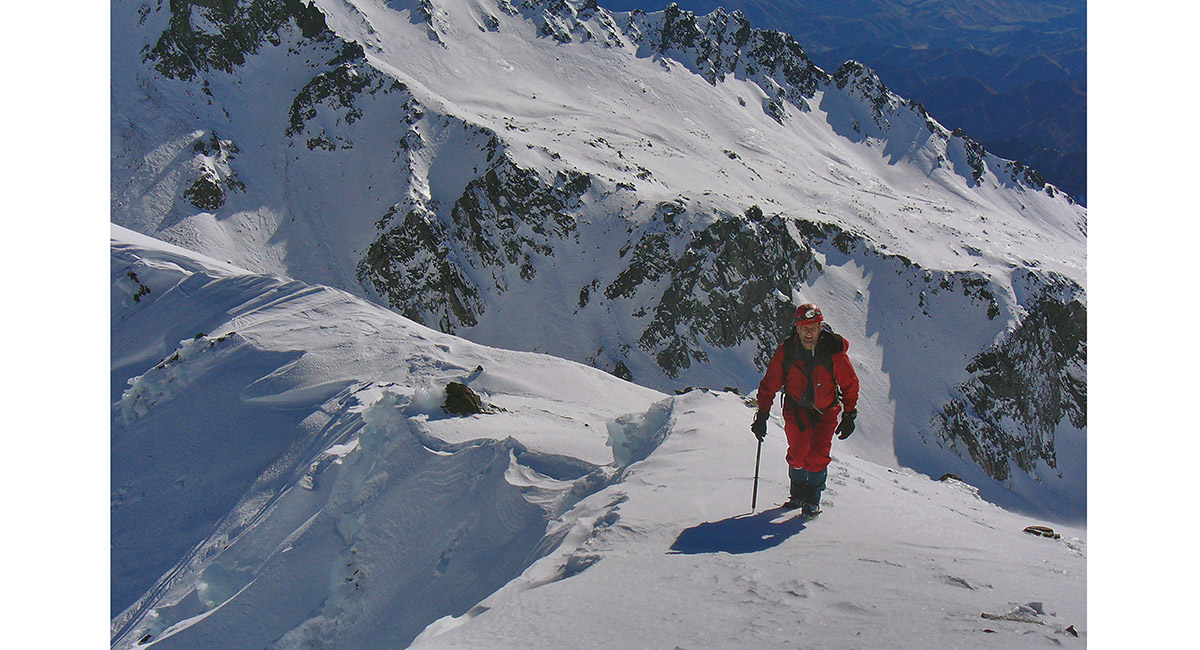
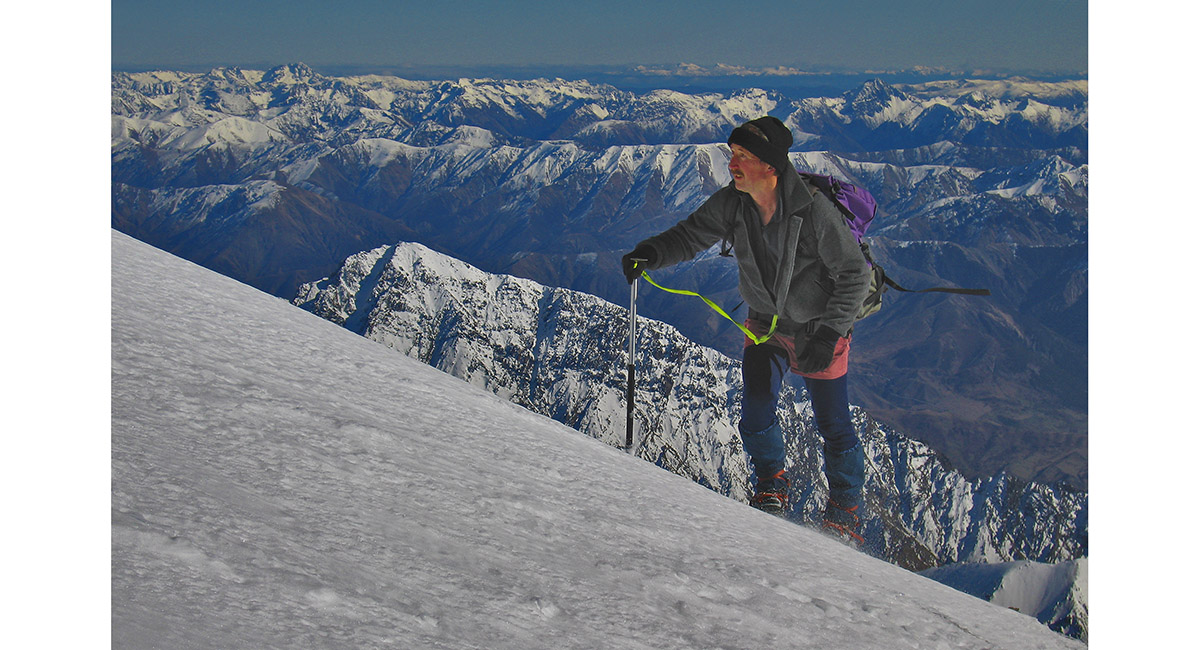
Heading up the summit ridge, having just exited the couloir at about 2,700m


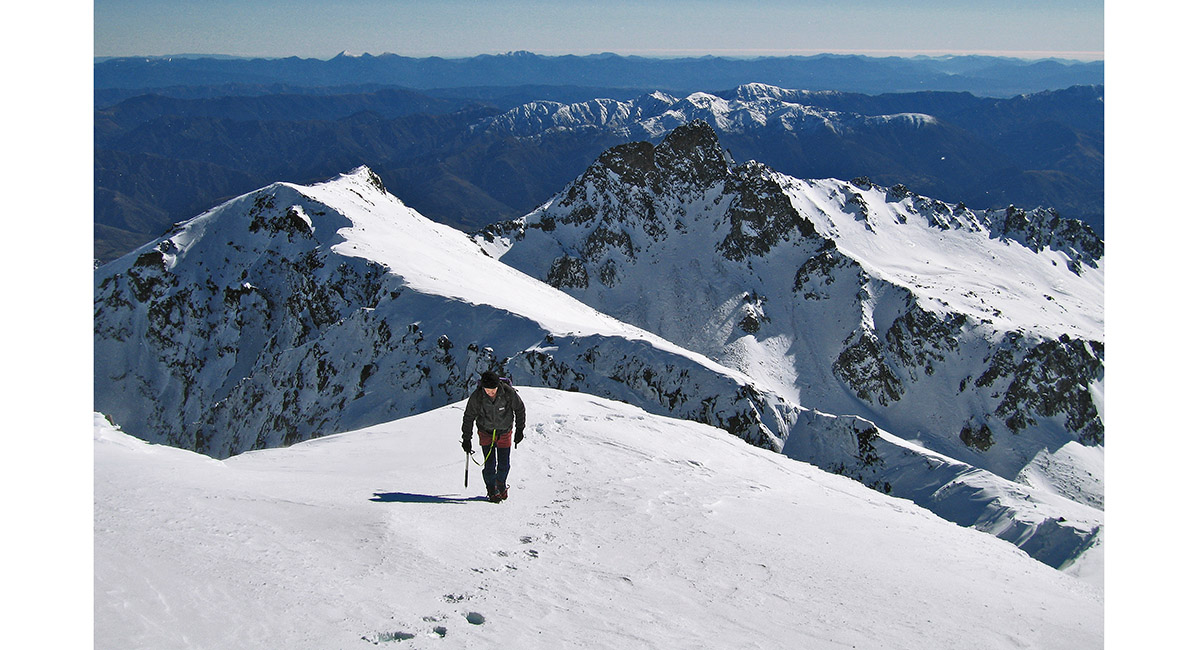
The view south up the summit ridge

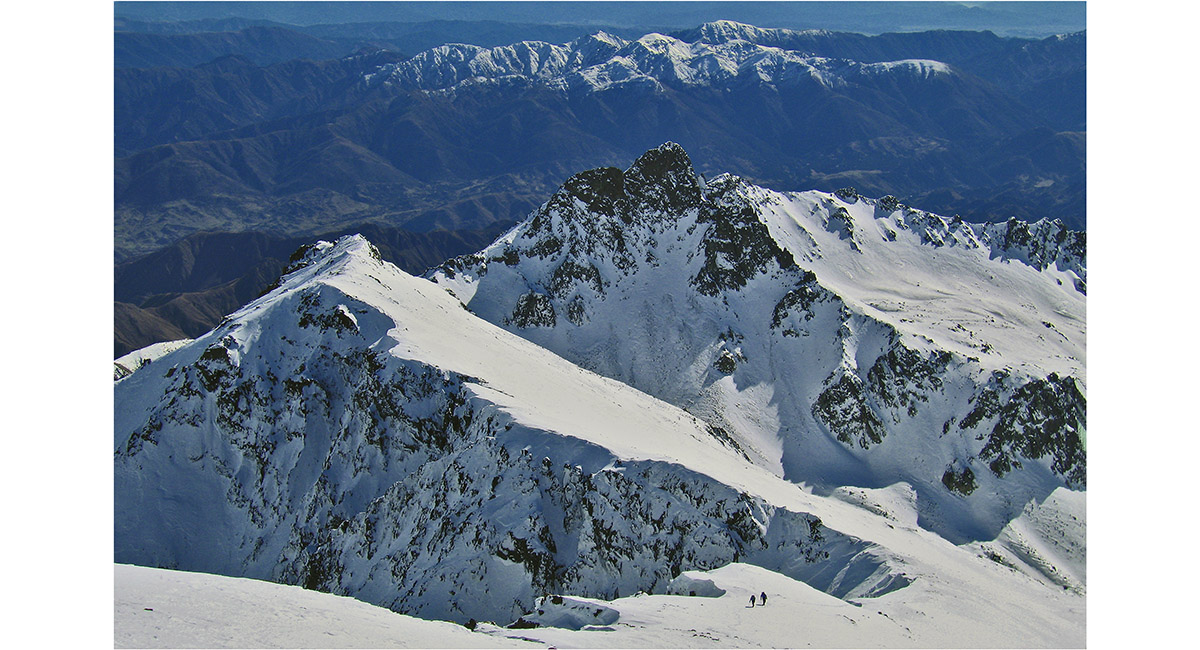
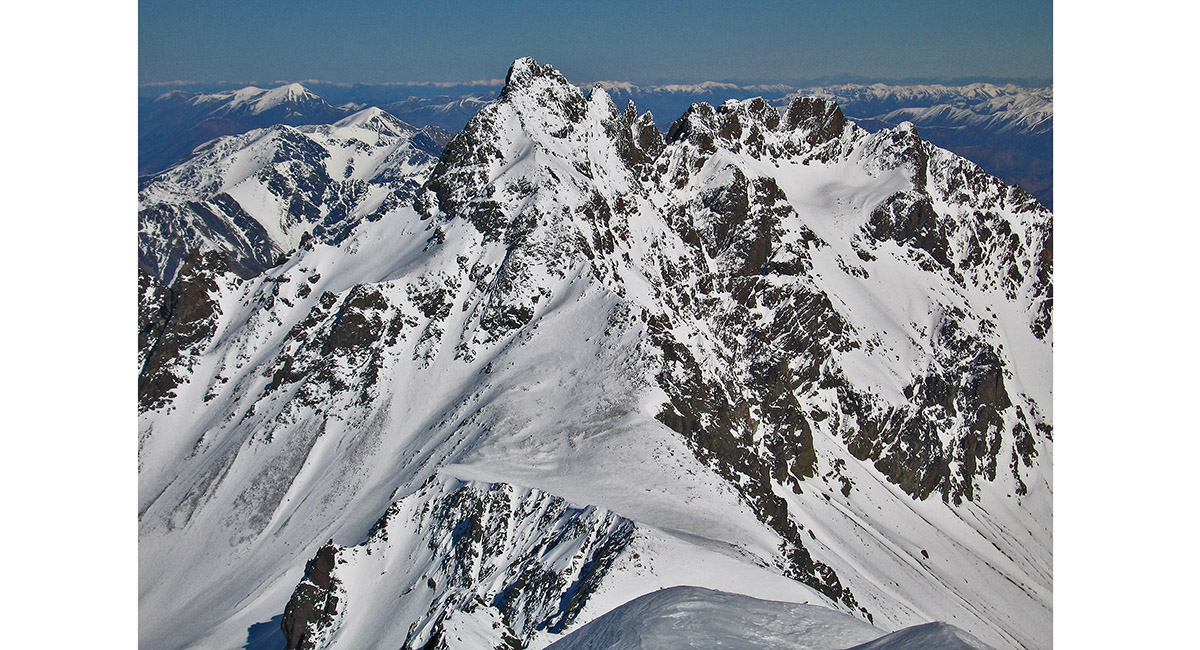
View north from the summit ridge to Pinnacle and Crows Nest

Climbers just above the couloir exit

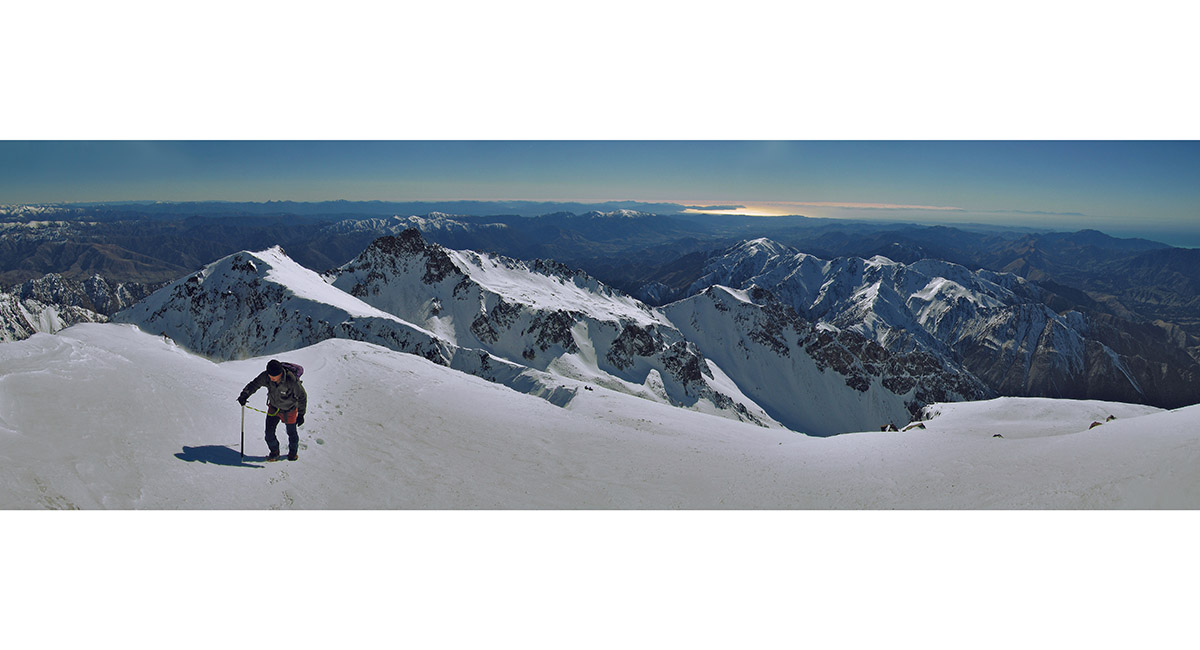
On the summit ridge, looking north

On the summit ridge

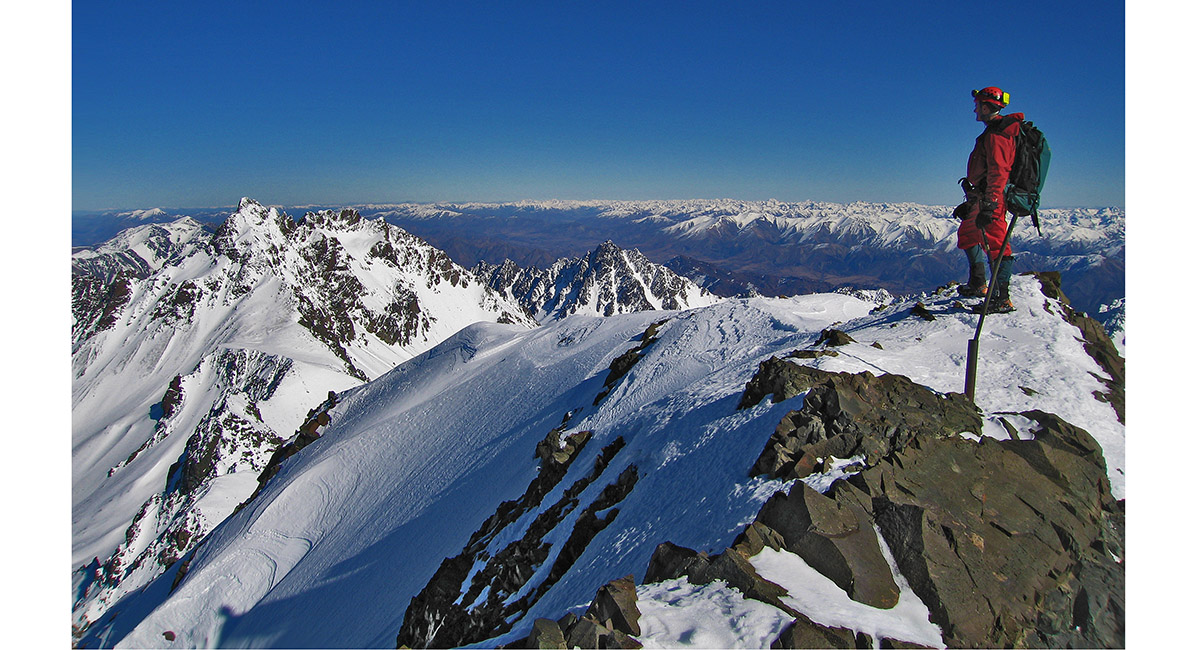
On the summit of Tapuae o Uenuku (2,885m), looking south west to Alarm (2,877m, at left)

Alarm (2,877m)

Summit view north to Pinnacle, Crows Nest and beyond

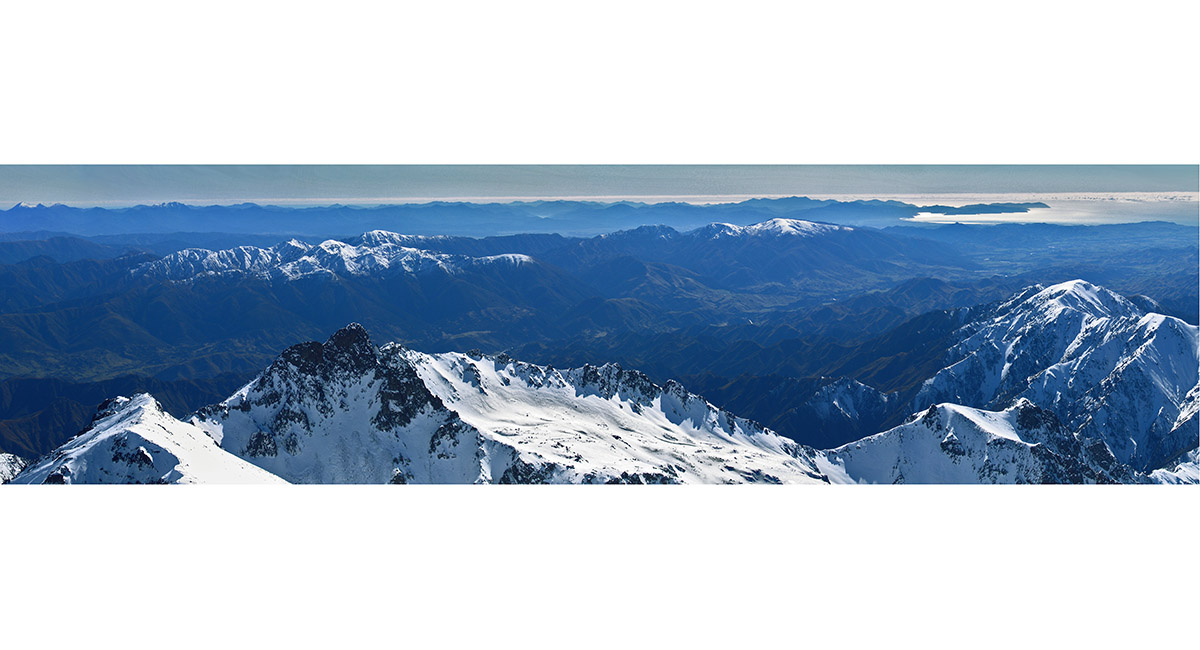
Summit view south east to the Seaward Kaikouras

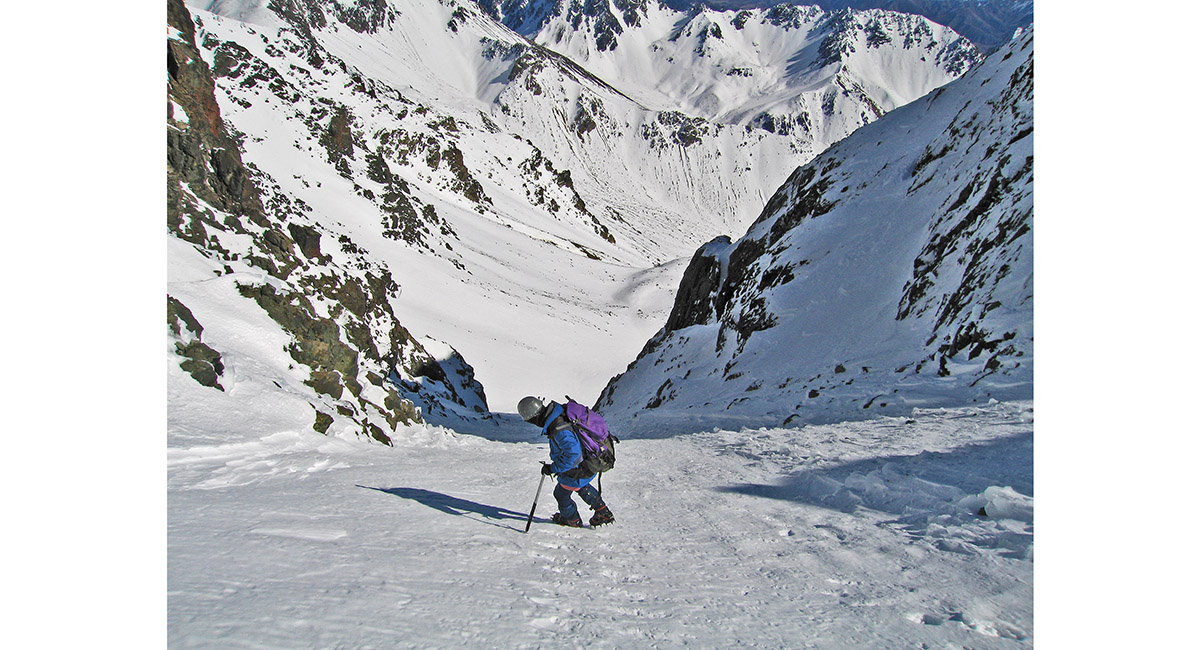
Descending the couloir

Exiting Separation Stream above the Hodder Huts

Retracing our steps down the Hodder River

Wild Goat

From left - Crows Nest (2,449m), Pinnacle (2,720m), Tapuae o Uenuku (2,885m), Alarm (2,877m) and Mitre (2,621m)


To order a print or web resolution file of any image you see in this slide show, just right click the image, click “Copy Image URL” and paste in to the “Your message” box of our Contact Us form. Please also note, for each image, if you want a print or web resolution file. We will get back to you as soon as possible to confirm price and payment details.
Open Contact Us in a new window to paste Image URL(s) easily