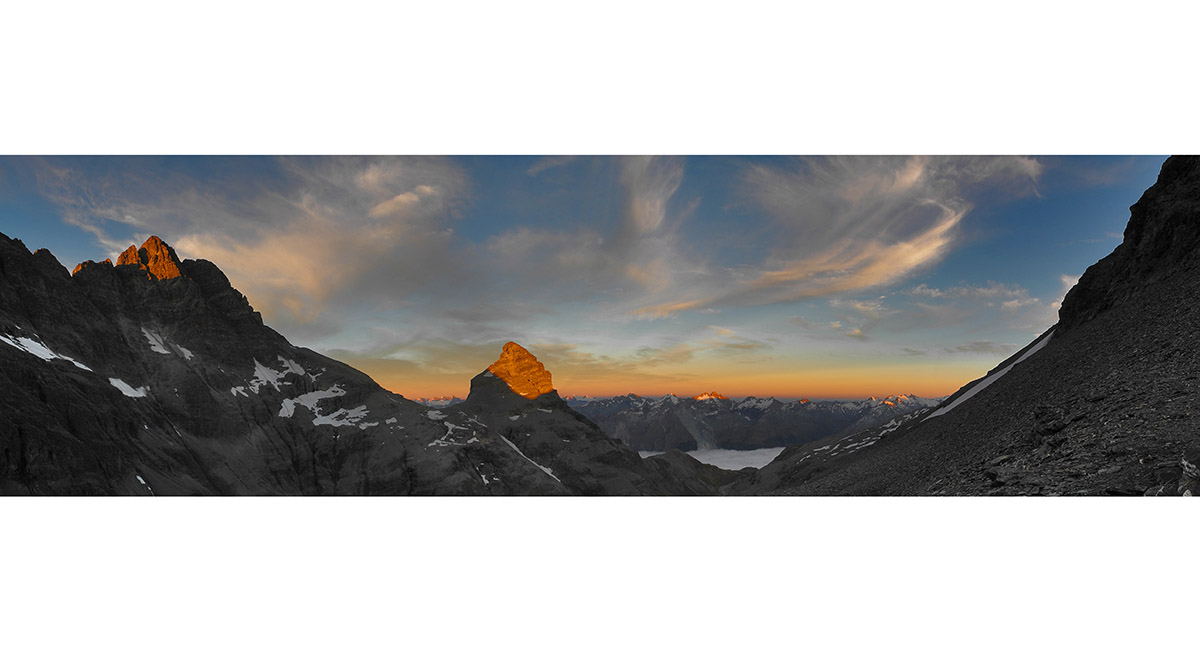
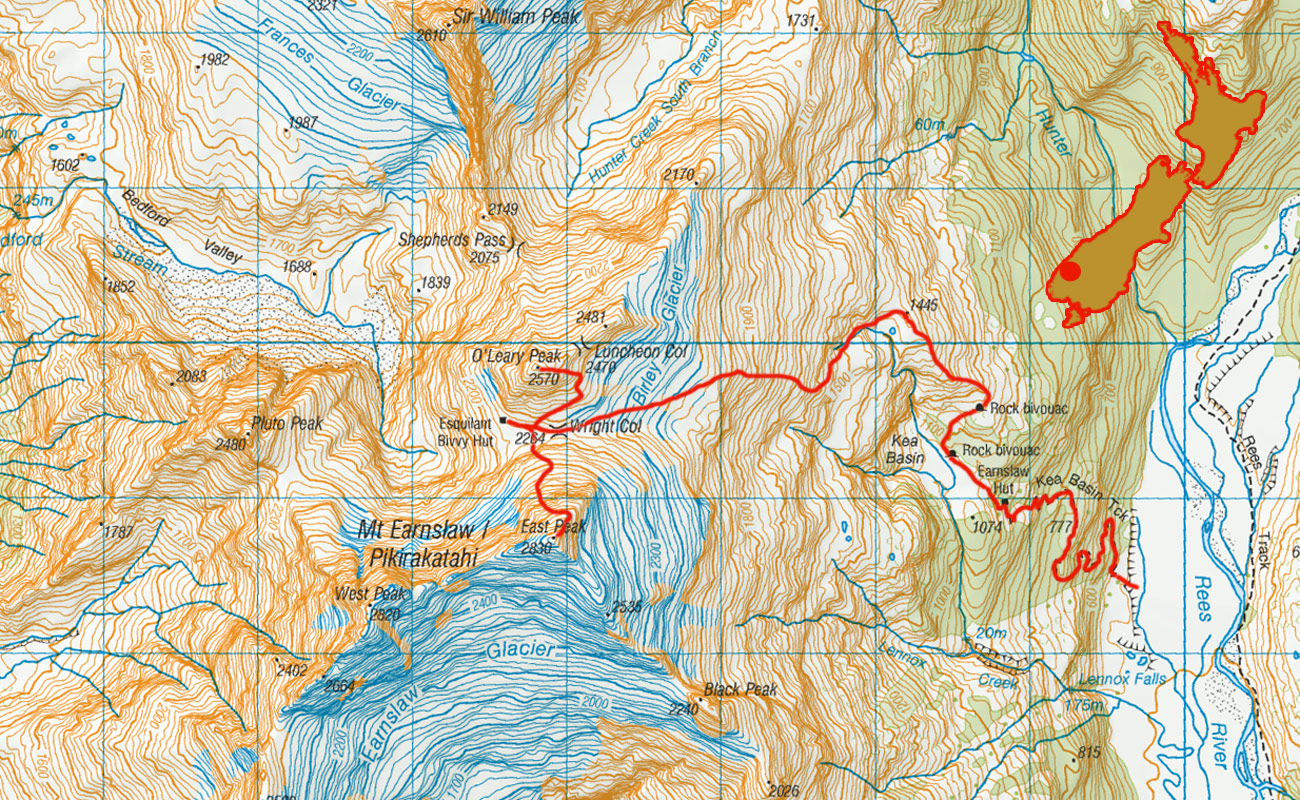
Mt Earnslaw and O’Leary Peak, March 2013

4WDing up the Rees River at dawn


The old Earnslaw Hut (950m)


Inside Earnslaw Hut


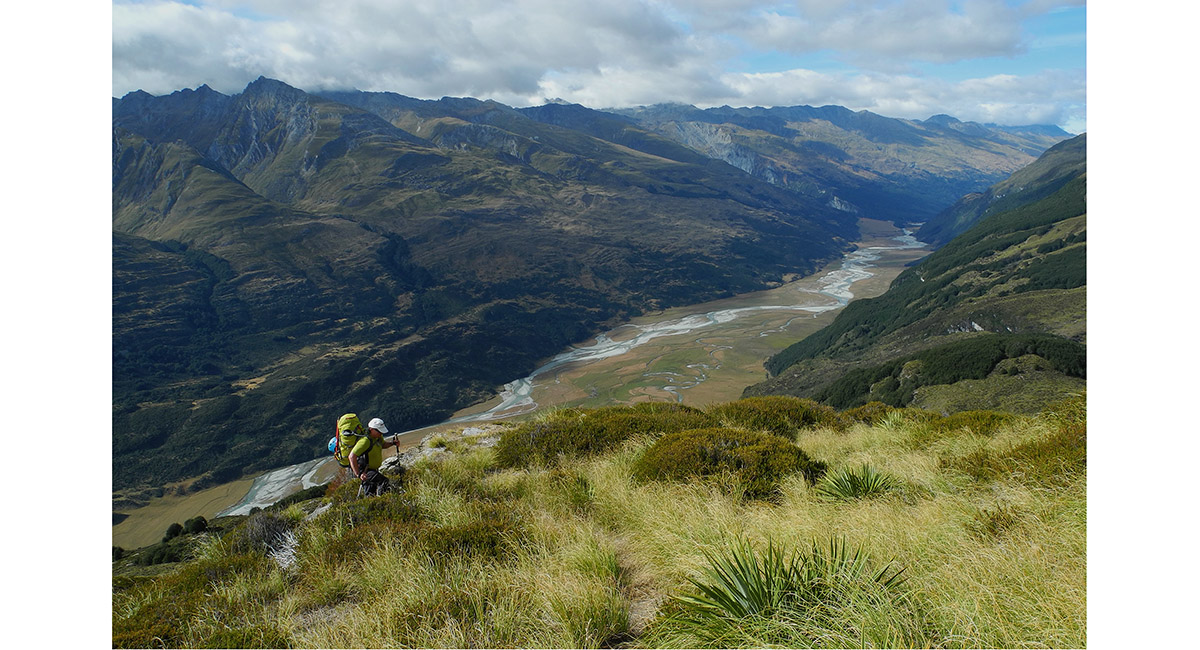
View south down the Rees River, from about 1,100m


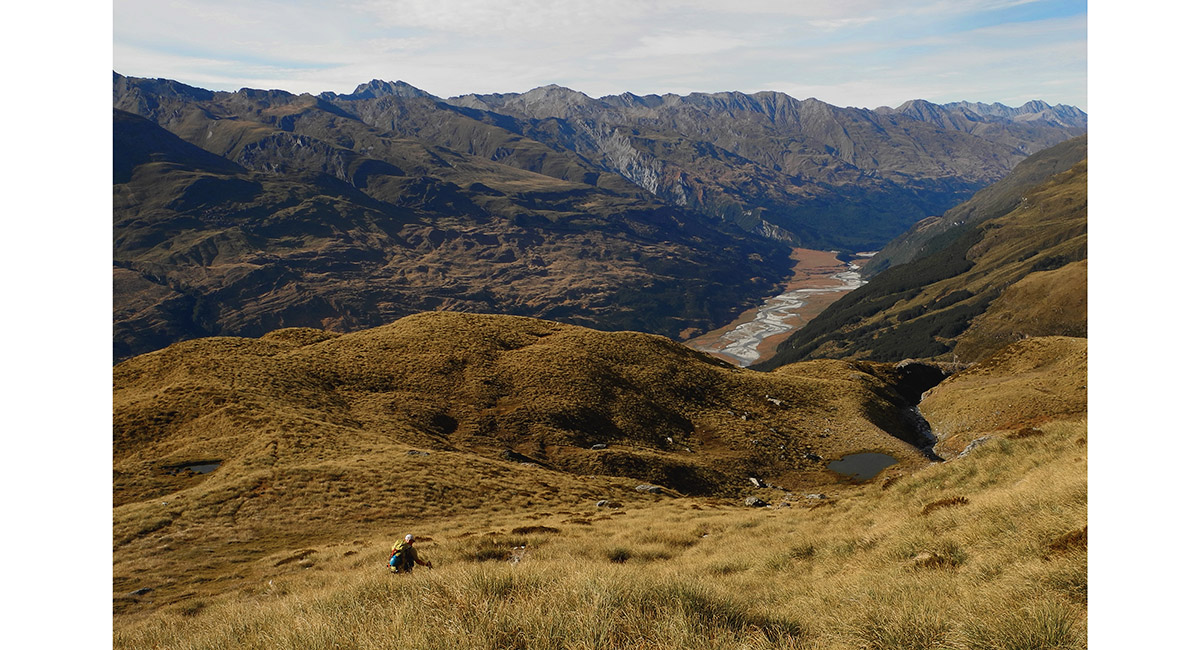
View north east, up the Rees Valley


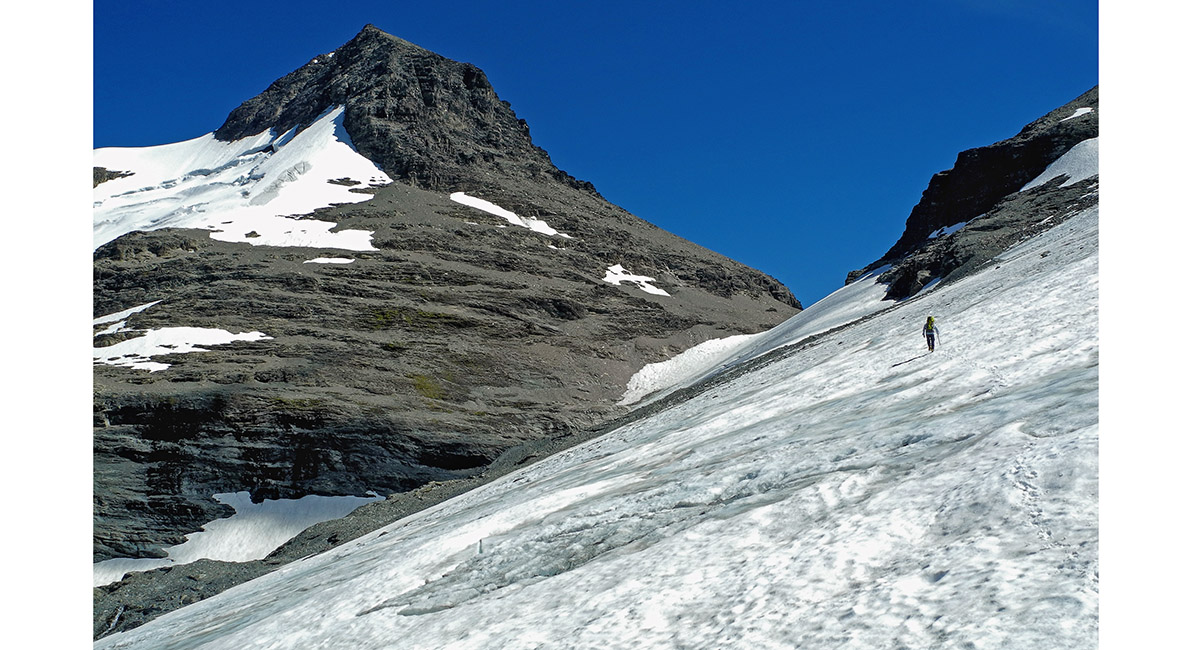
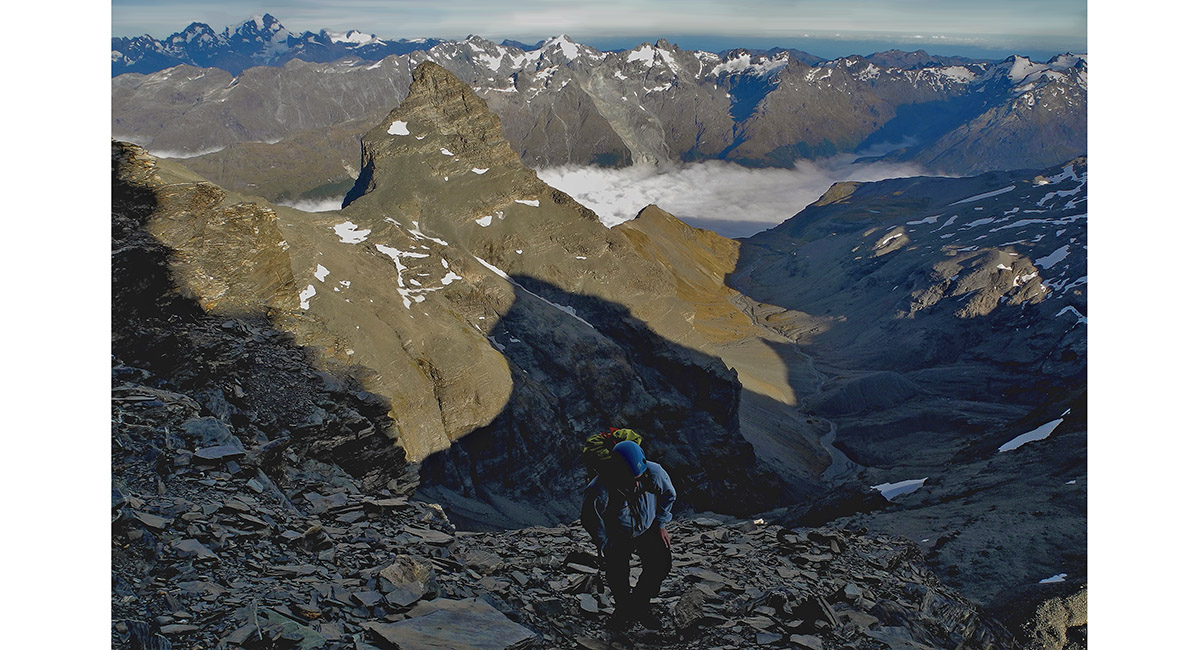
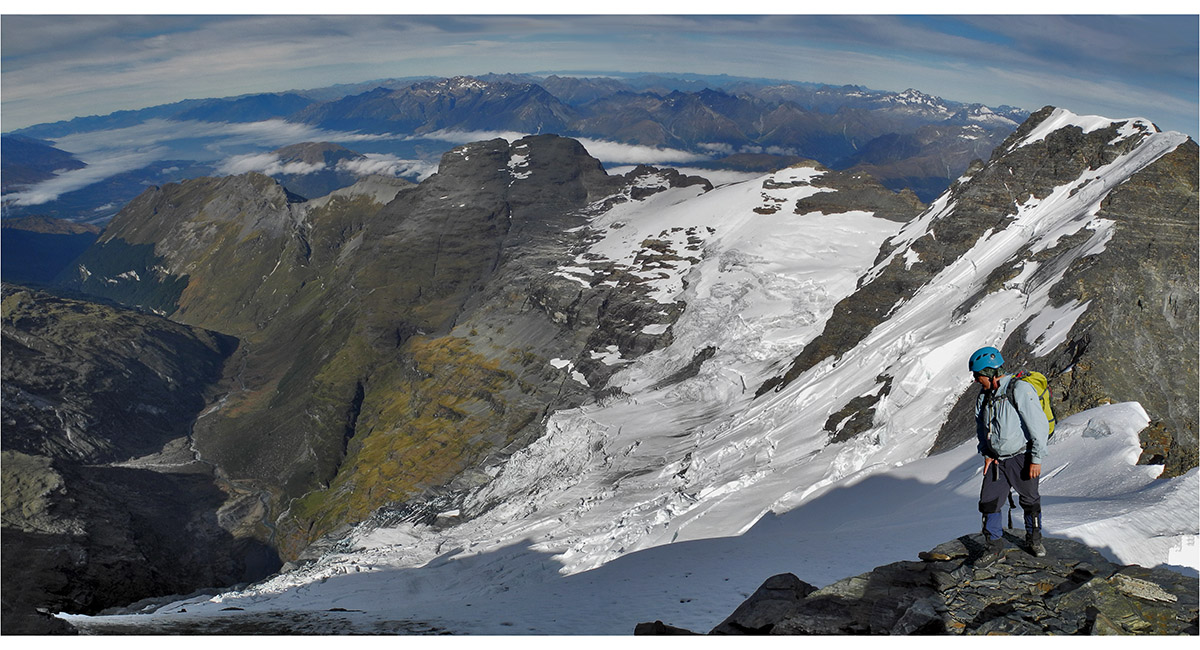
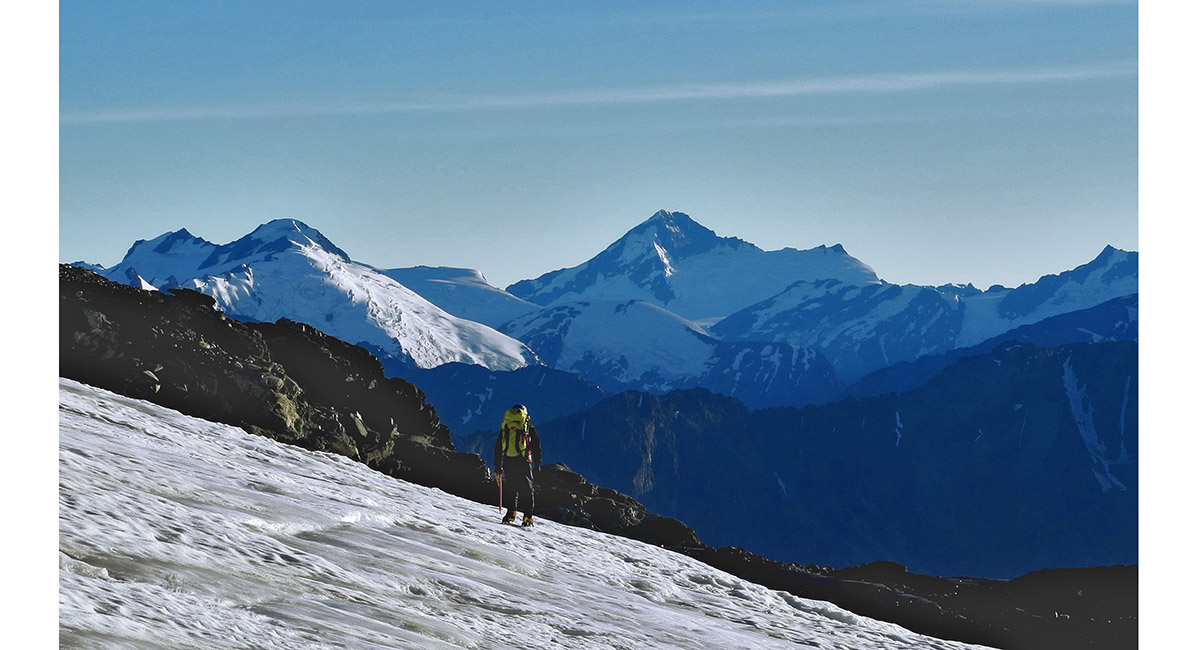
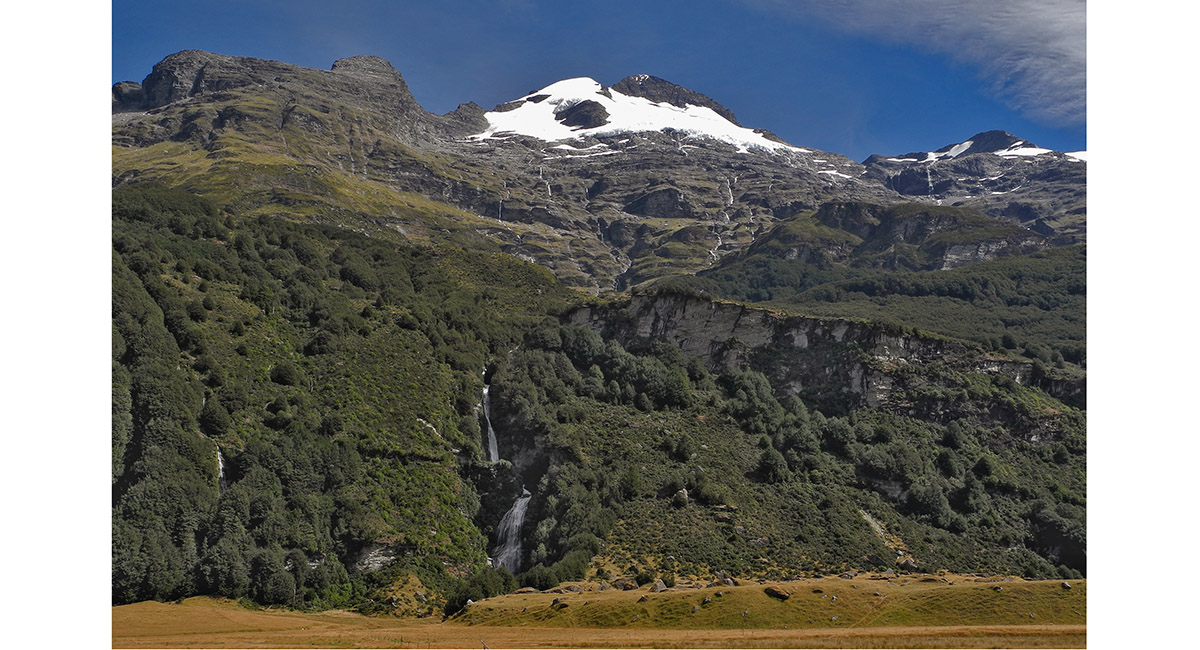
The East Peak of Mount Earnslaw, from just above Kea Basin


The East Peak of Mount Earnslaw, from just above Kea Basin

View south, down the Rees Valley

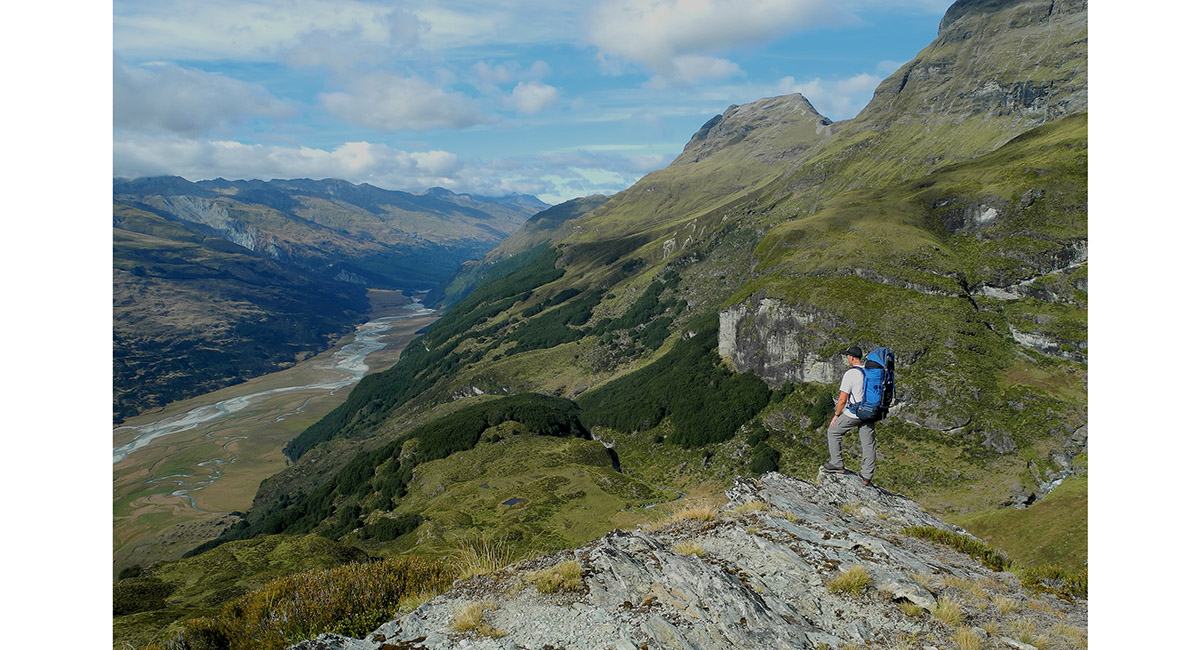
View south down the Rees Valley, from about 1,200m


View south down the Rees Valley, from about 1,200m


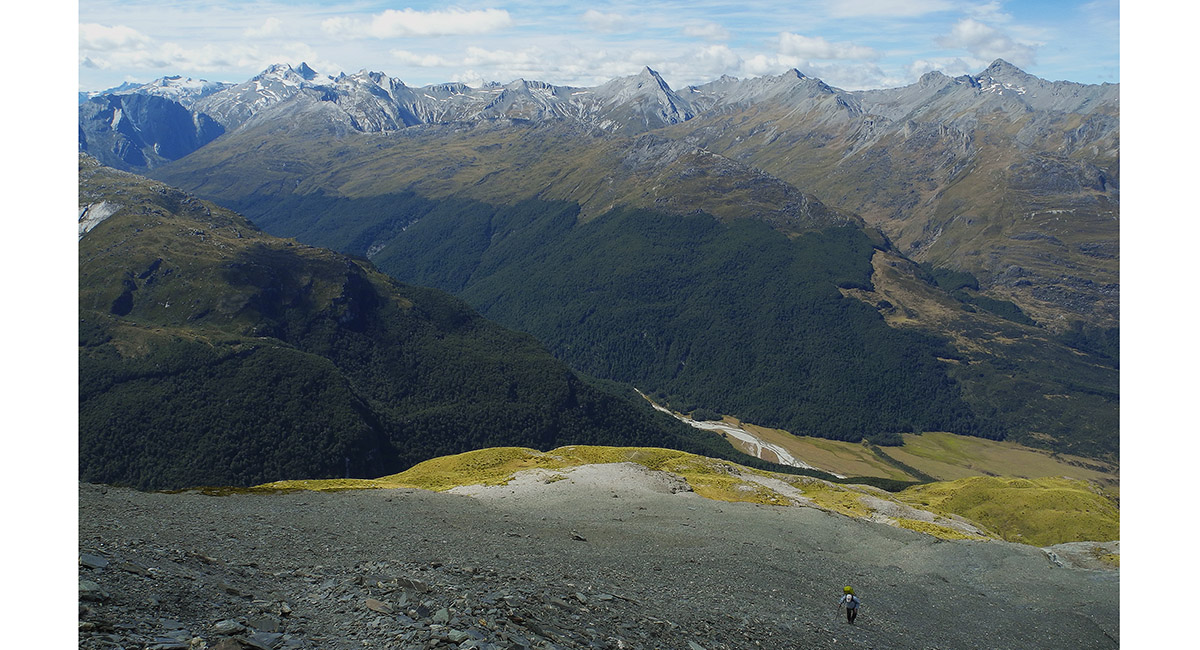
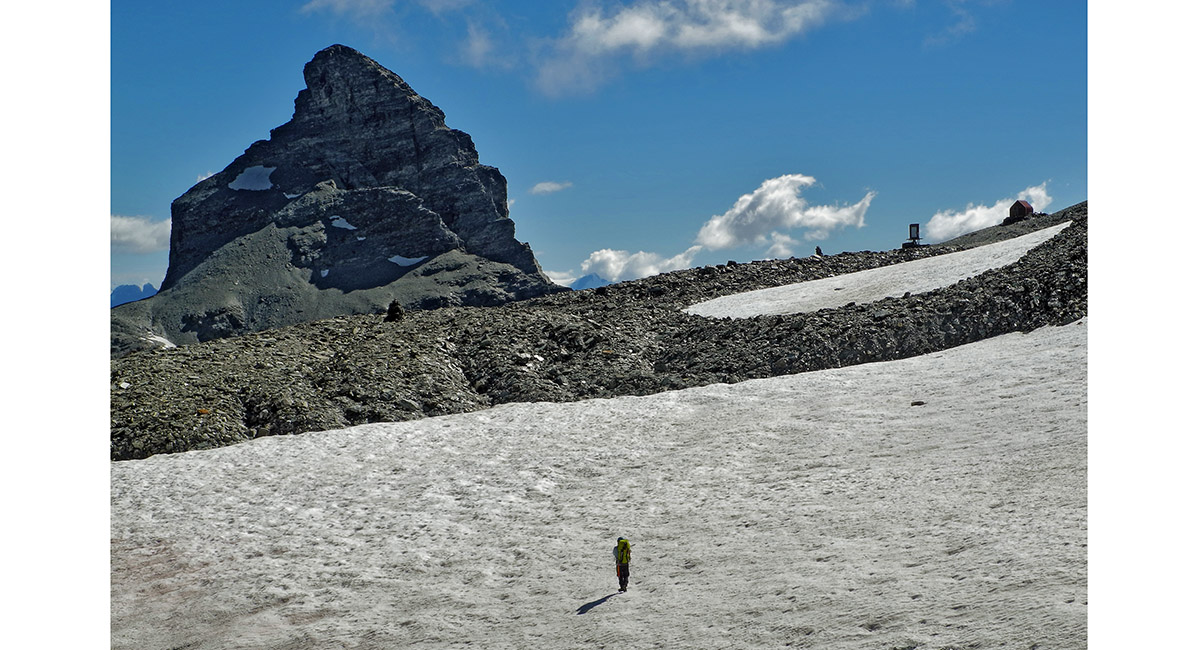
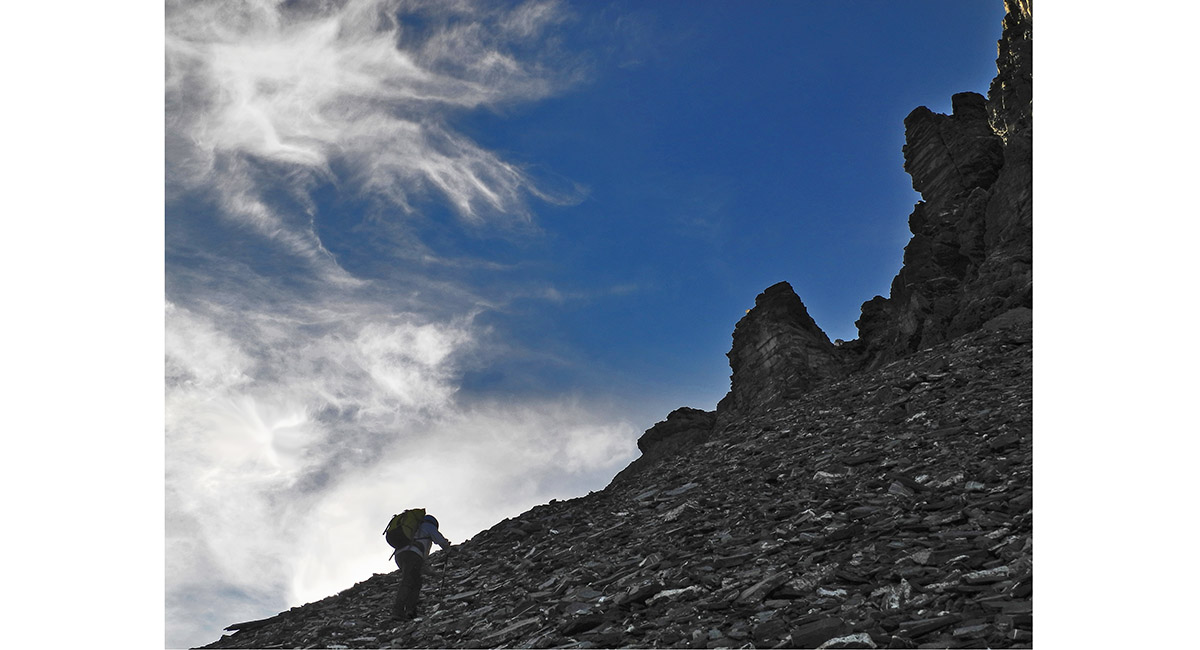
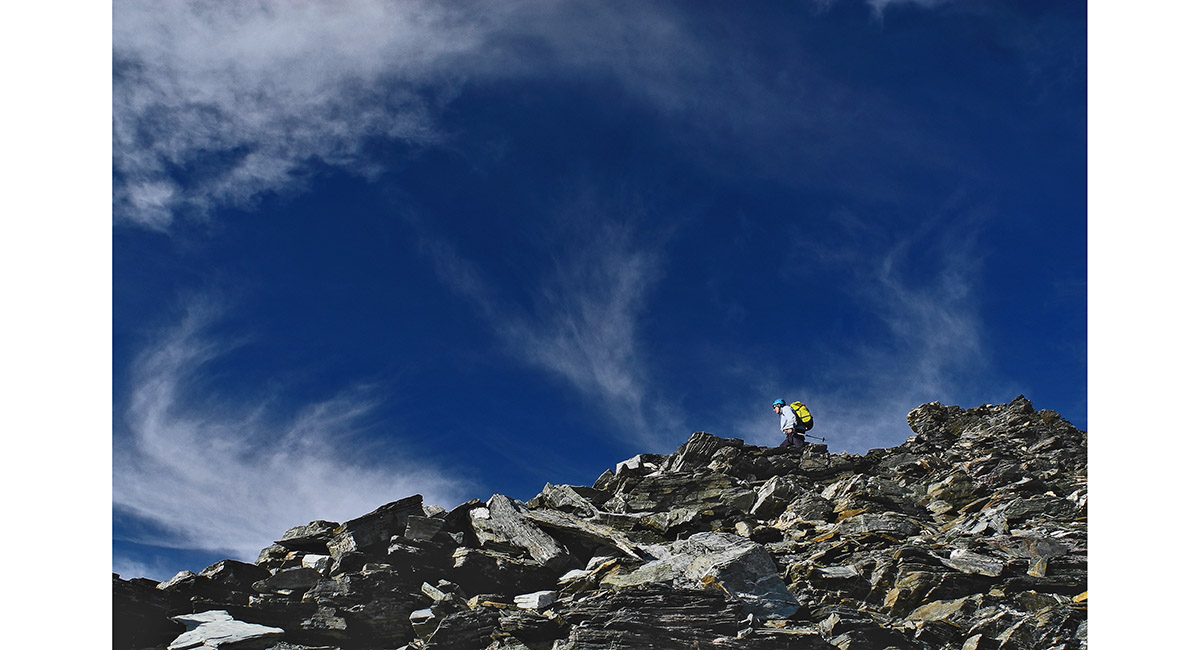
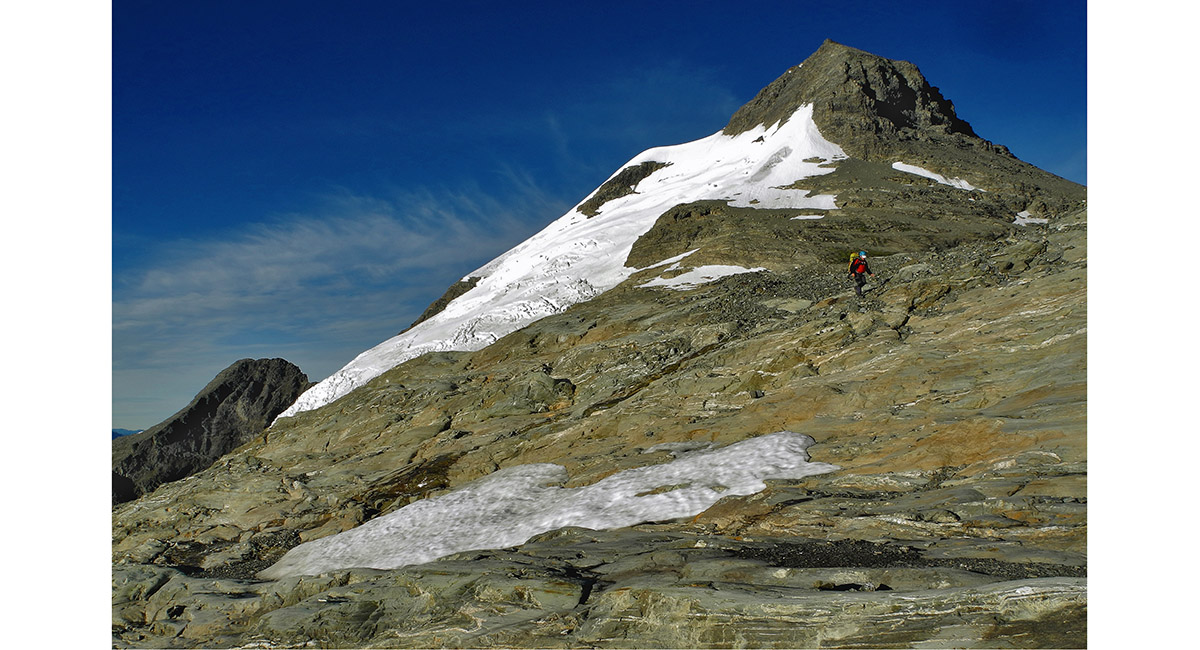
On to the scree above Kea Basin, at about 1,300m

View north east, from about 1,400m

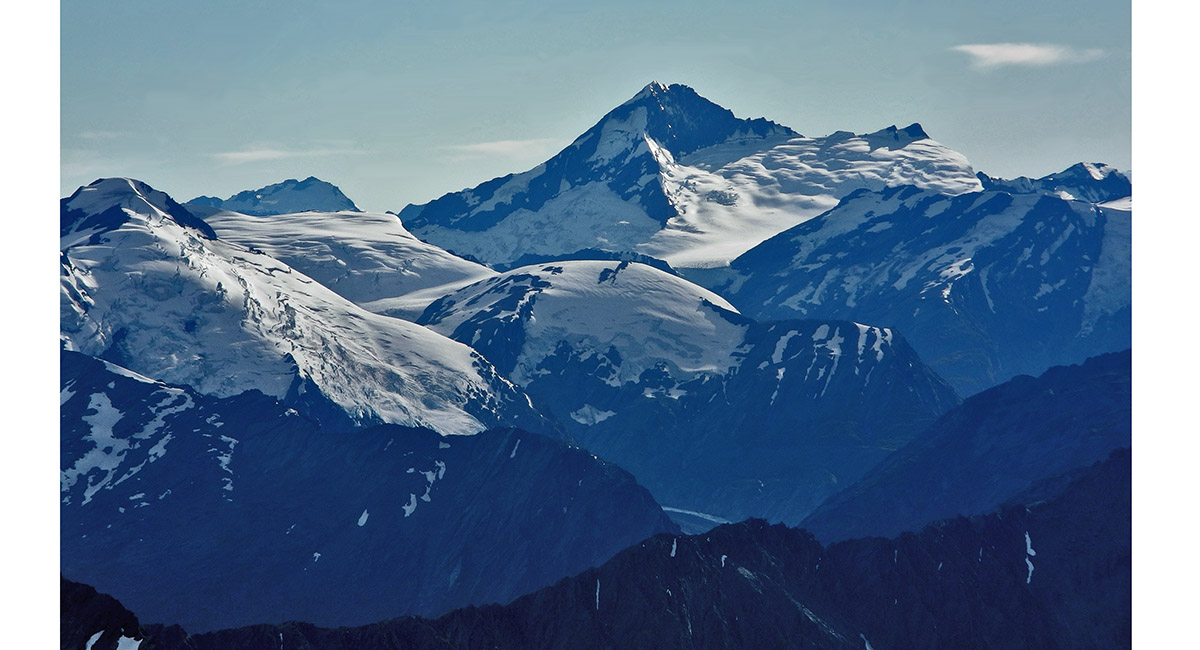
View north east, to Mount Aspiring (right skyline)


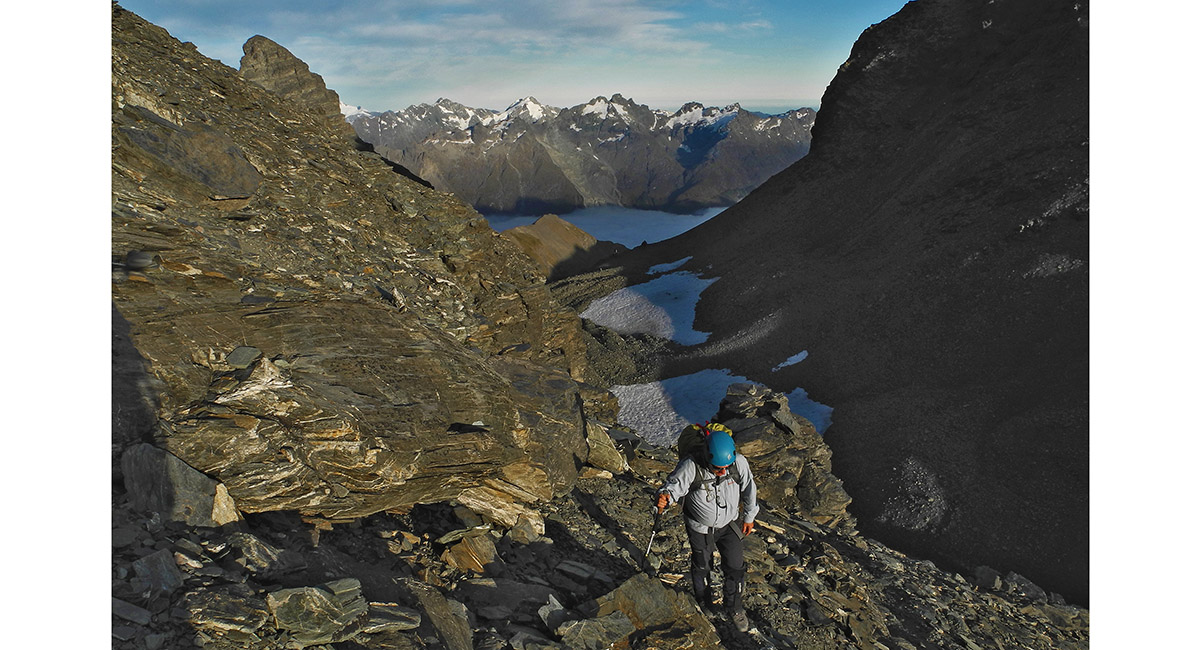
In to the rock slabs and snow fields, at about 1,600m


Ascending westward towards Birley Glacier and Wright Col


View north east to Mount Aspiring, from about 1,800m


Ascending Birley Glacier, with Earnslaw East above

On Birley Glacier at 2,200m, near Wright Col (2,264m)

Approaching Esquilant Bivy (2,200m). Pluto peak (2,480m) at left


Esquilant Bivy, Pluto Peak and Throne room


Looking up to the East Peak of Mount Earnslaw (2,830m)

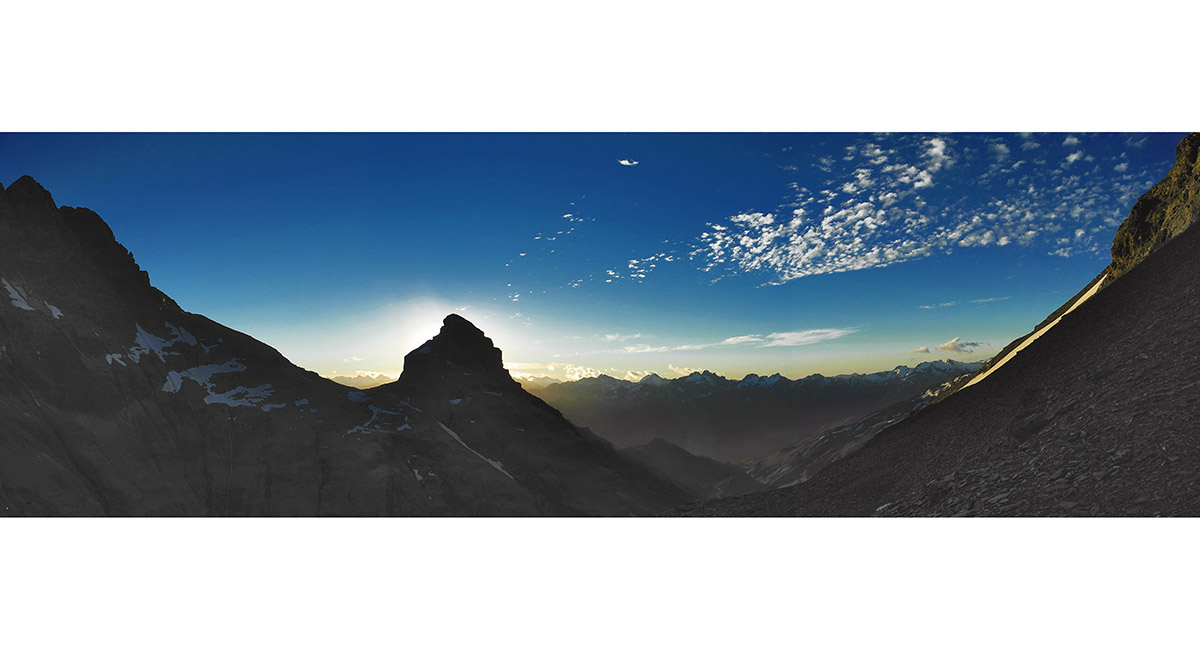
View west at sunset, from Esquilant Bivy


Esquilant Bivy and Earnslaw West (2,820m) at sunset

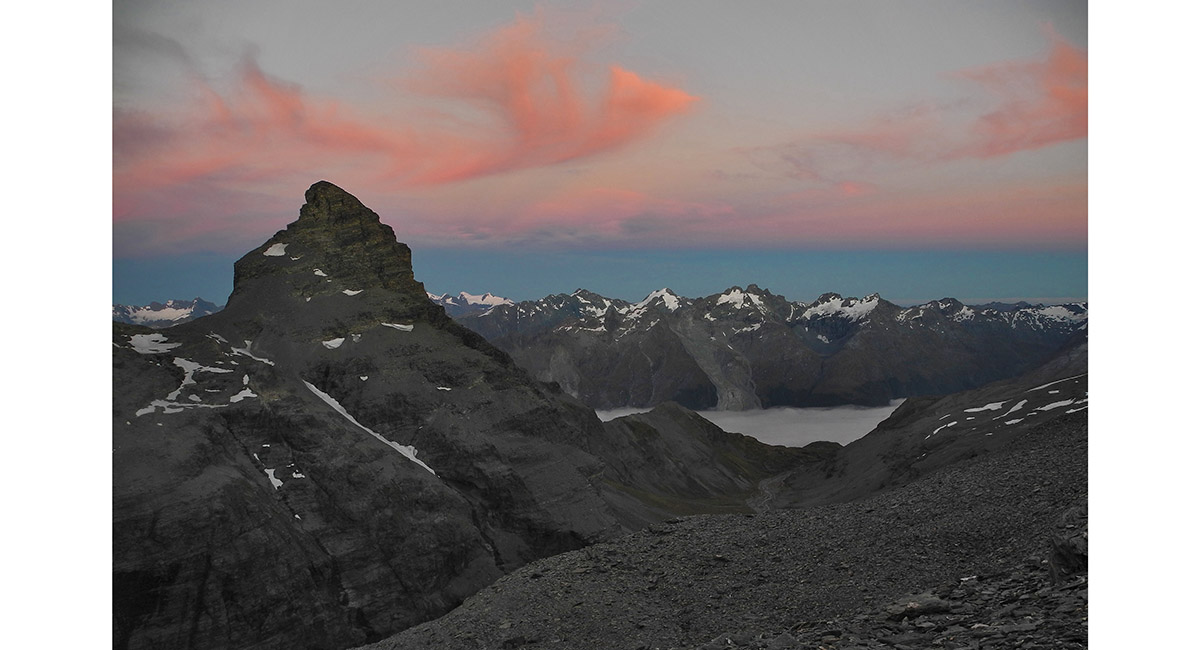
Pluto Peak at sunrise, from Esquilant Bivy

Sunrise view to Earnslaw West (left) and Pluto Peak


Earnslaw West and Pluto Peak, at sunrise

Above Wright Col, at the beginning of the route to the summit of Earnslaw East


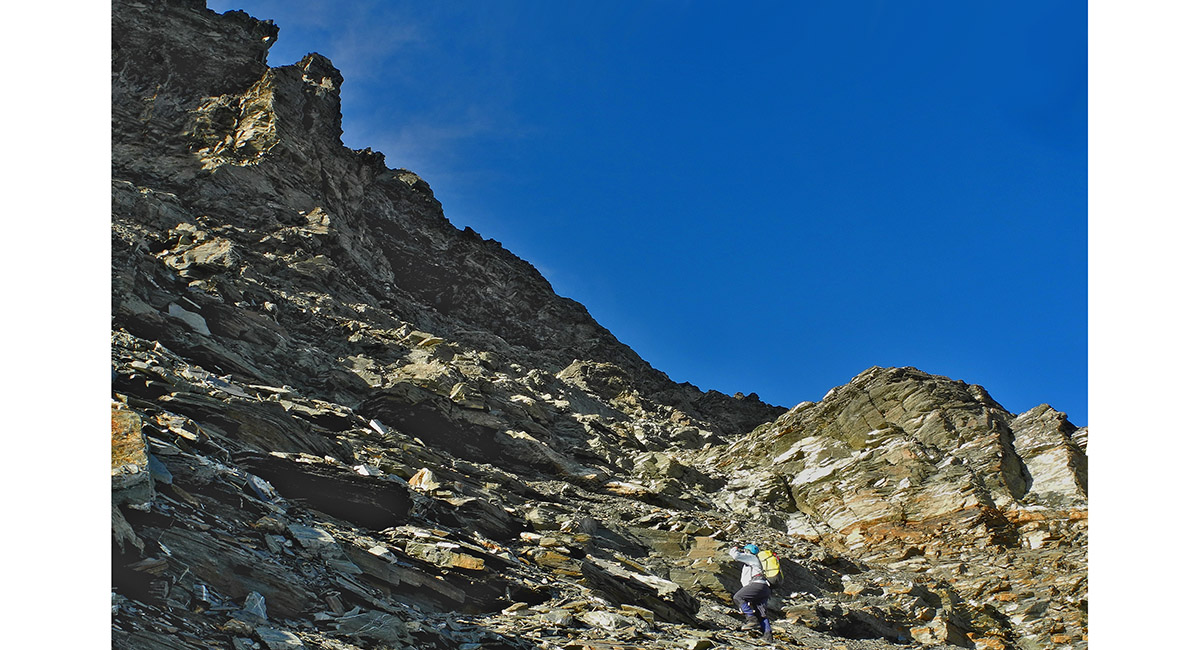
Accessing the scree slopes on the north face of Earnslaw East

View back to Esquilant Bivy, from about 2,300m


Cairn spotting in a world of rock

Ascending the north face of Earnslaw East

View west at about 2,400m. Mount Tutoko (2,723m) is on the left skyline


Ascending steep rock at about 2,600m, with Mount Aspiring on the north eastern skyline


View west to Mount Tutoko and Pluto Peak, from about 2,700m

At about 2,800m, just below the summit of Earnslaw East

Earnslaw East summit view, north east to Mount Aspiring


On the summit of Earnslaw East (2,830m), looking west to Mount Tutoko (2,723m) and Mount Madeline (2,516m)

From left - Mount Madeline and Tutoko on the skyline. Pluto Peak centre foreground

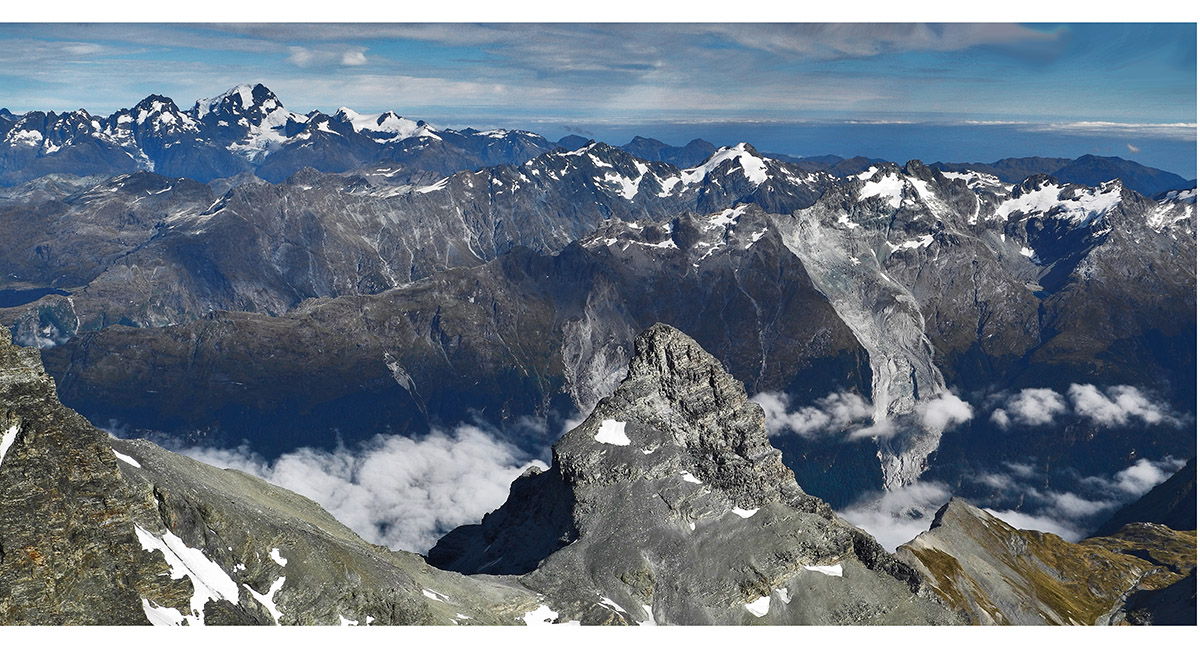
View south, along the south face and Glacier to the West Peak (far right) of Mount Earnslaw

Summit view east, with Mount Aspiring far left


Summit view of Mounts Madeline and Tutoko

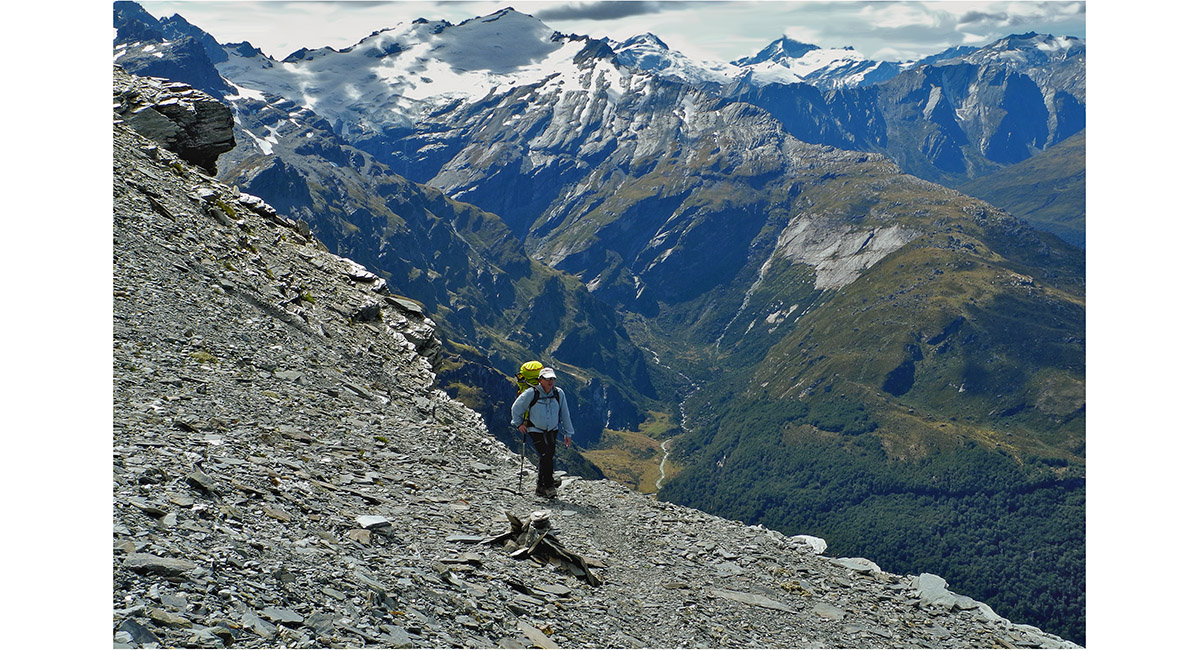
Commencing the descent of Earnslaw East. The east face is at right and O'Leary Peak (2,570m) is the black mound above and right of the climber. Beyond O'Leary Peak is Sir William Peak (2,610m)

View north. O'Leary Peak is left


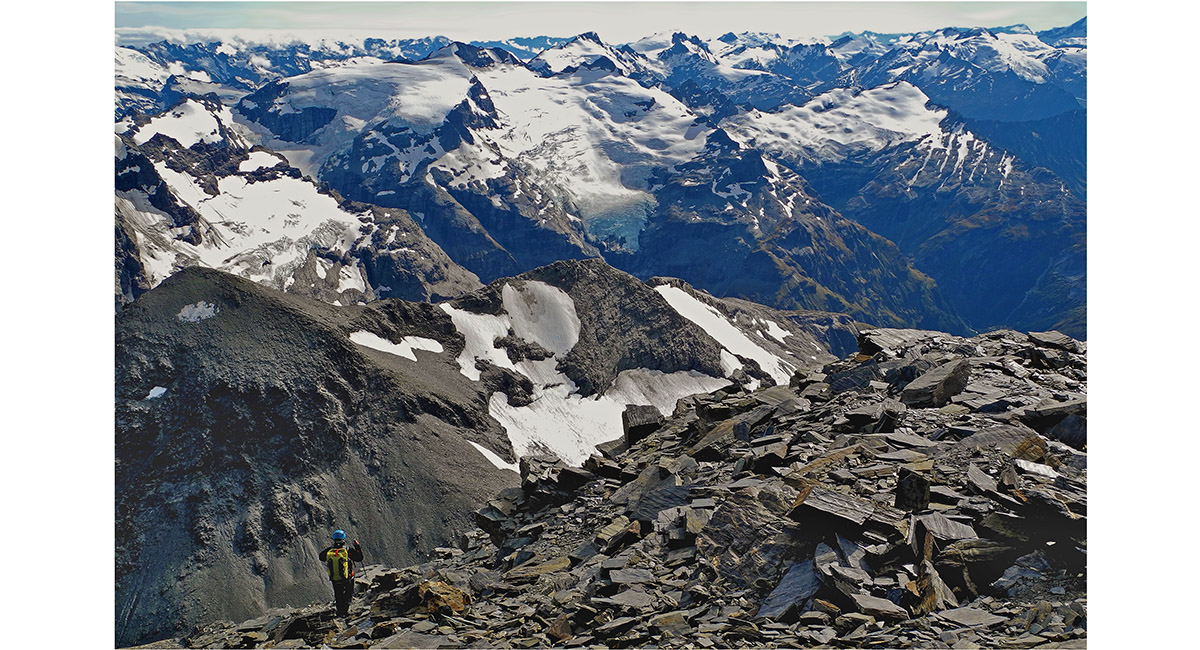
On the descent, with Mount Tutoko and Pluto Peak

Finding the route down through bluffs. Mount Aspiring is on the skyline right of centre


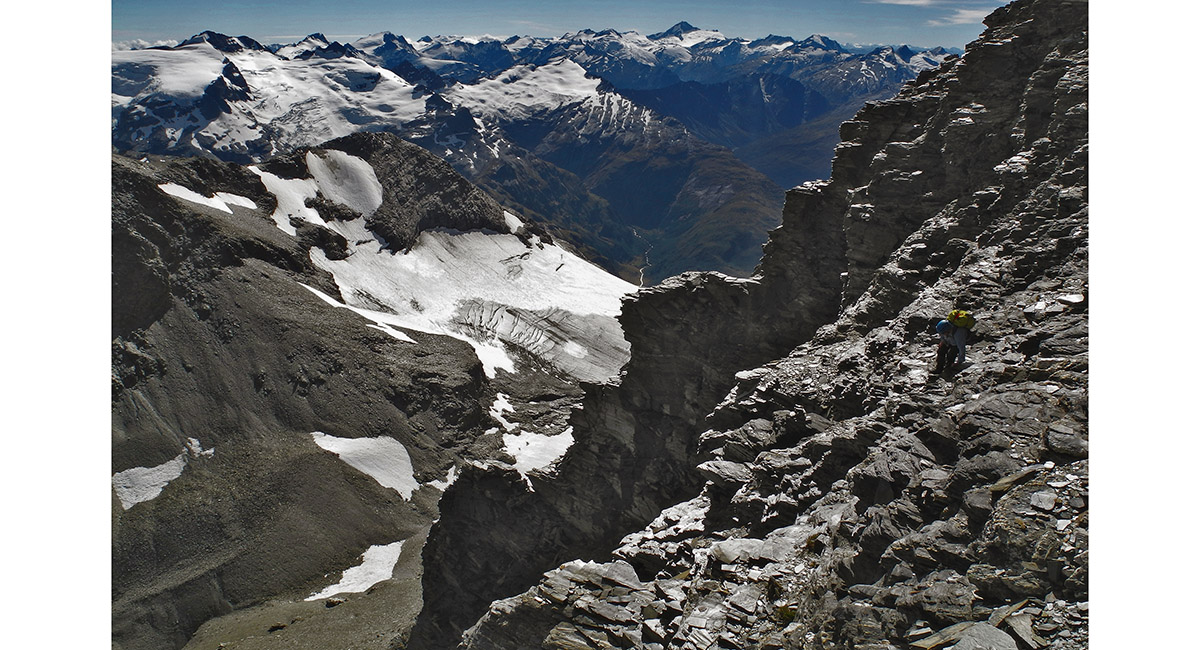
The crux of the route up Earnslaw East


Descending the crux


View north west, with Esquilant Bivy bottom right


Summit view south from O'Leary Peak (2,570m) to Eanslaw East (2,830m, left) and Earnslaw West (2,820m, right). The route up Earnslaw East is all left of the snow field between the East and West peaks. Mounts Madeline and Tutoko are on the right skyline

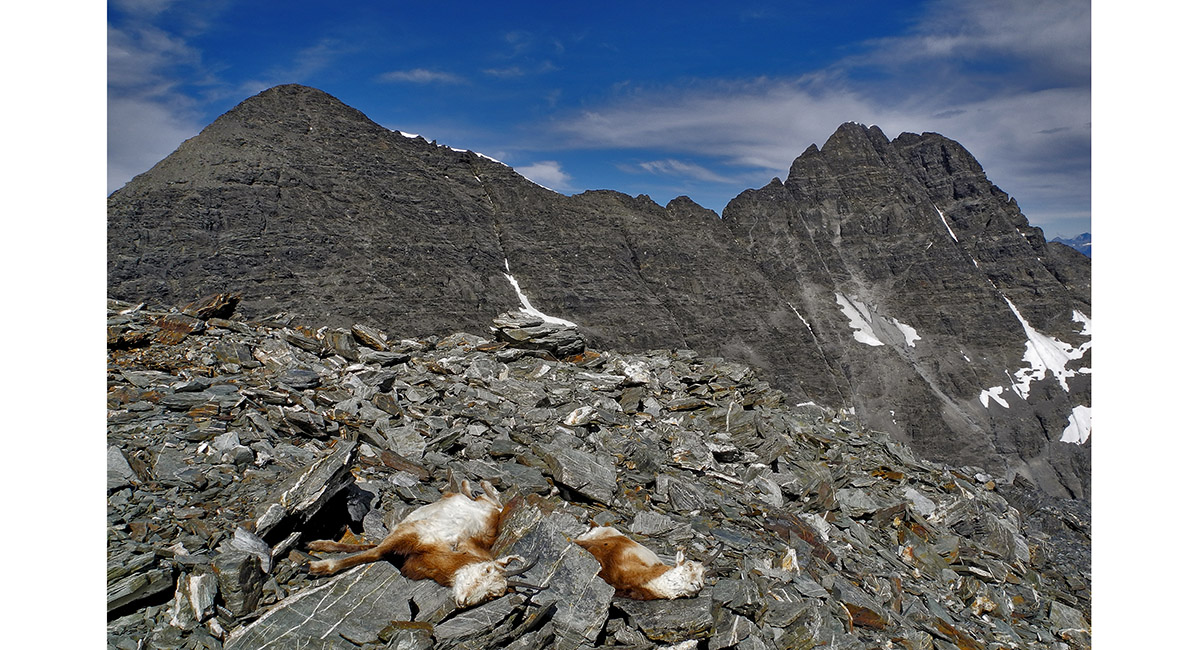
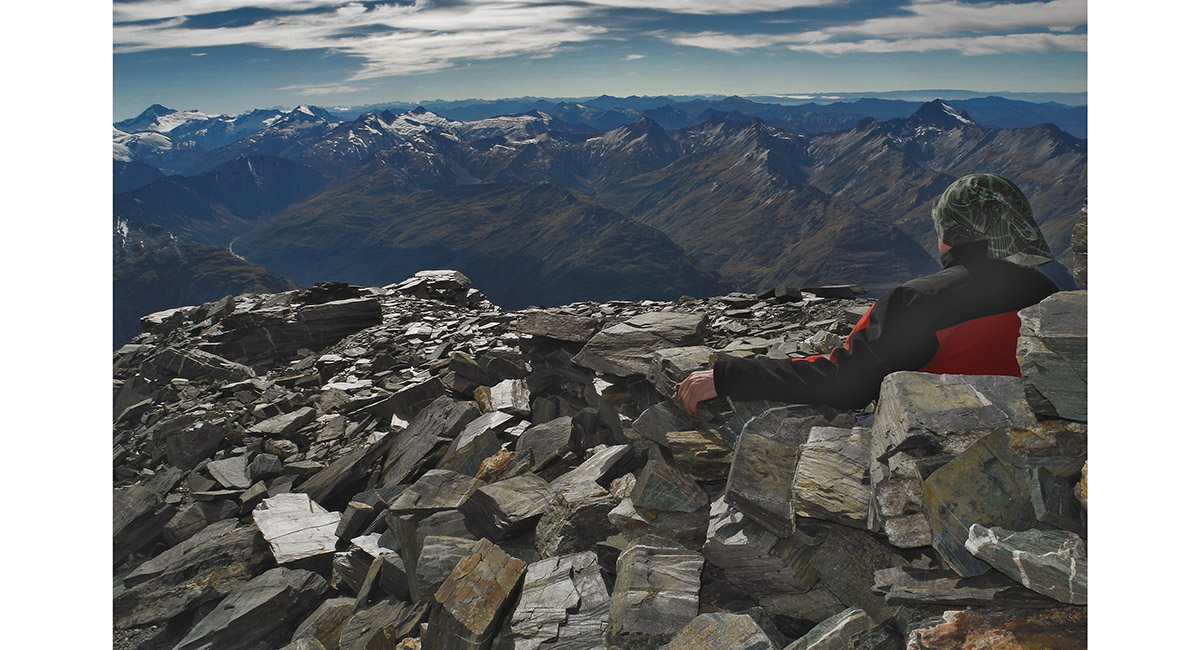
Dead goats on the summit of O'Leary Peak.


Mount Tutoko (2,723m, right) and Mount Madeline (2,536m, left), from the summit of O'Leary Peak


The access point to O'Leary Peak, from above Wright Col


Pluto Peak, sunlit at dawn

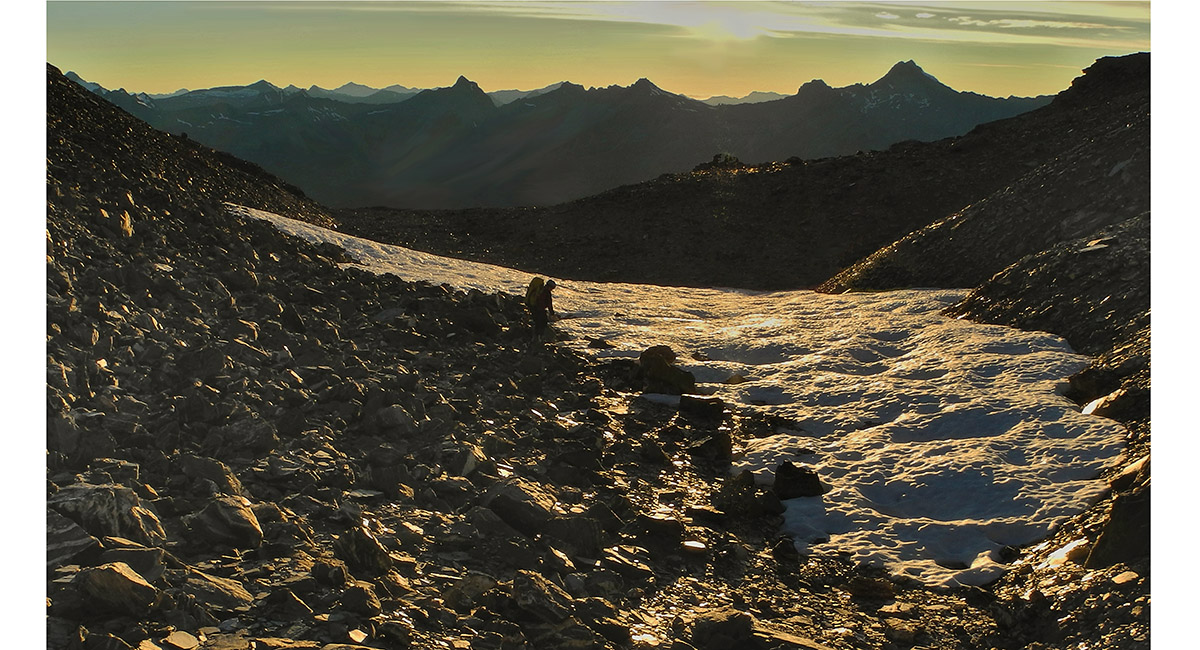
Wright Col at dawn

Descending Birley Glacier

Mount Aspiring, on the descent of Birley Glacier

Below Birley Glacier, looking back to Earnslaw East

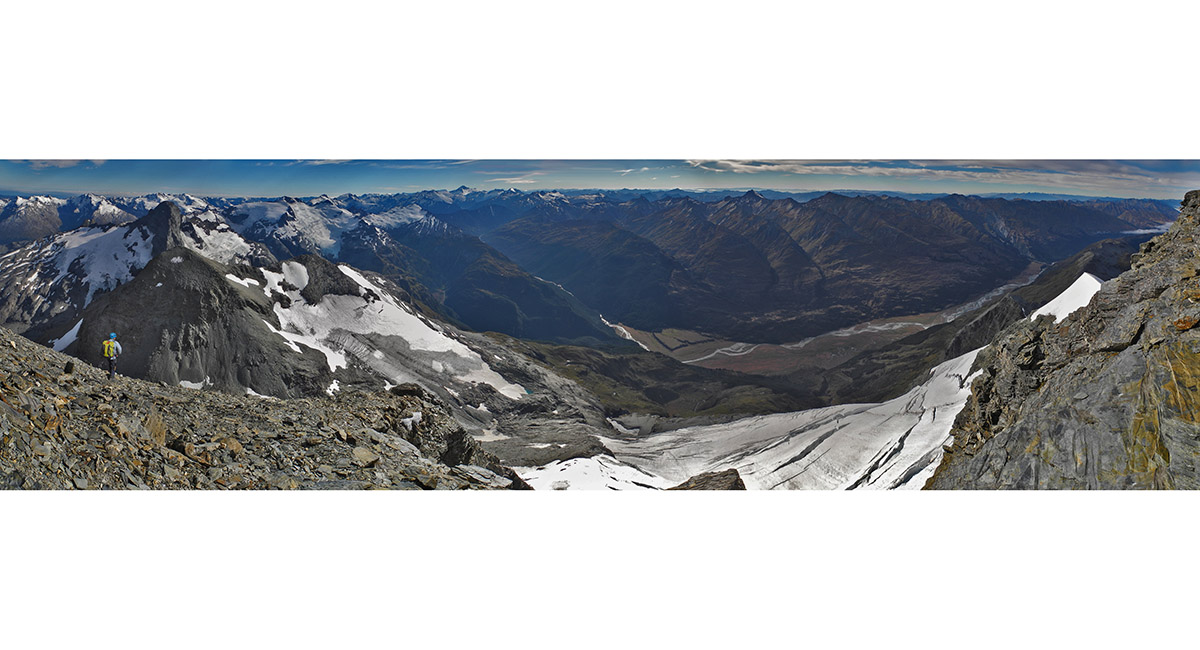
View south along the Rees Valley, from above Kea Basin

Earnslaw East and the Rees Valley, from above Kea Basin


Earnslaw East and Kea Basin


The larger of two rock bivouacs, near Kea Basin

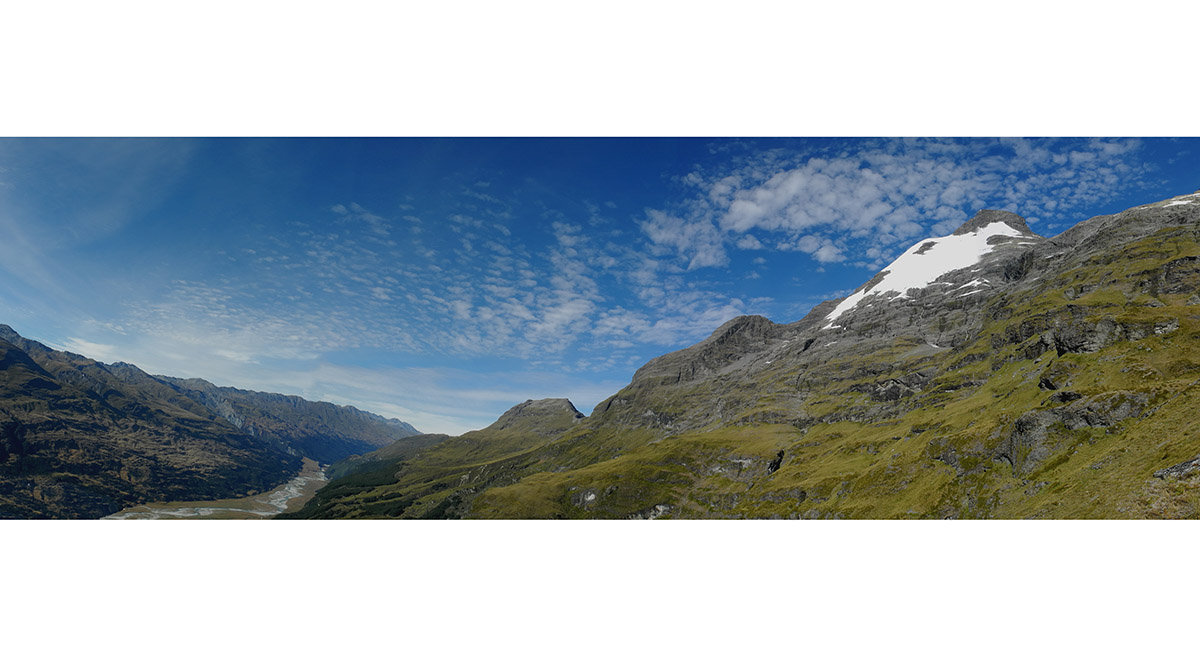
View west from the Rees Valley at 500m, with the 175m Lenox Falls and east face of Mount Earnslaw above. O'Leary Peak is far right

Read about it
Breaching a Guardian’s defences Wilderness Magazine Oct 13
![]()
To order a print or web resolution file of any image you see in this slide show, just right click the image, click “Copy Image URL” and paste in to the “Your message” box of our Contact Us form. Please also note, for each image, if you want a print or web resolution file. We will get back to you as soon as possible to confirm price and payment details.
Open Contact Us in a new window to paste Image URL(s) easily