Mts Aspiring and Bevan, January 2003

Mount Aspiring (3,033m, right), viewed to the north west from Lake Wanaka


The confluence of the east and west branches of the Matukituki River, with Mount Avalanche (2,606m, centre) and Mount Aspiring (3,033m, right)


Mount Avalanche left, Aspiring right of centre and Popes Nose (2,700m) right


Mount Aspiring, the Quarterdeck and Popes Nose

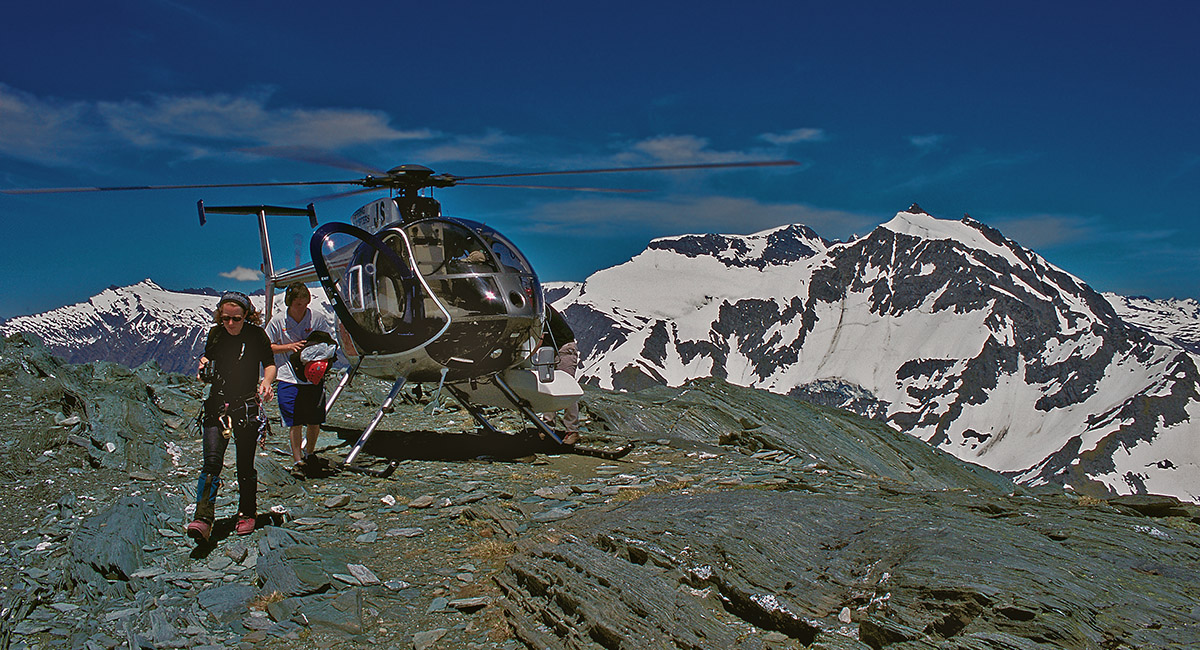
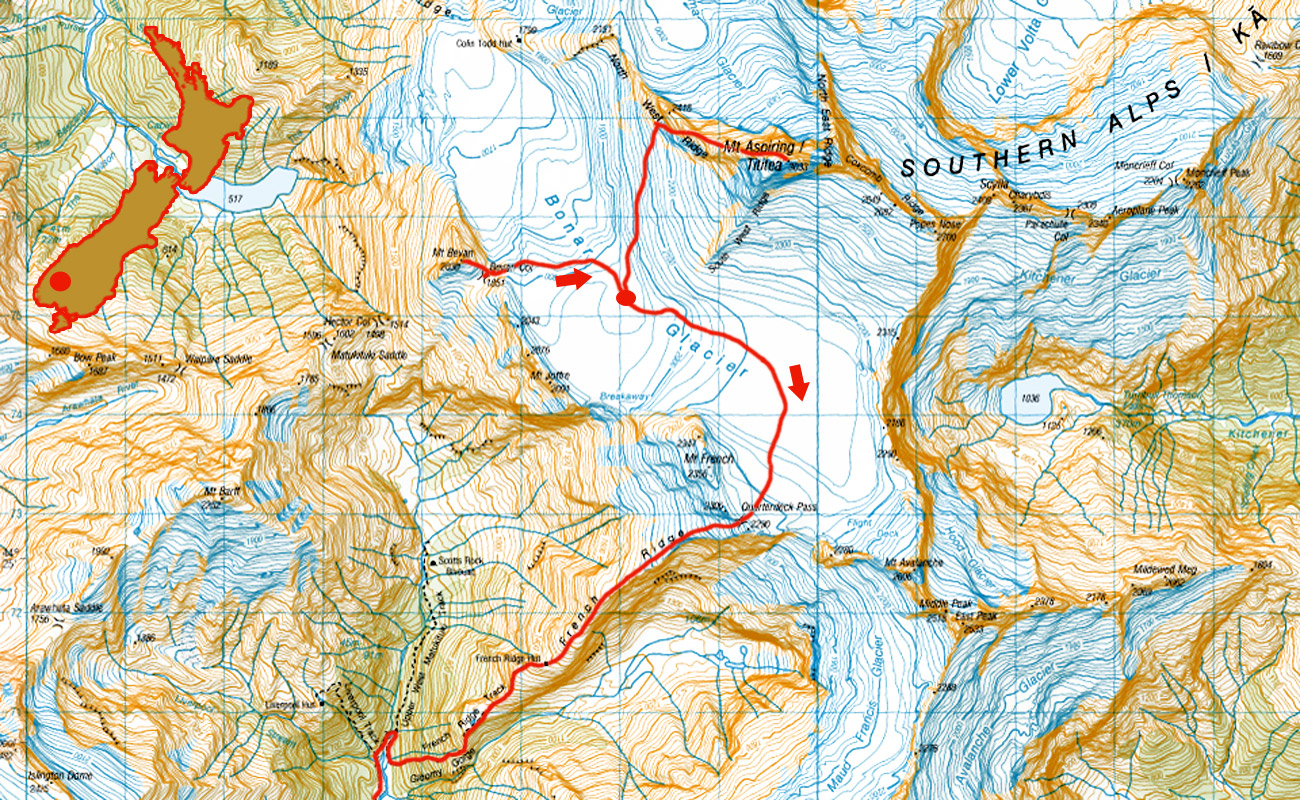
Drop off at Bevan Col (1,851m)


Bevan Col

View from Bevan Col to the north west ridge of Aspiring


Mount Bevan (2,030m)


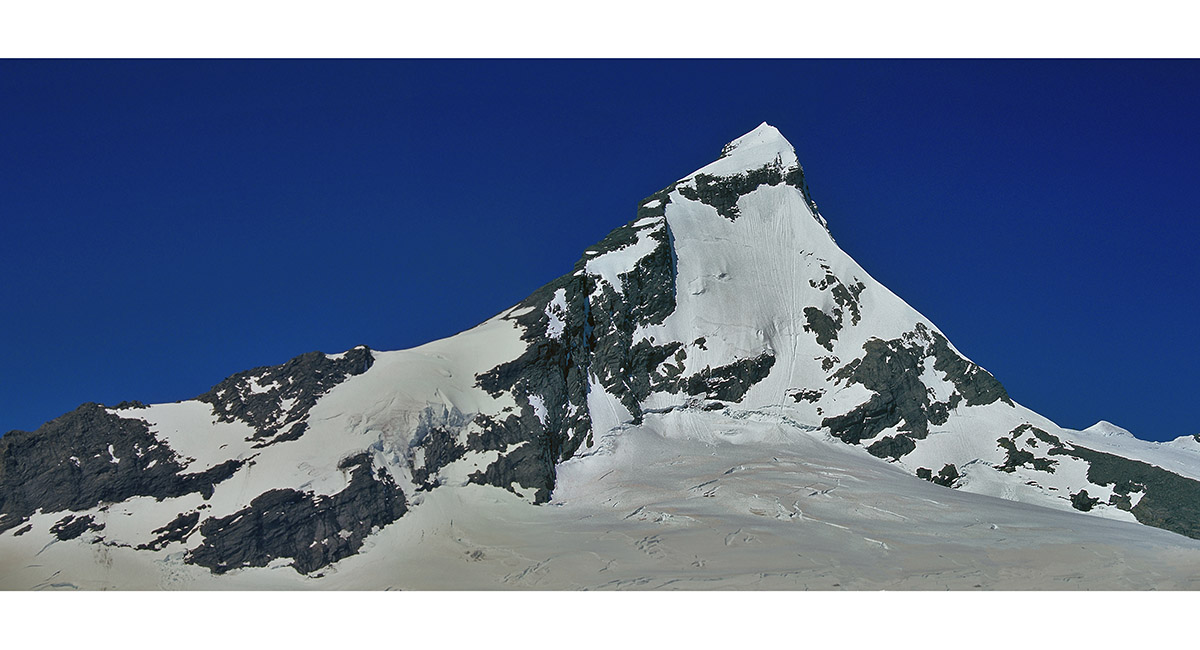
The south west ridge of Mount Aspiring, viewed from Mount Bevan


Mount Aspiring and Bonar Glacier, viewed from the summit of Mount Bevan


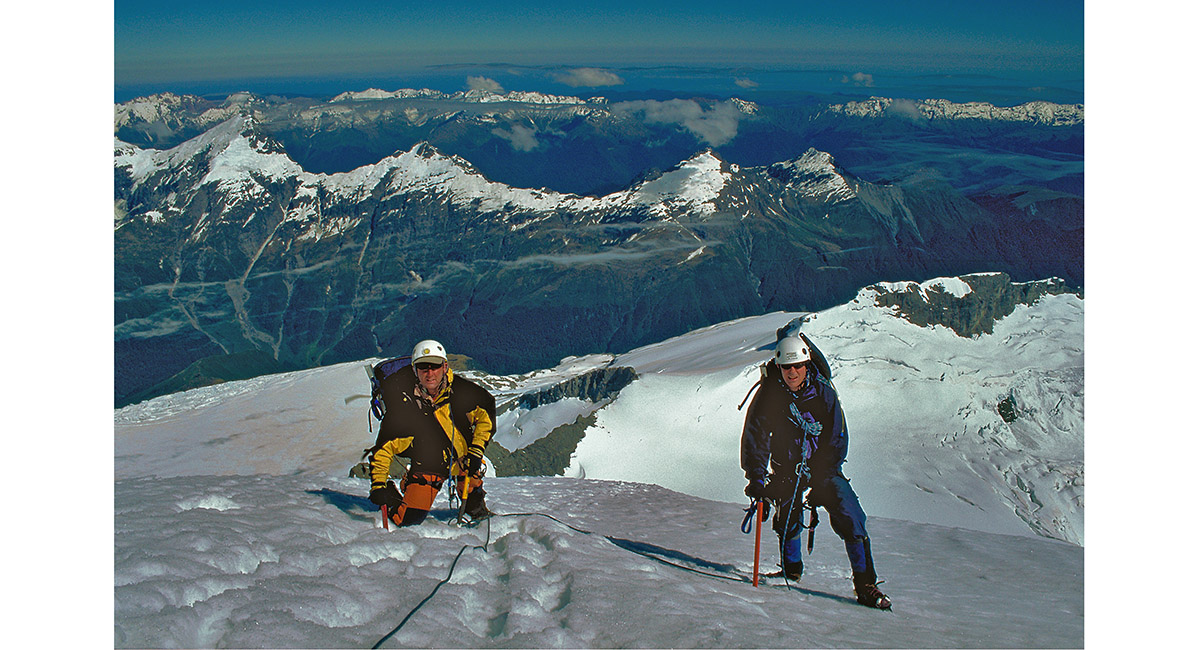
The Ramp route up Mount Aspiring begins above the climber's head, climbing diagonally right up the snow ramp to the snow ridge, then on to the summit

A full view of the route we took. From bottom left, a bergschrund is crossed to access the ramp from the Bonar Glacier. This leads diagonally up exposed snow slopes to the north west ridge; and then on to the summit


The icefall at the northern end of the Bonar Glacier


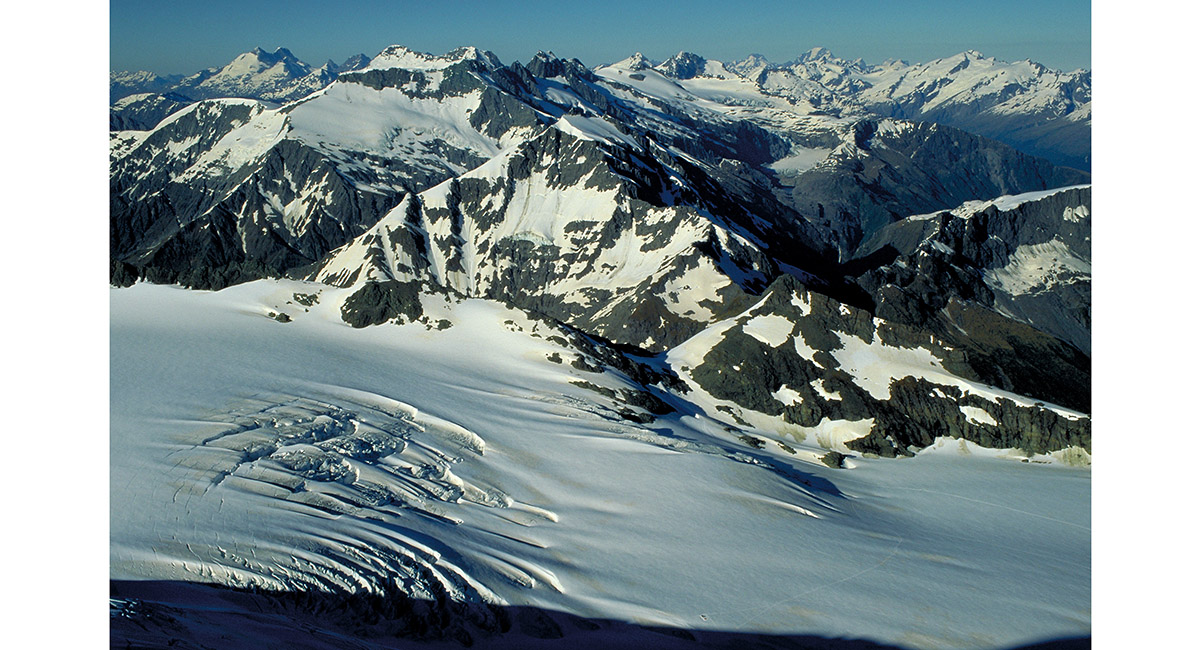
View north west from Mount Bevan, to the head of Waipara River and the Waipara Range


View south from Bevan Col, down the west branch of the Matukituki River

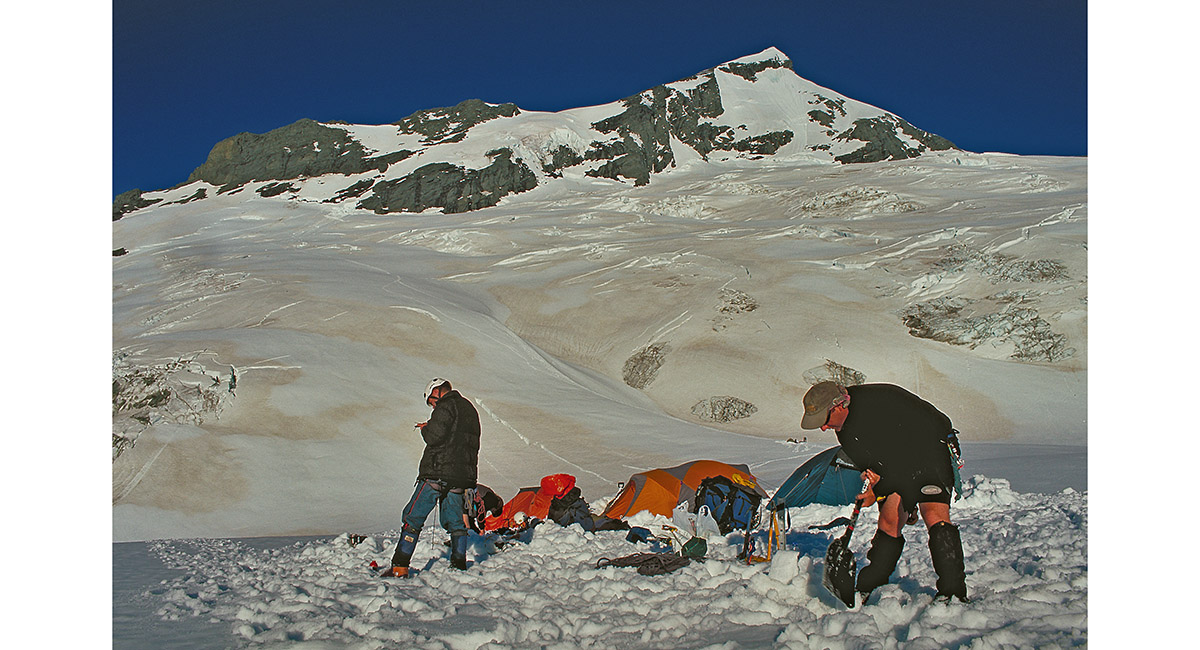
Setting up camp on the Bonar Glacier at about 1,850m. Aspiring's summit is nearly 1.200 vertical kms directly above


View south east at our campsite on the Bonar Glacier

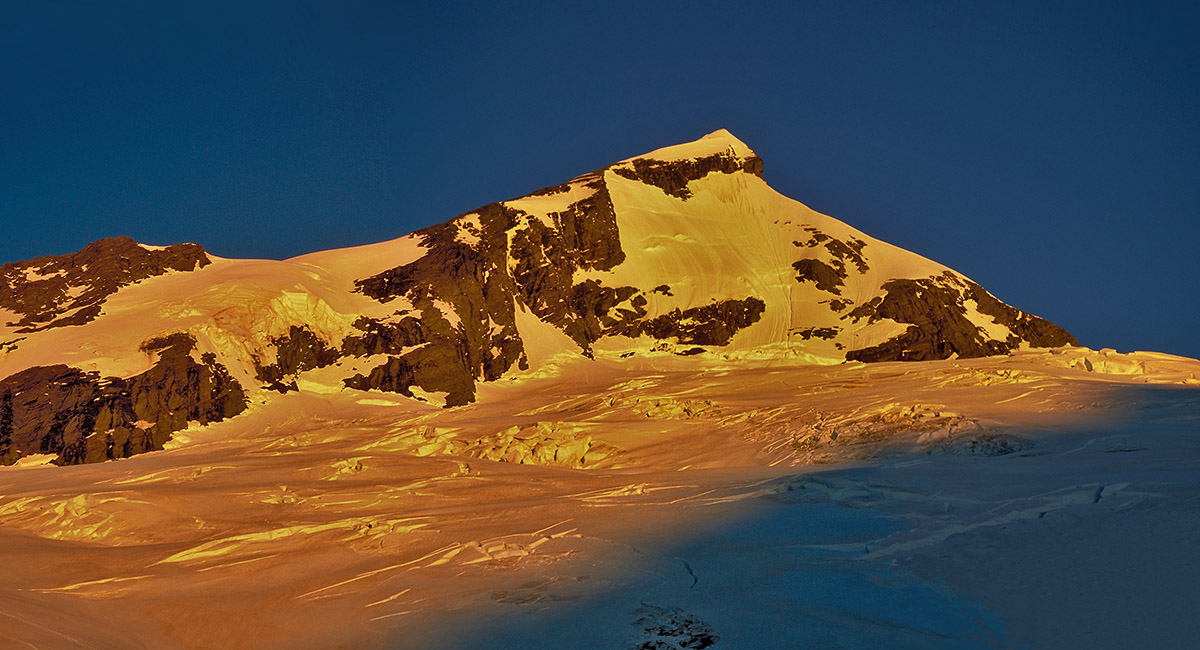
Mount Aspiring at sunset

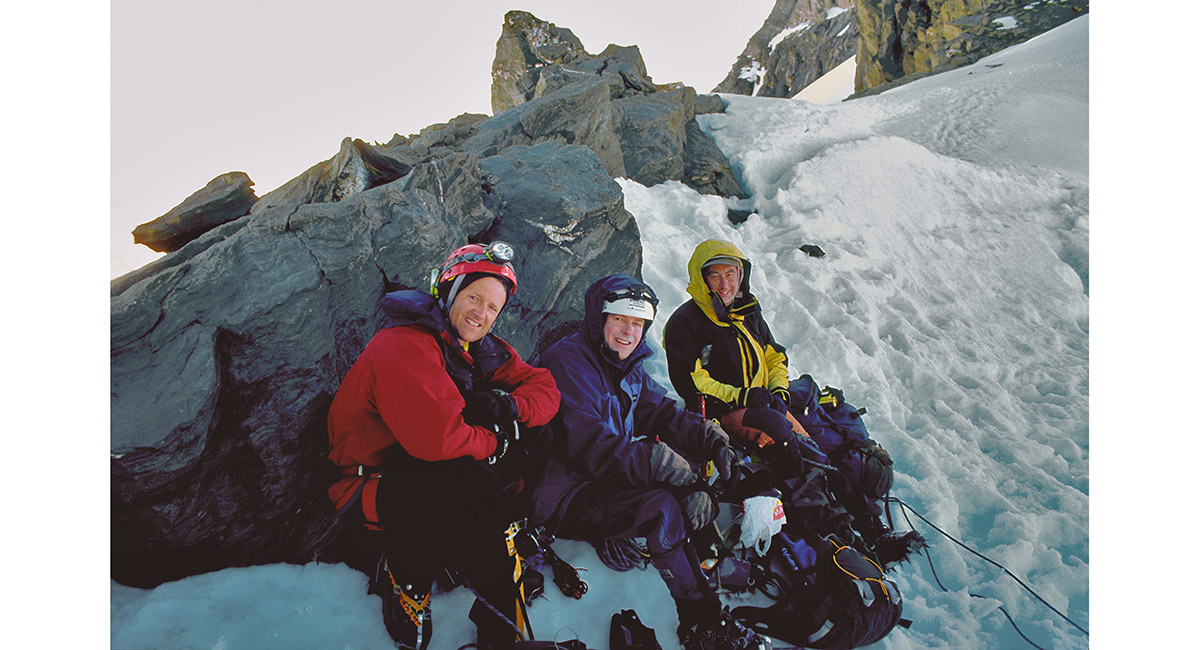
Taking a breather at the top of the Ramp, on the north east ridge at about 2,500m


Looking up the north east ridge to the summit, cloaked in hogs back cloud


At about 2,800m on the north east ridge, looking north to the Rolling Pin (2,249m) and Main Royal (2,268m)

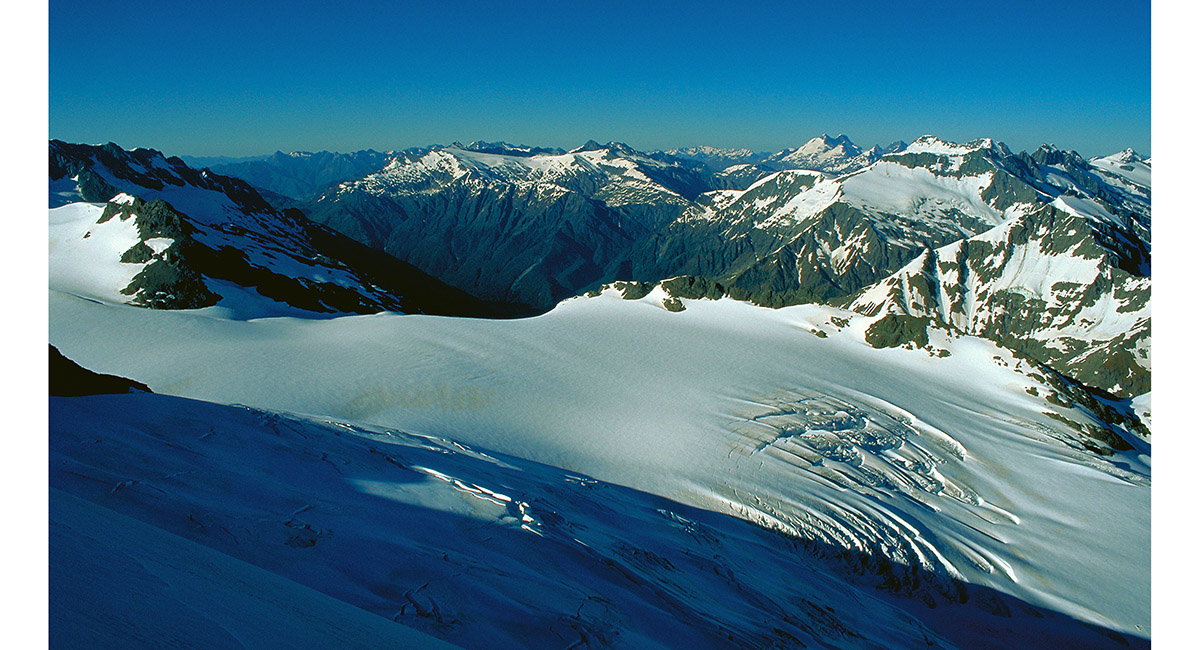
View north east, across the Therma Glacier

View north east, across the Therma Glacier

Just below the summit, looking back down the north east ridge


On the summit of Mount Aspiring (3,033m), looking south


On the summit of Mount Aspiring (3,033m), looking south. Mount Earnslaw (2,830m) is on the left skyline and Mounts Madeline (2,516m) and Tutoko (2,723m) on the right


The very tip of Aspiring's summit is the snow lip across the bottom of this picture. Above that is the Matukituki River and, then to the right on the skyline, Mount Earnslaw

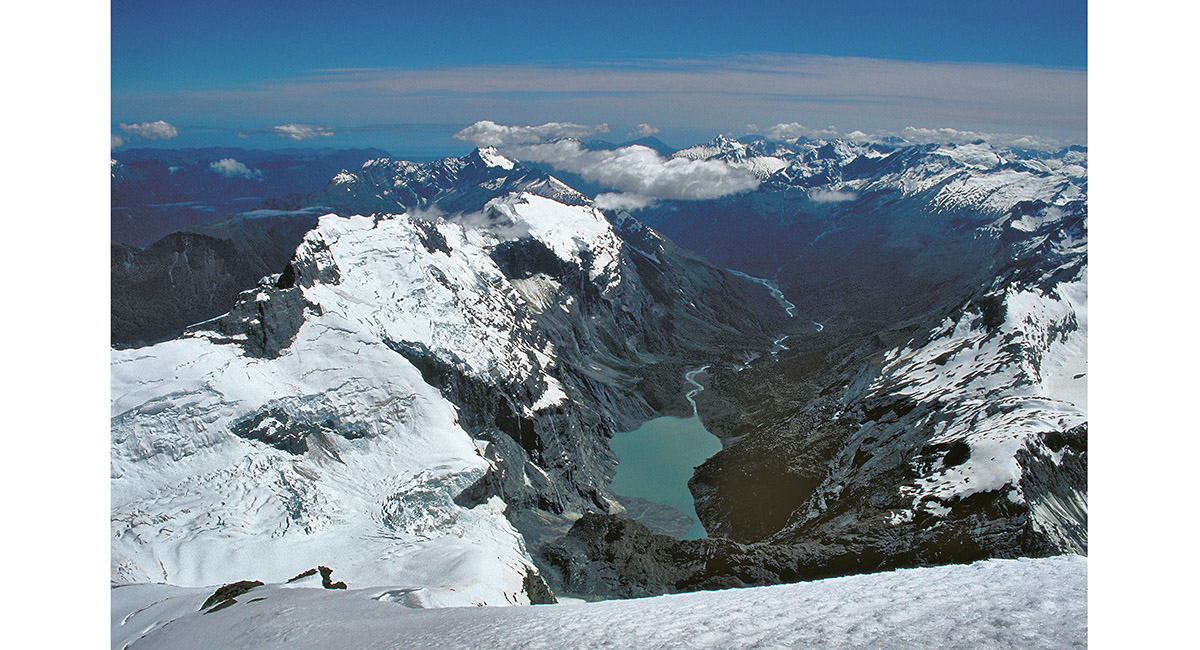
This view looks down the Coxcomb ridge of Aspiring (bottom left). This leads to Skylla, Charybdis and Aeroplane on the left. The lake is at the head of the Kitchener River, pointing to Dragonfly Peak. Popes Nose and the edge of the Quarterdeck are on the right


View north from our Bonar Glacier camp, as the weather turns


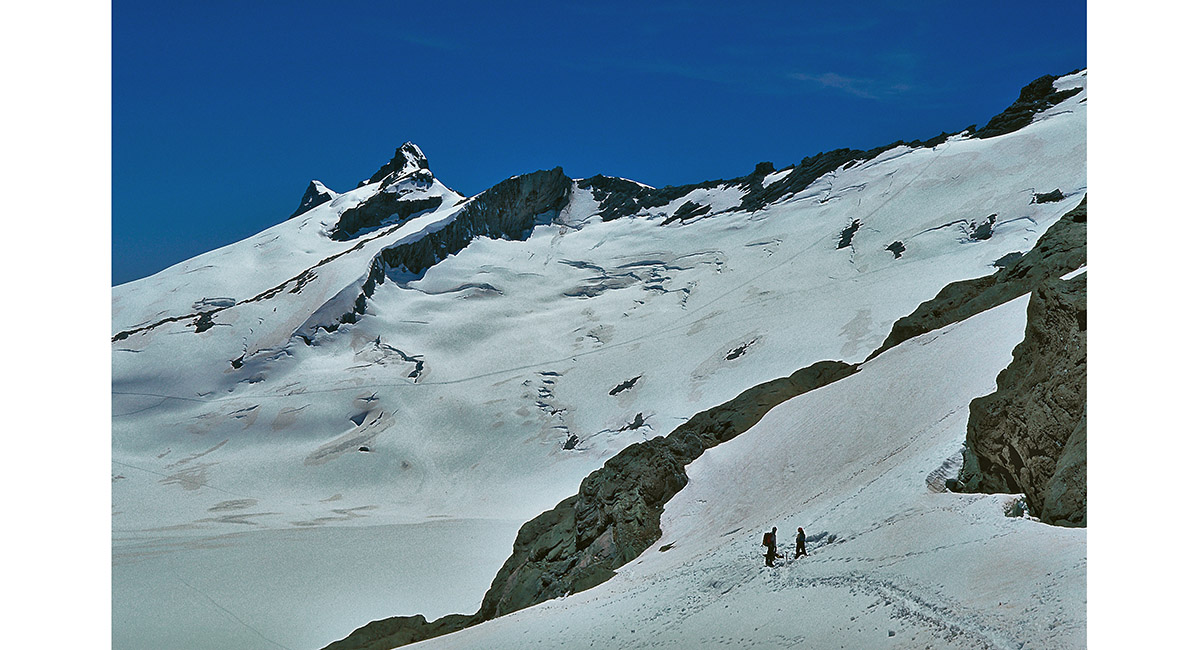
Heading up the Bonar Glacier towards Quarterdeck Pass (2,290m)

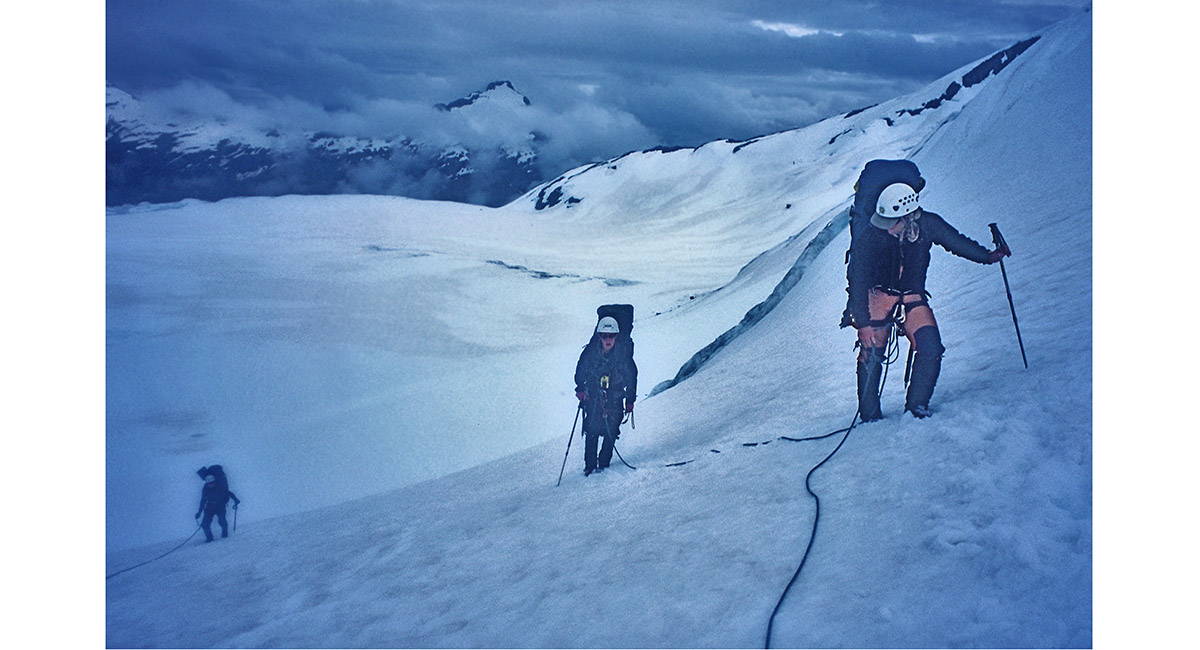
Ascending the Bonar Glacier


Crossing the bergschrund below Quarterdeck Pass, en route to French Ridge Hut (1,480m)

To order a print or web resolution file of any image you see in this slide show, just right click the image, click “Copy Image URL” and paste in to the “Your message” box of our Contact Us form. Please also note, for each image, if you want a print or web resolution file. We will get back to you as soon as possible to confirm price and payment details.
Open Contact Us in a new window to paste Image URL(s) easily