Whanganui

Looking north along the Whanganui River from a view point on the River Road


At Jerusalem

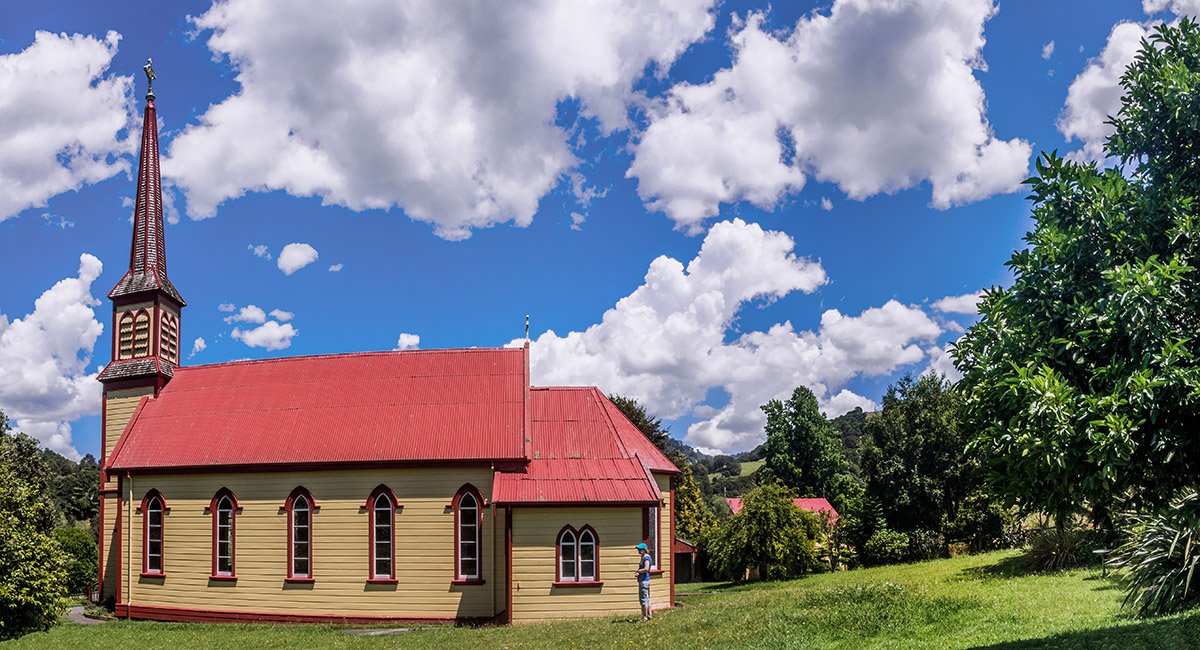
The Chapel at Jerusalem

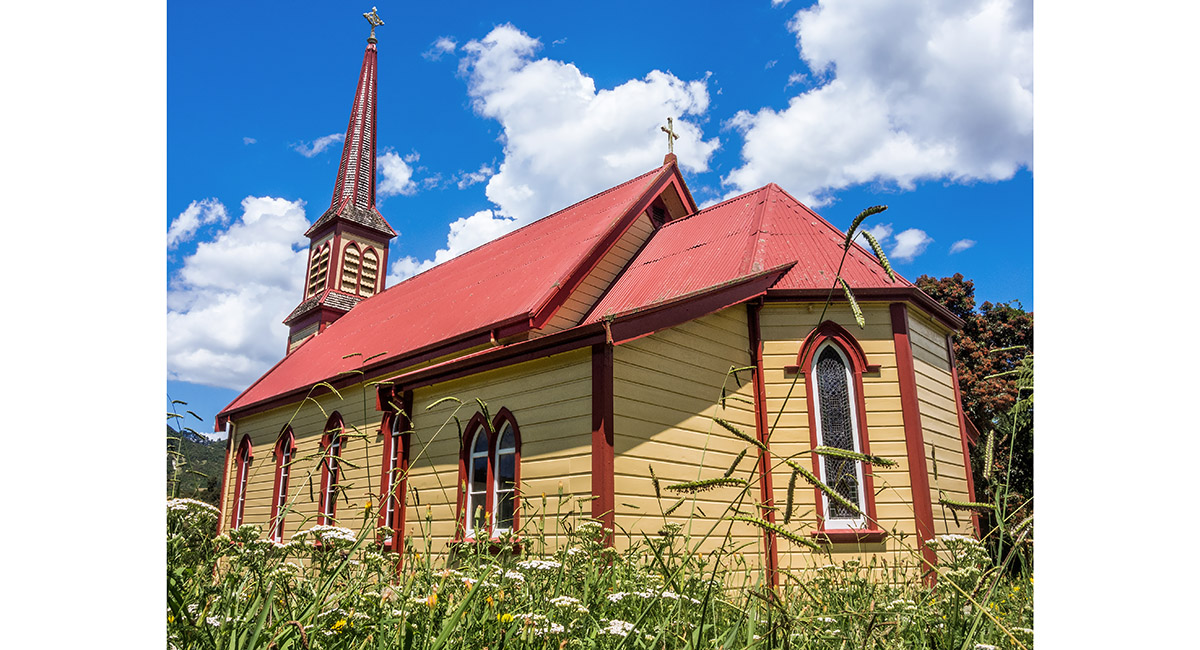
The Chapel at Jerusalem


Inside the Chapel at Jerusalem

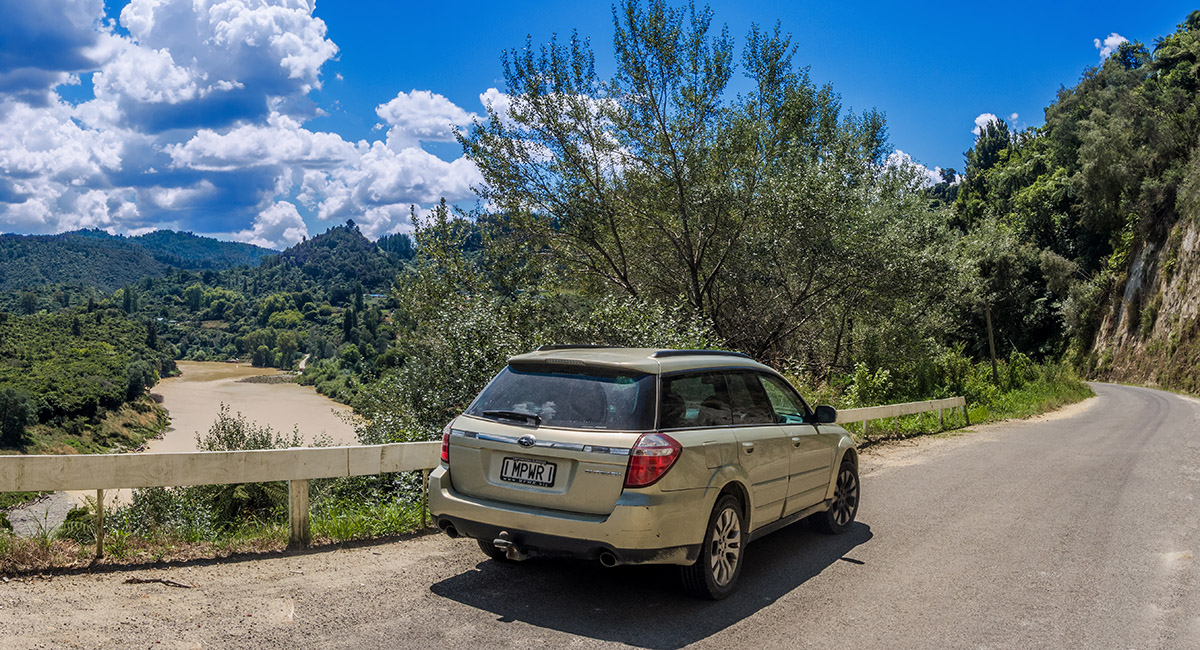
On the River Road, just south of Pipiriki


A boat landing at Pipiriki

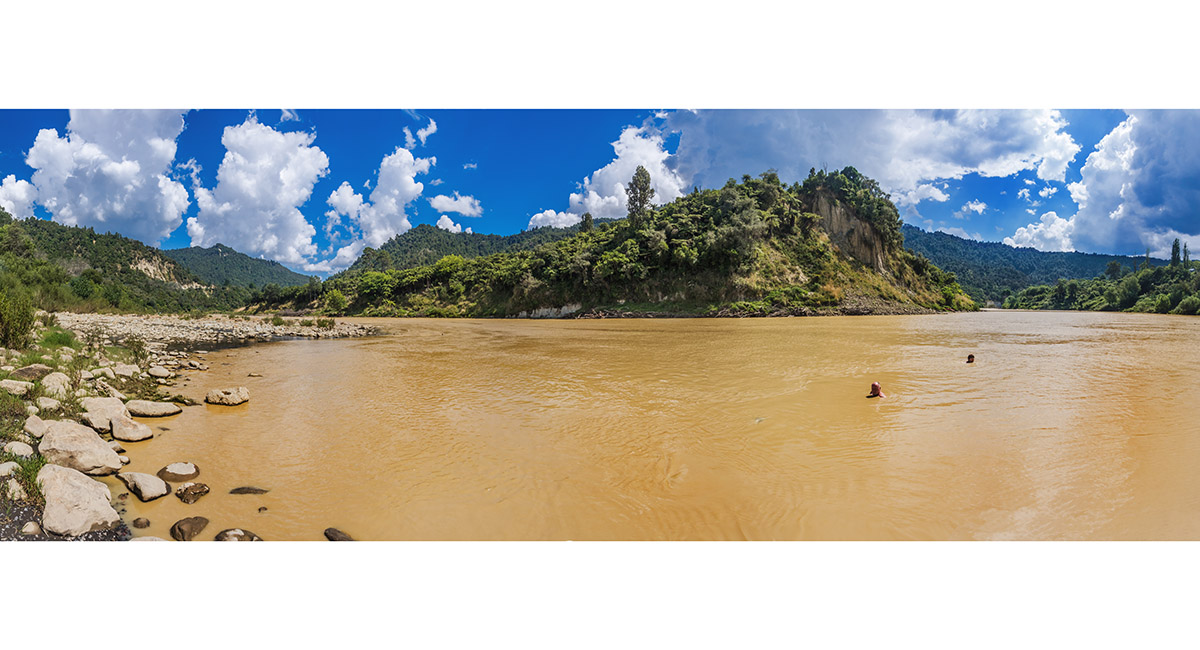
Enjoying a swim in Whanganui River at Pipiriki


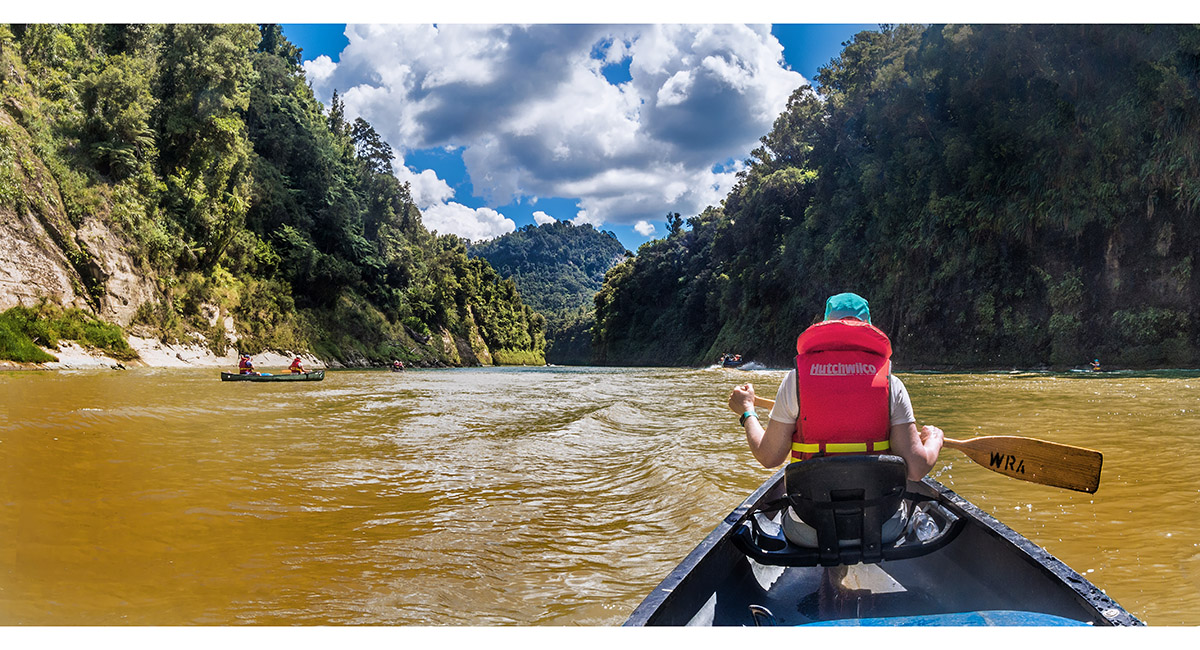
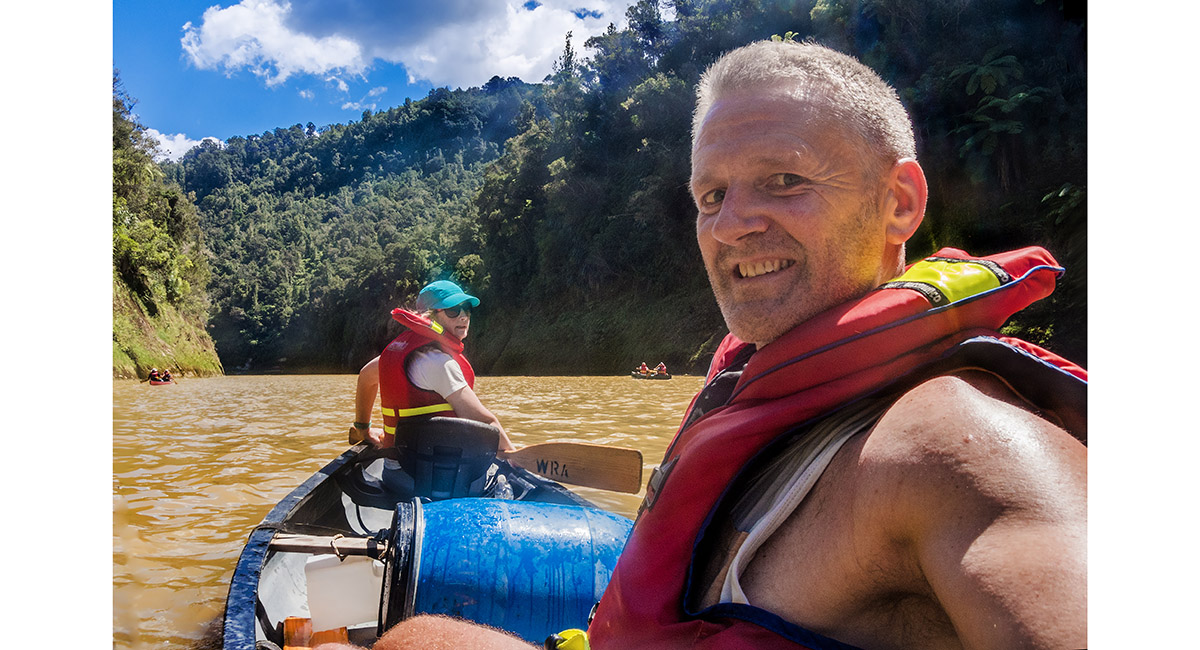
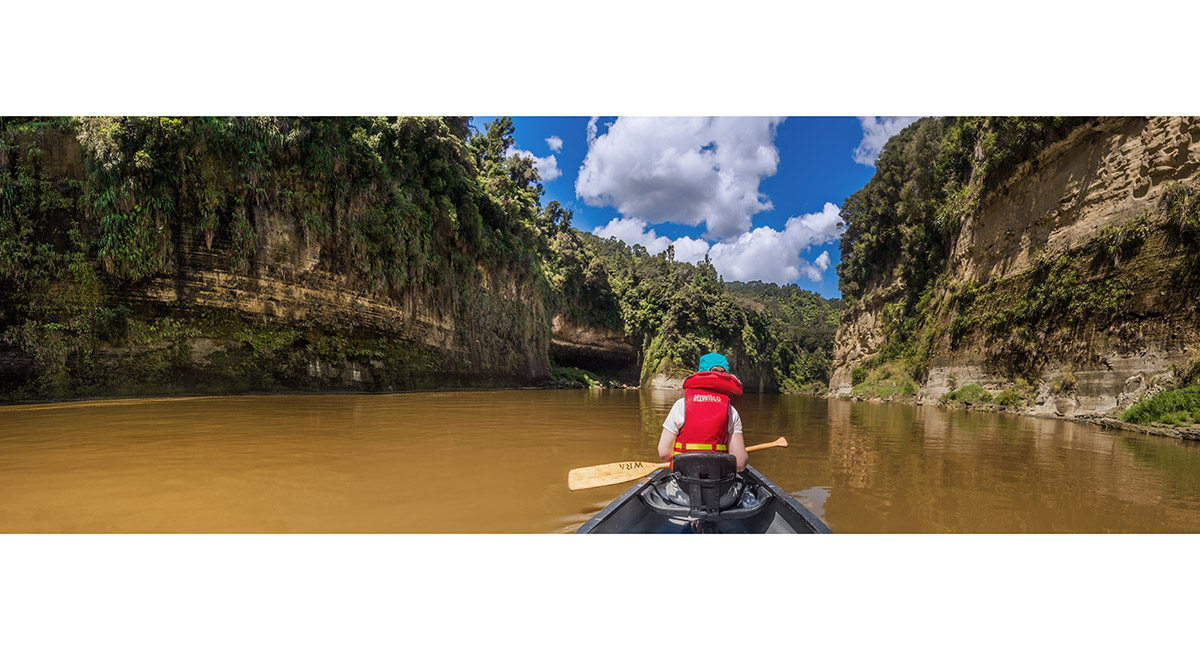
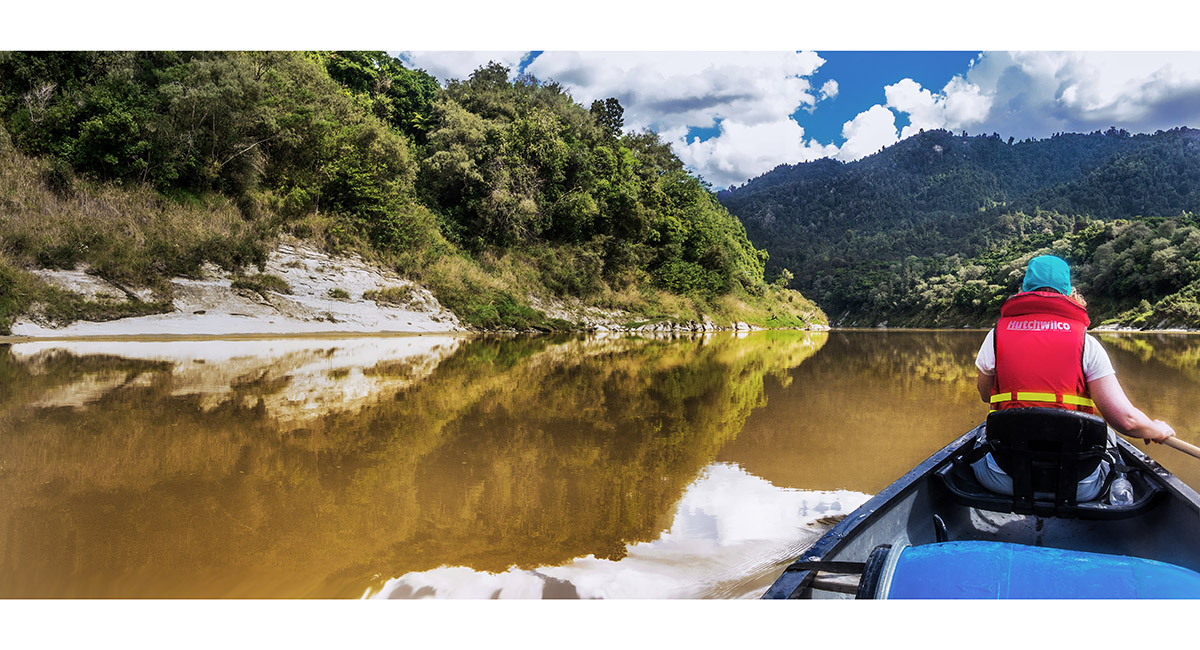
The Whanganui River between Pipiriki and The Bridge to Nowhere

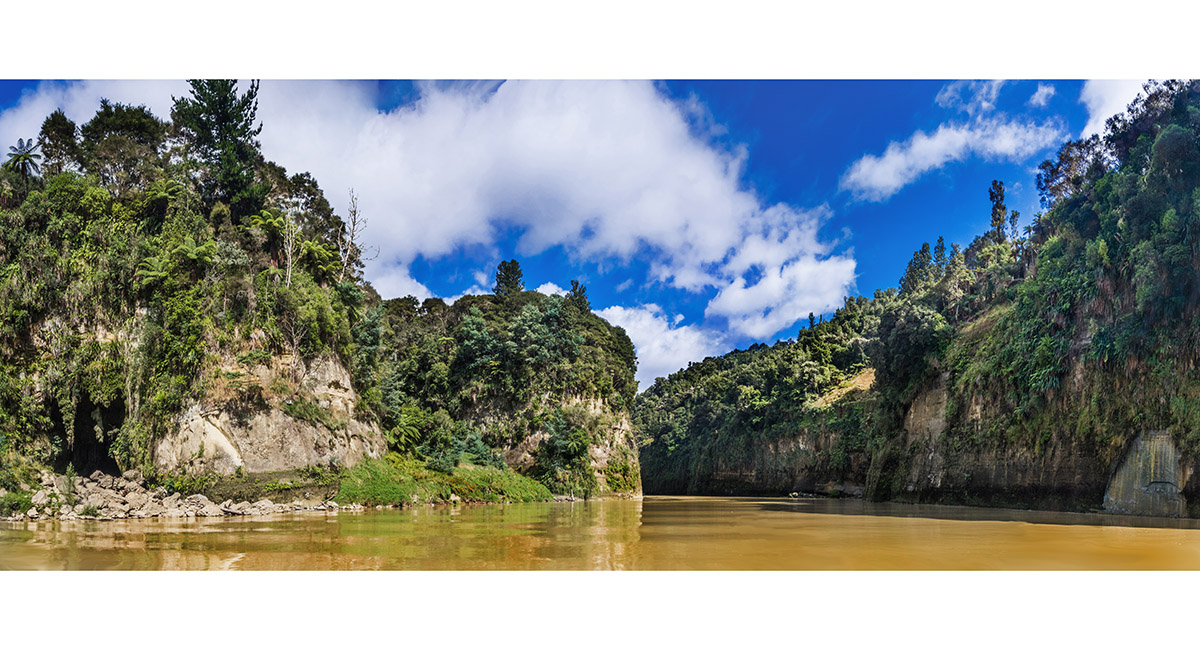
The Whanganui River between Pipiriki and The Bridge to Nowhere


The Whanganui River between Pipiriki and The Bridge to Nowhere


The Whanganui River between Pipiriki and The Bridge to Nowhere

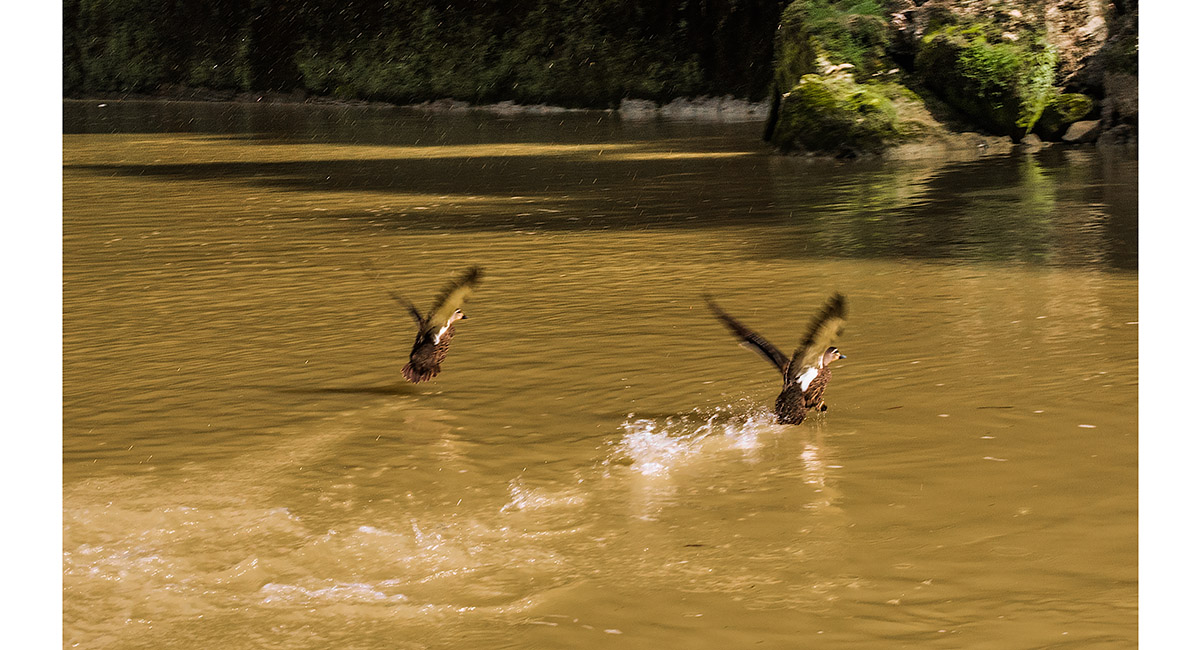
The Whanganui River between Pipiriki and The Bridge to Nowhere

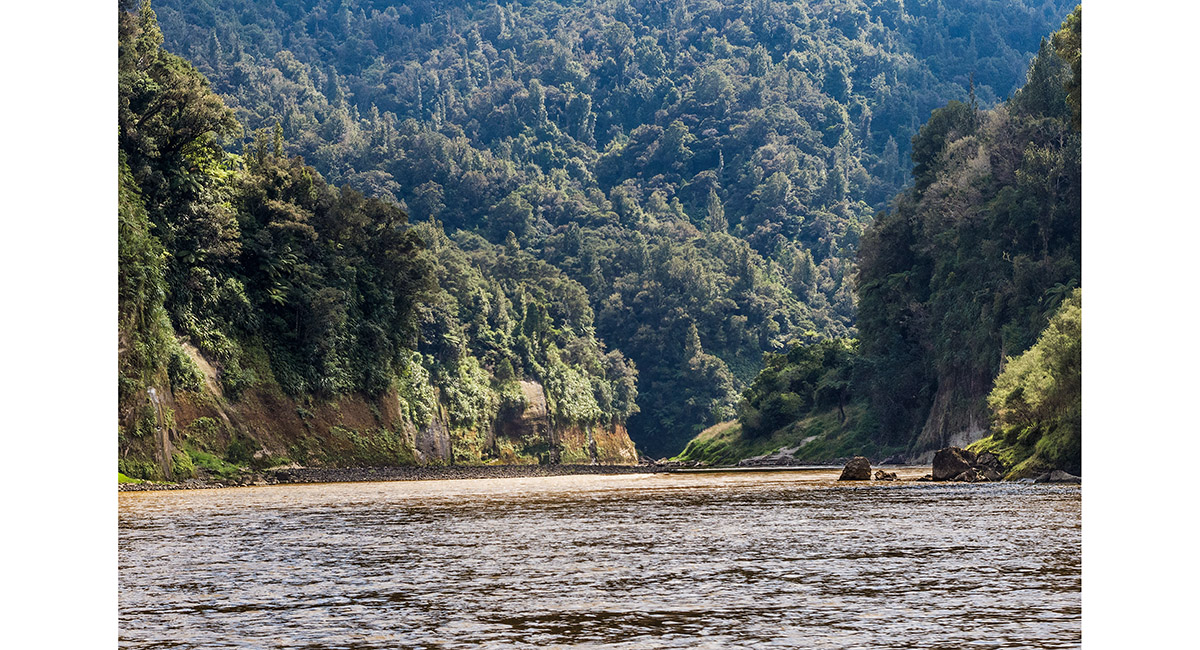
The Whanganui River between Pipiriki and The Bridge to Nowhere


The Whanganui River between Pipiriki and The Bridge to Nowhere

The Whanganui River between Pipiriki and The Bridge to Nowhere

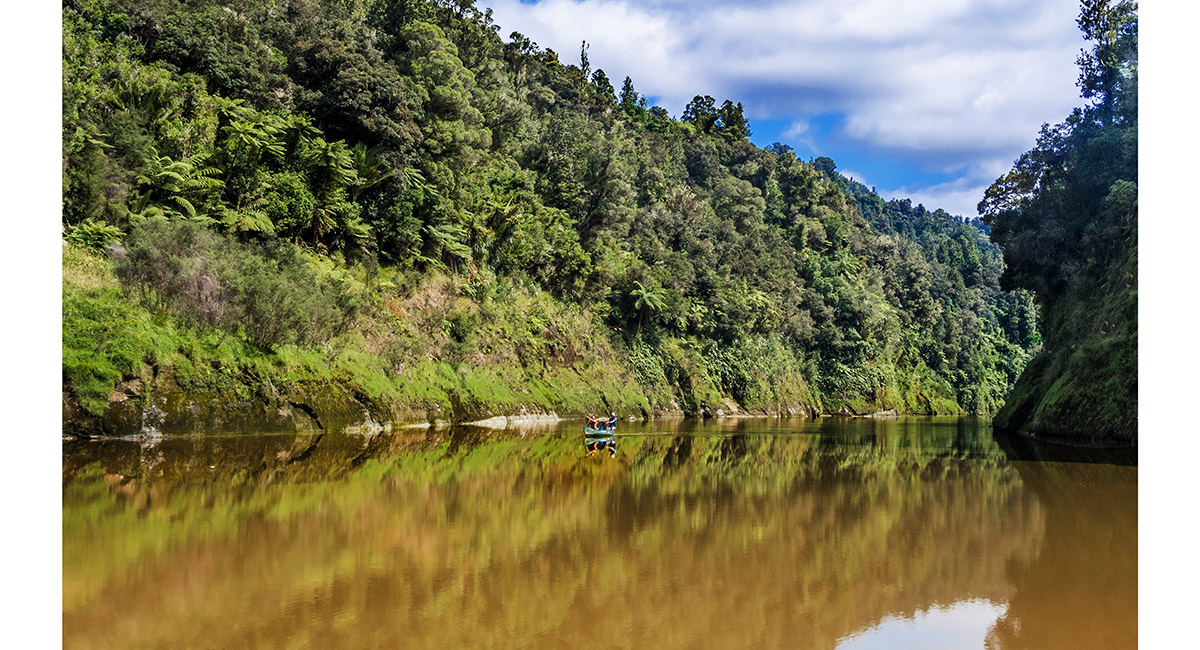
The Whanganui River between Pipiriki and The Bridge to Nowhere

The Whanganui River between Pipiriki and The Bridge to Nowhere


At the boat landing near The Bridge to Nowhere


On the bush walk to The Bridge to Nowhere

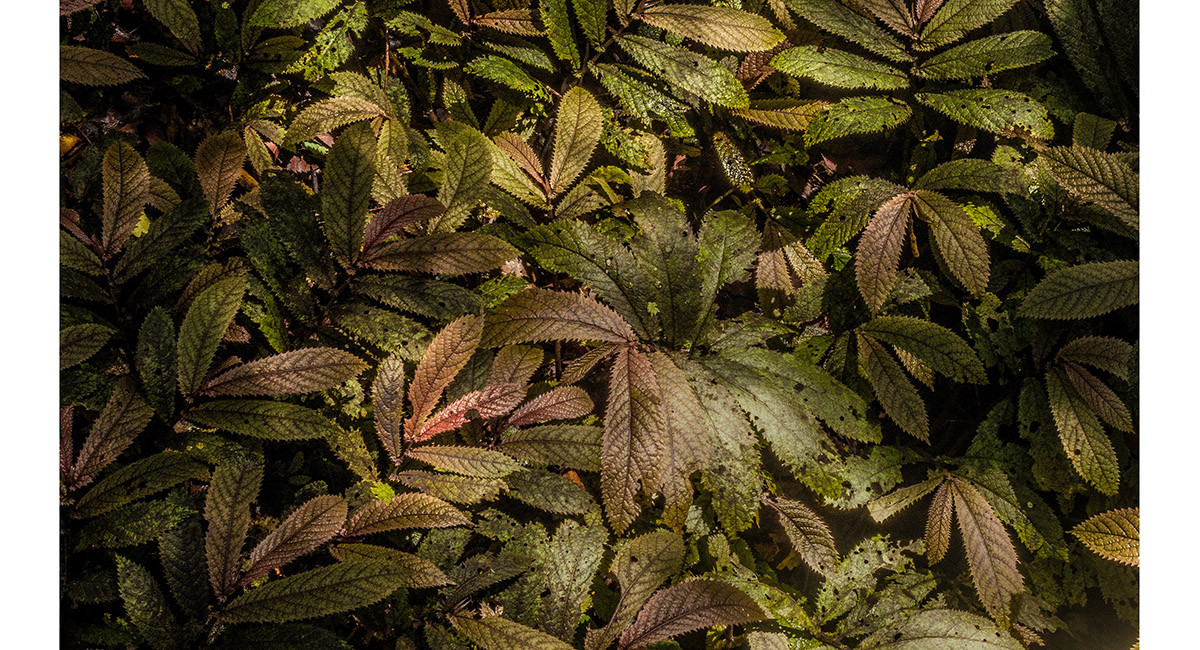
On the bush walk to The Bridge to Nowhere

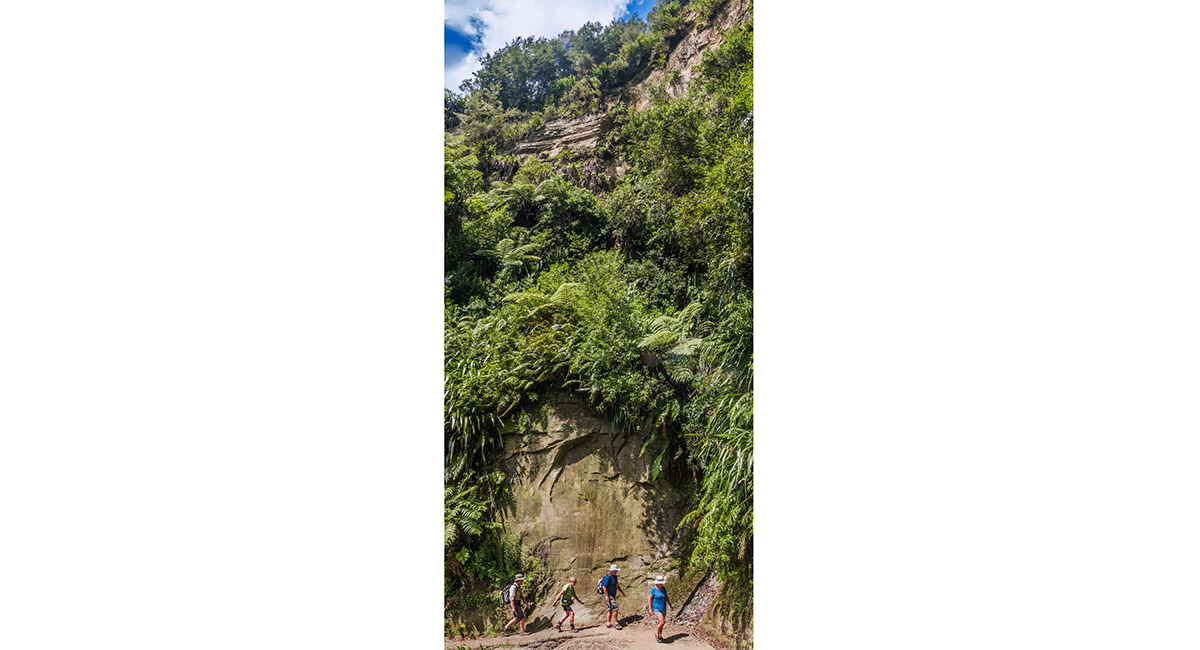
On the bush walk to The Bridge to Nowhere

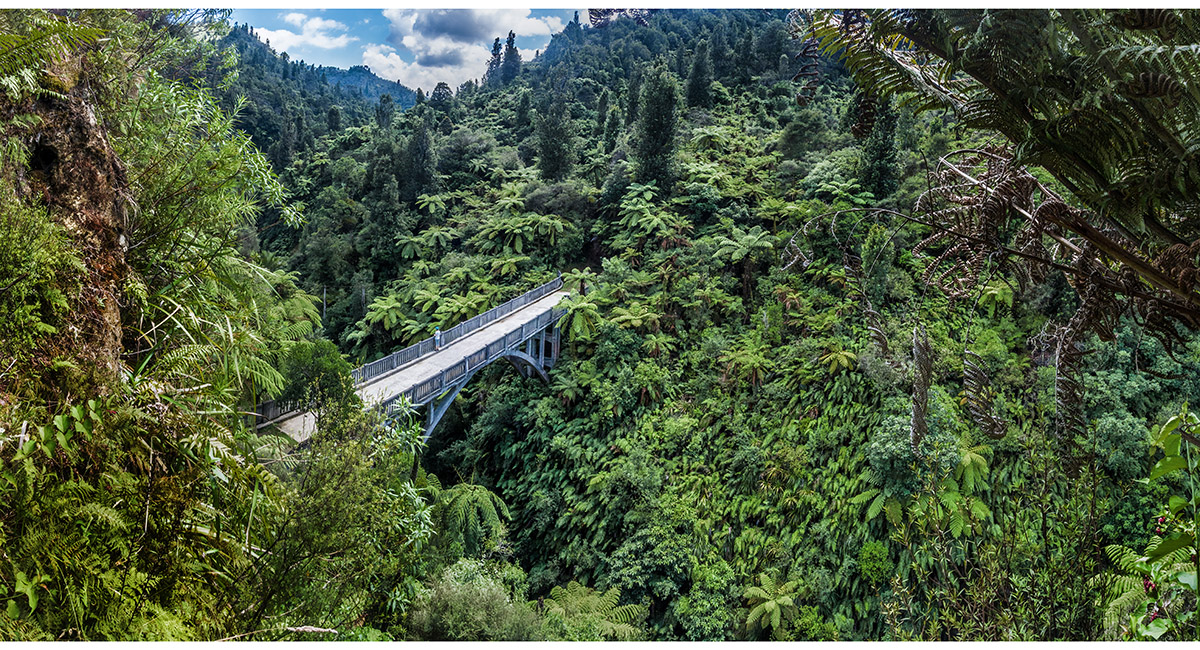
The Bridge to Nowhere


The Bridge to Nowhere


The Bridge to Nowhere

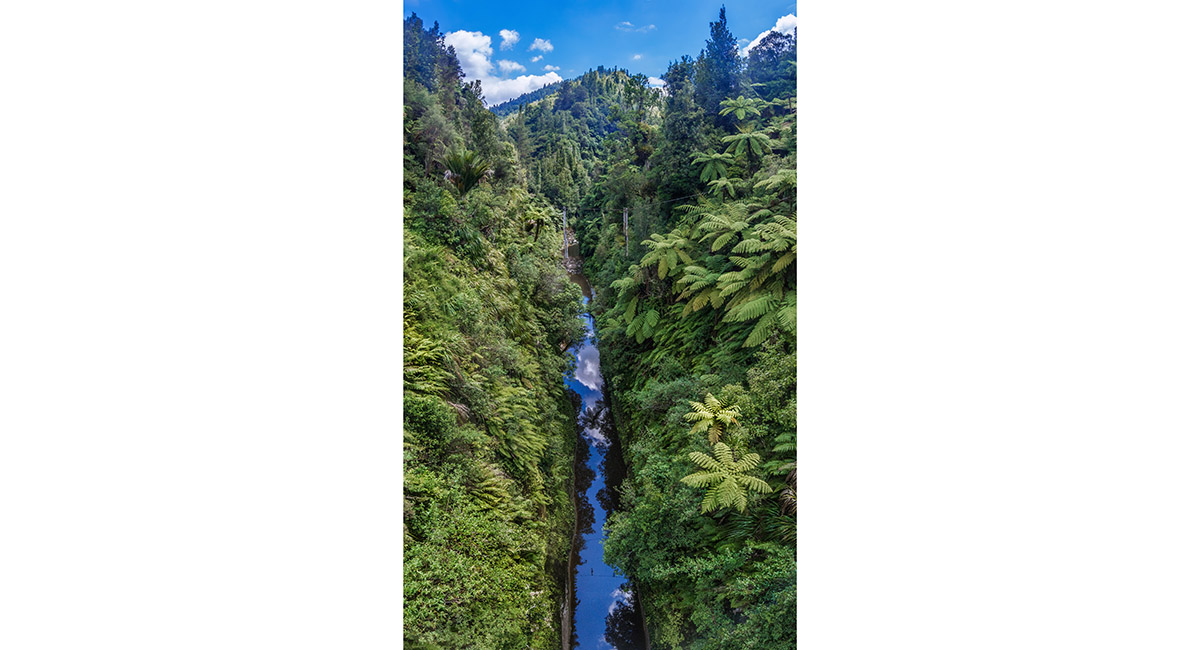
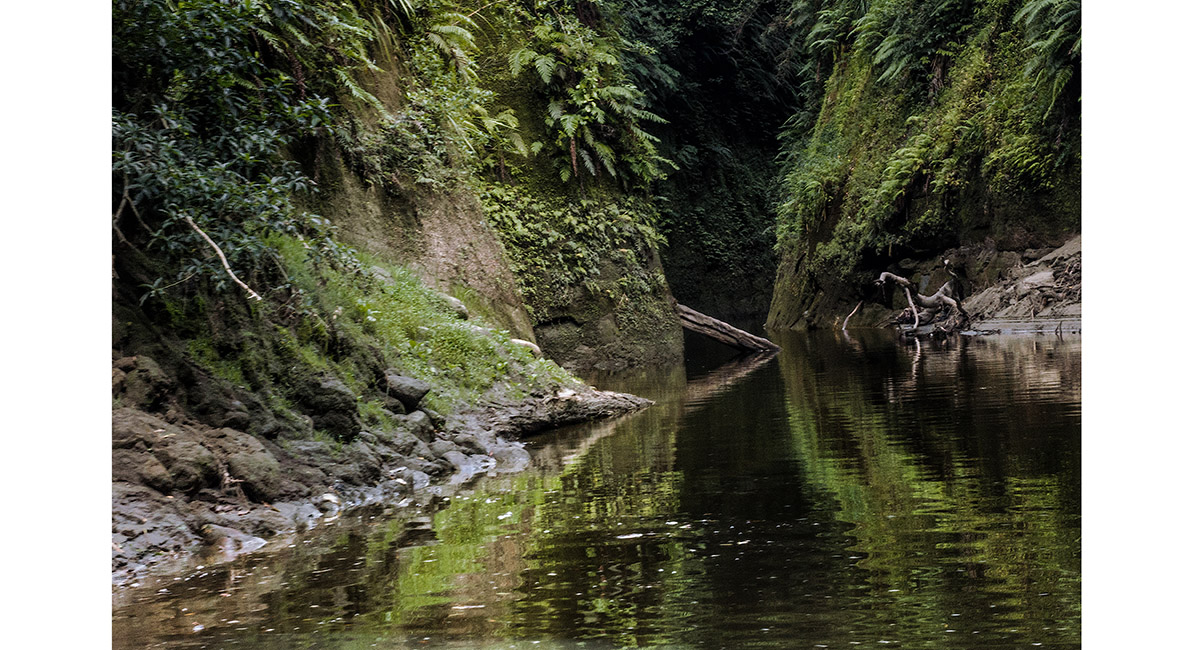
A view to the stream beneath The Bridge to Nowhere


A view to the stream (other side) beneath The Bridge to Nowhere


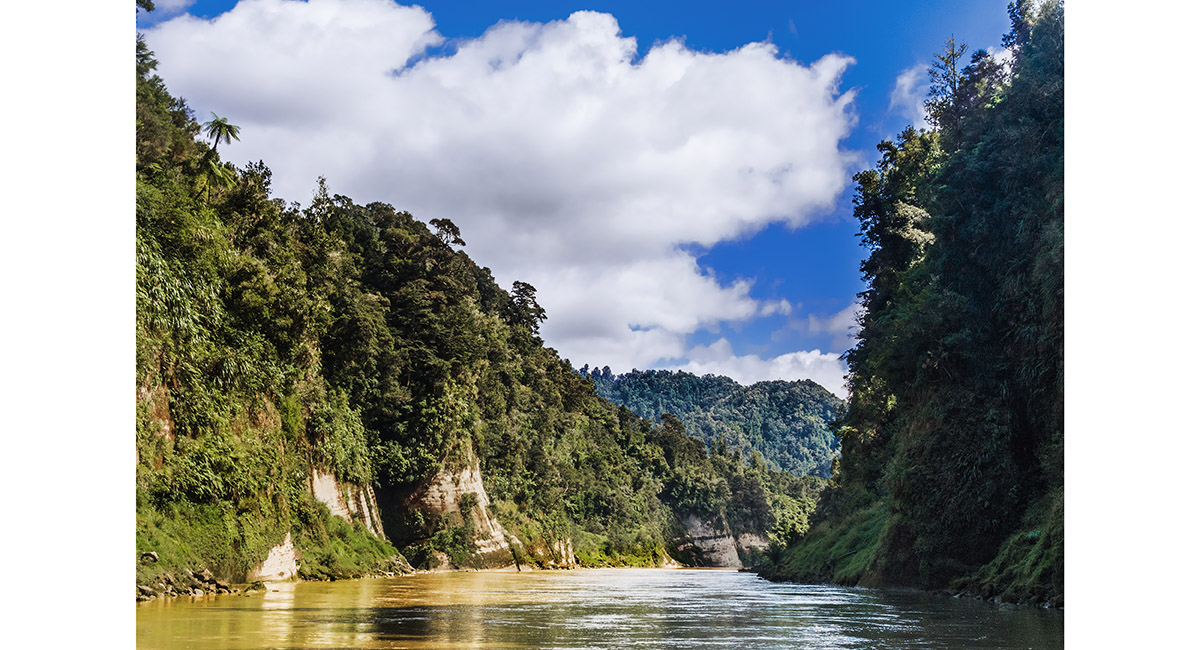
The Whanganui River between Pipiriki and The Bridge to Nowhere


The Whanganui River between Pipiriki and The Bridge to Nowhere


The Whanganui River between Pipiriki and The Bridge to Nowhere


The Whanganui River between Pipiriki and The Bridge to Nowhere

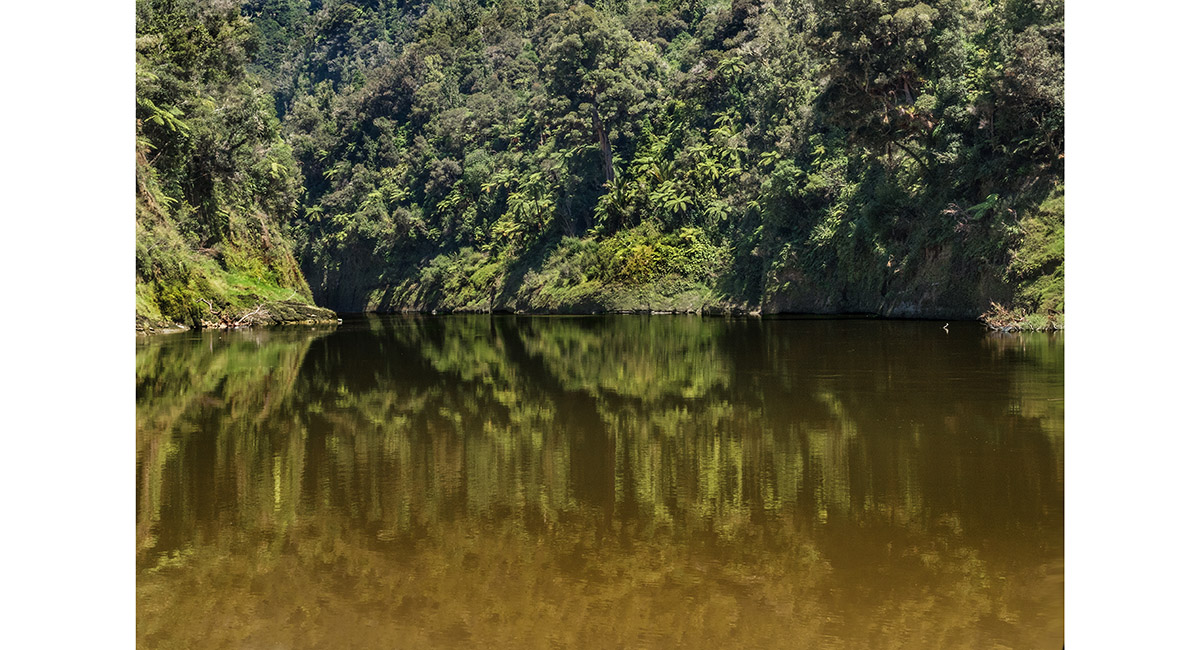
The Whanganui River between Pipiriki and The Bridge to Nowhere

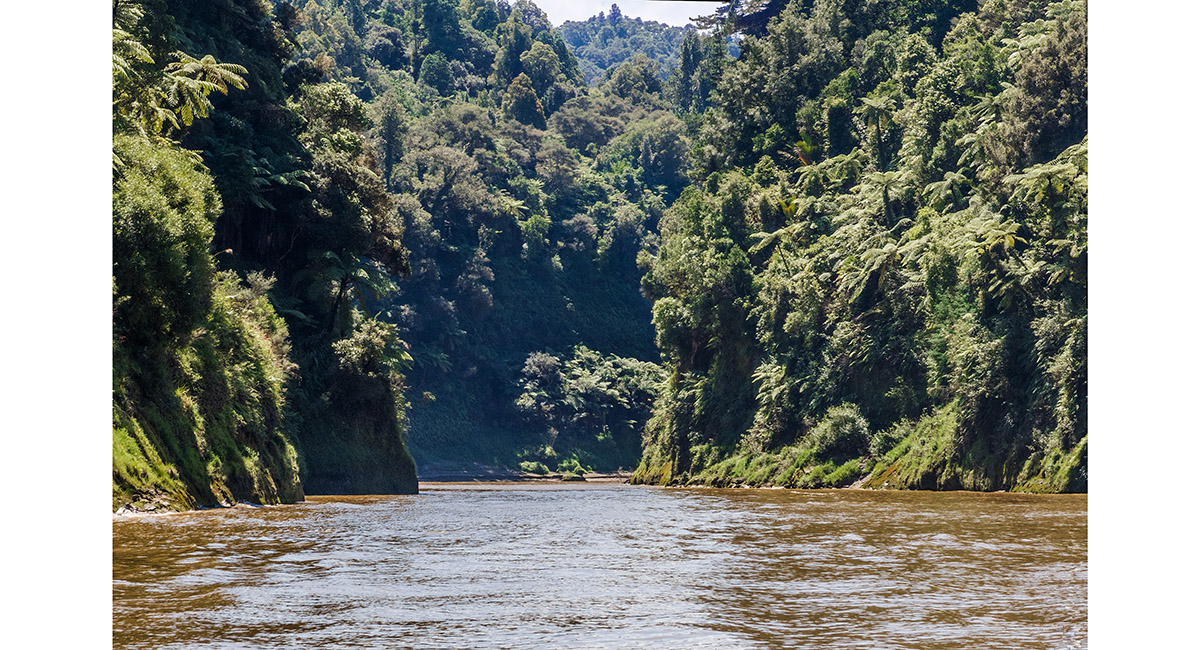
The Whanganui River between Pipiriki and The Bridge to Nowhere


The Whanganui River between Pipiriki and The Bridge to Nowhere


The Whanganui River between Pipiriki and The Bridge to Nowhere

The Whanganui River from our kayak on the 10km return section above Pipiriki

The Whanganui River from our kayak on the 10km return section above Pipiriki


The Whanganui River from our kayak on the 10km return section above Pipiriki

The Whanganui River from our kayak on the 10km return section above Pipiriki


At a hidden cave on the true right of the Whanganui River about 5km north of Pipiriki

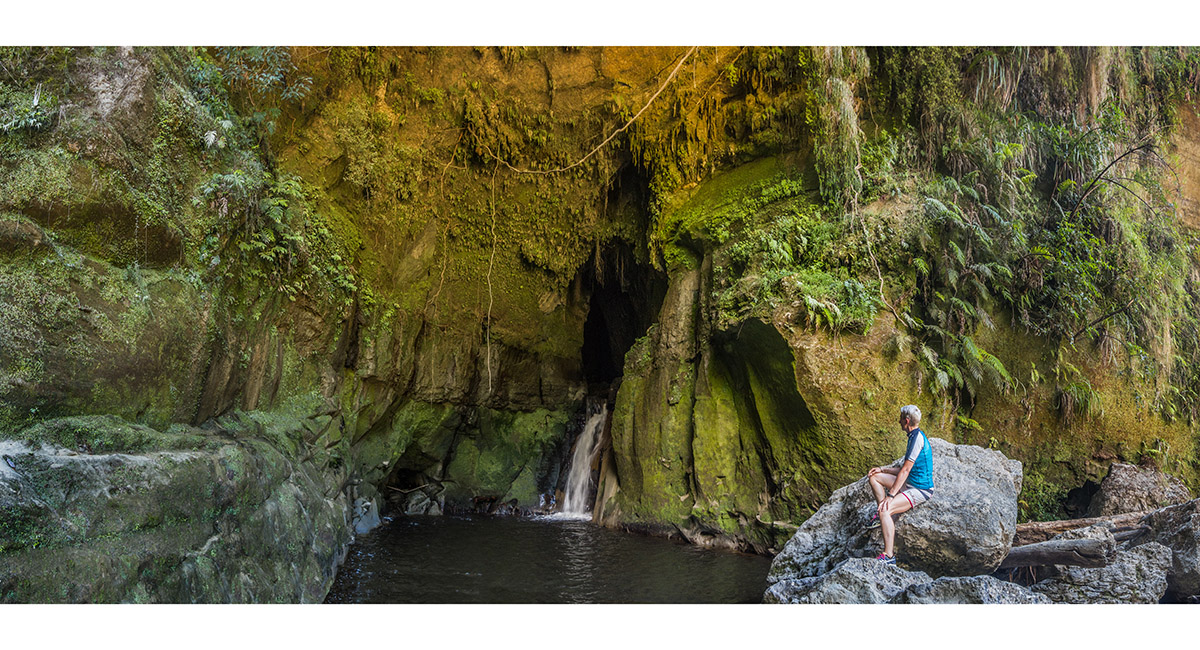
At a hidden cave on the true right of the Whanganui River about 5km north of Pipiriki


At a hidden cave on the true right of the Whanganui River about 5km north of Pipiriki


At a hidden cave on the true right of the Whanganui River about 5km north of Pipiriki


The Whanganui River from our kayak on the 10km return section above Pipiriki

The Whanganui River from our kayak on the 10km return section above Pipiriki


The Whanganui River from our kayak on the 10km return section above Pipiriki


The Whanganui River at dusk, from Pipiriki

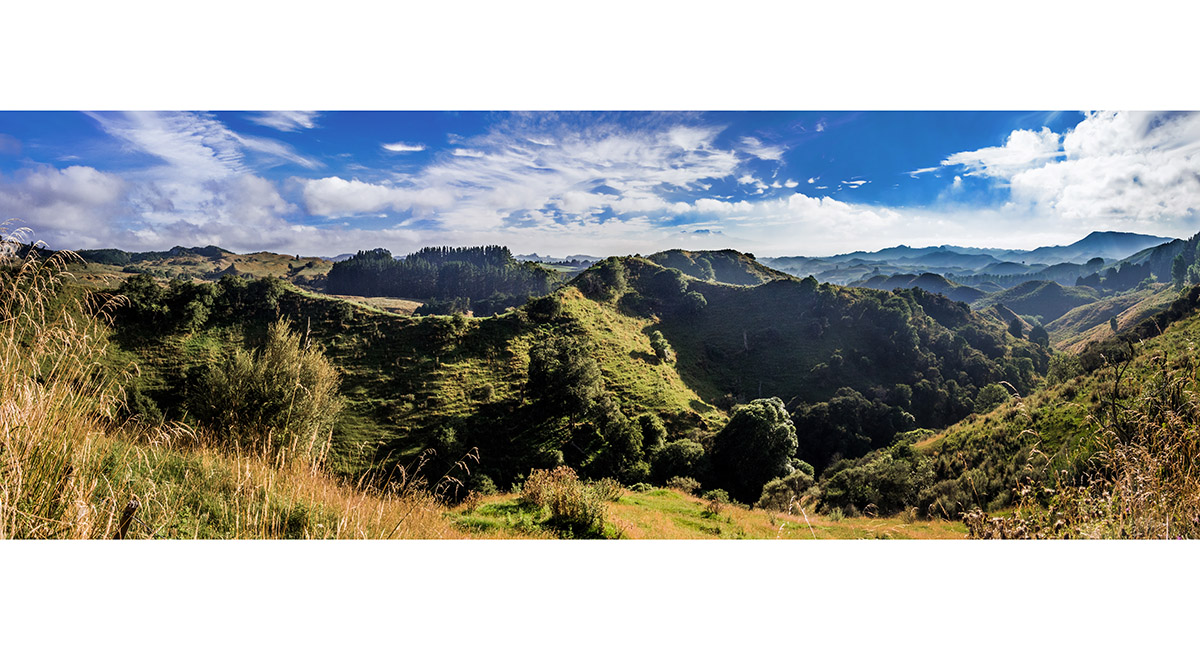
A panorama, viewed from a high point on the road between Pipiriki and Raetihi


Mount Ruapehu, viewed from a high point on the road between Pipiriki and Raetihi


A waterfall viewed from a lookout on SH4 between Raetihi and Whanganui


On the Wairua, cruising the Whanganui River

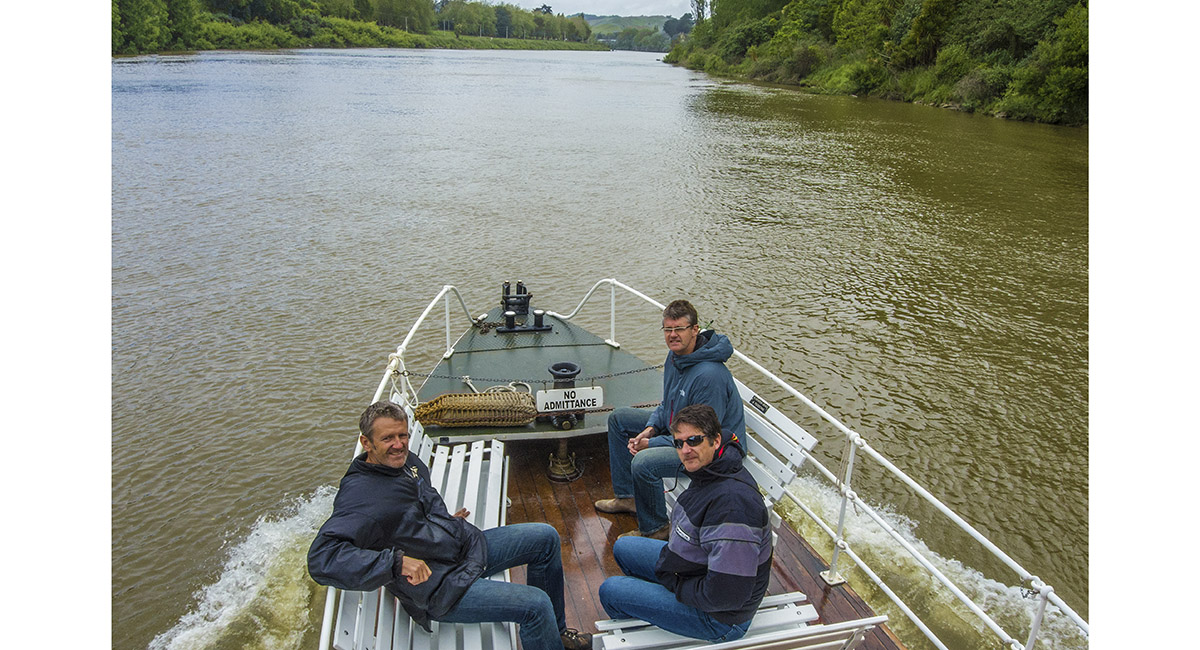
On the Wairua, cruising the Whanganui River

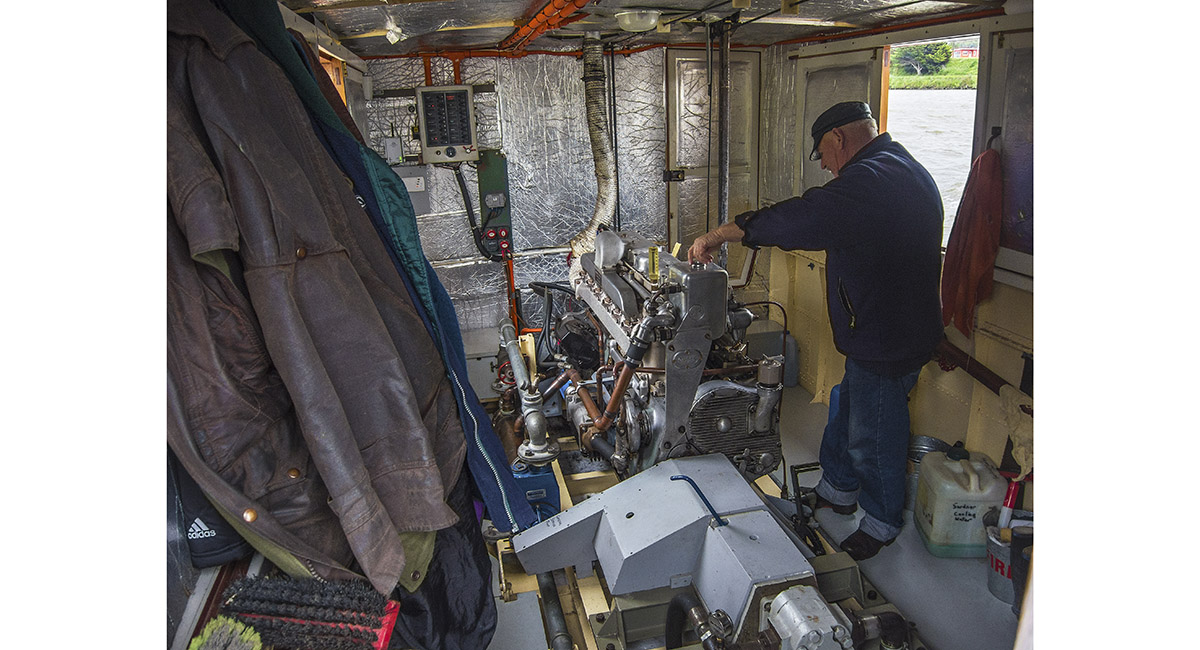
The engine room of the Wairua, cruising the Whanganui River


On the Wairua, cruising the Whanganui River


At the top Ten Holiday Park

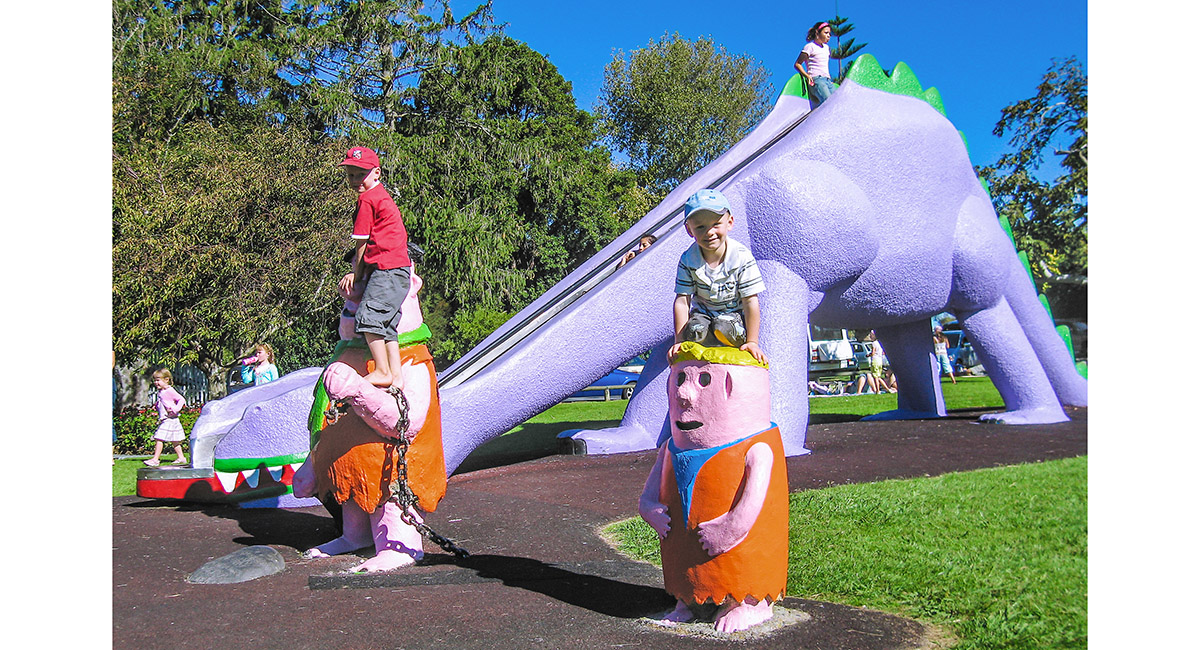
Kowhai Park - a favourite stop off point on the journey between New Plymouth and Welllington


Kowhai Park

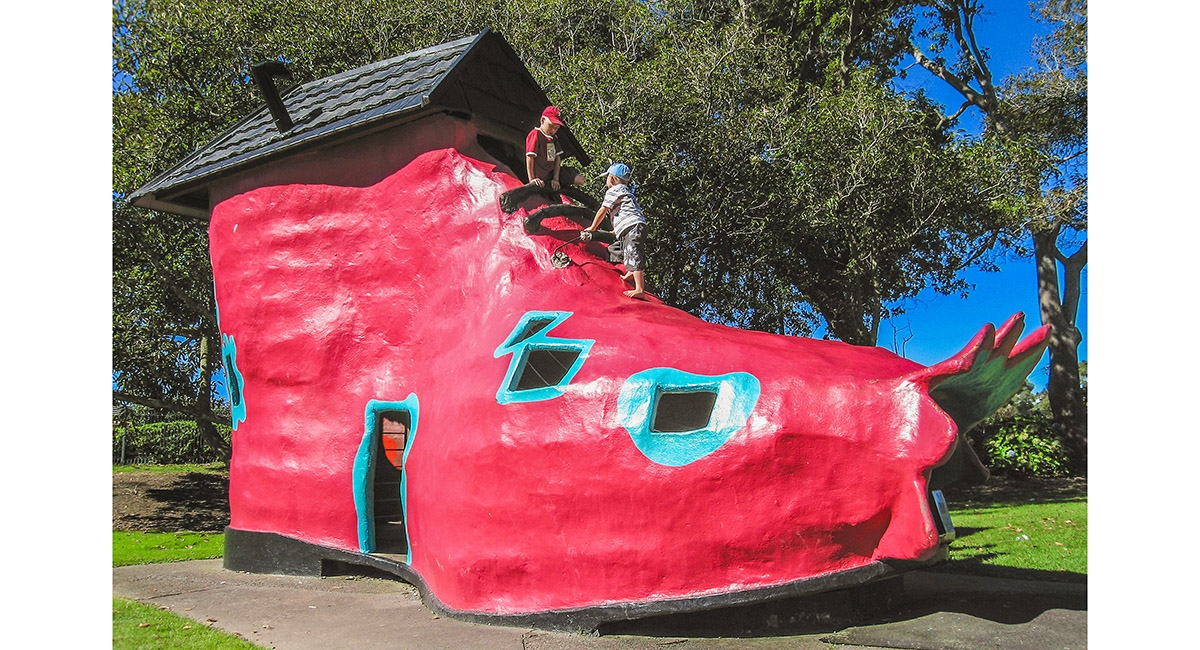
Kowhai Park


Mud slide action at school camp, outside Whanganui

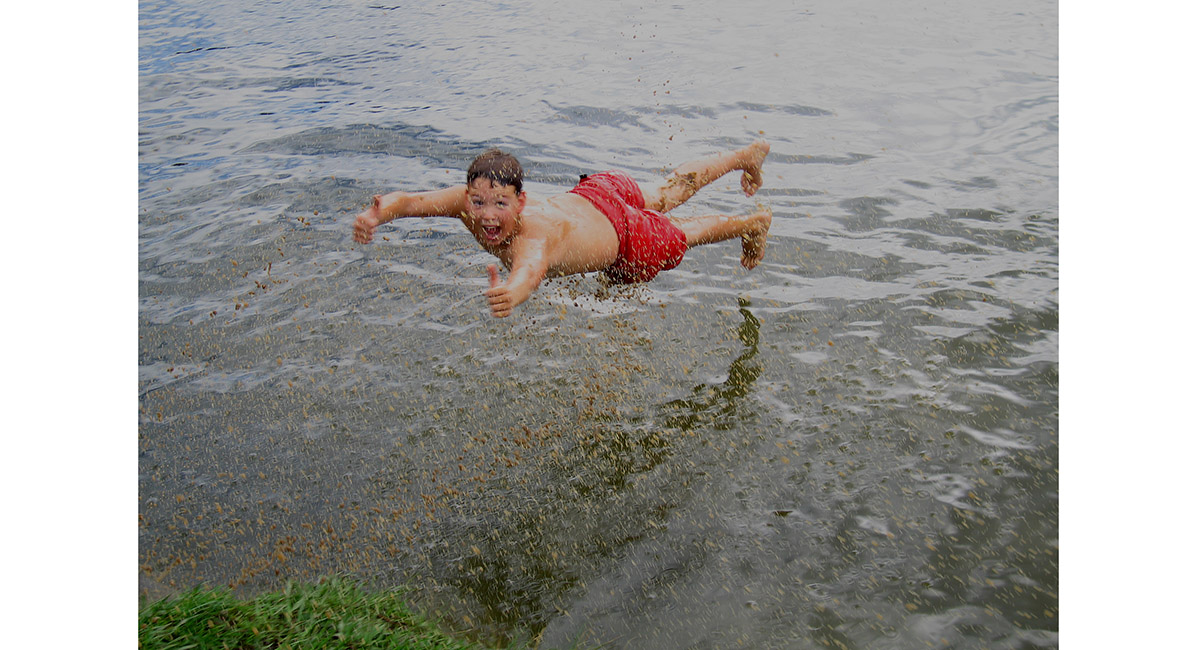
Mud slide action at school camp, outside Whanganui

Read about it Bridge too far Wilderness Magazine May 18
To order a print or web resolution file of any image you see in this slide show, just right click the image, click “Copy Image URL” and paste in to the “Your message” box of our Contact Us form. Please also note, for each image, if you want a print or web resolution file. We will get back to you as soon as possible to confirm price and payment details.
Open Contact Us in a new window to paste Image URL(s) easily